Our site is getting a makeover! Please bear with us whilst we make improvements

Get 3 FREE Christmas Projects straight to your inbox!

If you’re feeling Christmas ready like us, you’ll want some free Christmas projects to get your teeth into right?

Well, we have a super offer where not only do you get 10% off when you shop in our Christmas shop until July 18th, you’ll also get these 3 FREE Christmas projects winging their way to your email inbox with every purchase from the Christmas Shop!

Free Christmas project
(more…)
3 Handmade Teacher Gift Ideas!

3 Handmade Teacher Gift Ideas!

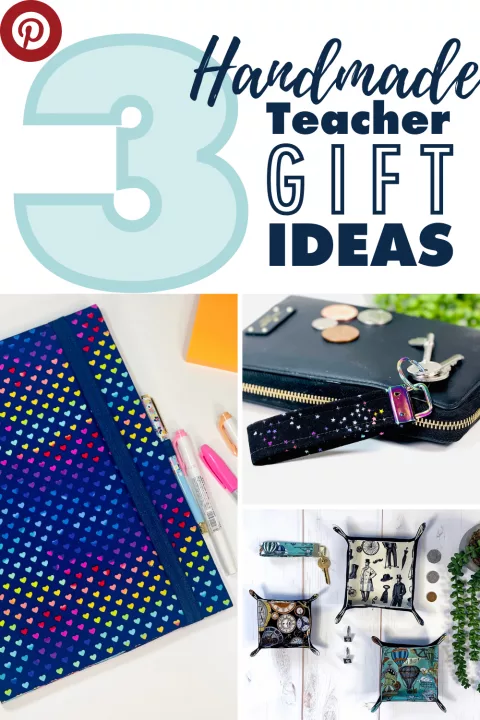
It’s almost the end of term and the summer holidays are just around the corner! After all that homeschooling I think we all appreciate our teachers more than ever! If you wanted to stitch up a handmade gift to show your child’s teacher some appreciation, here are a few quick handmade gift ideas for you…

3 Handmade Teacher Gift Ideas


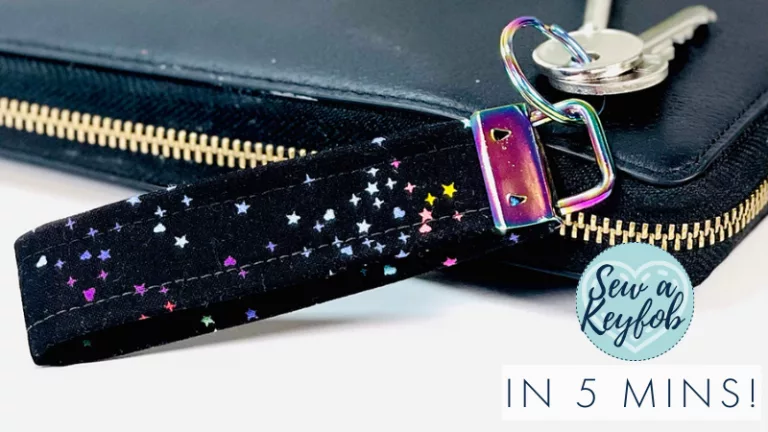
1. Teacher Gift Idea : Sew a key fob in 5 minutes

Who doesn’t love a personalised key fob?!

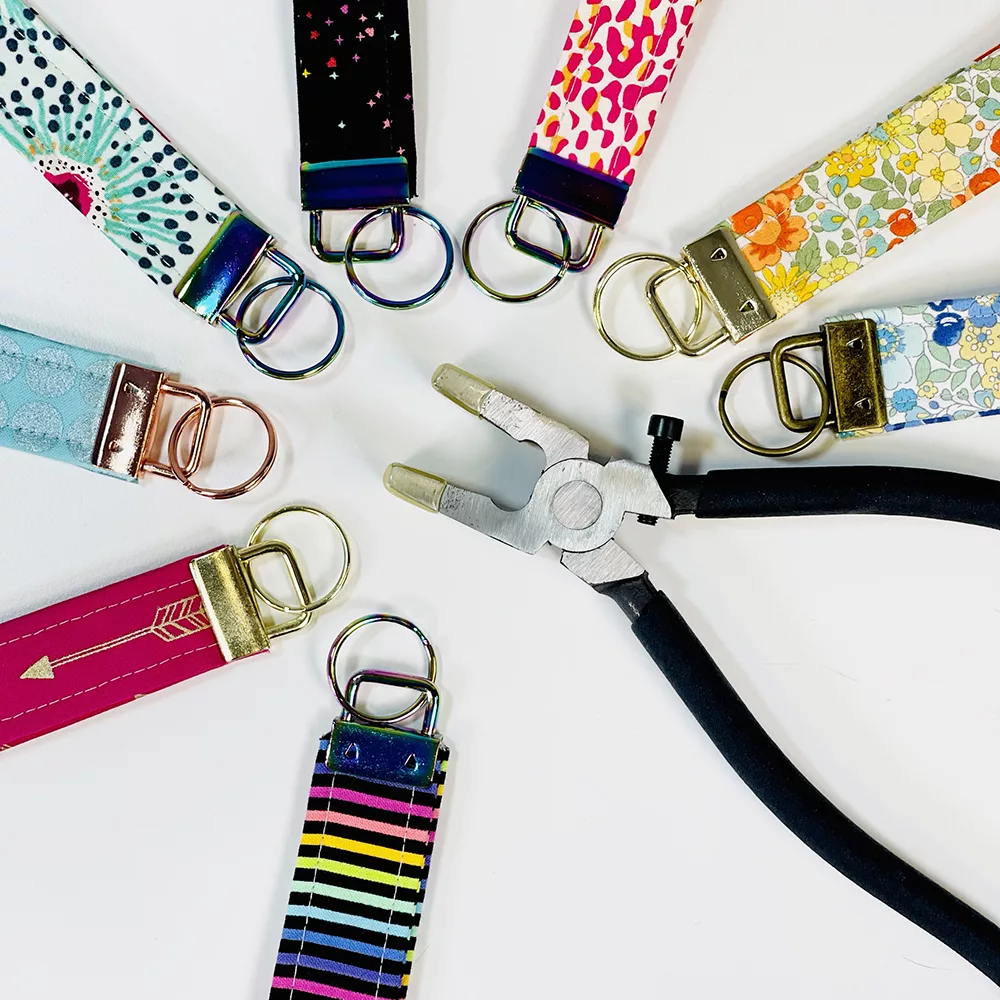
We can imagine teachers have a wholeeee load of keys, for the school, classroom, gates, their home etc. Gift them a pretty key fob to keep them tidy and never loose them! Aaannnnnnd you can make them in under 15 minutes whilst busting some serious scraps too!

So check out our full key fob youtube tutorial here or if you prefer a written tutorial you can see that here.


2. Teacher Gift Idea : 15-minute fabric trays

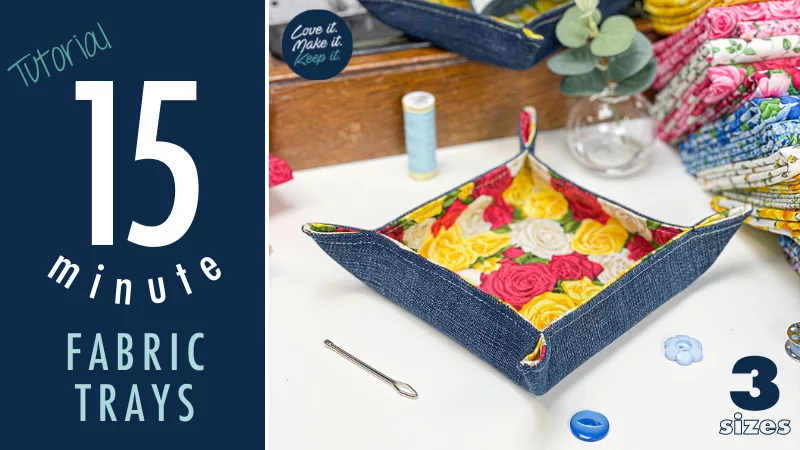
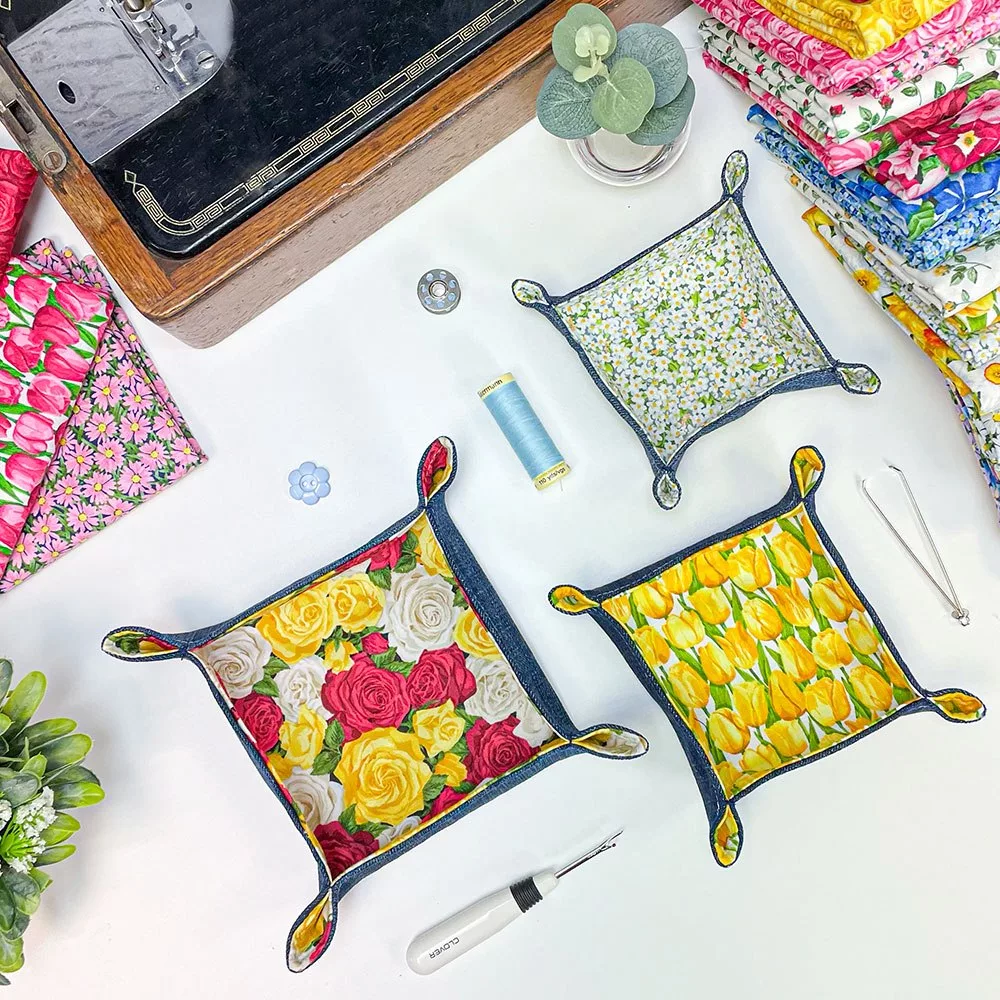
Next up! One of our most popular projects, the 15 minute fabric trays!

They’re super handy for teachers to store stationery, notes or any other bits at their desk and best of all they only take 15 minutes to make!

Check out the tutorial here.

3. Teacher Gift Idea : 30-minute notebook cover

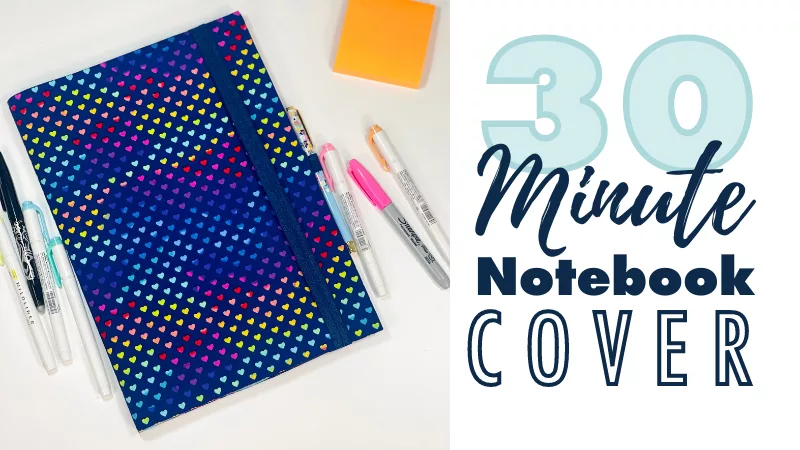
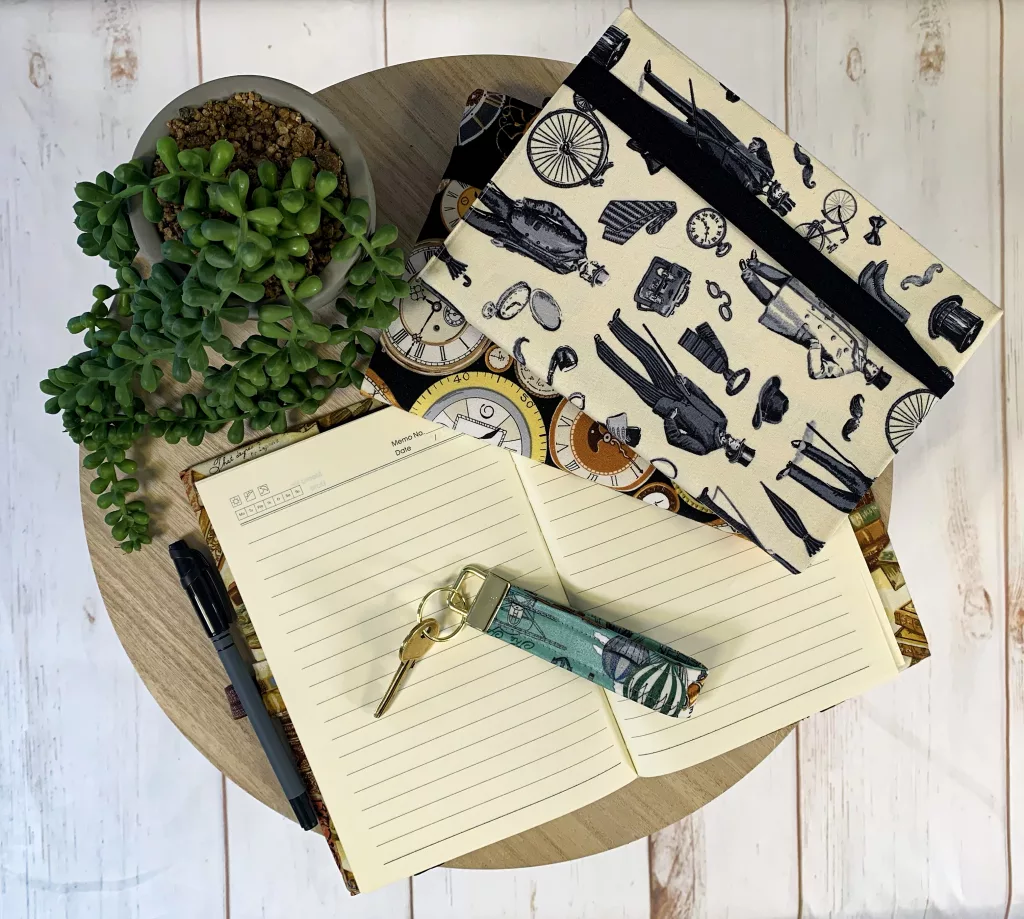
We all know teachers live and breathe notebooks… they go hand in hand! So an A5 notebook cover is one of the best gifts they could receive.

It’ll help protect it from wear & tear, as well as from the playdough stained hands of little ones – make it in 30 minutes with our tutorial here.

We hope you found some inspiration for a speedy handmade gift idea. Let us know how you got on if you make one!

3 Project Ideas Using Beguiled by Libs Elliott

3 Project Ideas Using Beguiled by Libs Elliott

This has to be one our faveeeeee collections of all time (can we say that?!). Truly, Libs Elliott really knocked it out of the park this time, so of course we had to whip up project ideas using Beguiled by Libs Elliott to provide you with inspiration on what to make with such a fabulous collection.

But not only did we give you 1 make… we’ve given you 3 different project ideas using Beguiled!

Which one will you be trying first seam-stars?

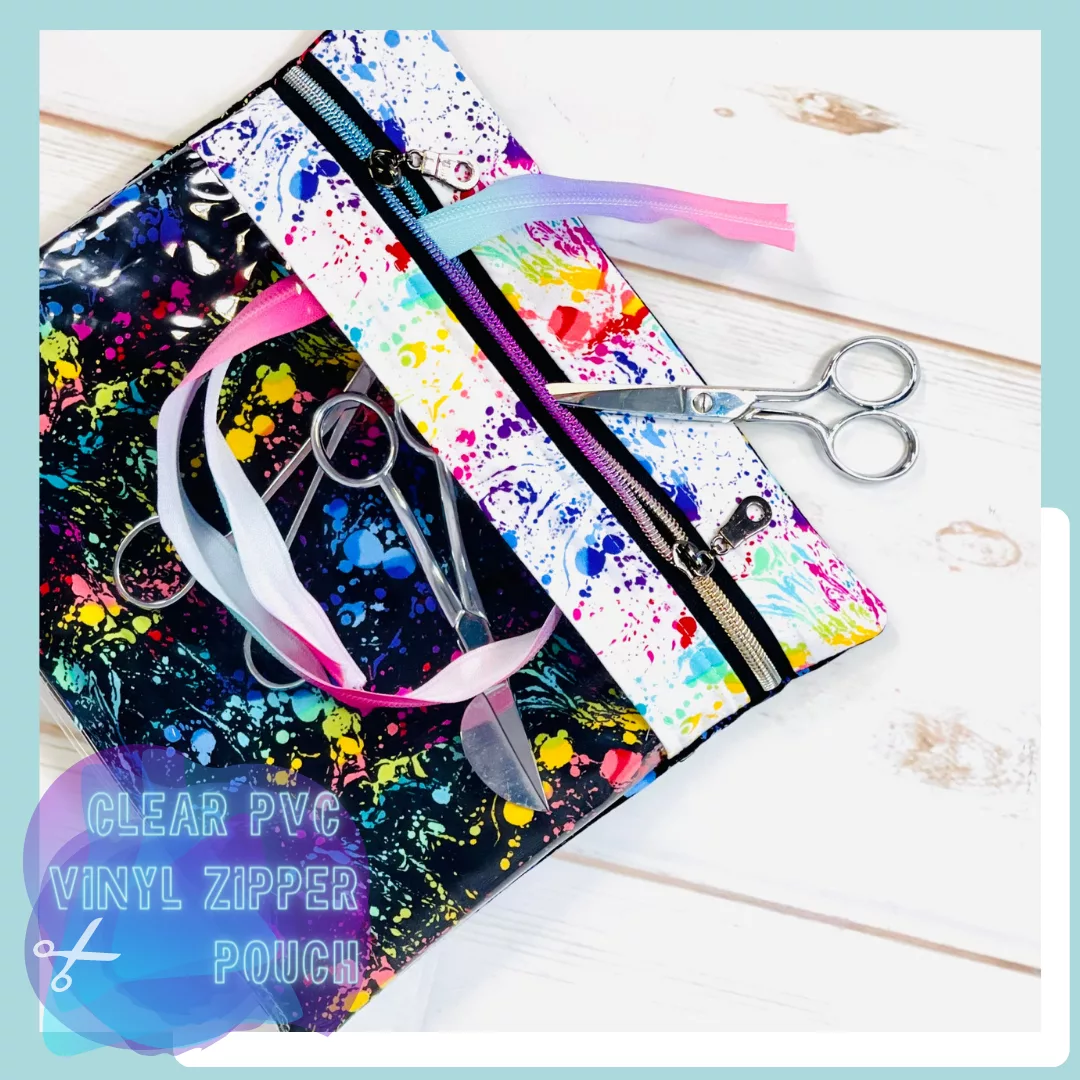
Clear PVC Vinyl Zipper Pouch

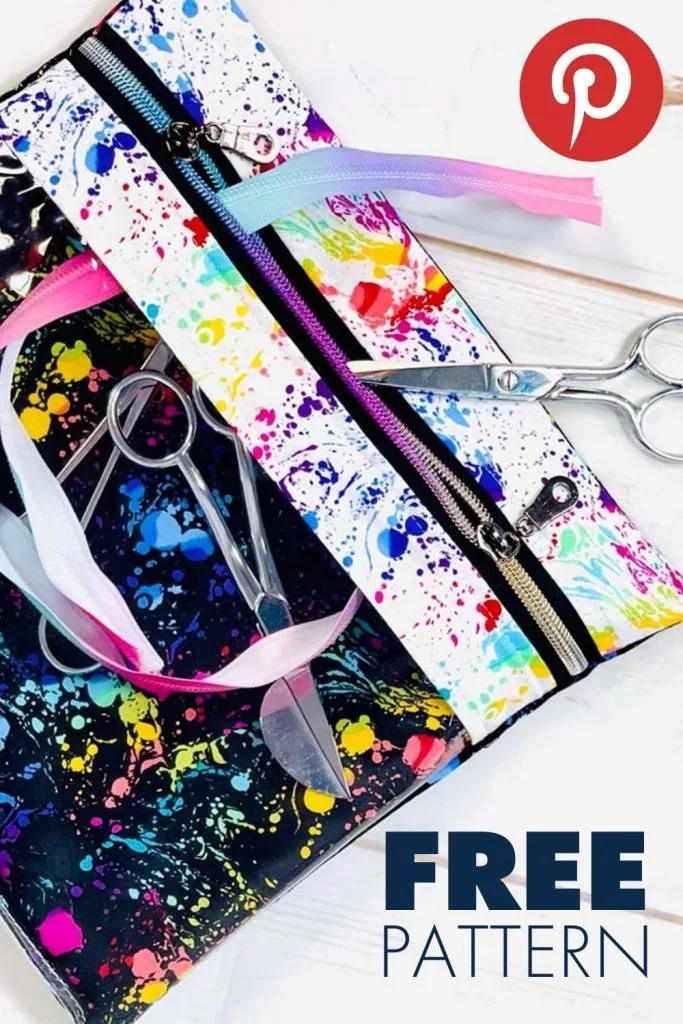
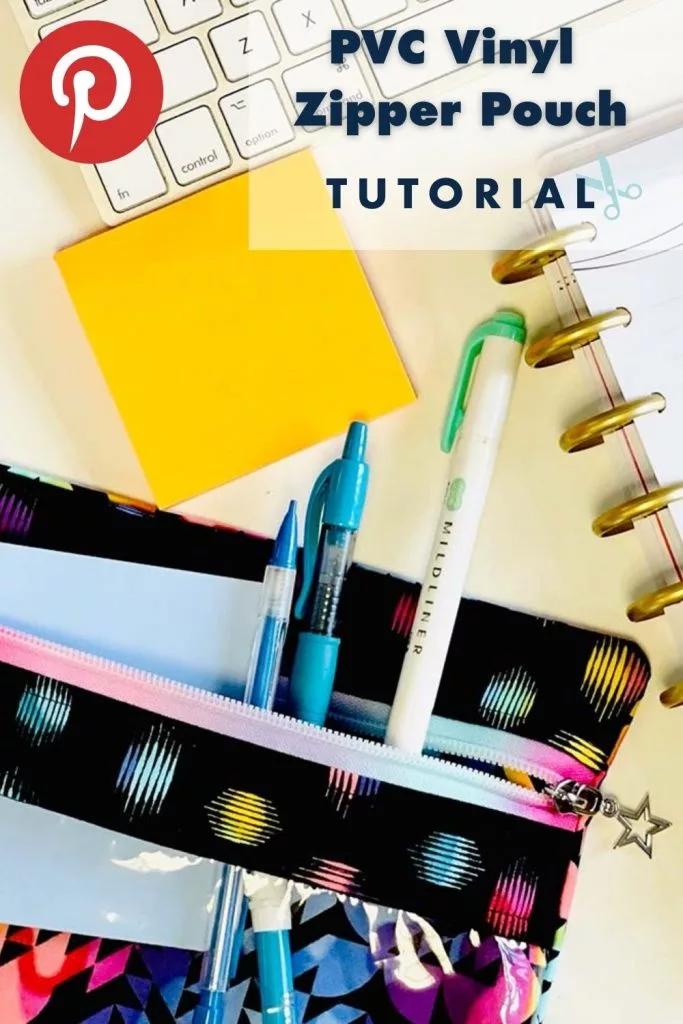
This zipper pouch is one of the project ideas using Beguiled by Libs Elliott. These pouches are SO handy and can save you time too as you can see exactly what’s in your storage pouch without even looking inside.

Use them in your crafting space to keep your scraps, notions & general haberdashery in check, or make them for the kids!

You can find the full tutorial here.

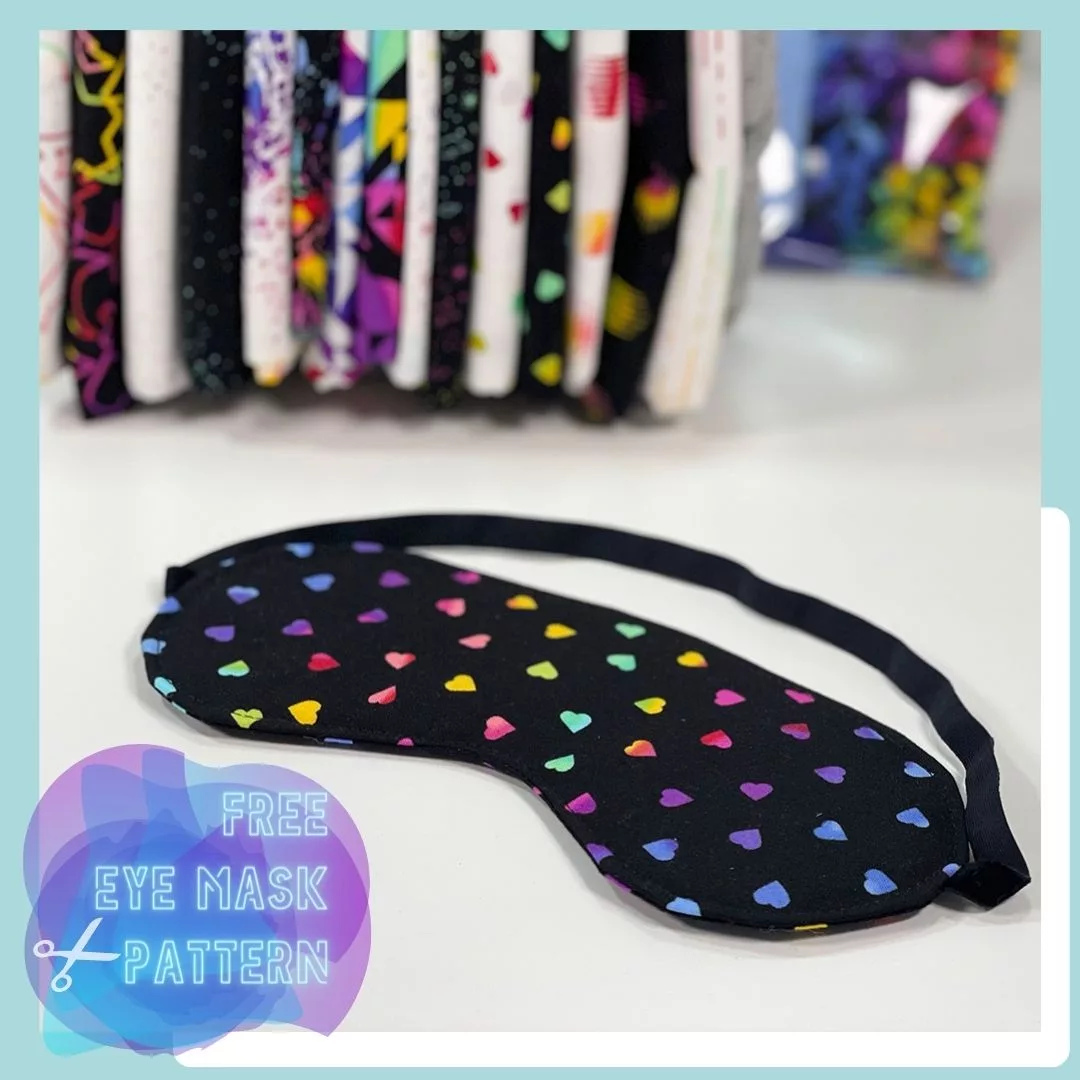
Eye Mask

In need of some “me” time, what better way to tune out your surroundings than to run a warm bath, light some candles and pop on an eye mask… and it might as well be a snazzy one!

Check out our eye mask tutorial here and shop ‘Beguiled’ prints here.

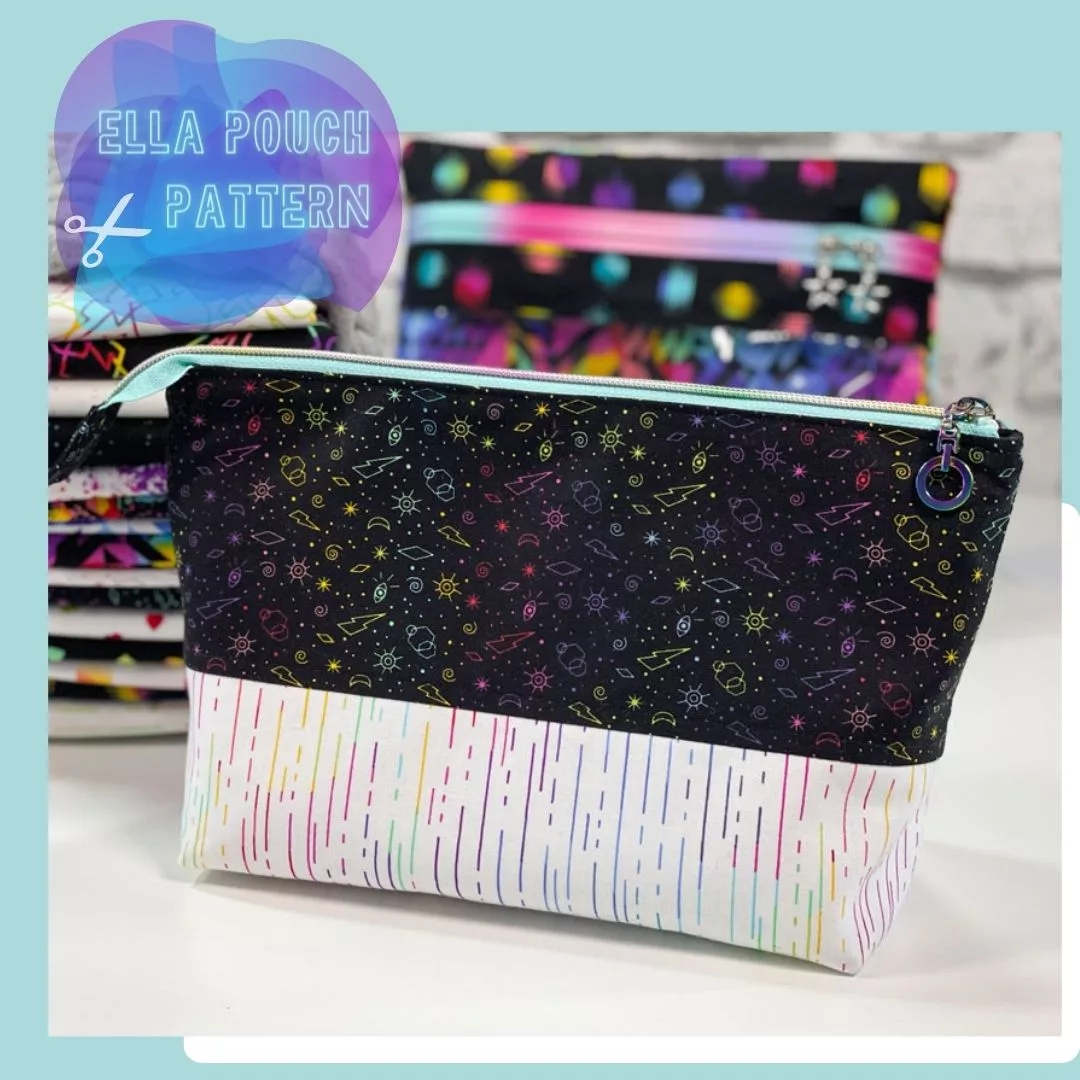
Ella Pouch

The roomiest of roomy pouches – a seam-star fav… the Ella pouch!

Perfect for any makeup bits or toiletries, it’s big enough for multi-purpose use.

Have a read of the full tutorial here.

Which project is you favourite? Which one will you be trying first?

Let us know in the comments below!

Never miss another tutorial or guide…

Stay up to date with the latest by signing up to our newsletter!

Click to join our mailing list!

We hope you found this tutorial useful! Let us know how you get along in the comments below.

Follow Plush Addict on social media and keep an eye out for more tutorials!

Sew A Clear PVC Vinyl Zipper Pouch: Free Pattern

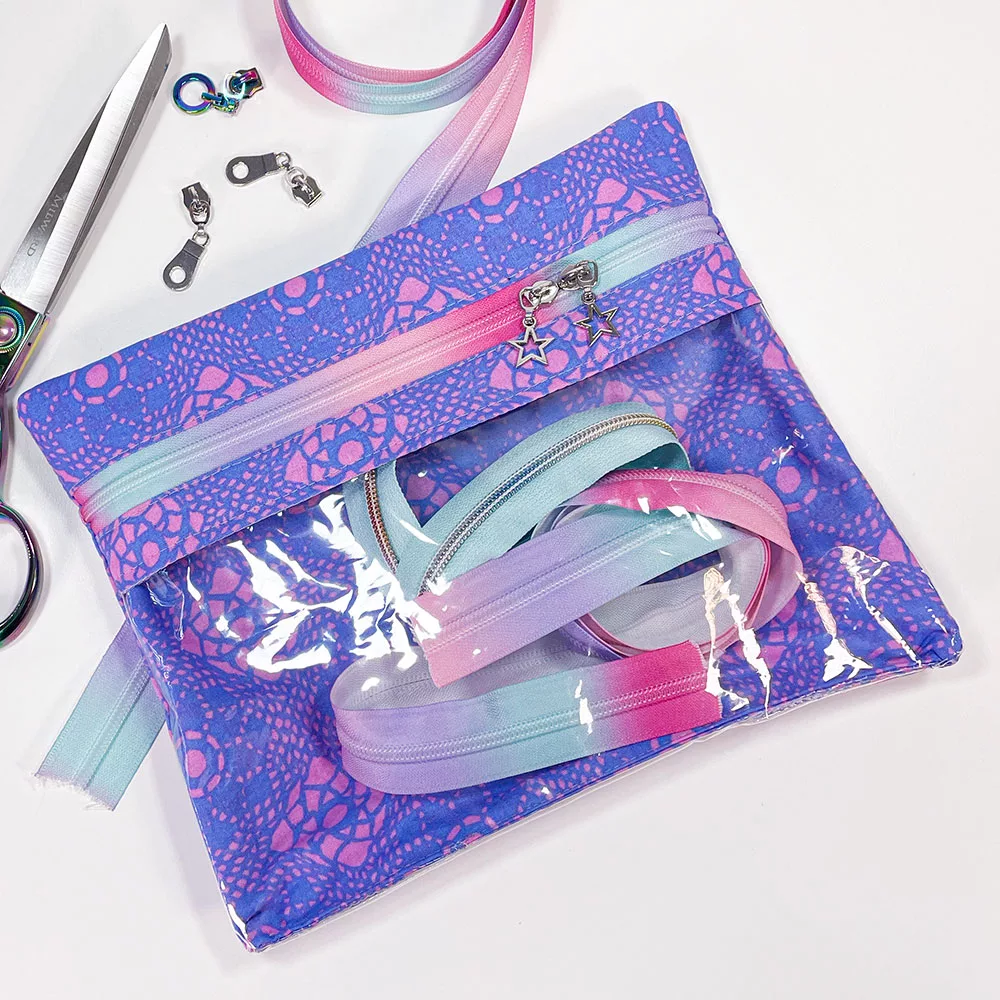
Take your organisation to the next level by sewing up a clear vinyl zipper pouch with our free pattern! These pouches are SO handy and can save you time as you can see exactly what’s in your storage pouch without even looking inside.

Use them in your crafting space to keep your scraps, notions & general haberdashery in check, or make them for the kids! The see through window can help save time, and add some more interest and fun for them when looking for their favourite toys or craft supplies… Ya never know it might just encourage them to tidy some stuff away too 😲

You can request the free pattern is sent straight to your inbox. The file sent will include pattern pieces you can print & use, as well as with the rectangle sizes needed to make this pouch, if you prefer to draw your own.

We’ve used fabrics from the amazing collection “Beguiled” from Libs Elliot and paired them up with some funky zips to deliver a striking pouch that will be the envy of your friends!

You Will Need:

  • A copy of the pattern. Request a copy is sent straight to your inbox here.

1 x #5  10 inch zip (or longer) OR 12 inches of continuous zipper tape plus 2 x zipper pulls

1 FQ Cotton Outer Fabric 

1 FQ Cotton lining fabric

30cm x 25cm Clear PVC Vinyl Fabric

0.25m woven interlining (We used Vlieseline G700)

30cm x 30cm Fusible Fleece Vlieseline H640

6mm Double Sided Tape

Thread

Important Notes & Guidance

  • For more tips on handling PVC clear vinyl fabric check out our other post here
  • 1cm seam allowance is throughout, unless directed otherwise
  • For steps using machine sewing, straight stitch, backstitching at the start & end
  • When sewing vinyl use a stitch length of 3mm. When sewing fabric only use use stitch length 2.5, unless otherwise directed
  • Prepare your fabrics as per manufacturer’s care advice
  • When cutting your interfacing & fusible fleece cut your pieces without seam allowance (marked on the pattern pieces)

[mailerlite_form form_id=4]

How To Sew A Clear Vinyl Zipper Pouch

Step 1:

Print off your pattern (you can request your copy here) . The pattern has both rectangle sizes and complete pattern pieces so you may choose your preferred pattern method

If you are using the pattern pieces as templates you need to tape pattern piece A1 with pattern piece A2 matching up the coloured circles.

Step 2:

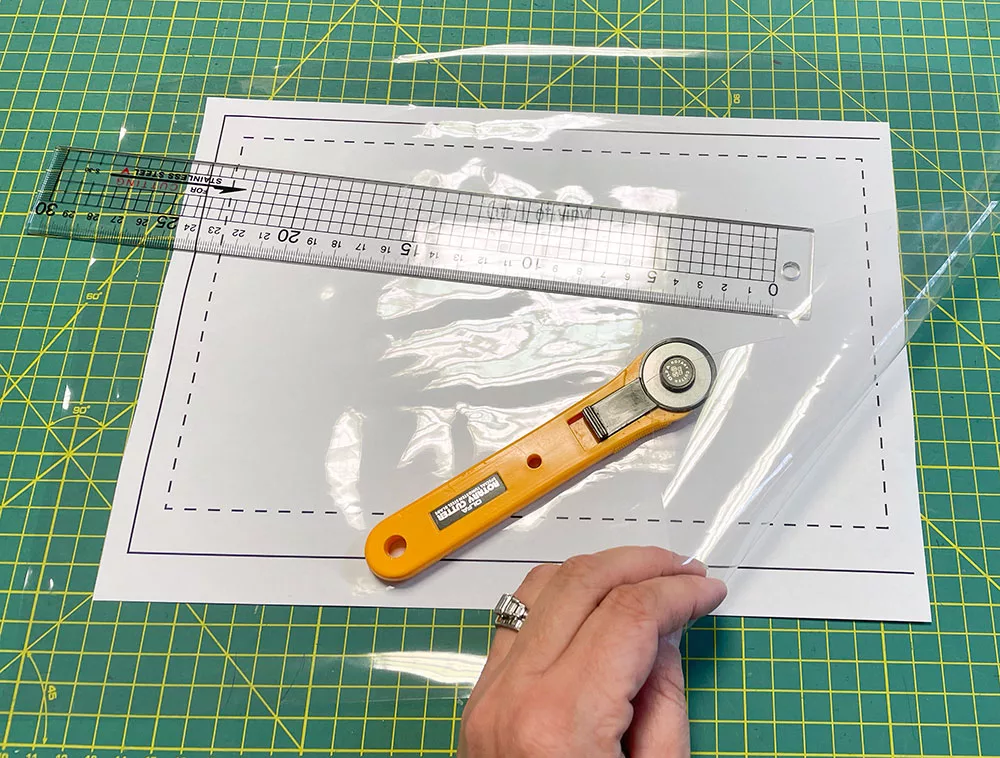
Cut Your Vinyl: clear vinyl can be difficult to cut accurately because it can be difficult to see!

I have found the best way is to place your pattern piece underneath the clear vinyl & cut around the pattern piece using a rotary cutter & ruler

Step 3:

Cut out your fabrics using wither the pattern pieces or the rectangle sizes provided

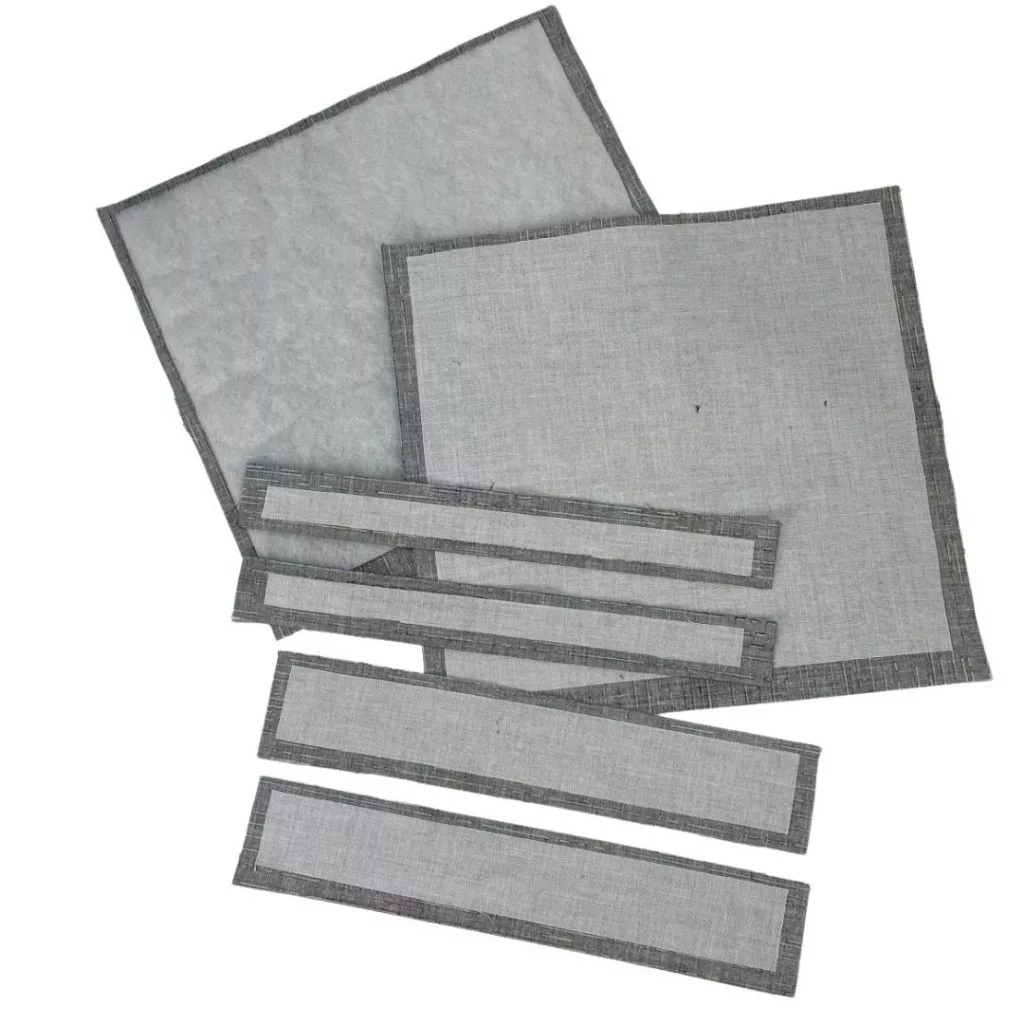
Cut your interfacing & fusible fleece smaller by the seam allowance (1cm seam-allowance, with the exception of the seams adjoining the zip, which is 1/4″ .

If using the pattern pieces the seam allowance is marked by a dashed line.

Step 4:

Adhere the sticky side of the interfacing & fusible fleece to the wrong side of the corresponding fabrics with an iron, as per the manufacturer’s instructions.

The fusible fleece should be fused to the wrong side of lining fabric for pattern piece A1+A2

Step 5:

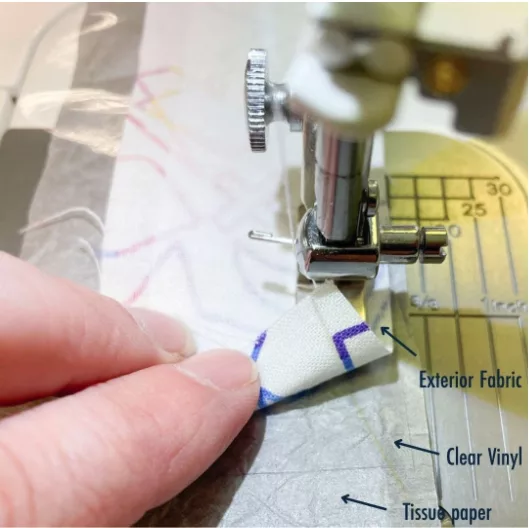
Sew the vinyl window to the exterior fabric: With RST align the long edges of vinyl window Piece D with the lower edge of exterior fabric piece B & clip together.

Clear vinyl can be sticky! If you are having trouble consult our “Sewing with vinyl” tips.

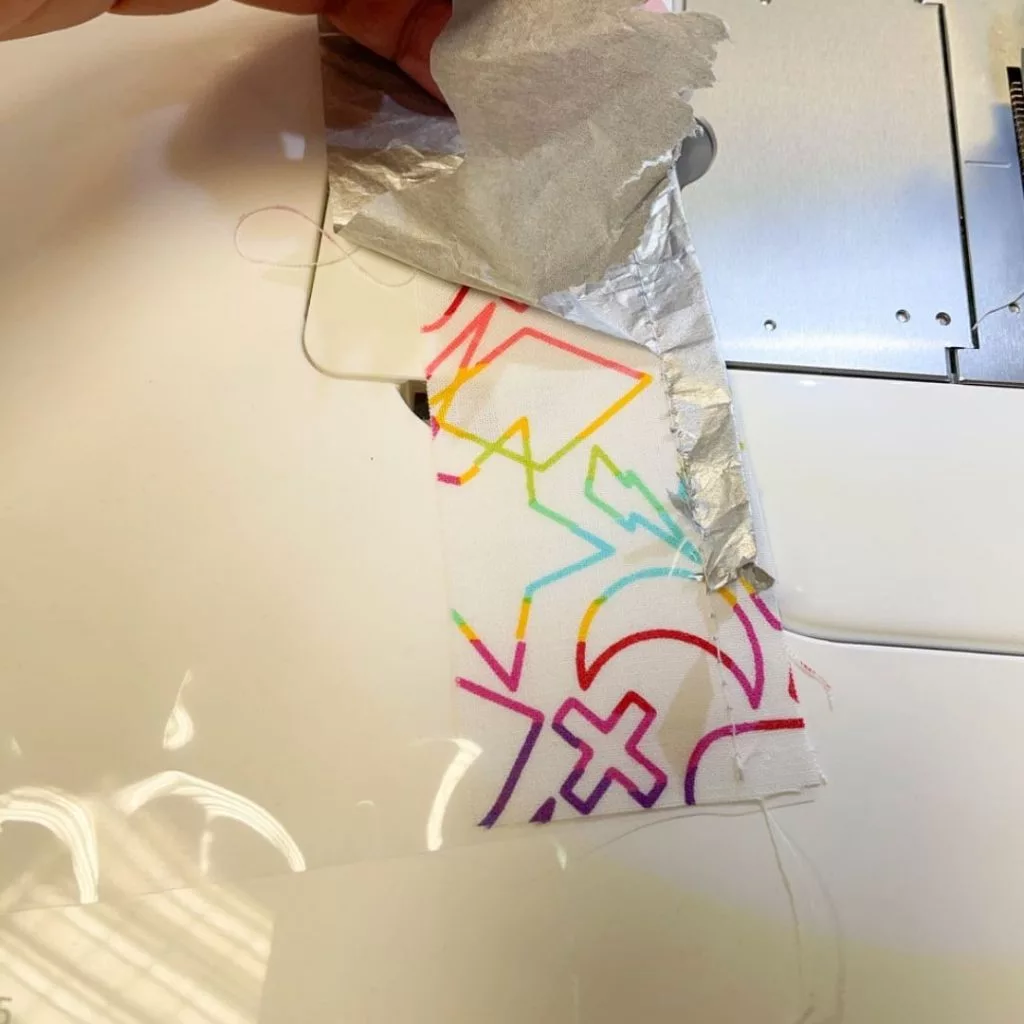
We have found stitching over a strip of tissue paper to be very effective in stopping the vinyl sticking to your machine bed, the tissue paper can then be torn off easily.

Finger-press the exterior fabric away from the vinyl window.

Step 6:

Sew a guide stitch: Take the lining fabric of pattern piece B and stitch a 1 cm guide stitch (use a long stitch length approx 4mm) then press up to the wrong side along the guide stitches.

This ensures a neat edge later. Set to one side.

Step 7:

Prepare the zip:  This pattern has been sized for a #5 zipper but  you could use a smaller #3 zipper.

It will just mean your front portion is a little shorter than the back portion but you can correct that when you’re sewing it together at the end.

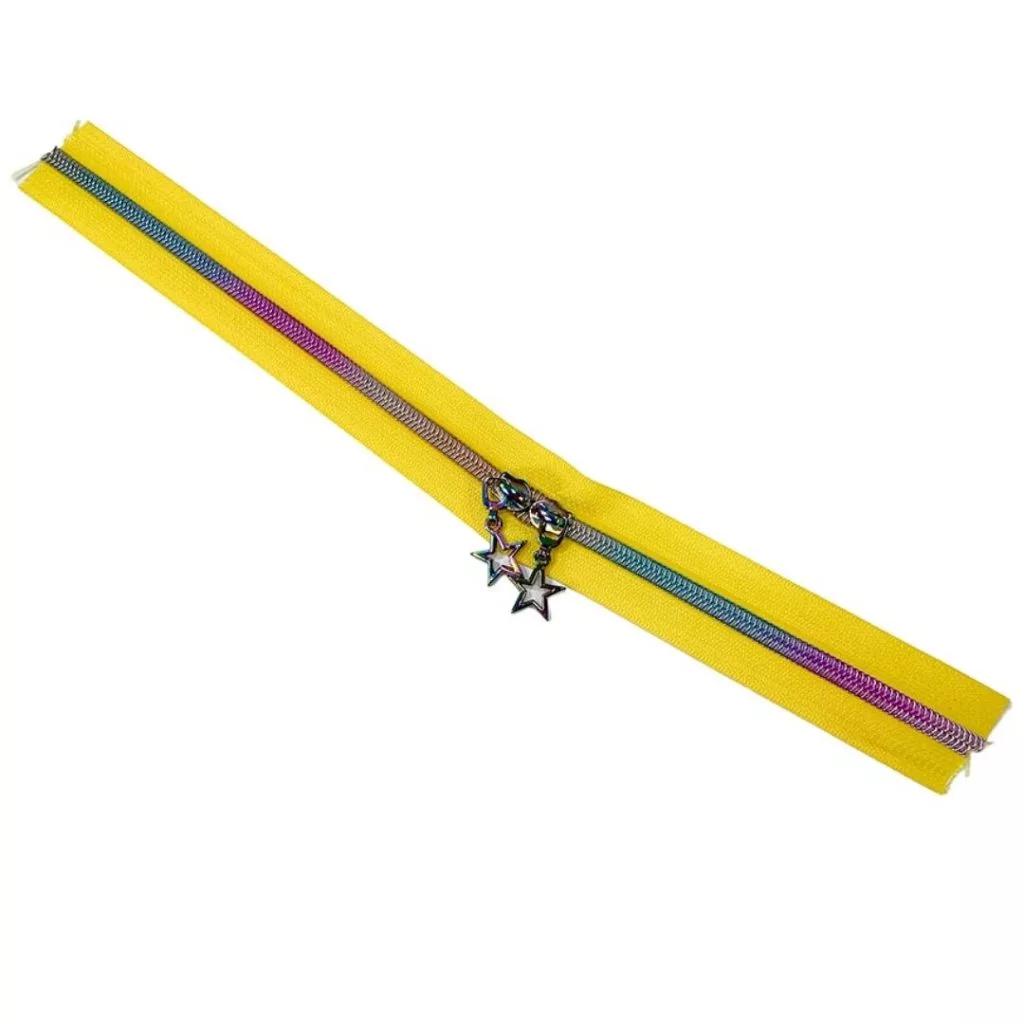
I am using a #5 continuous zip to achieve the double pull look. 

Step 8:

Add zip pulls to the continuous zipper tape: The only way to achieve the double zipper pull is to add your own pulls to the tape. Check out our video here.

https://www.instagram.com/plushaddict/

Step 9:

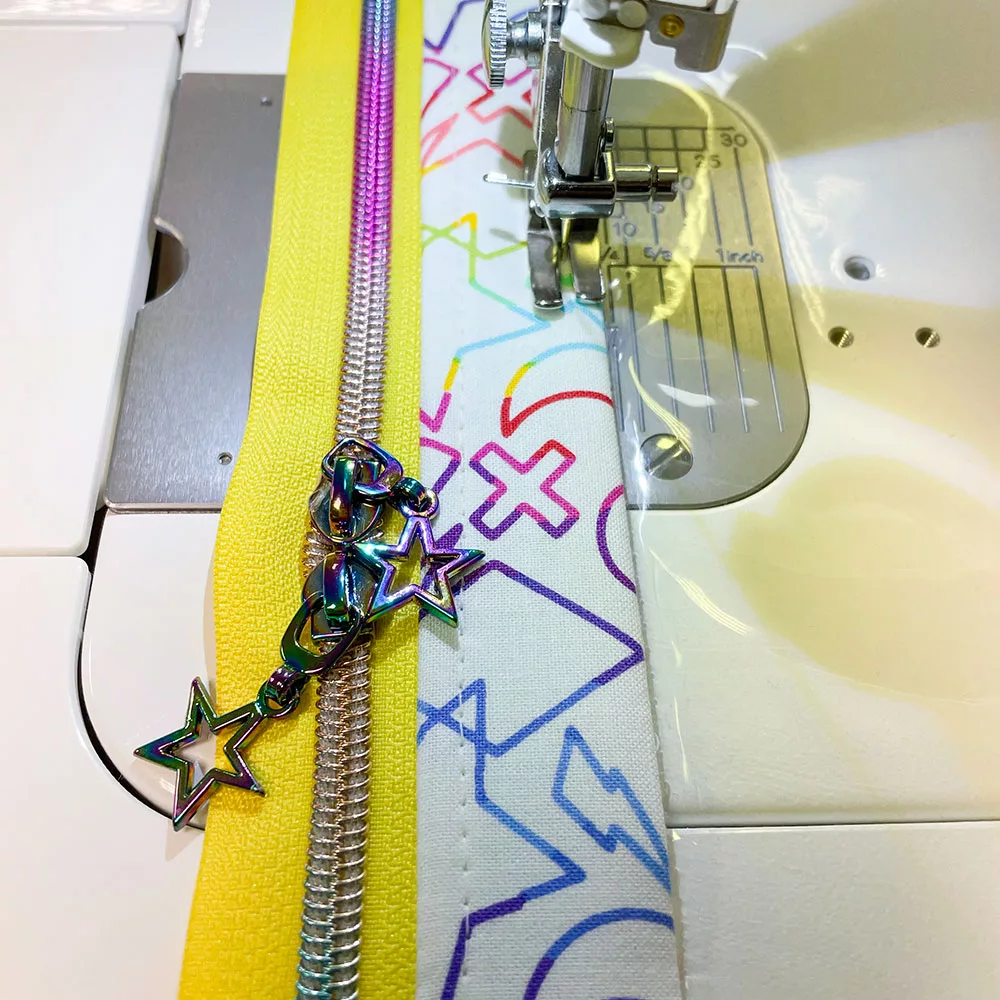
Insert the zipper: Insert a zipper foot on your machine.

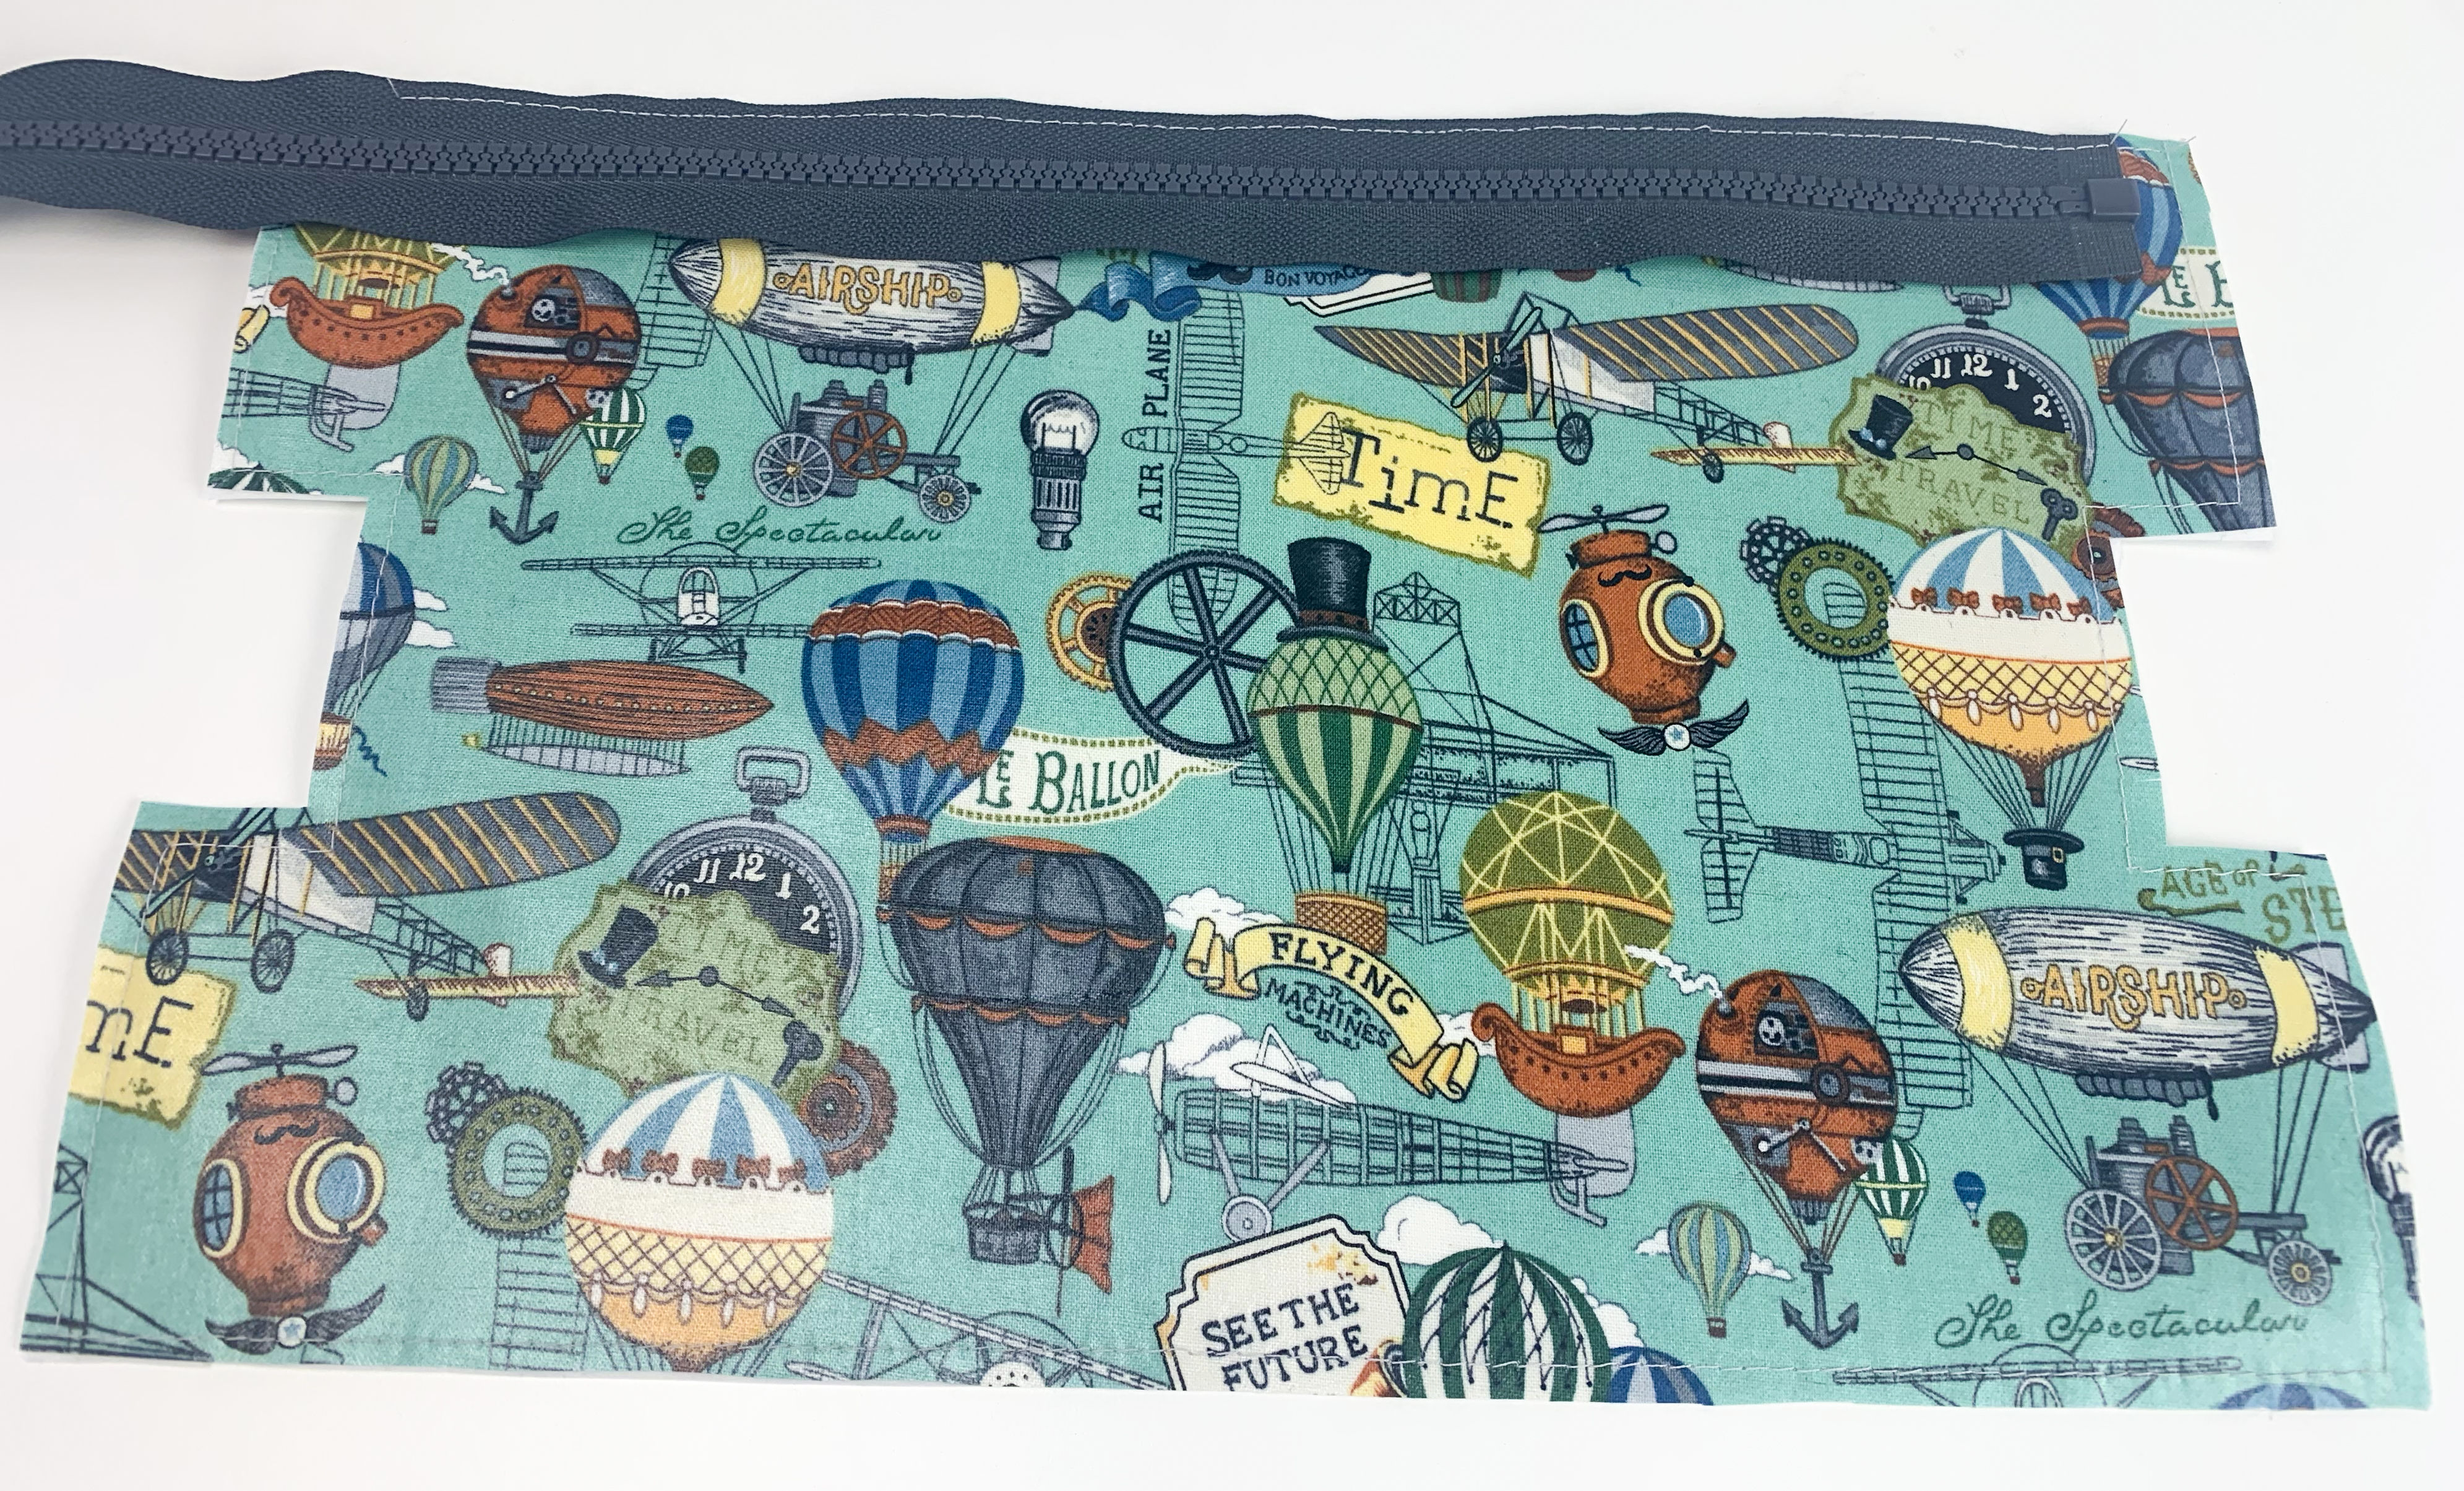
Take the exterior fabric with the vinyl attached and lay the long edge RST with the zipper teeth.

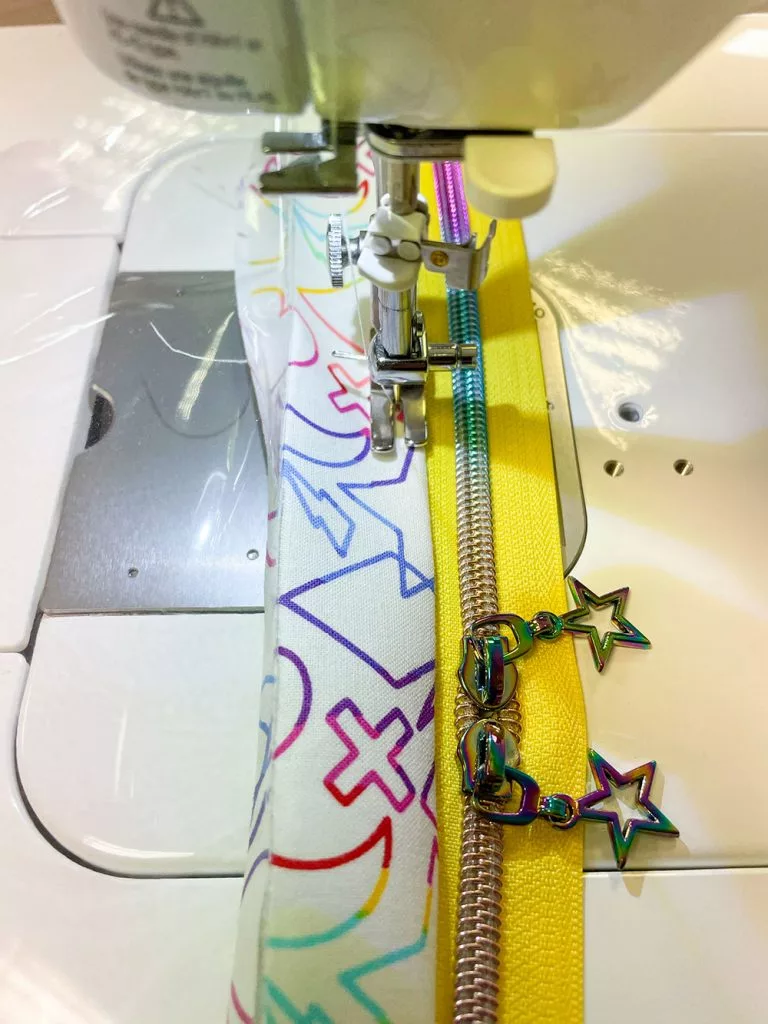
Baste in place using a ⅛” seam. If the zip pull is obstructing your stitch line, lift your machine foot & move the zipper pull(s) out of the way and carry on stitching.

Step 10:

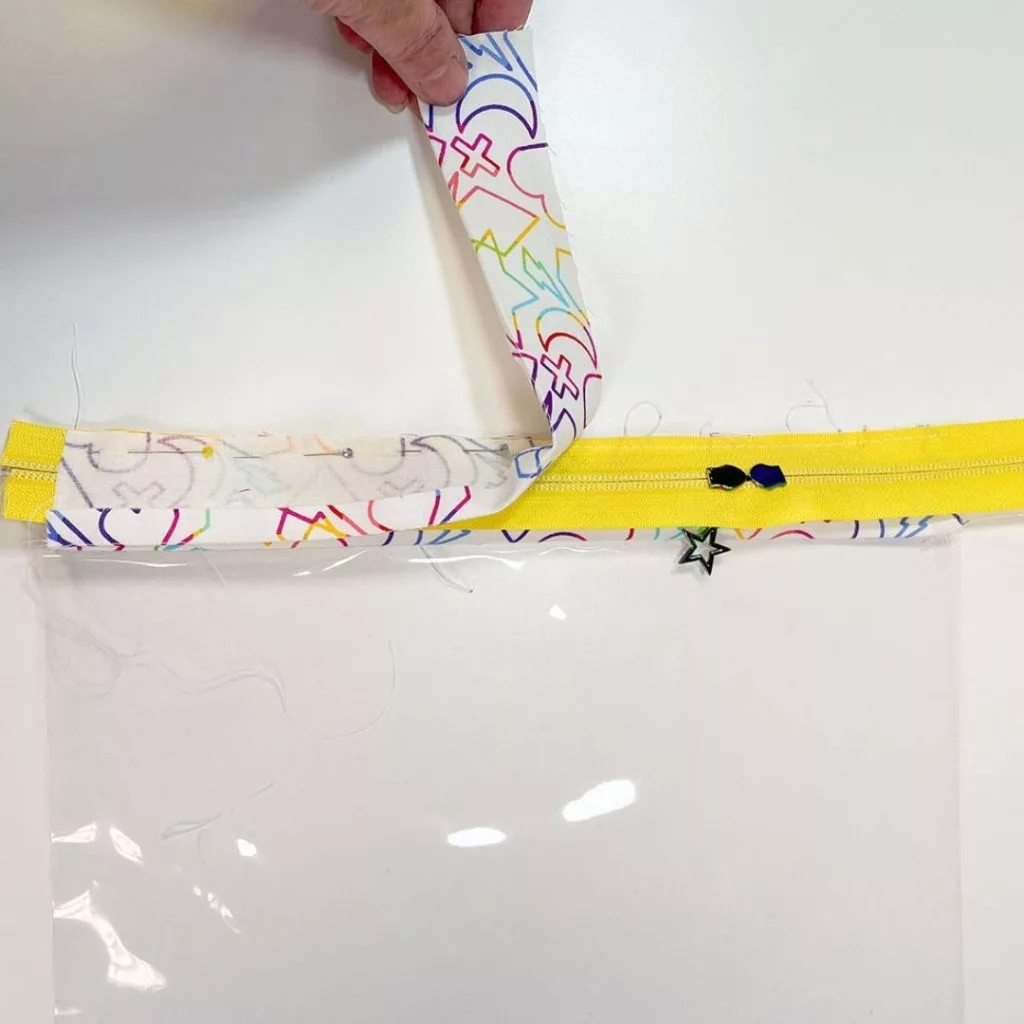
Once basted, align the unfolded long raw edge of lining piece B with the basted zipper tape and vinyl piece. Also ensure the short edges of lining B and exterior B are aligned.

The right side of lining B be touching the wrong wide of the zip. Ensure your pressed folded edge is NOT the one sewn in to the zip – it should still be free.

Your zip should now be sandwiched between the outer and lining fabrics. Pin or clip the layers. Stitch in place using a ¼” seam allowance moving the zip pull(s) out of the way if they are obstructing your stitch line.


Optional: Finger press both the lining and exterior fabrics away from the zip.

Top stitch through all the layers with ¼” seam allowance.

Step 11:

Attach the lining piece B to the vinyl: Using tape here can help when it’s tricky to use pins or clips along the fabric fold.

Fold up the lining piece along the guide stitch and add some double sided tape along the fabric edge.

Score the backing paper with a pin & tear off to stick the lining piece to the vinyl to hold in place. Stick down aligning the folds on both the exterior and lining pieces.

Step 12:

Top stitch through all layers using a 3mm stitch length.

Step 13:

Repeat steps 9, 10 & 12 using pattern piece C (note –  you will not have the vinyl window attached to the exterior piece so omit step 11).

Step 14:

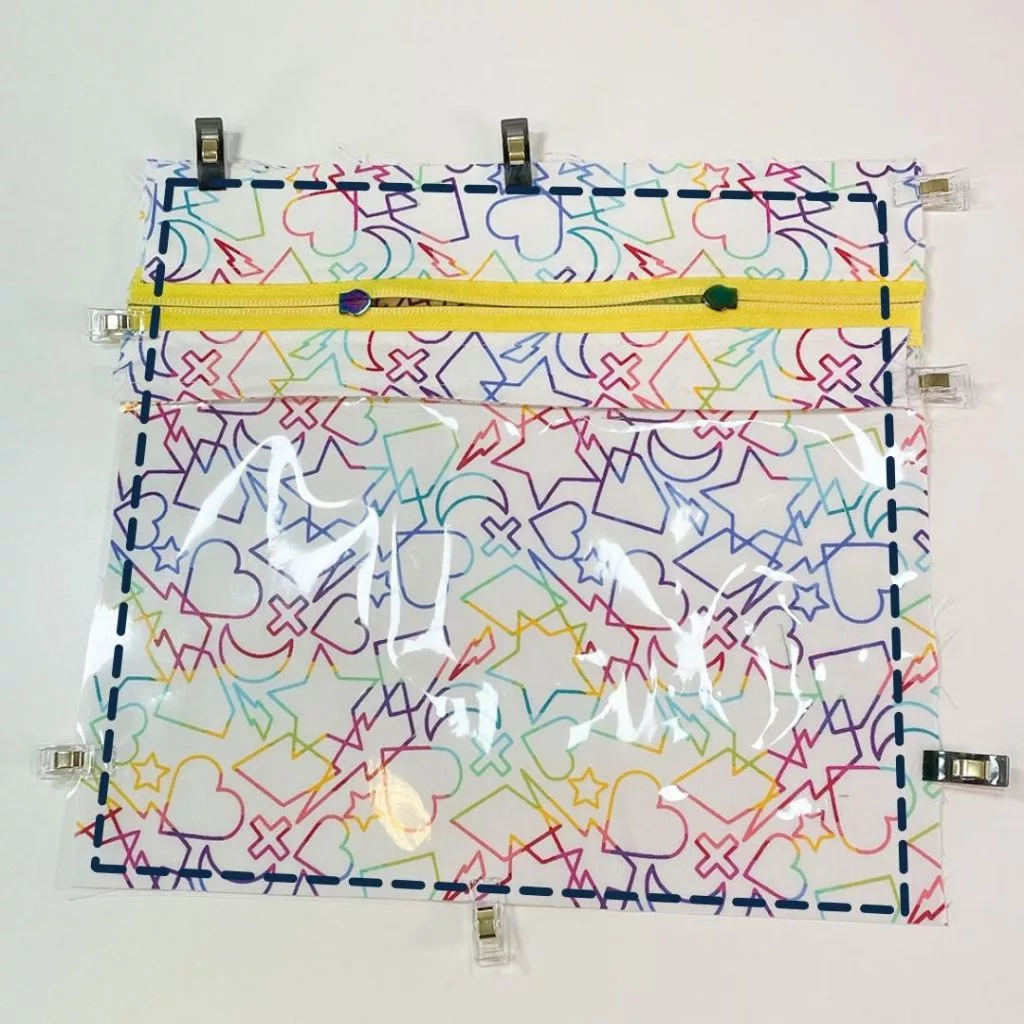
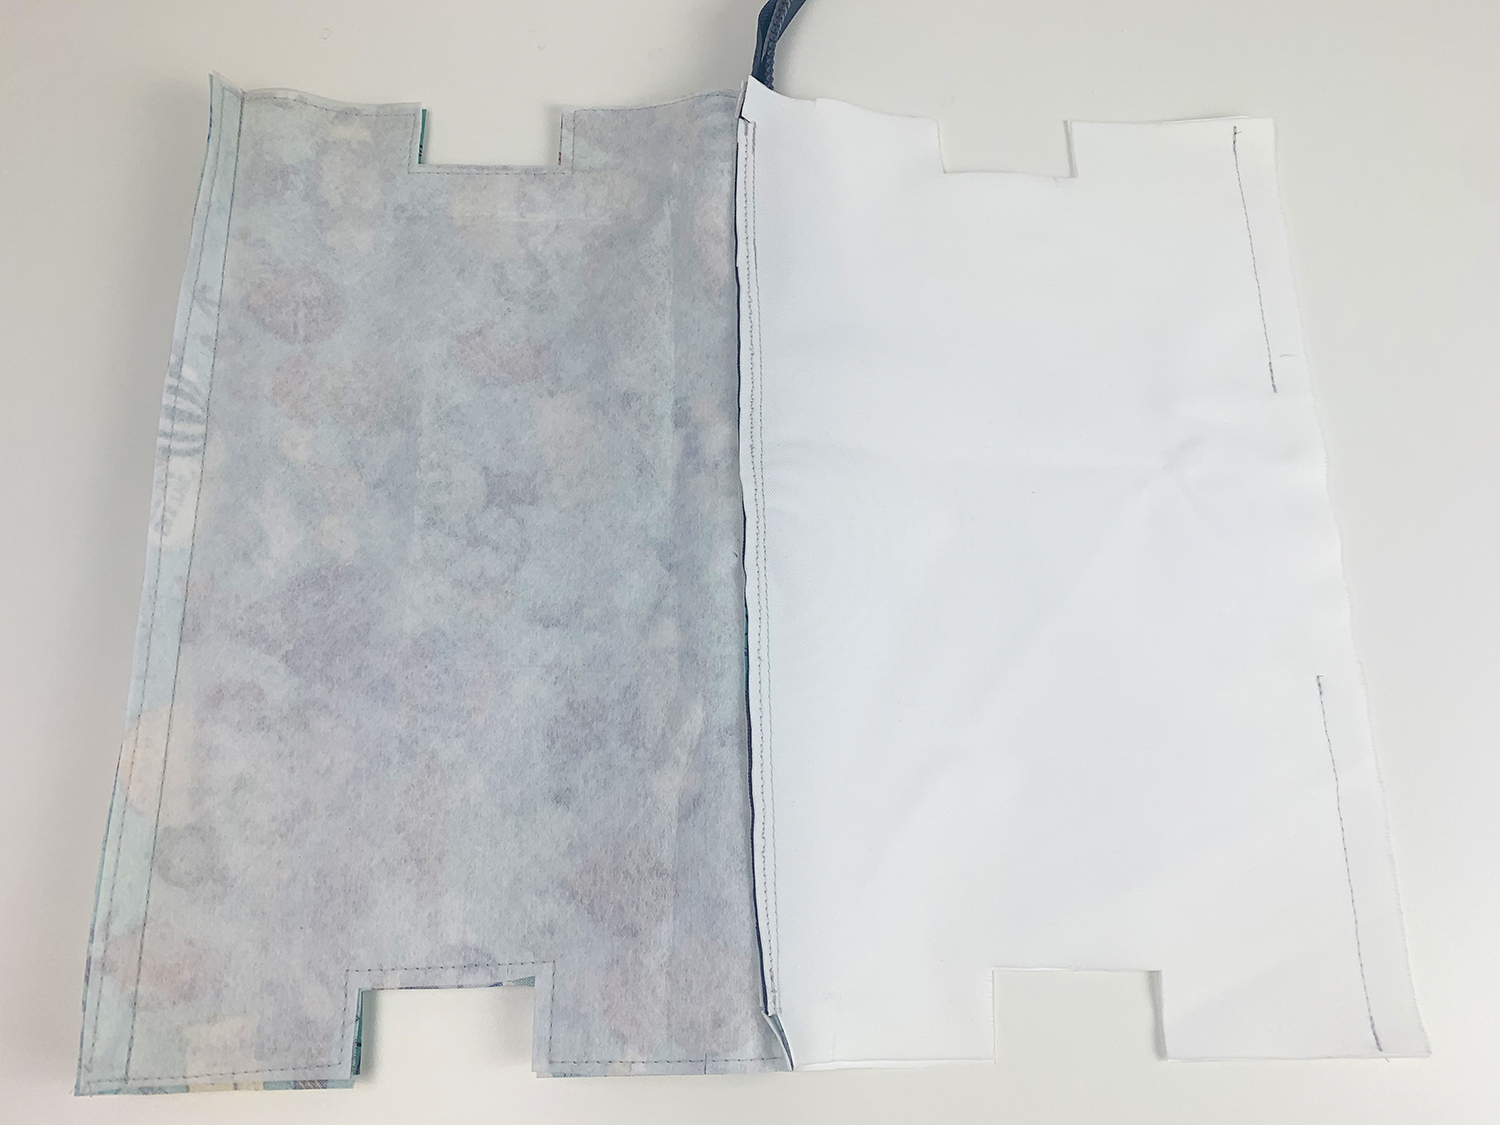
Assemble the pouch: Unzip the zip halfway then sew the vinyl exterior with RST to the exterior back piece A (fused with the interfacing)  

Trim back any excess zip tape to align with the fabric edges.

Stitch  in place all the way around without leaving a turning gap.

Step 15:

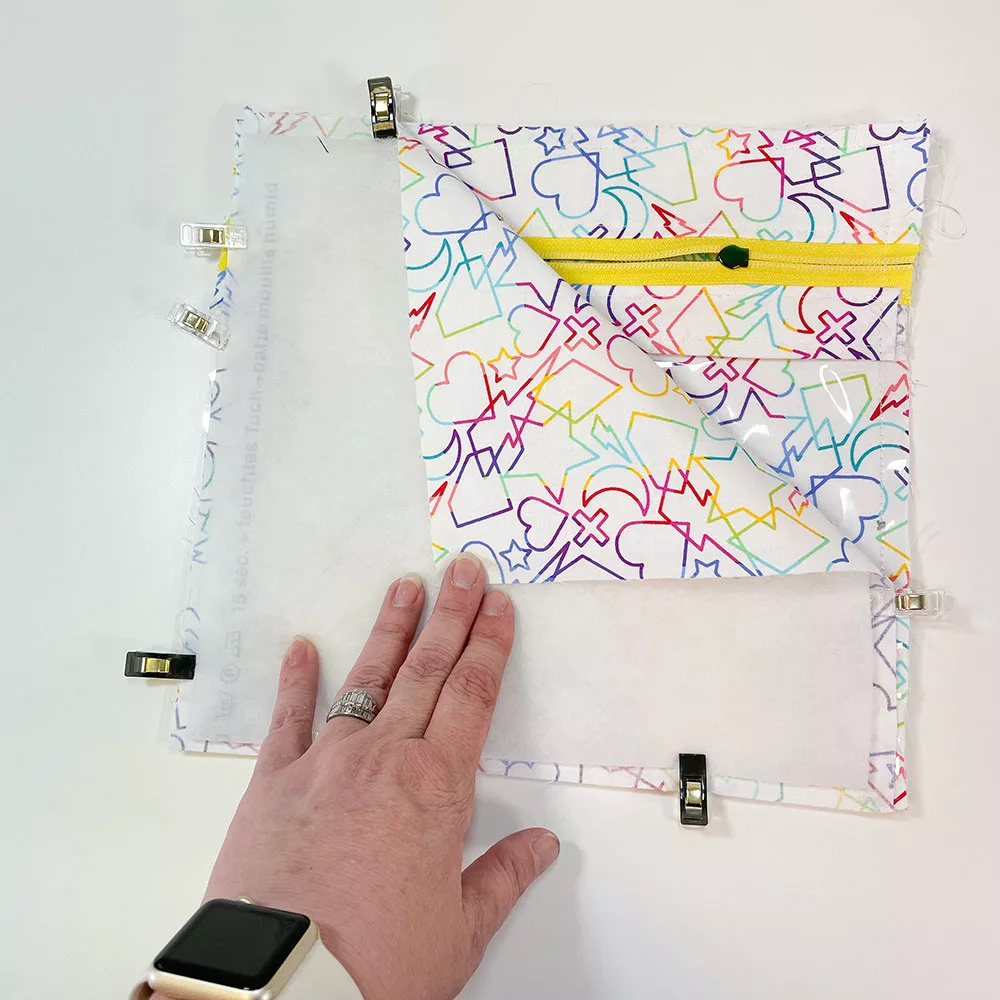
Take the vinyl exterior piece and place face down on the table with the zipper tape wrong side facing up.

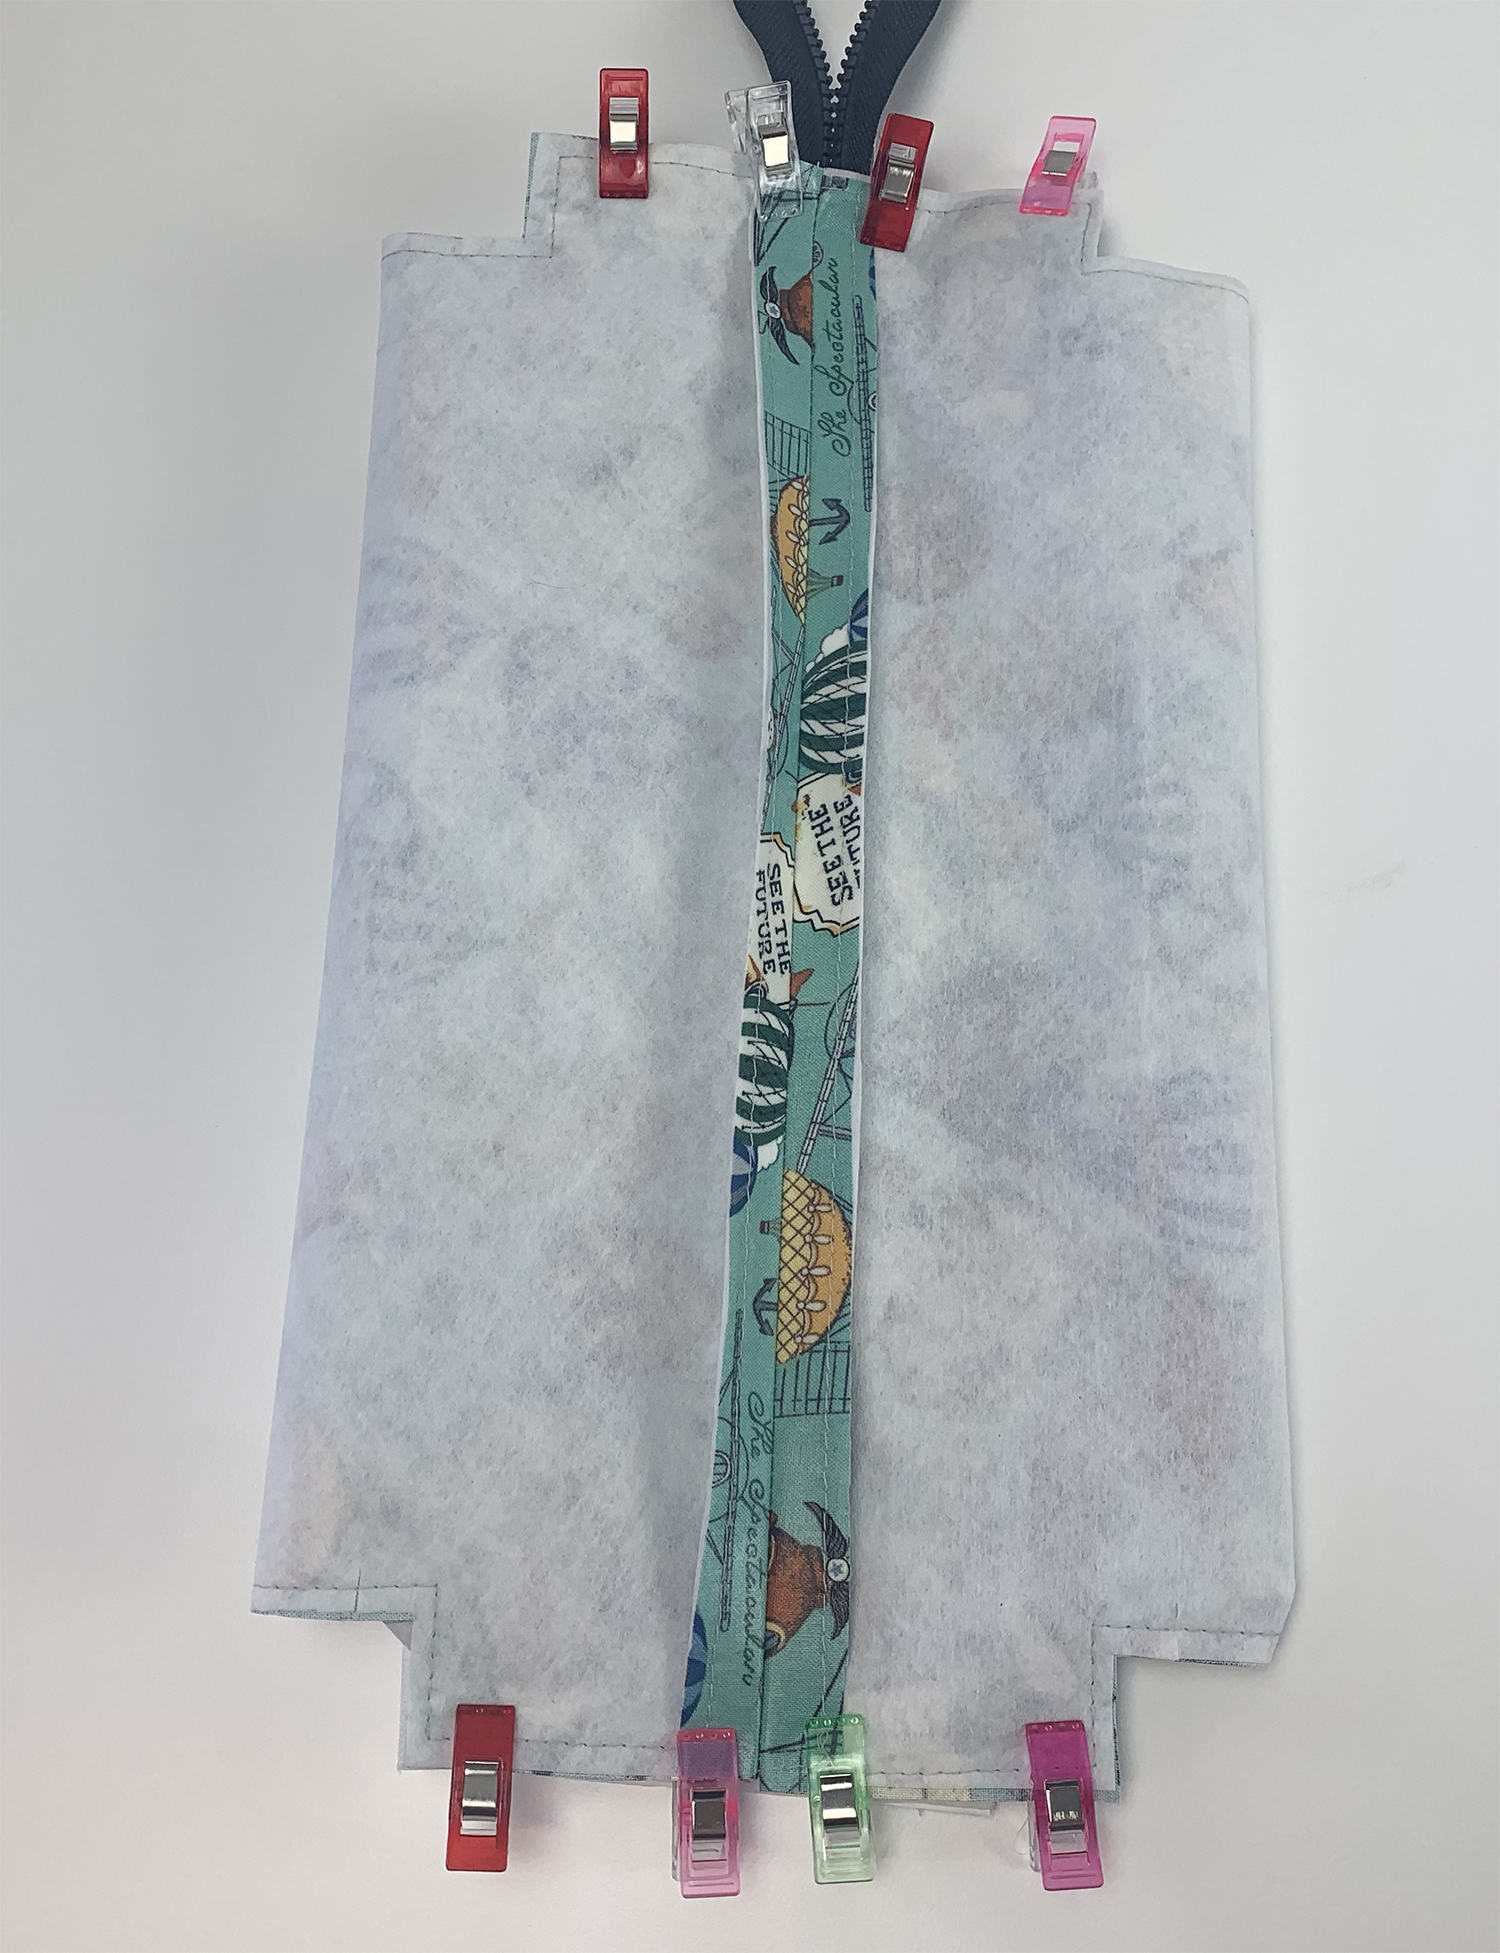
Place the exterior piece A (fused with the fusible fleece) on top placing right side against the wrong side of the zip. Clip the layers in place.

Leave a turning gap of 10-15cm opening in the lining at the bottom of the pouch.

Use tissue paper if the vinyl is sticking.

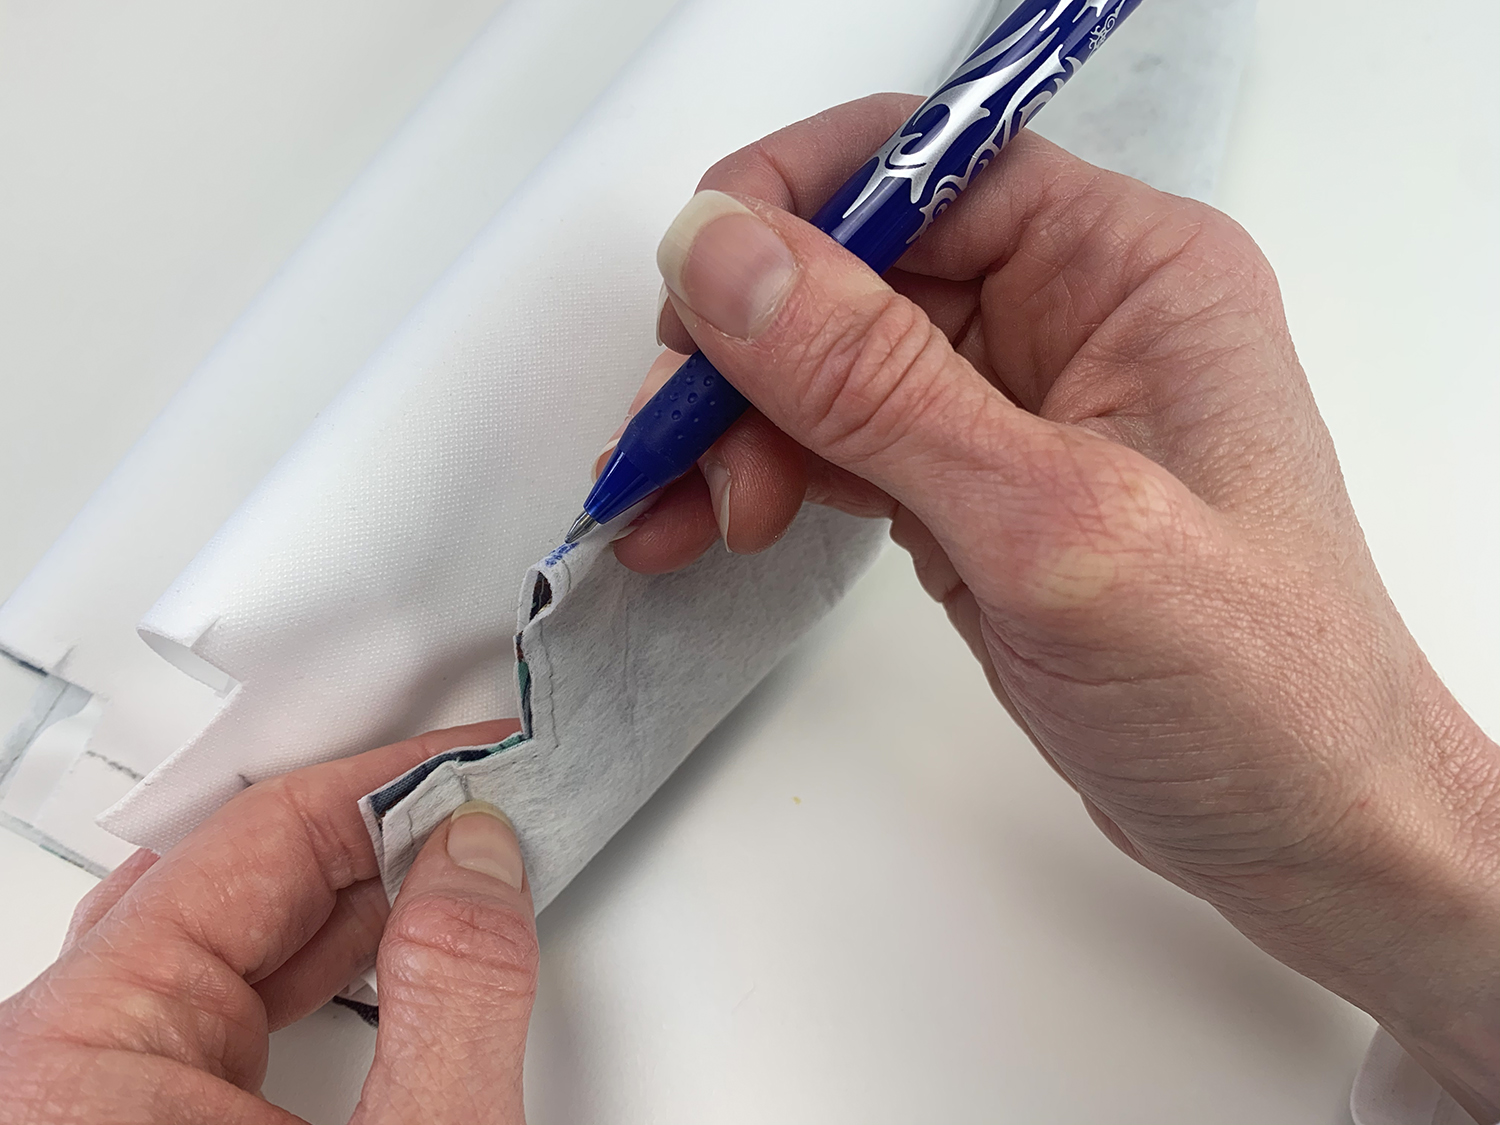
TOP TIP – to make sewing the turning hole neater & easier : Place your needle down in the fabric 1cm from the edge. Pivot the fabrics 90 degrees and sew the the fabric edge and back again. Repeat at the end of your stitch line. This helps to pull the excess fabric through to your turning gap and provide a neater edge.

Trim back your seam allowance to ¼” all the way around clip your corners to reduce bulk.

Step 16:

Turn through the turning hole: Before you turn your bag through, run a hot iron over an ironing board to heat up the board, then place your pouch vinyl side down on the heated ironing board and let the heat penetrate the vinyl.

This will make turning the bag easier.

Make sure you don’t let the iron touch the vinyl otherwise it’ll melt!

Step 17:

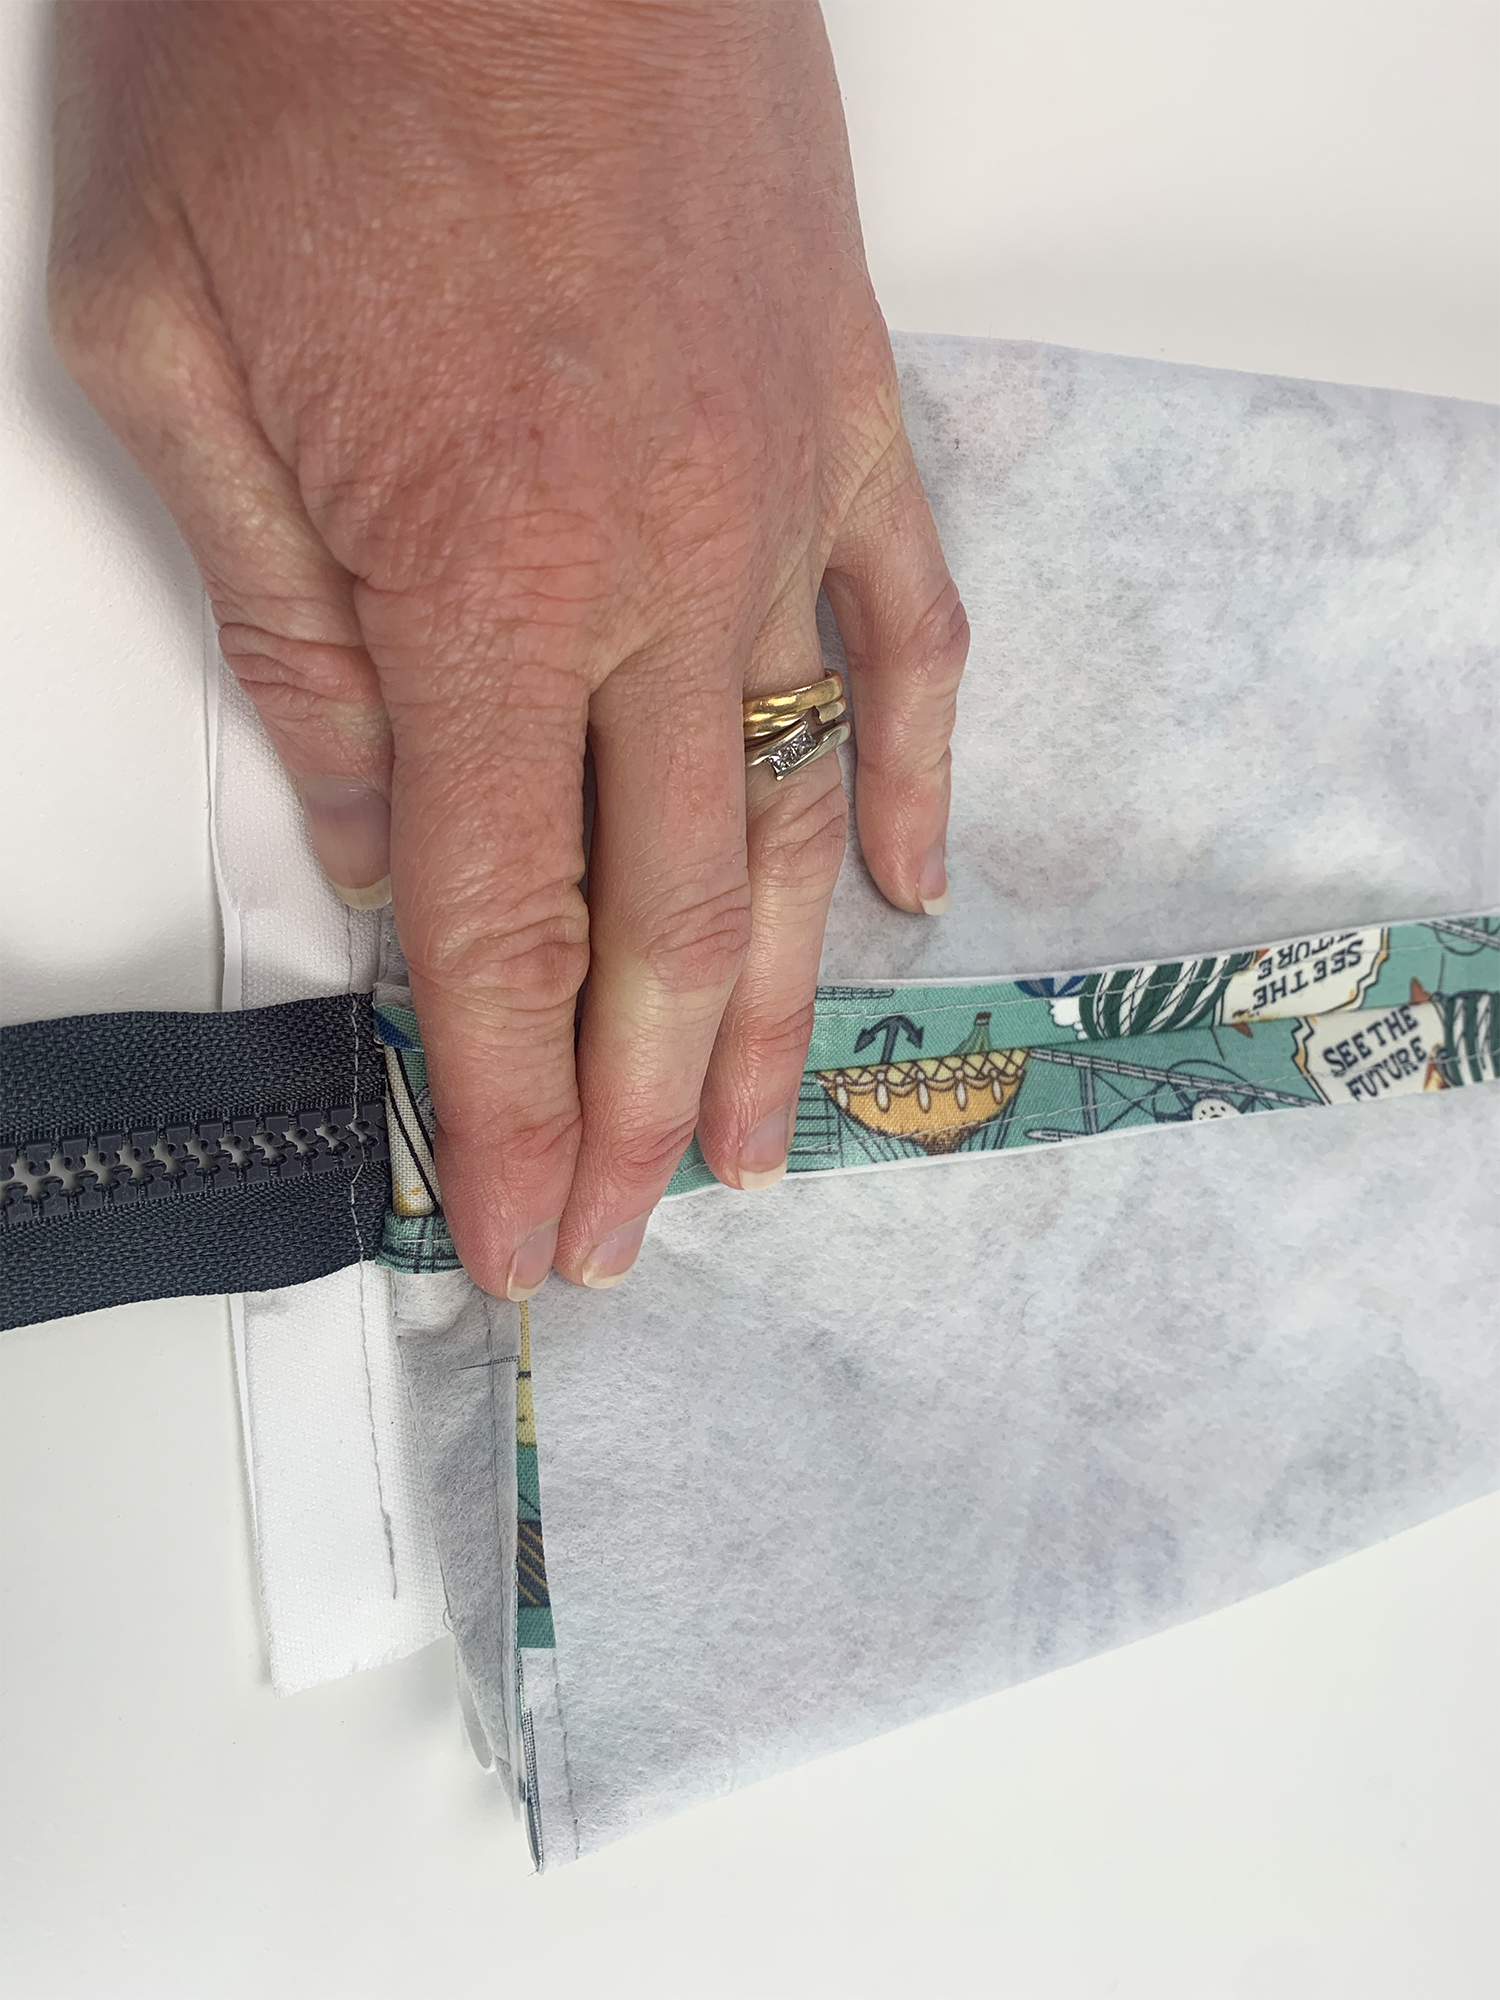
You now have the pouch turned so the right side of the lining is exposed.

Once turned machine sew the length of the bottom seam with a scant ⅛”, starting and stopping 1/4″ from each end. (If you just sew the gap closed then you’ll see a step in your lining through the vinyl window). Use a zipper foot here if this helps you get a narrow seam.

Repeat step 16 before turning completely to the right side to make turning the vinyl easier.

Step 18:

Poke out the corners with a point turner.


And you’re finished, well done!

https://www.instagram.com/plushaddict/

Pin For Later!

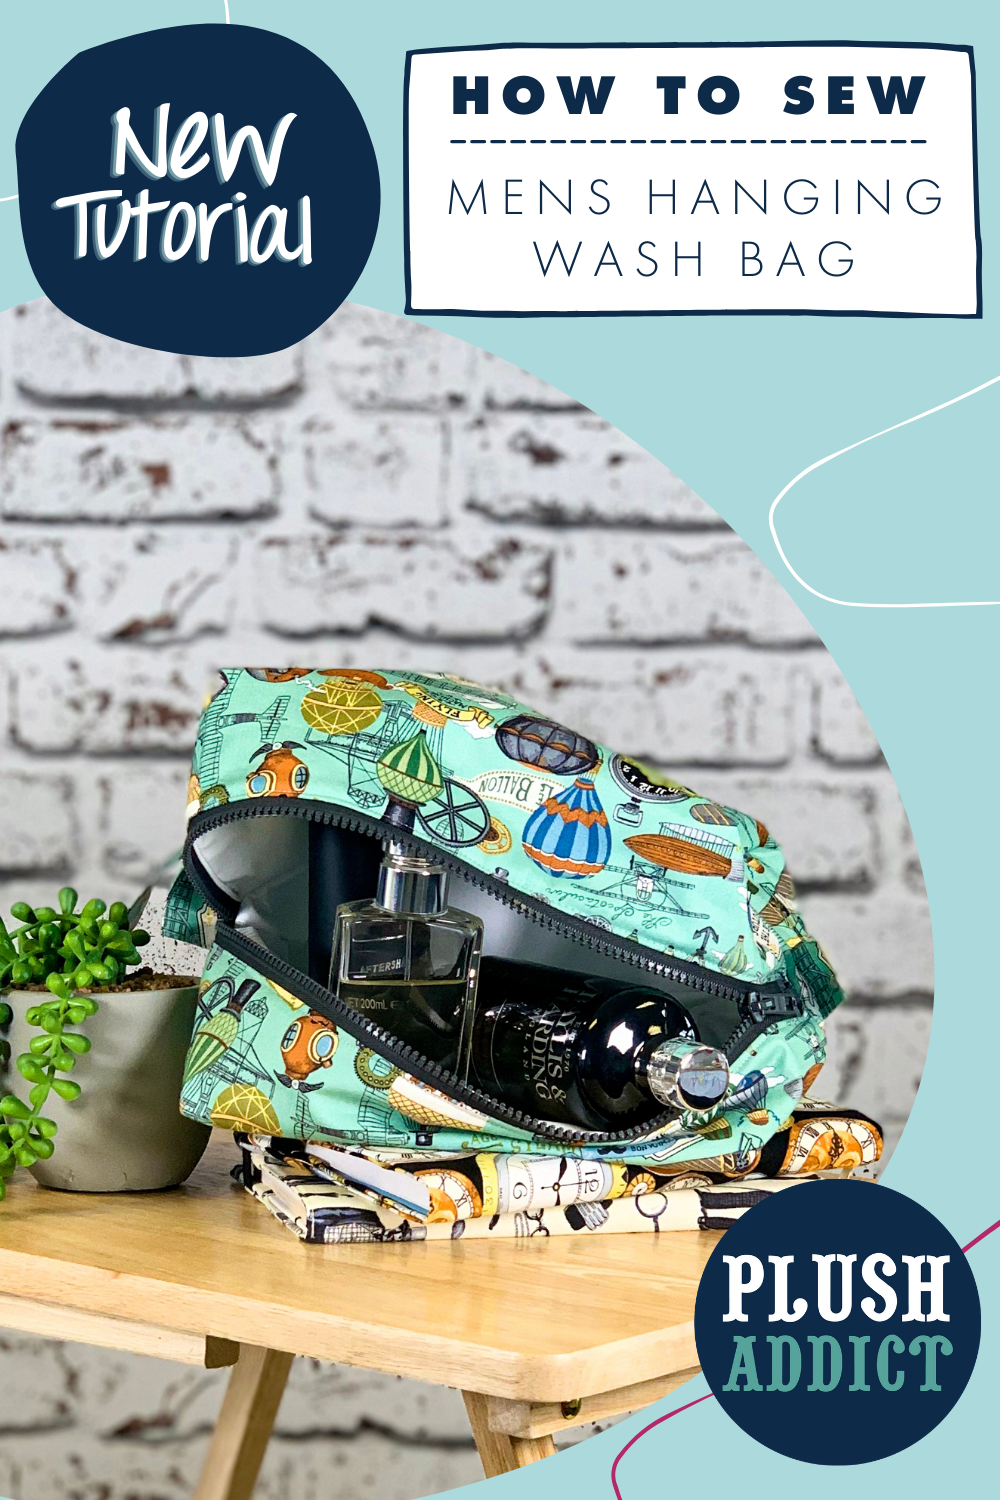
Large Wash Bag Tutorial – FREE Pattern

Large Wash Bag Tutorial – FREE Pattern

Sometimes Dads are the trickiest to buy for aren’t they?

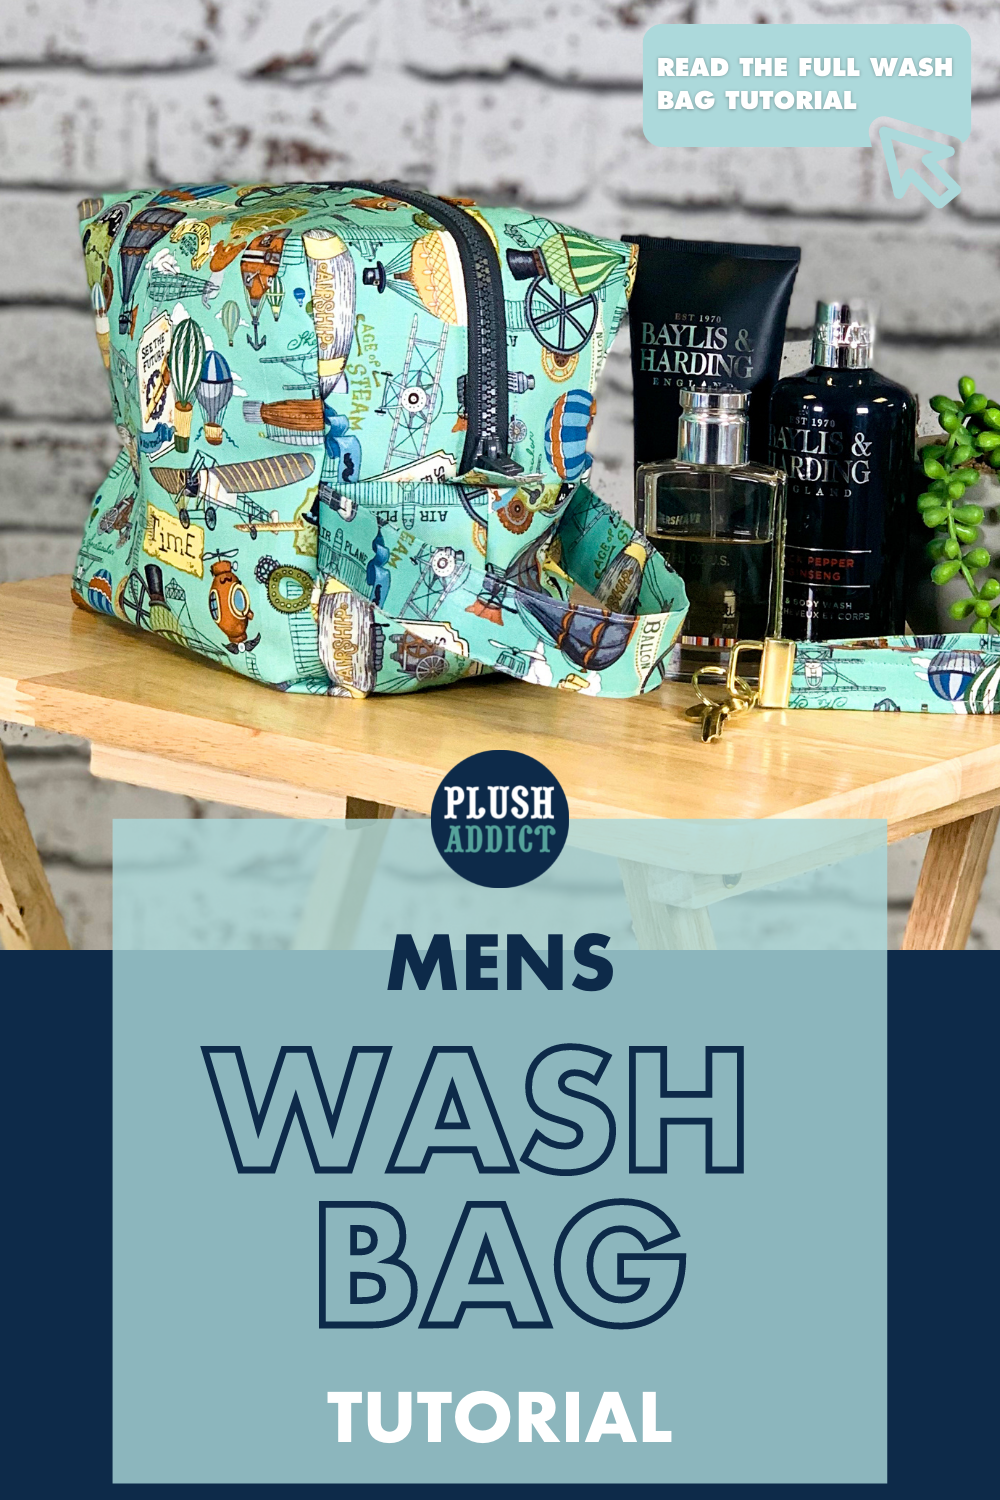
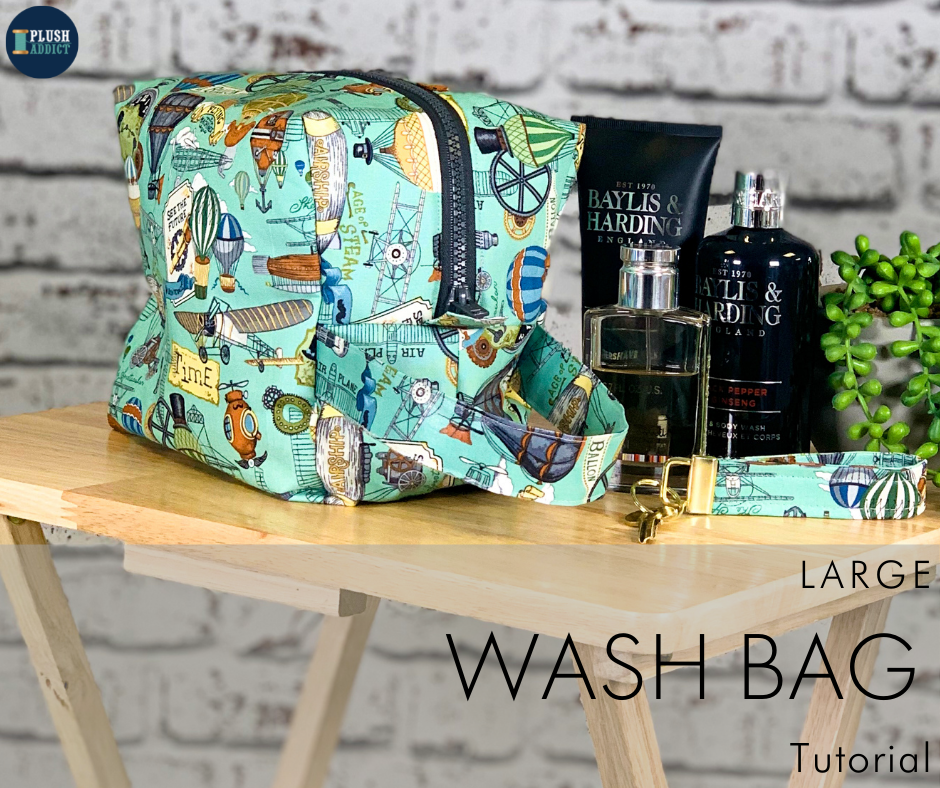
On this occasion we thought about going for something practical with that special touch that comes with being handmade. And as an item we all need from time to time, every use will be a little reminder of how much he means to you.

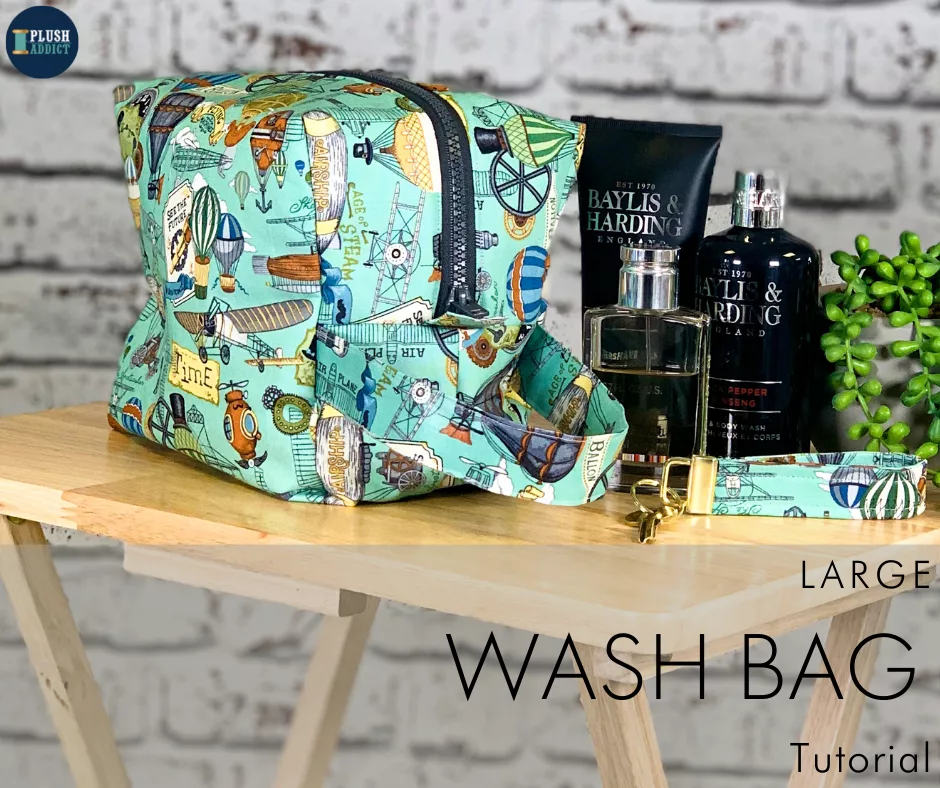
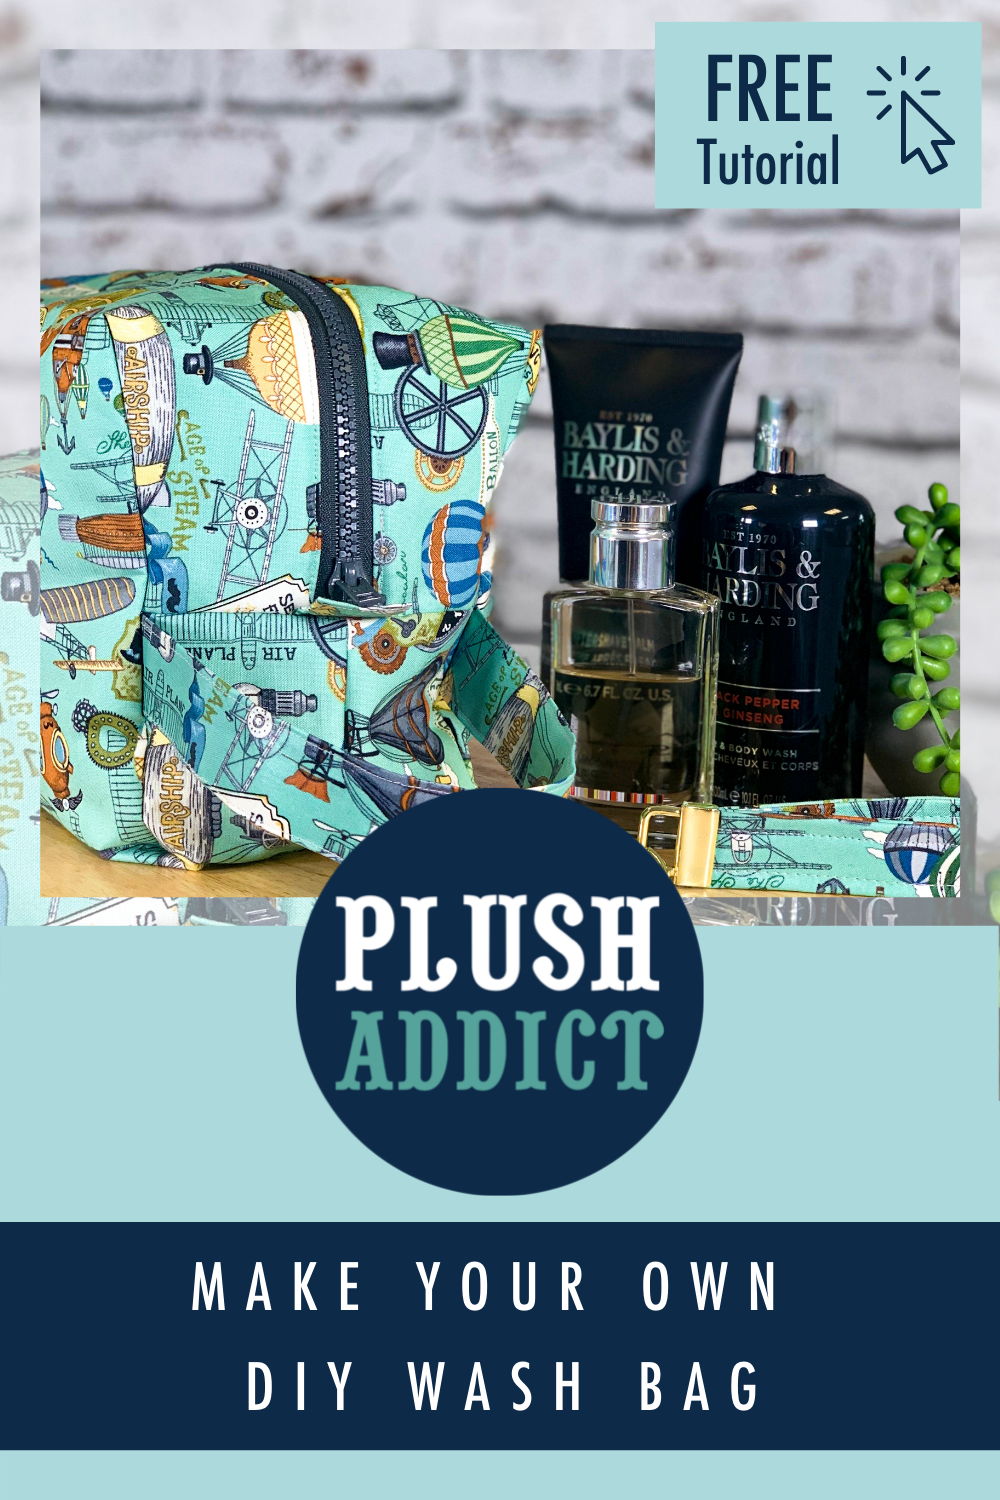
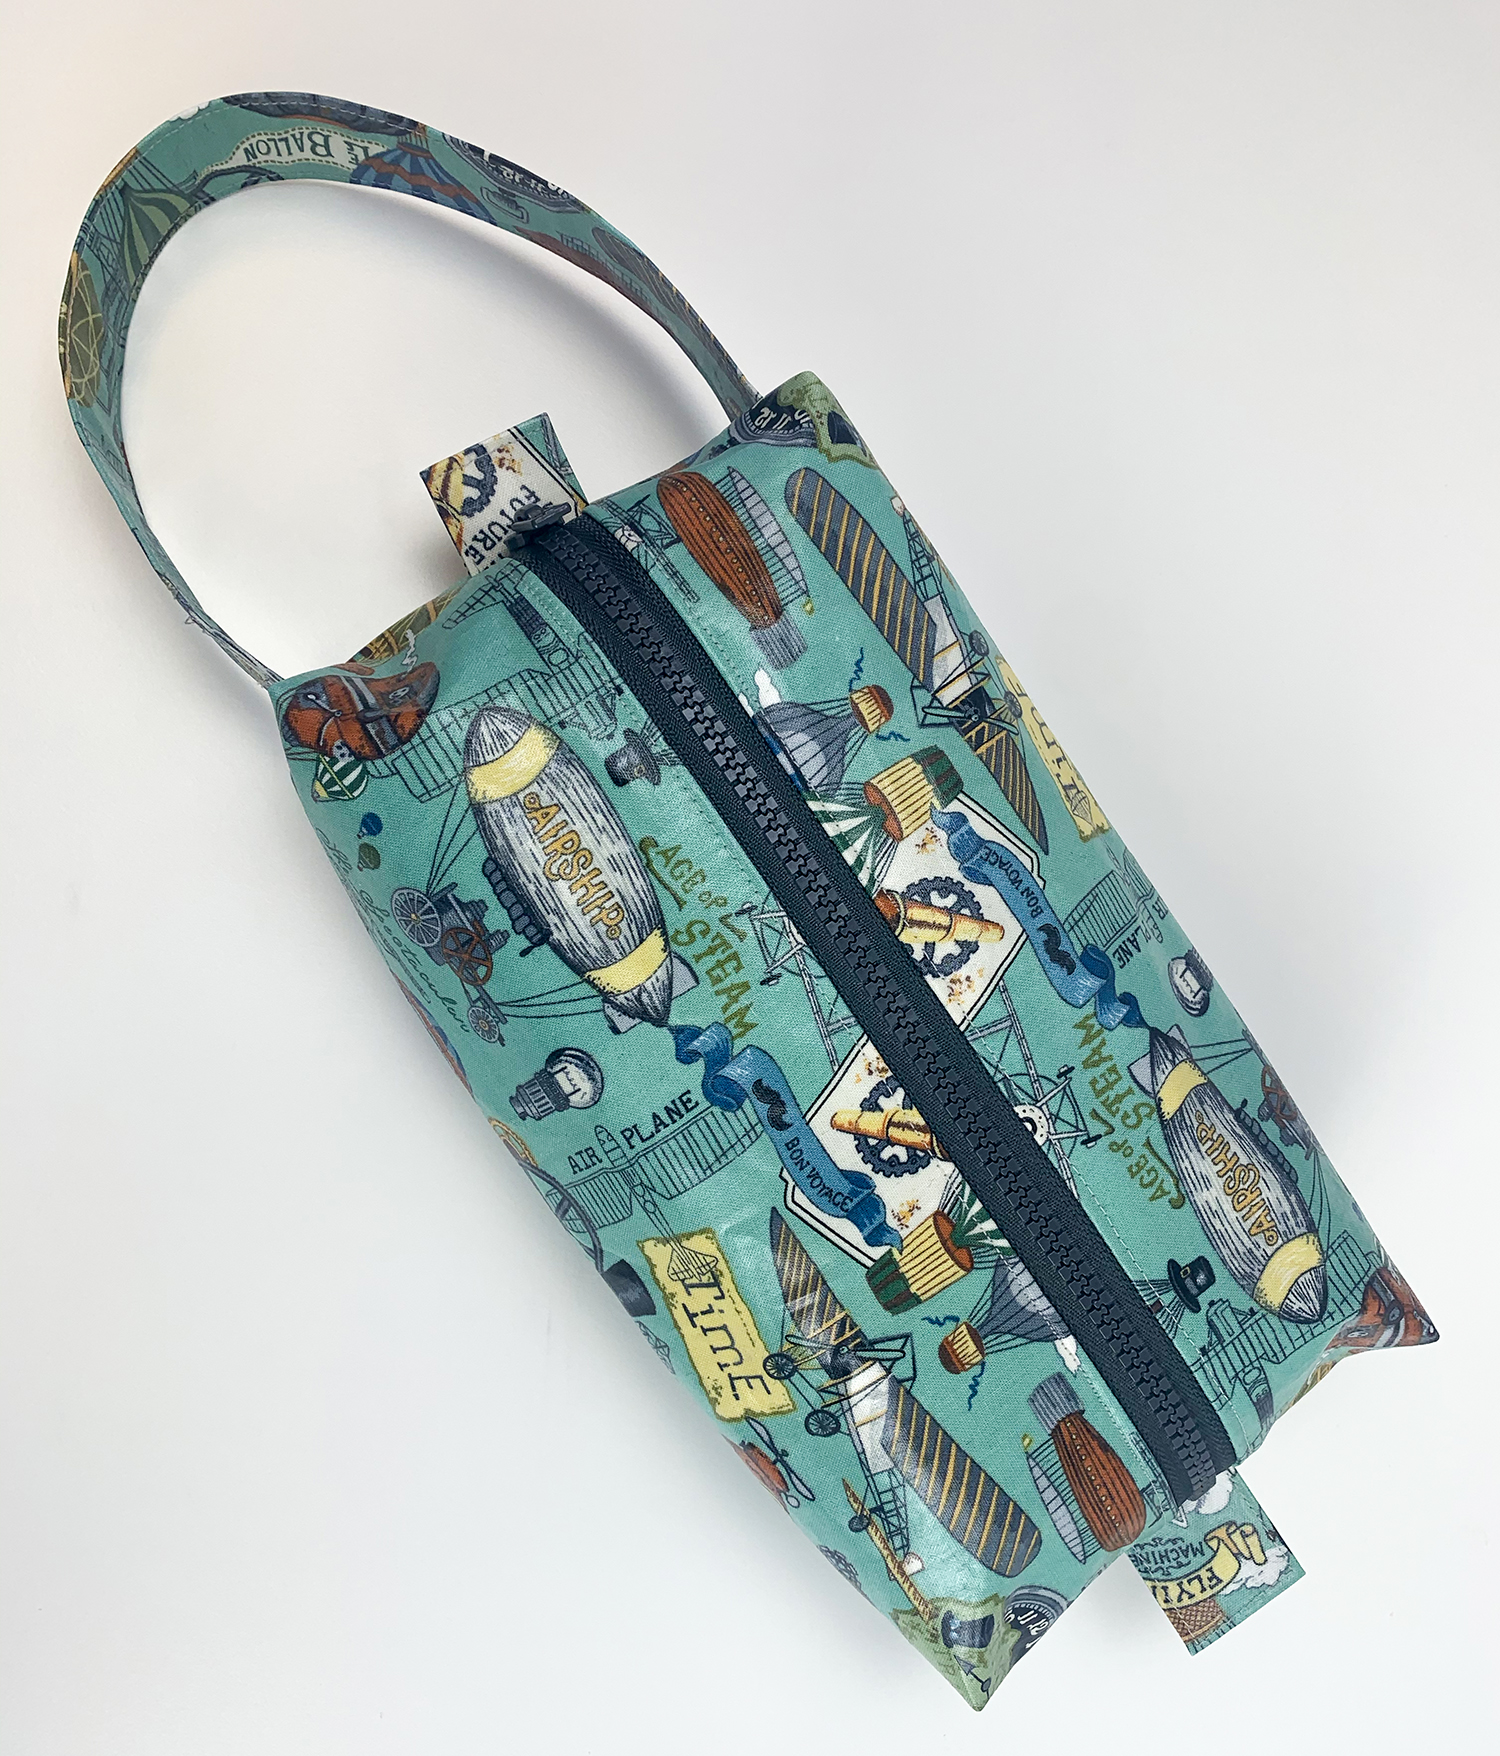
This roomy wash bag is perfect for all dad’s toiletries – it’s big enough for a 2 week holiday! It is 22cm x 17cm x 12cm and lined with waterproof PUL fabric we’ve also given the exterior some Odicoat layers maxing the water repelling properties of this bag. Perfect for splashing around in the shower or by the pool!

A Sewing Project For Adventurous Beginners

You Will Learn:

  • How to apply Odicoat
  • How to sew with PUL
  • How to insert a chunky zip
  • How to sew a boxed corner

You’ll Need:

Want a ready-to-use pattern? We’ve got you covered!

Click the button below to download the wash bag pattern.

Pin For Later!

  • Here is our guide on how to sew PUL fabric
  • Here is our guide on how to apply Odicoat

Important Notes & Disclaimers:

  • 1.5cm seam allowance throughout, unless directed otherwise
  • For steps using machine sewing, straight stitch, backstitching at the start & end using stitch length 2.5 unless otherwise stated
  • Prepare your fabrics as per manufacturer’s care advice

Step 1 – Apply The Odicoat

Before cutting, in case of shrinkage, apply the Odicoat to the right side of the outer fabric: Place your fabric right side up on a covered surface (greaseproof paper or plastic sheeting are ideal).


Step 2

Print the pattern and cut it out.

IMPORTANT: Use the 1” test square to check the sizing. If the sizing is incorrect check print settings. Depending on the device used, select ‘actual size’ or deselect the ‘fit to page’ option.

The main pattern piece prints over 4 pages. Match the coloured circles up with their counterpart and sellotape together. Here’s a video explaining it should you not be familiar with putting together PDF patterns

Step 3 Cut your fabrics

Using the pattern pieces cut out the following transfering notches onto all pieces:

  • 2 x Outer fabric
  • 2 x Lining fabric
  • 2 x interfacing

Also:

  • 1 Strap from outer fabric
  • 2 Tabs from outer fabric

Step 4

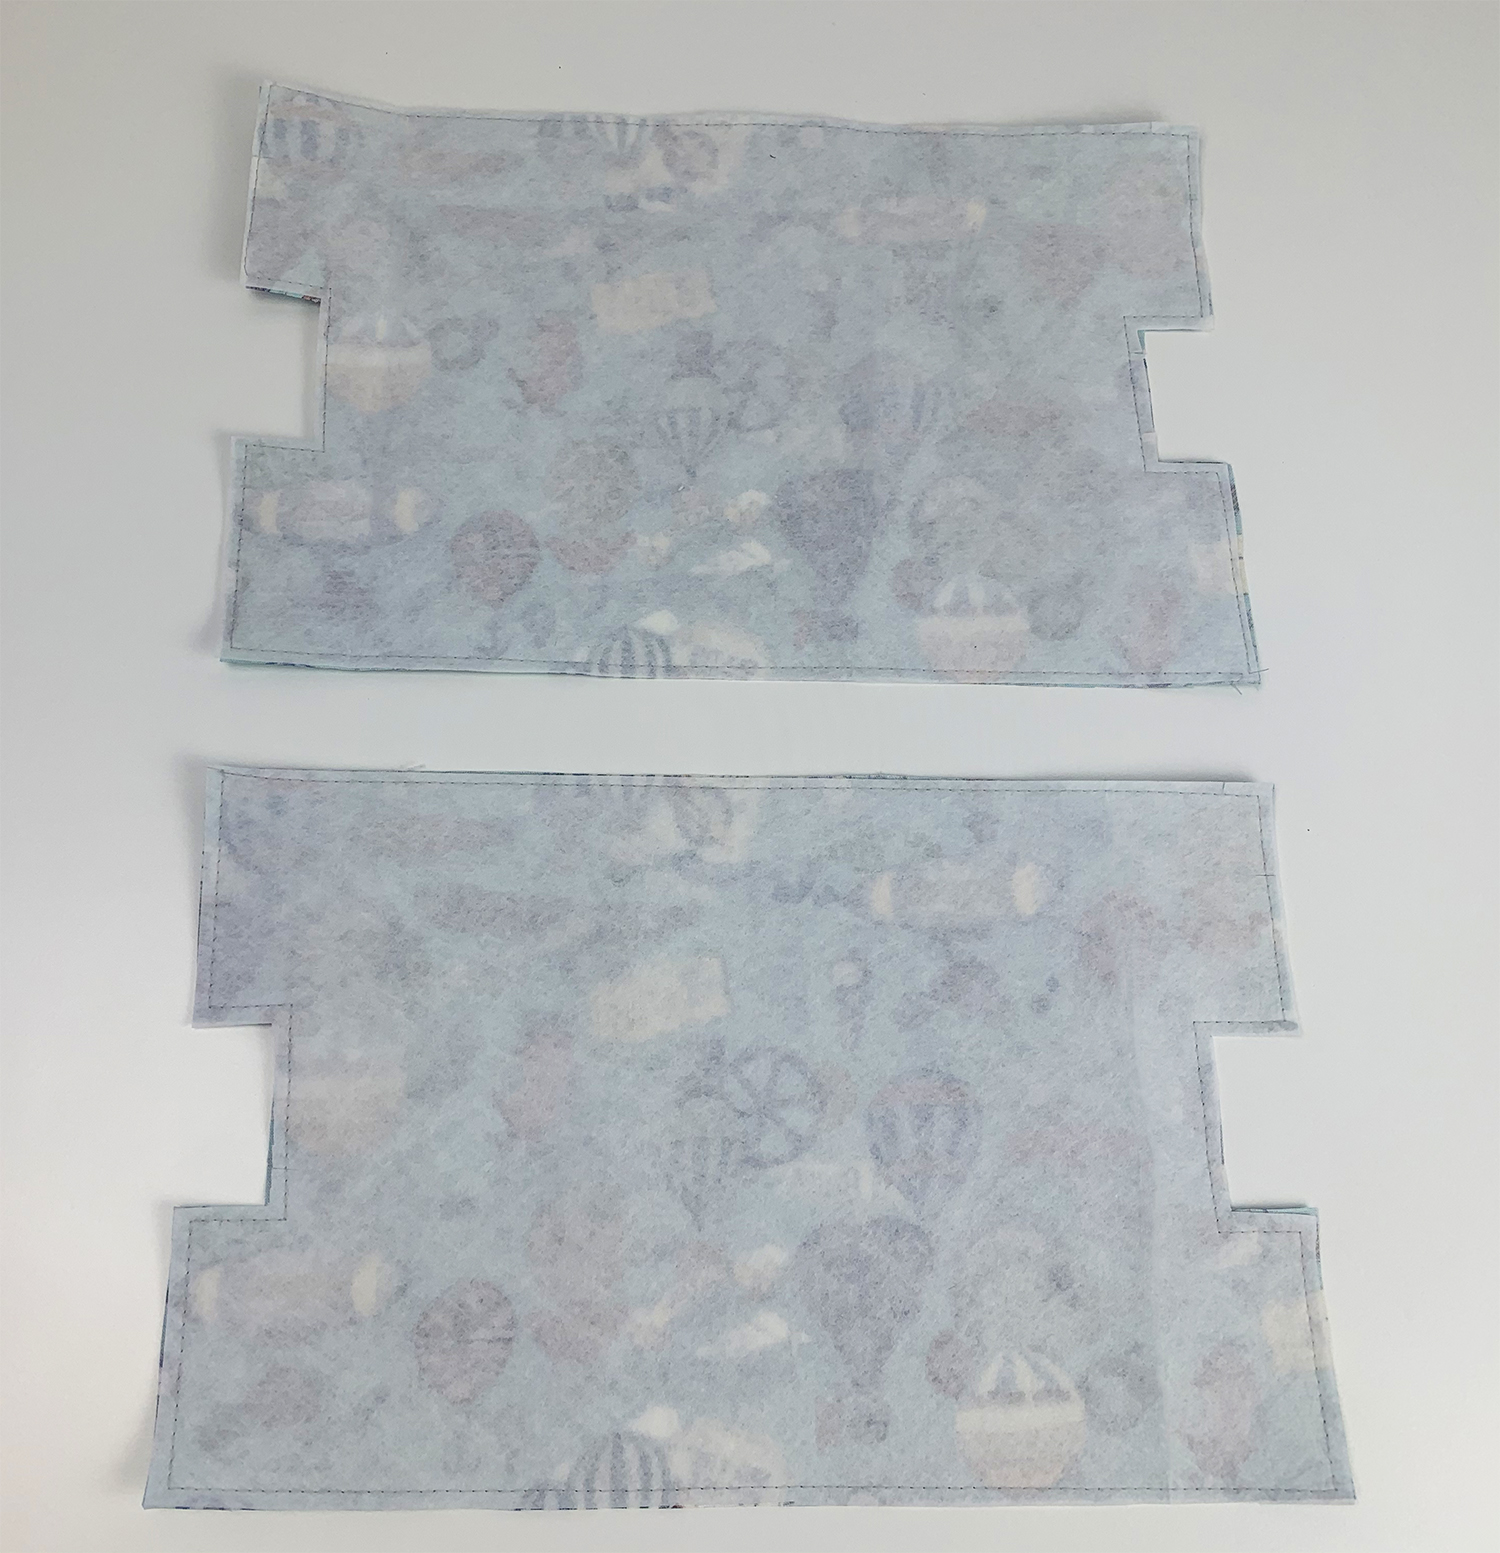
Clip the sew in interfacing onto the wrong side of each outer piece.

Step 5

Baste the interfacing to the wrong side of the fabric all the way round with a 5mm seam allowance.
Sew The Strap

Step 6

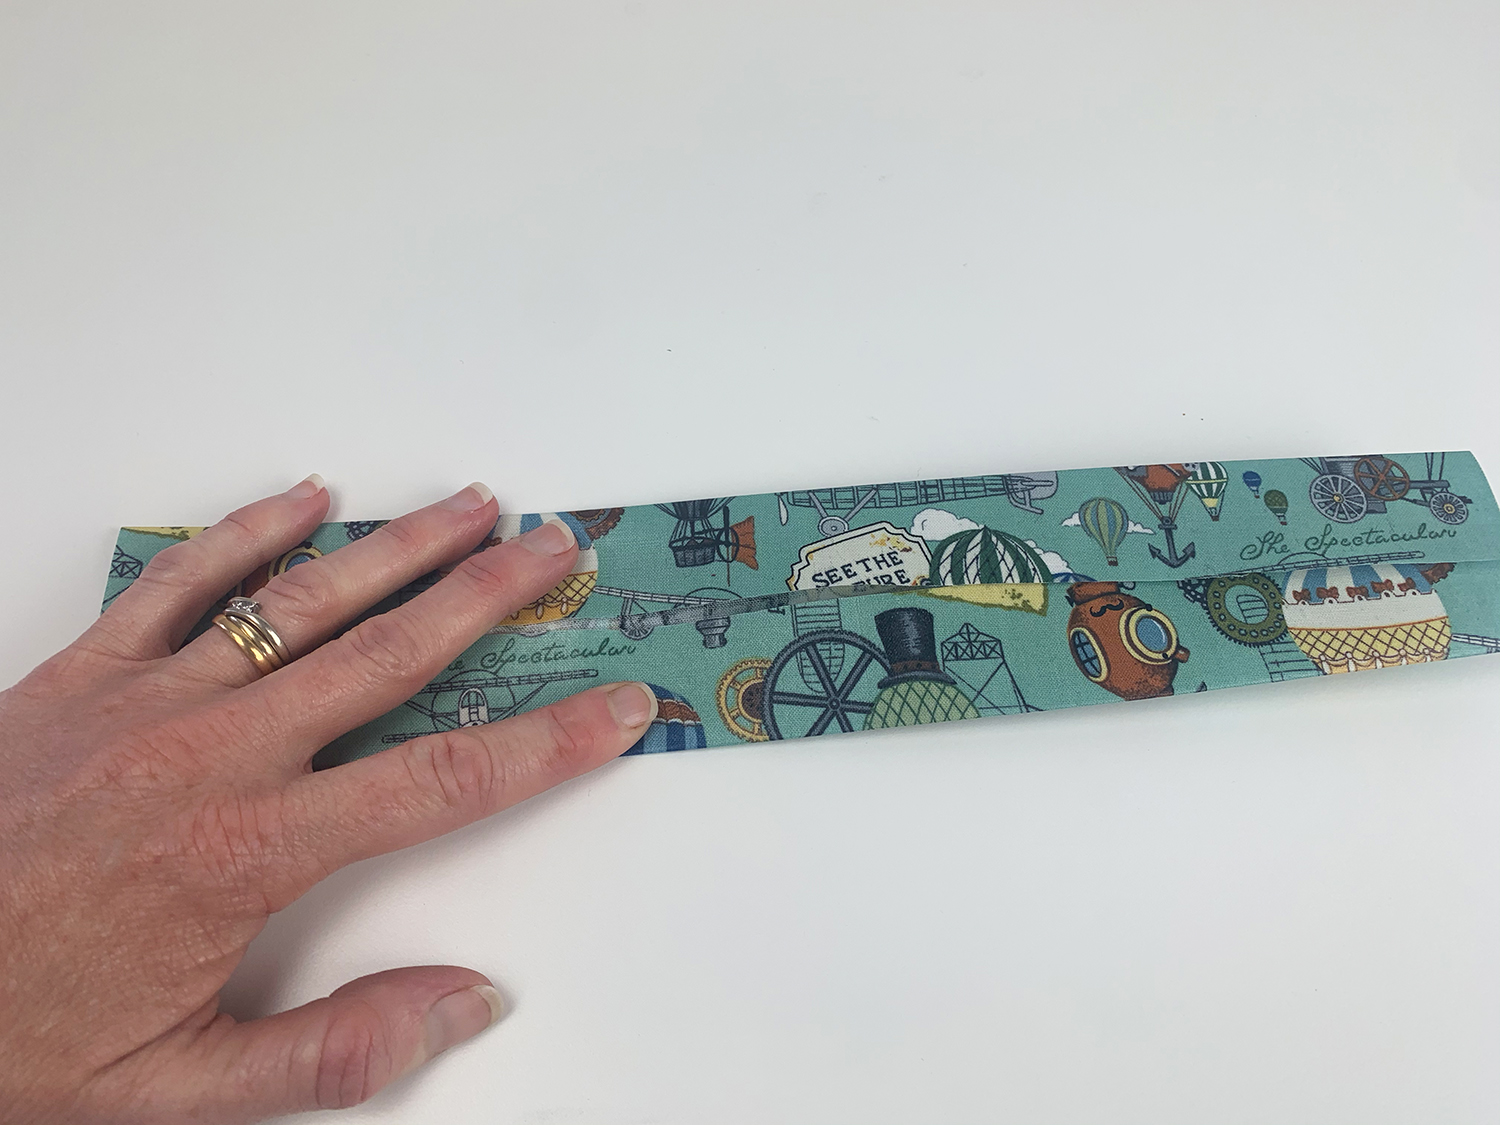
Fold the strap piece in half lengthways and press.

Step 7

Fold the raw edges to the crease and press again.

Step 8

Topstitch along the 2 long edges, 2mm from the edge.

Sew The Tabs

Step 9

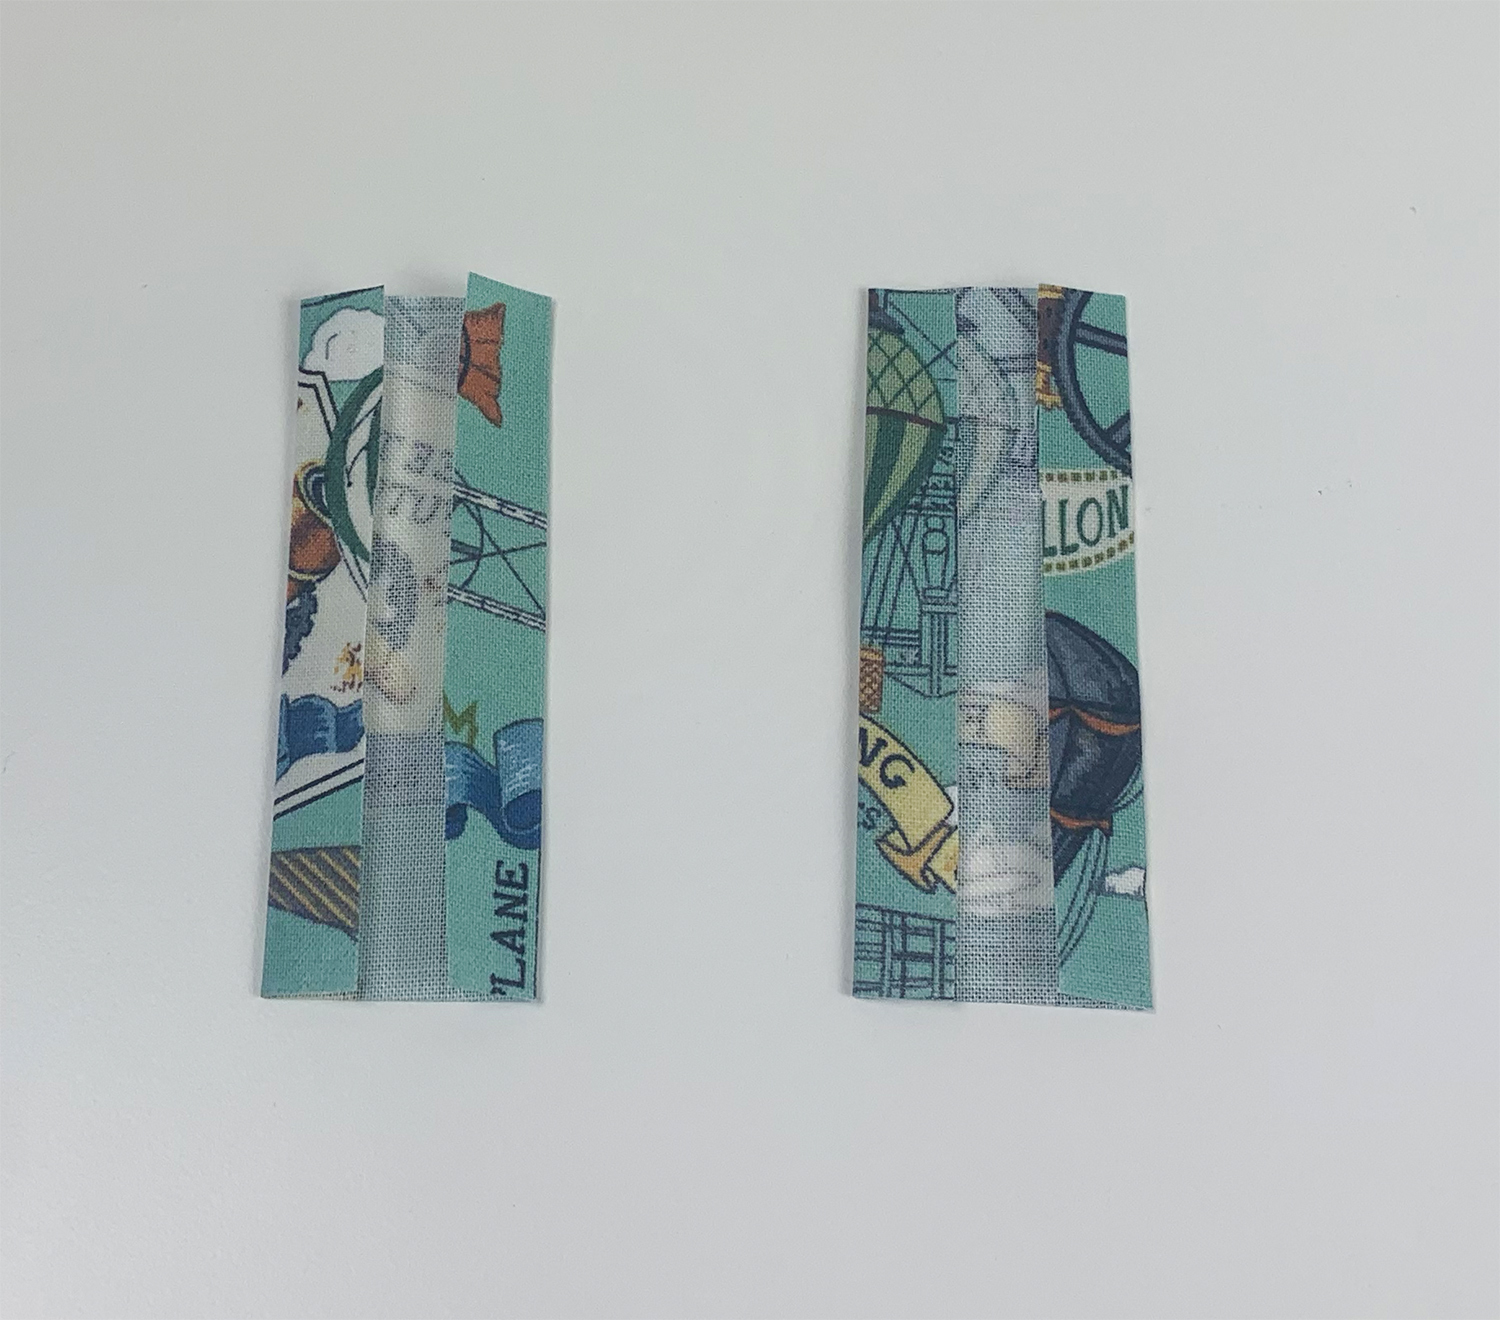
Fold in 1cm along the long edges and press.

Step 10

Fold the tab in half so the short edges are aligned, raw edges inside and press.

Step 11

Topstitch around 3 sides 2mm from the edge, leaving the bottom edge open.

How To Sew A Chunky Zip

Step 12

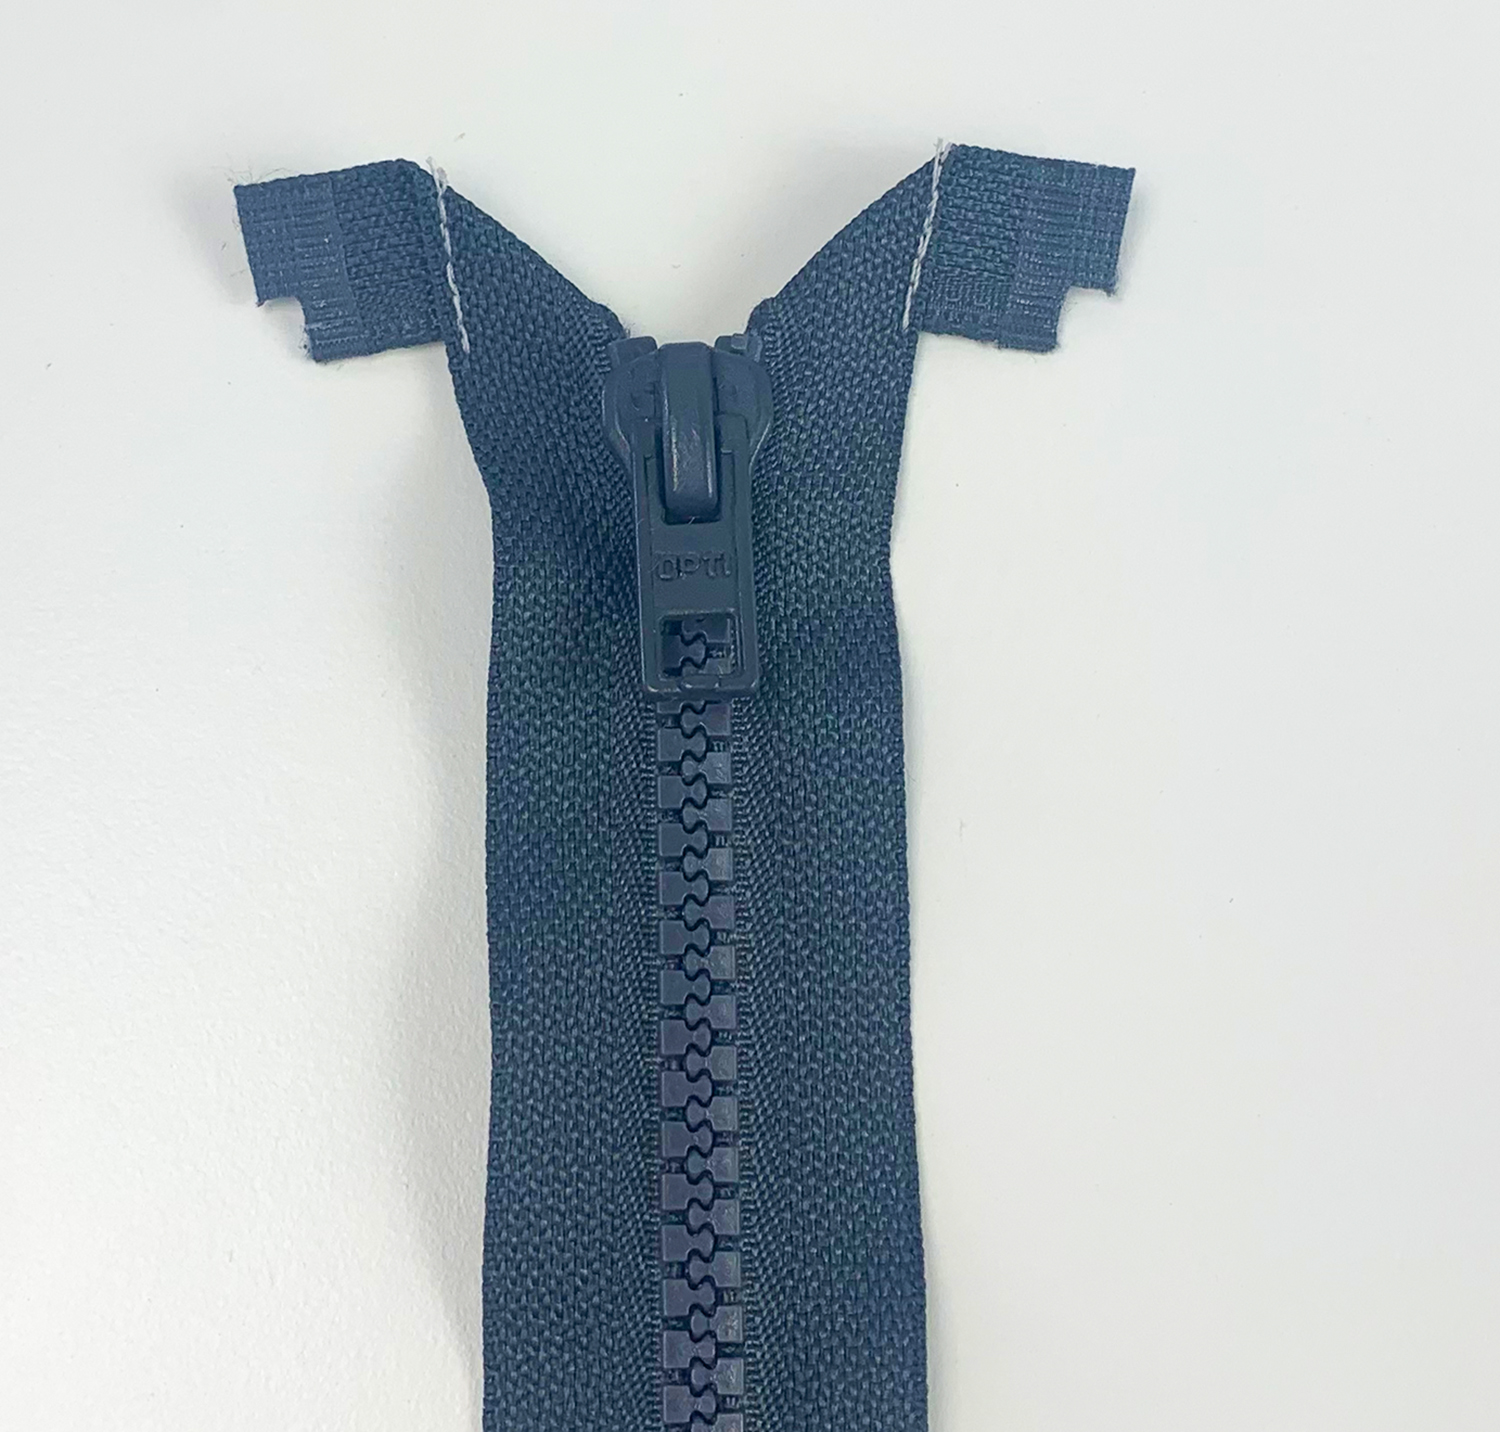
Check the zip works. Fold the top 2 tape ends at 45 degree angles.

Sew a few stitches along the outer edge of the zip tape to hold them in place.

Step 13

With one outer piece right side up, align the zip with the top edge, right side down.

The zip bar positioned by the notch. Clip the zip in place.

Step 14

Baste close to the outer edge of the zipper tape, between the notches.

Step 15

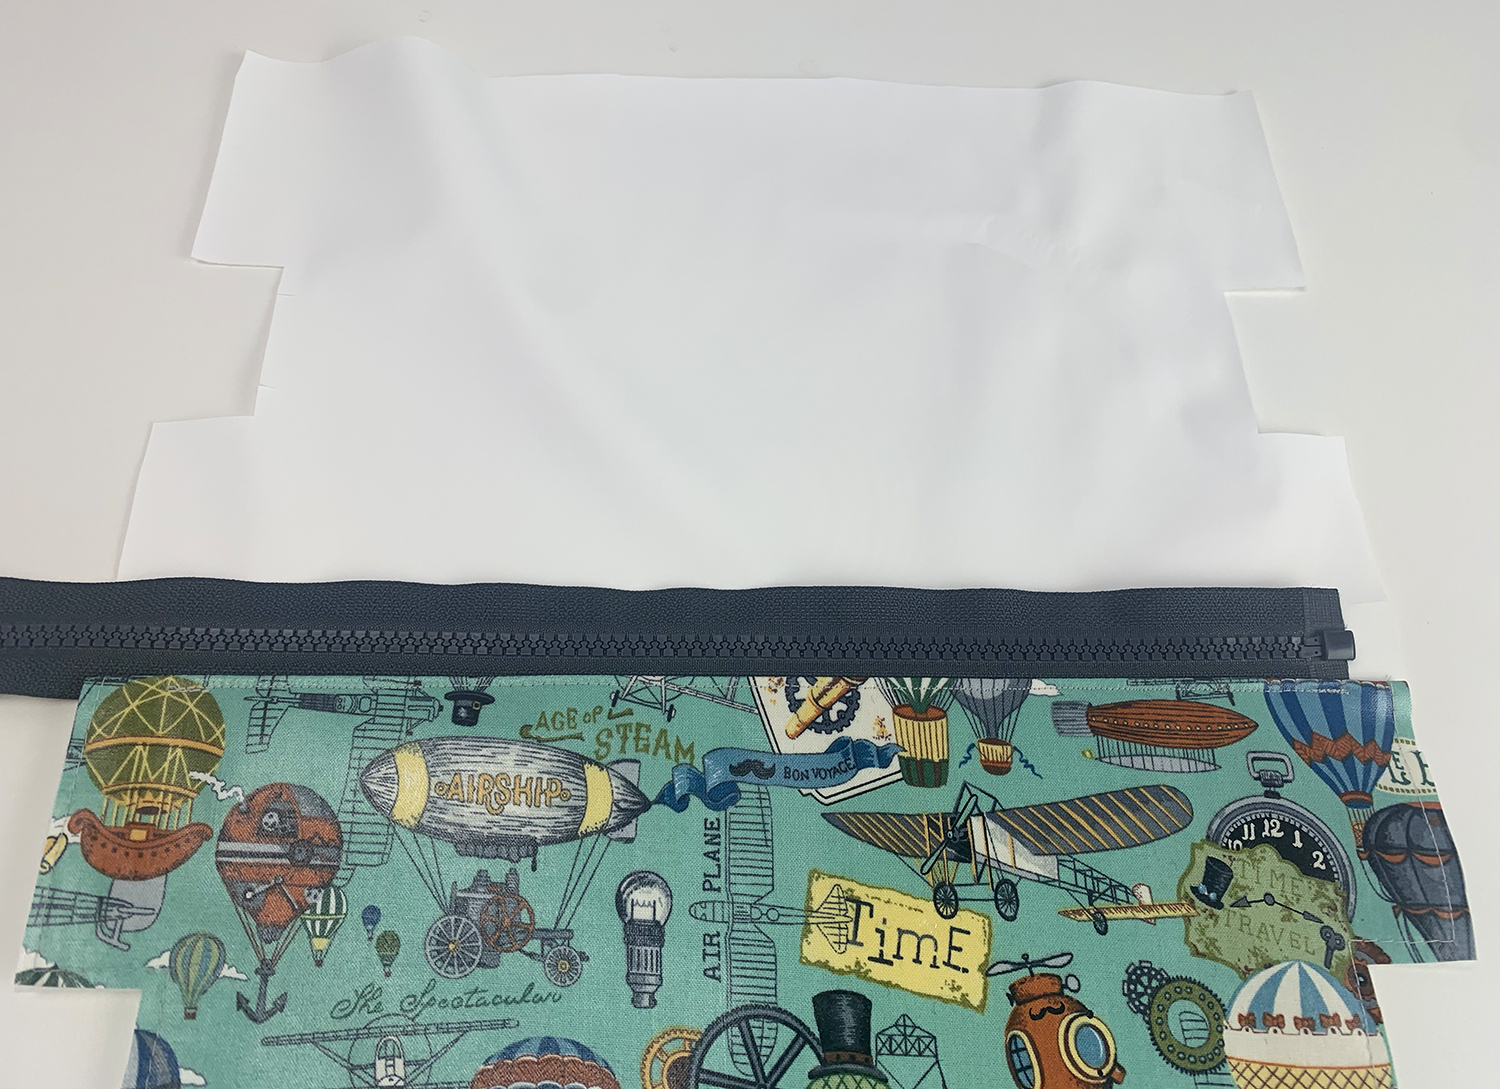
Place a PUL lining piece smooth side down, lined up with the outer piece; sandwiching the zip between the two.

Clip along the top edge

Step 16

Using a zipper foot, sew between the notches with a 5mm seam allowance.
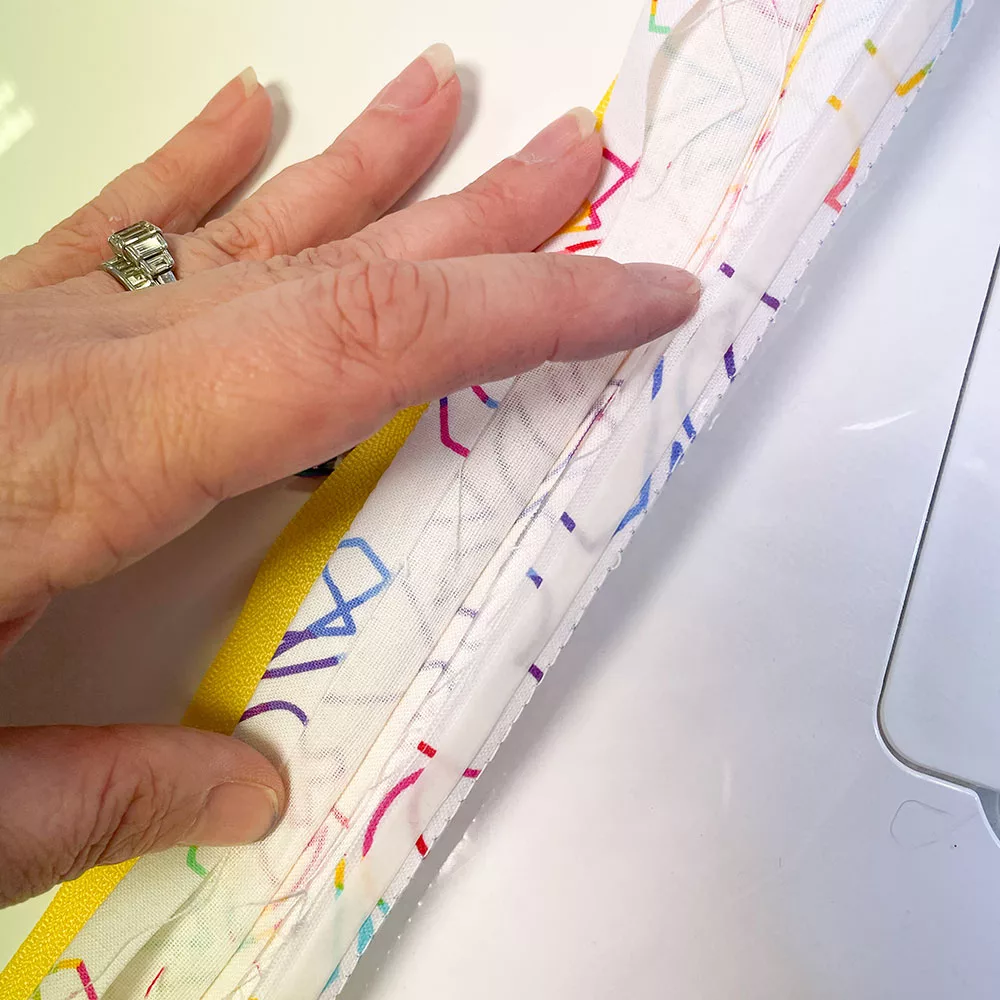
*If the PUL moves too much, hand baste before sewing or use a walking foot*

Pin For Later!

Step 17

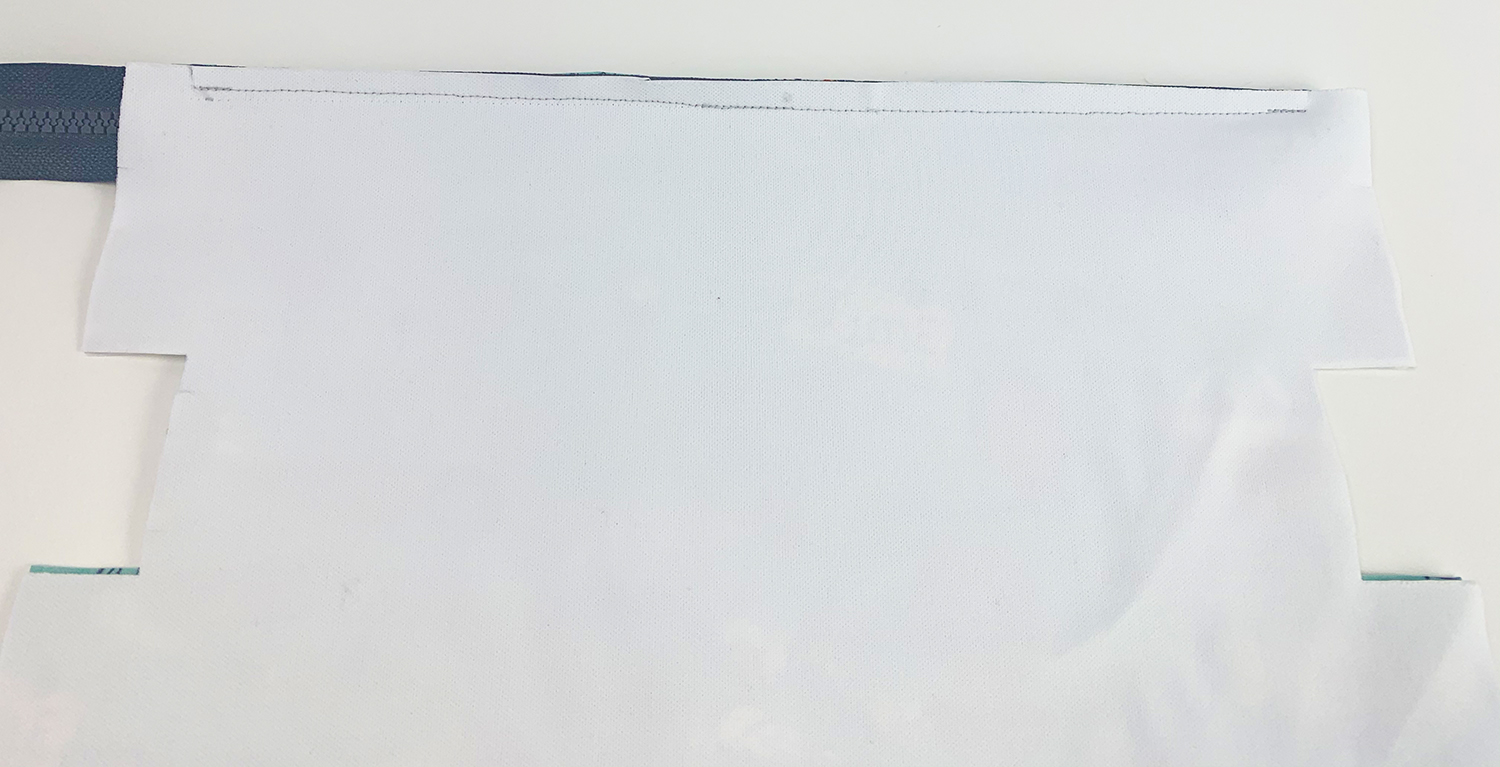
Open out the lining and outer pieces with the zip overlapping the lining, seam allowances underlapping the outer.

Top stitch between the notches on the outer fabric side (1.5cm from each end); Using a zipper foot sew along the outer fabric 2mm from the folded edge nearest the zip.

Step 18

Repeat steps 14. To 17. on the other side of the zip using the corresponding pieces.

Want a ready-to-use pattern? We’ve got you covered!

Click the button below to download the wash bag pattern.

Step 19

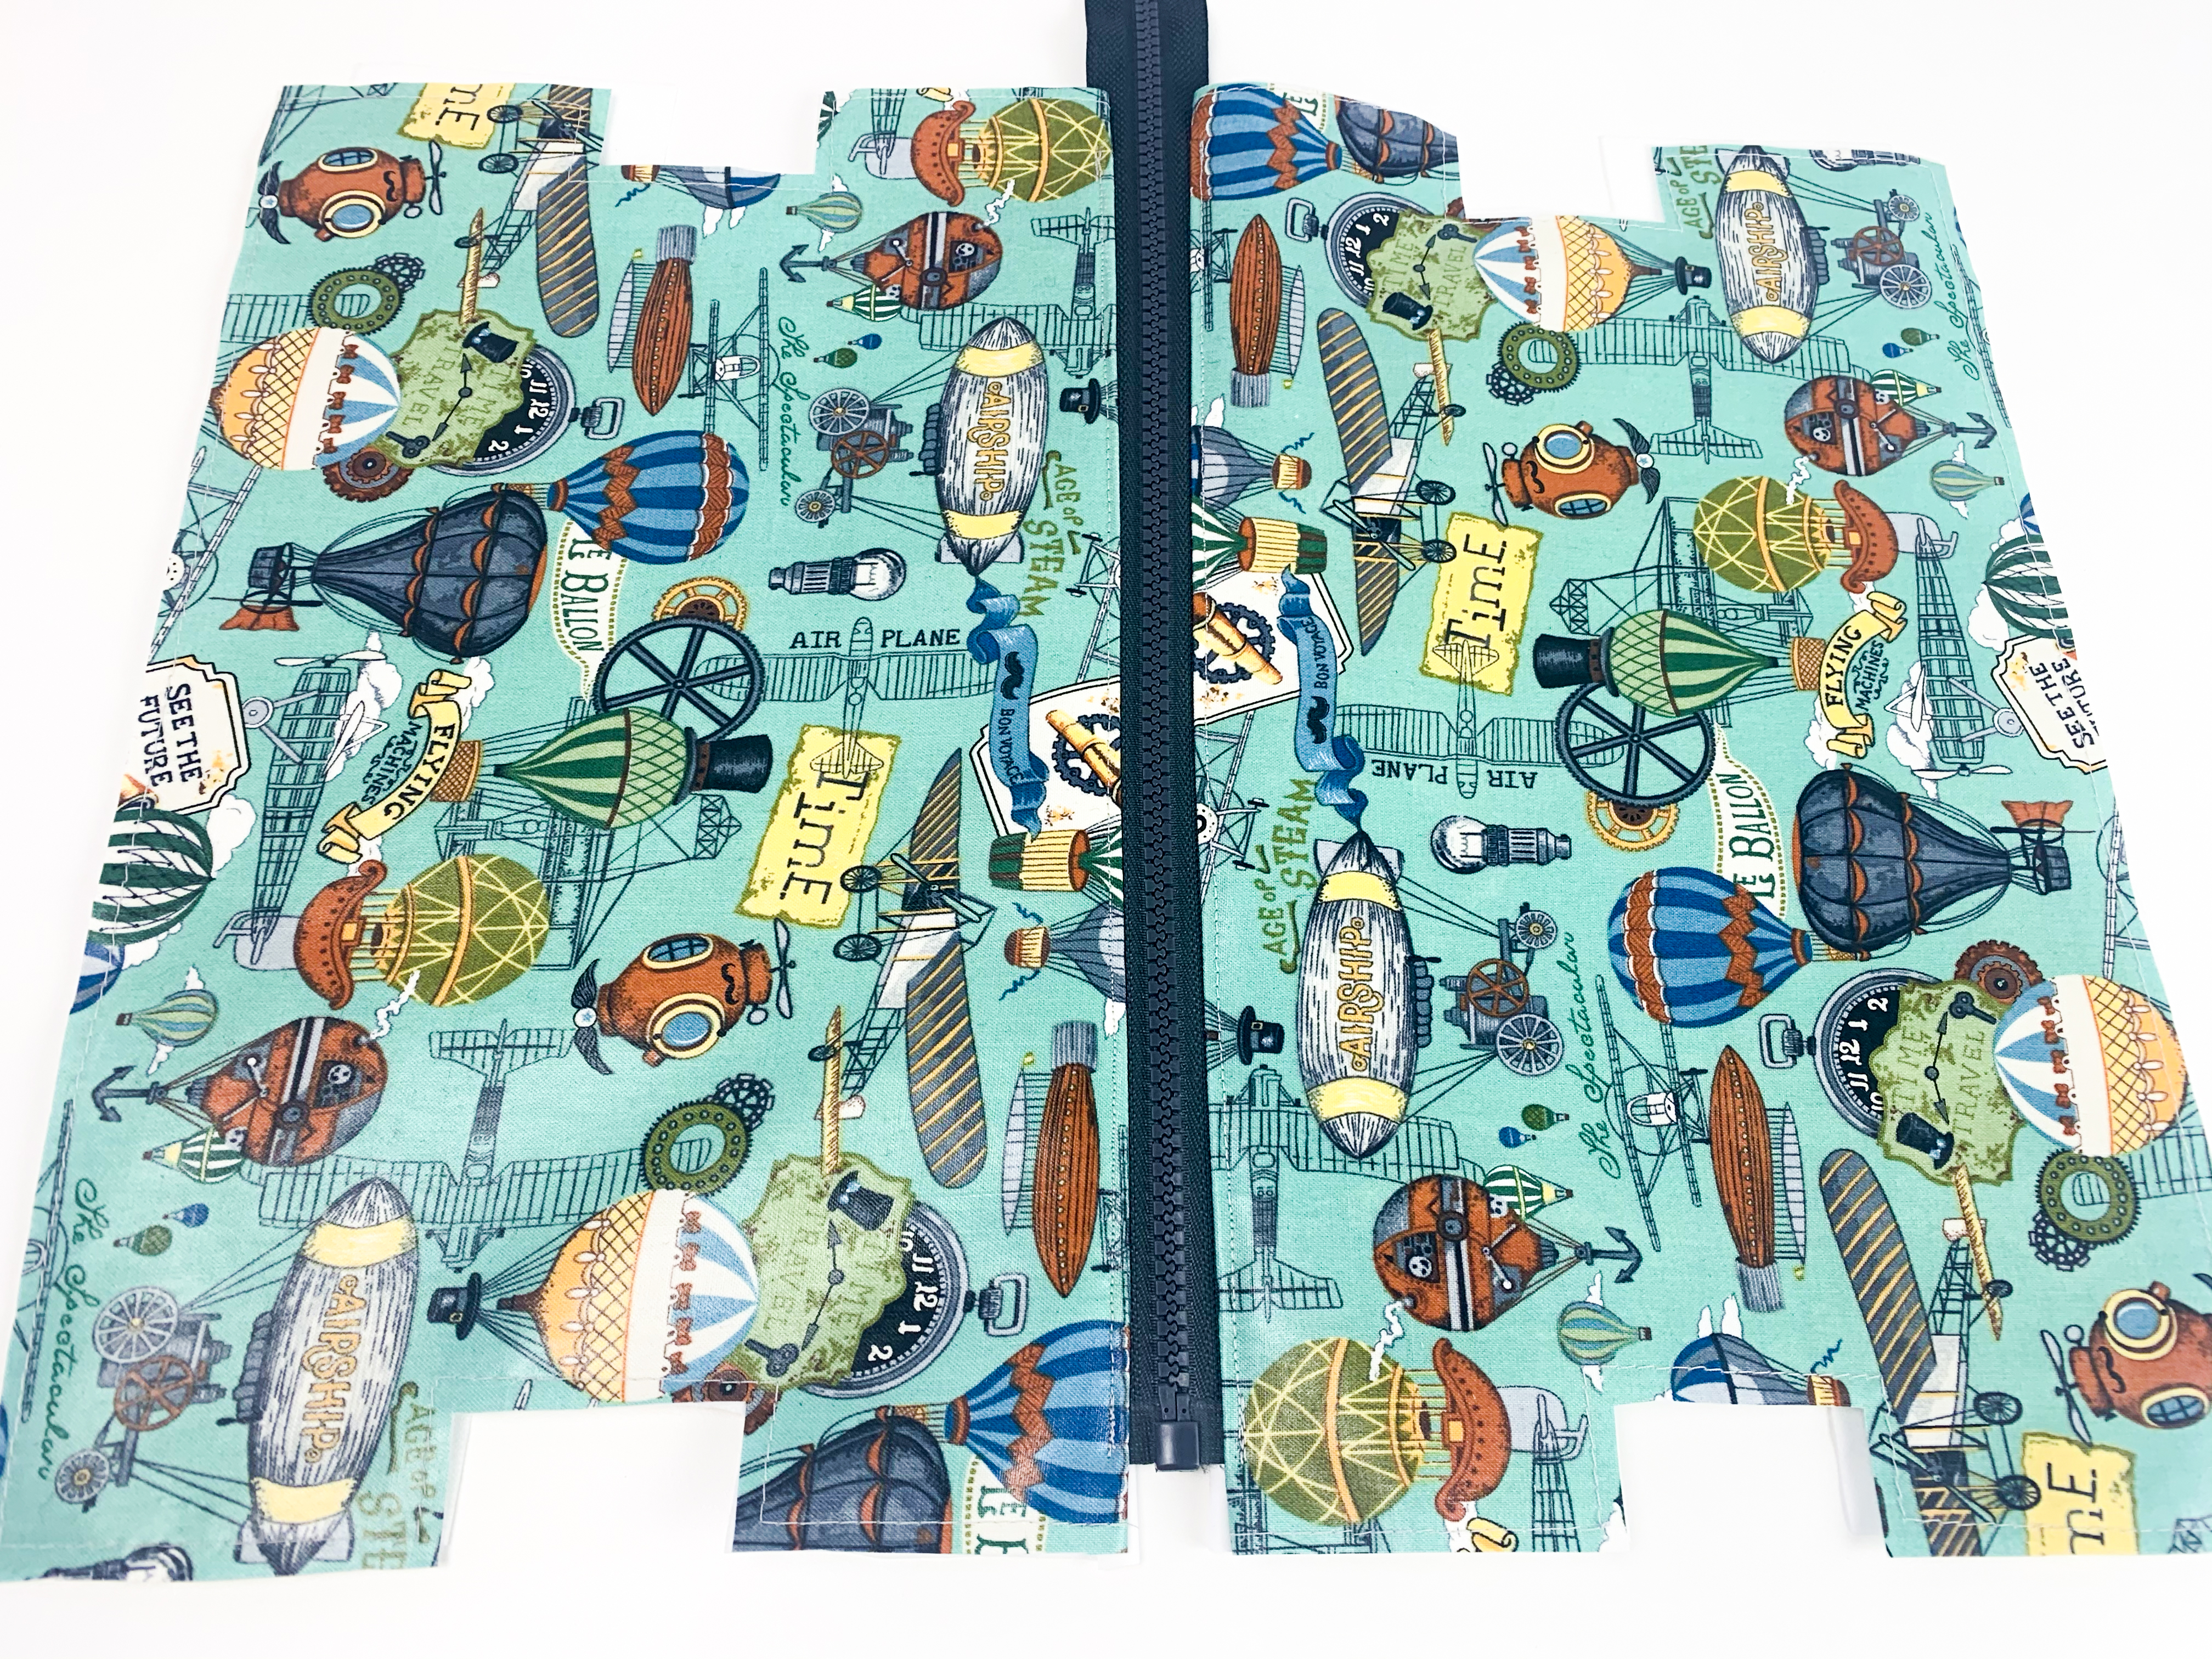
Open the zip halfway.

Open out the fabrics either side of the zip; aligning outer fabrics to one side and linings the other.

Clip the bottom edges together, leaving a 10cm turning gap in the lining fabric.


Step 20

Sew along the bottom edges, leaving the opening un-sewn.

Step 21

Press the seam allowance open on the outer fabric only.

Gently pull the outer and lining side panels outwards, allowing the bottom seams to line up with the zip then smooth/ flatten the fabric out either side.

Step 22

At each end of the zip, position a tab between the notches in the 2 layers of the outer fabric only.

Align the raw edges and clip in place, matching up the seam and zip ends, seam allowances open.


Step 23

Smooth the fabric out to either side of the tab and clip the raw edges of the outer fabric together.

Step 24

Sew along each side of the outer fabric only to secure the tab in place.
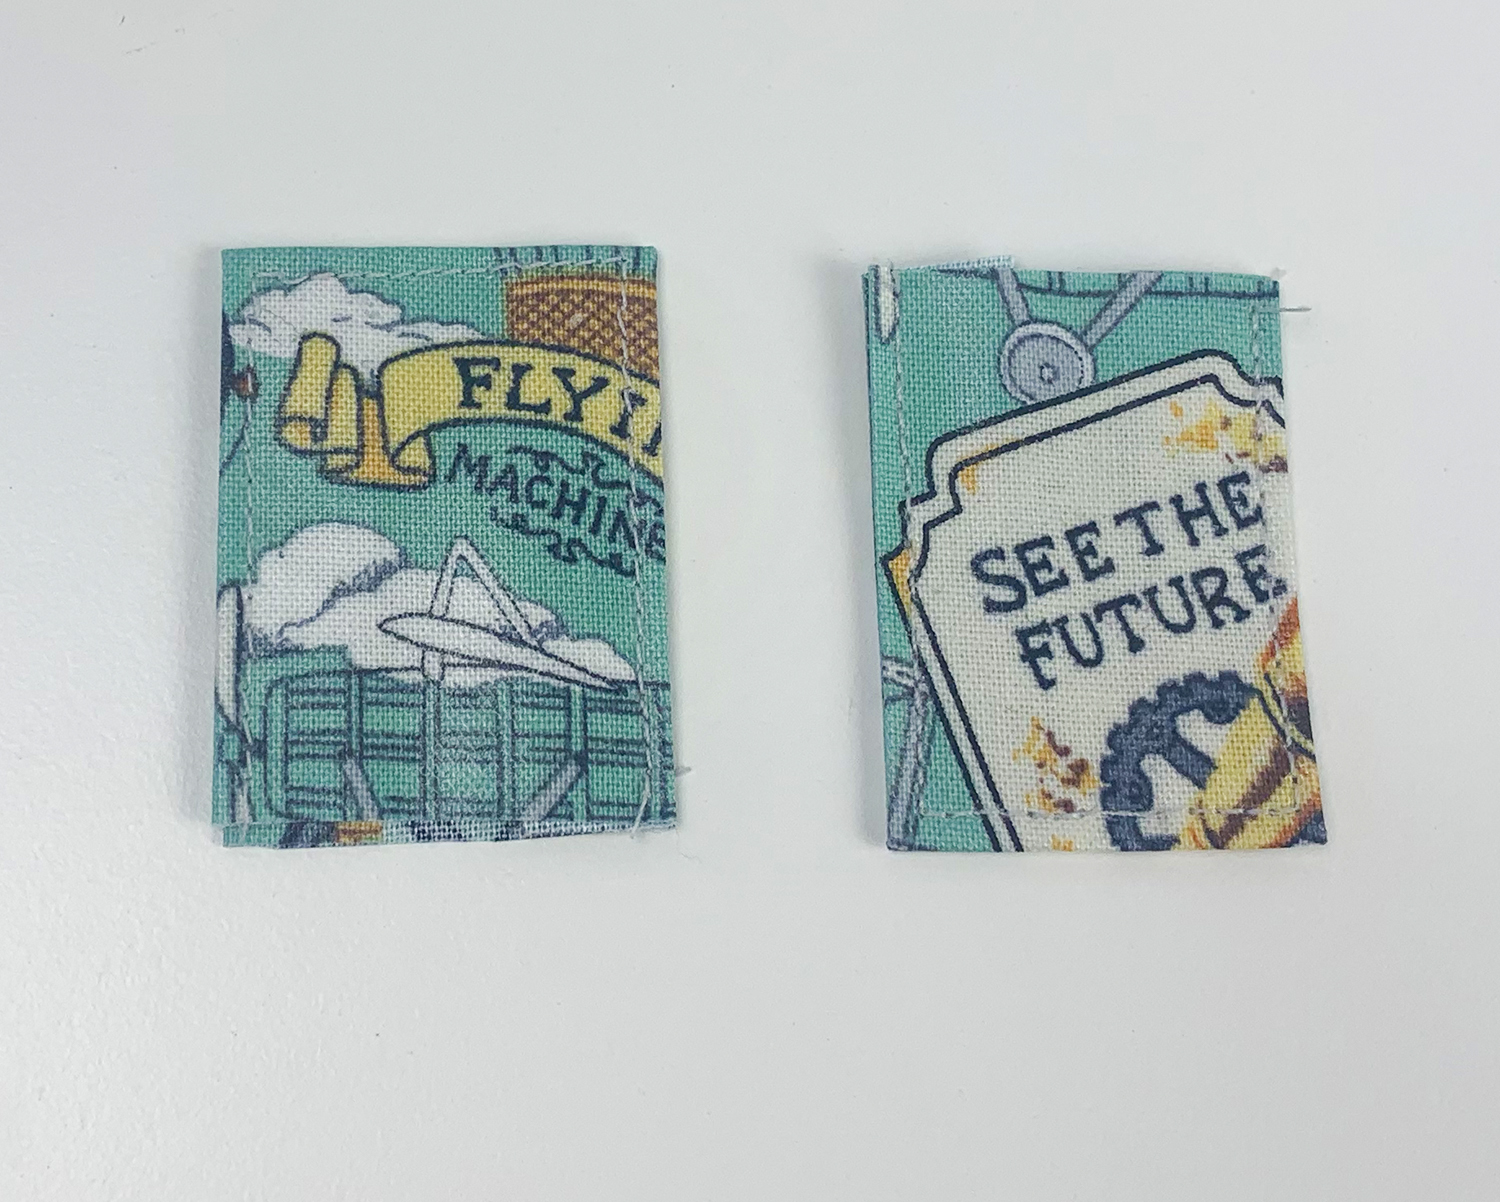
Backstitching over the tab for reinforcement and taking care near the zip ends.

*When sewing near the end of the zip/ across the teeth, the material may need moving forward manually to create a longer stitch: Sew to the side of the zipper teeth, raise the needle, lift the presser foot and move the fabric enough for the needle to enter the fabric on the other side of the zipper teeth. Reverse this step to go back over the zipper then come forward again to give added strength.*

Caution: trying to sew through the chunky zipper teeth can break the machine needle, which may result in injury

Step 25

Follow steps 22. to 24. for the lining fabric, disregarding the tab directions.

Move the outer fabric to one side but not the zip tape, to avoid gaps in the finished bag.

How To Box Out The Corners

Step 26

Starting at the top end of the outer fabric (where the zip pull sits when the bag is closed).

Make a mark where the fabric creases on the outermost edge.
Step 27

Open out the corner and align the seam with the mark.
Step 28

Thread the strap into the corner until only the end is visible.

Step 29

Position the end of the strap between the notches, raw edge aligned with the edges of the formed corner from step 36.

Clip the strap in position, then smooth out the fabric either side and clip.

Reach through the opening in the lining and open the zip fully.

Working through the opening, guide the other end of the strap to the adjacent corner at the top of the bag.

Step 30

Repeat steps 26. to 29. checking the strap isn’t twisted.

Step 31

Repeat steps 26. to 29. on the remaining 2 corners in the outer fabric and the 4 in the lining fabric, disregarding the strap directions.

Step 32

Sew along the corners.

Step 33

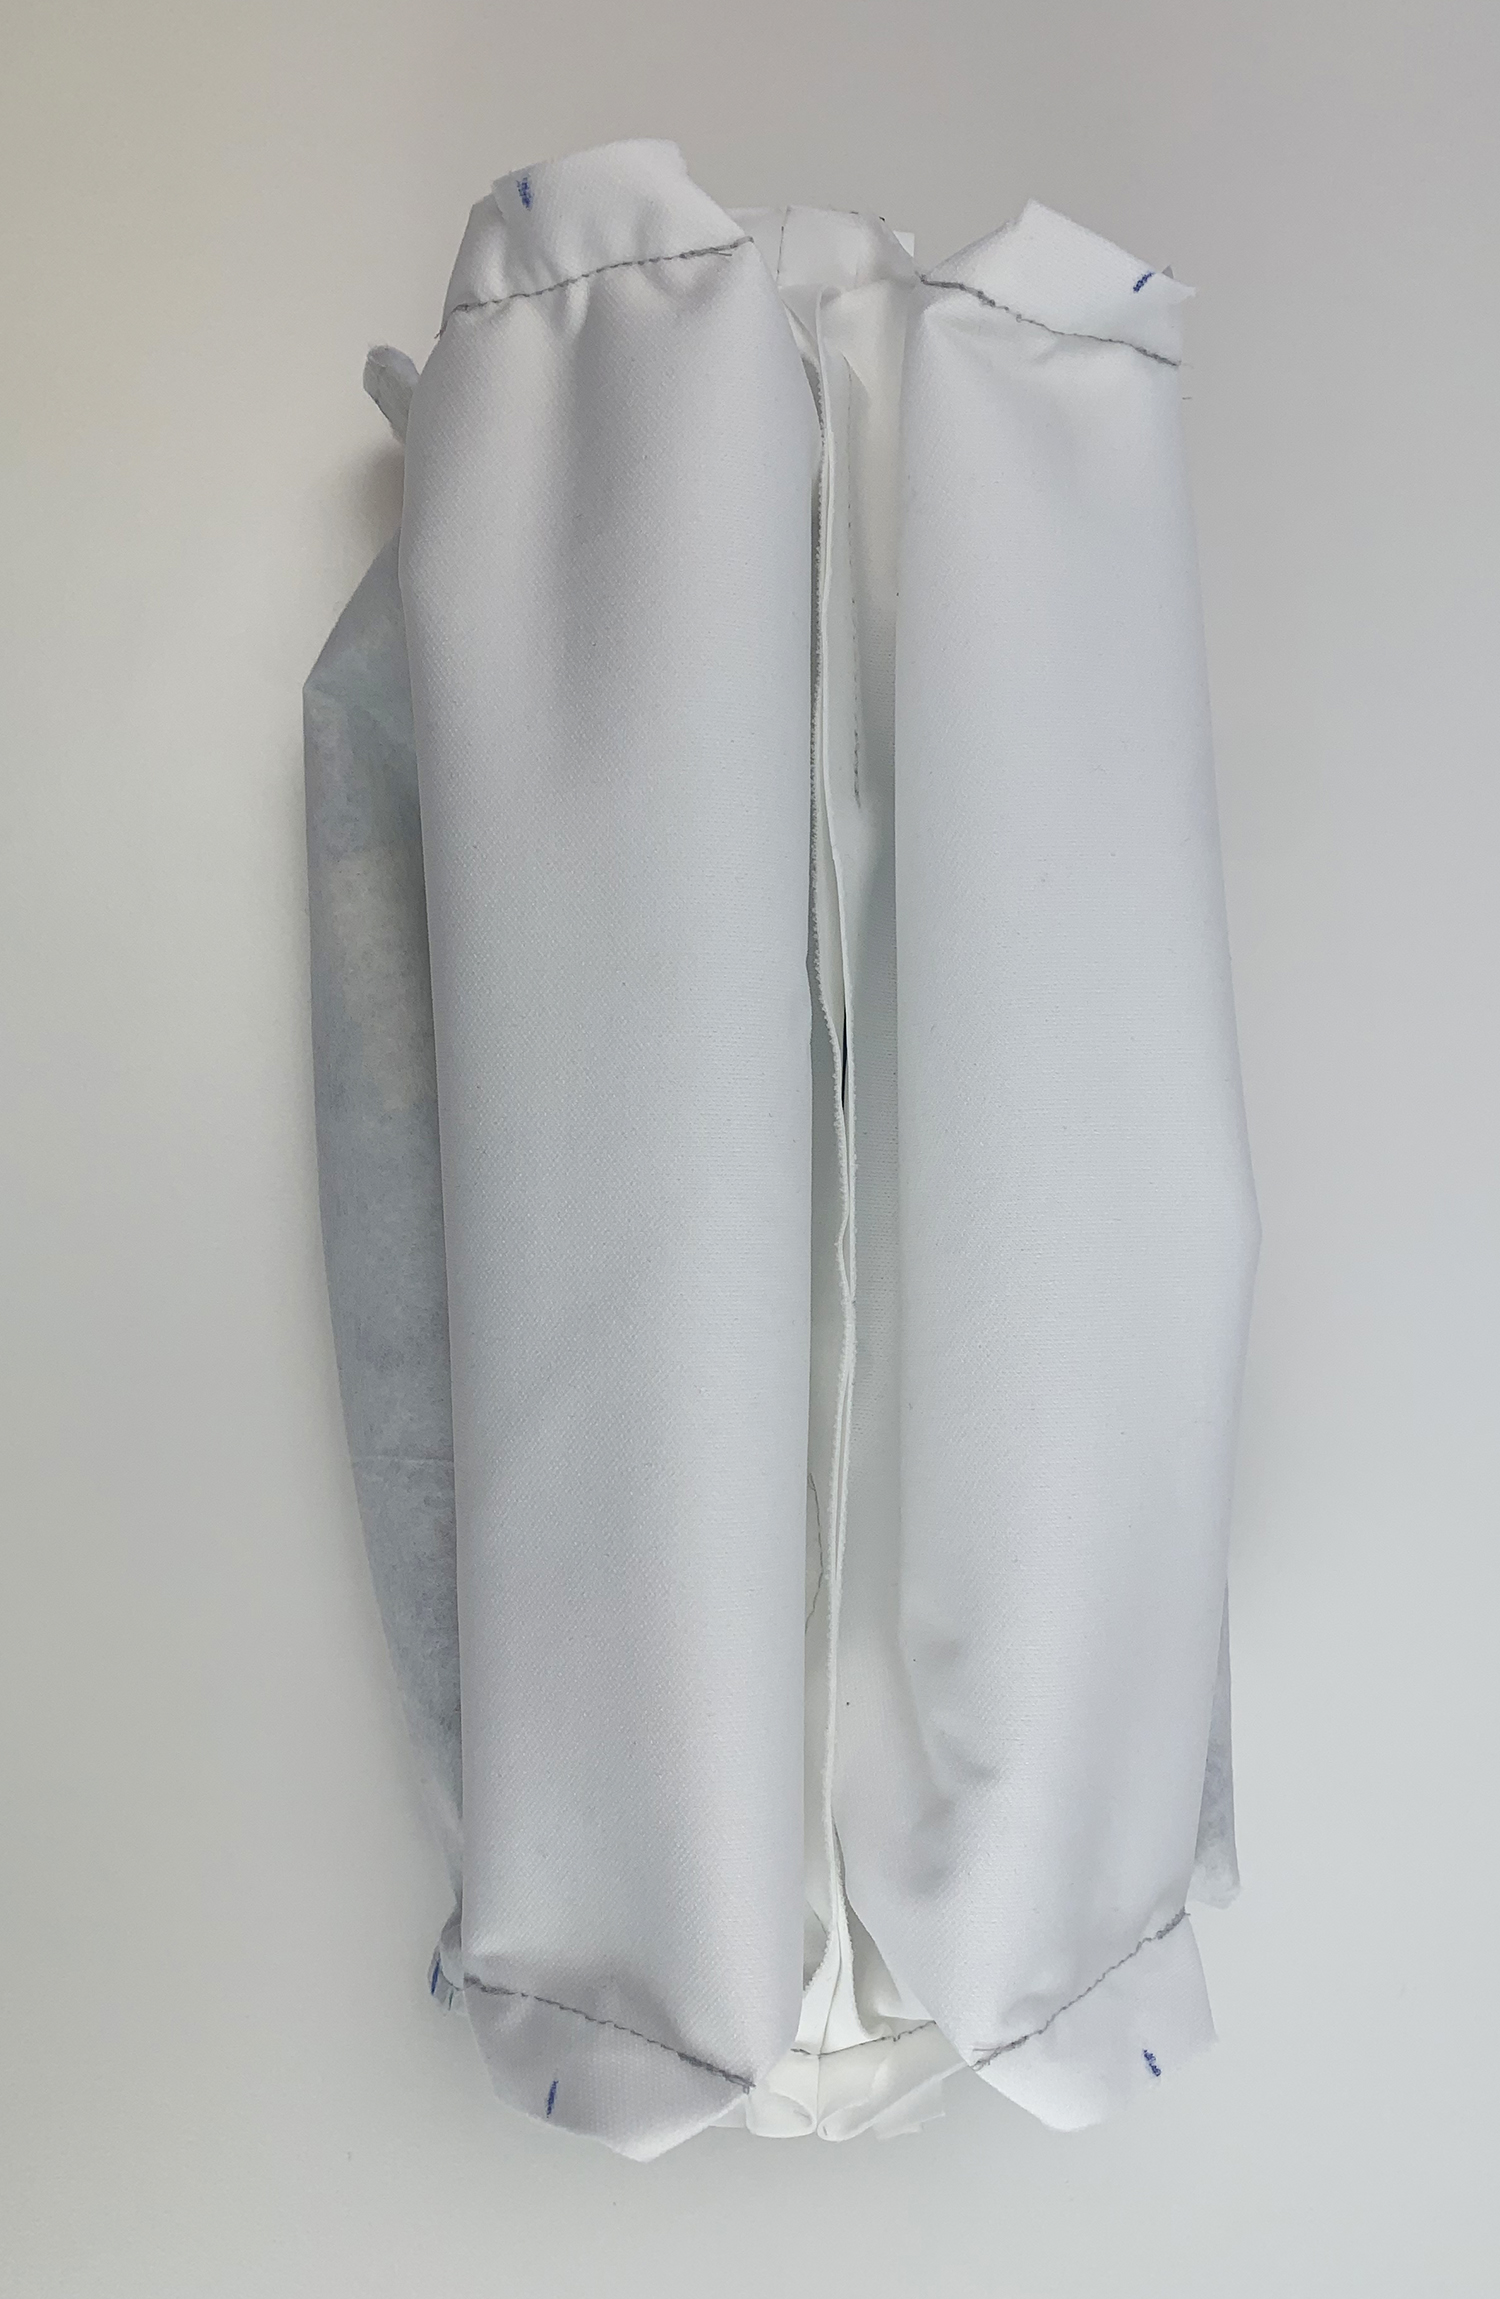
Turn the bag out the right way.

Step 34

Sew the gap in the lining closed.


And you’re finished, well done!

Want a ready-to-use pattern? We’ve got you covered!

Click the button below to download the wash bag pattern.

Pin For Later!

We hope you found this tutorial useful! Let us know how you get along in the comments below.

Follow Plush Addict on social media and keep an eye out for more tutorials!

Sometimes Dads are the trickiest to buy for aren’t they?

On this occasion we thought about going for something practical with that special touch that comes with being handmade. And as an item we all need from time to time, every use will be a little reminder of how much he means to you.

This roomy wash bag is perfect for all dad’s toiletries – it’s big enough for a 2 week holiday! It is 22cm x 17cm x 12cm and lined with waterproof PUL fabric we’ve also given the exterior some Odicoat layers maxing the water repelling properties of this bag. Perfect for splashing around in the shower or by the pool!

(more…)