Our site is getting a makeover! Please bear with us whilst we make improvements

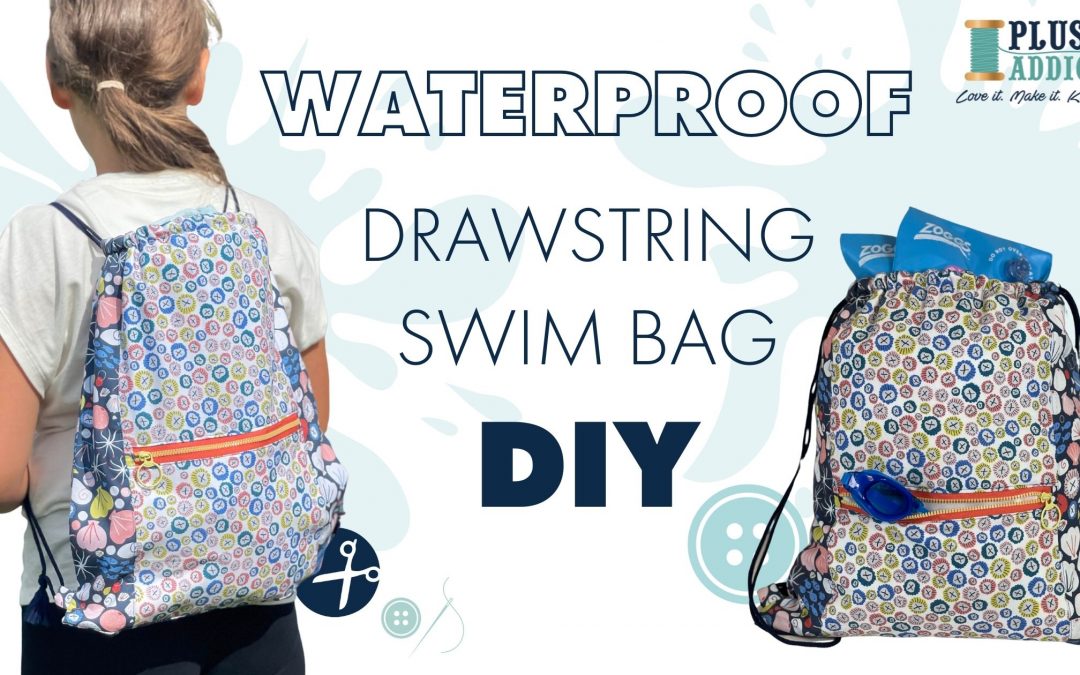
Children’s Waterproof Swim Bag Tutorial

Children’s Waterproof Swim Bag Tutorial

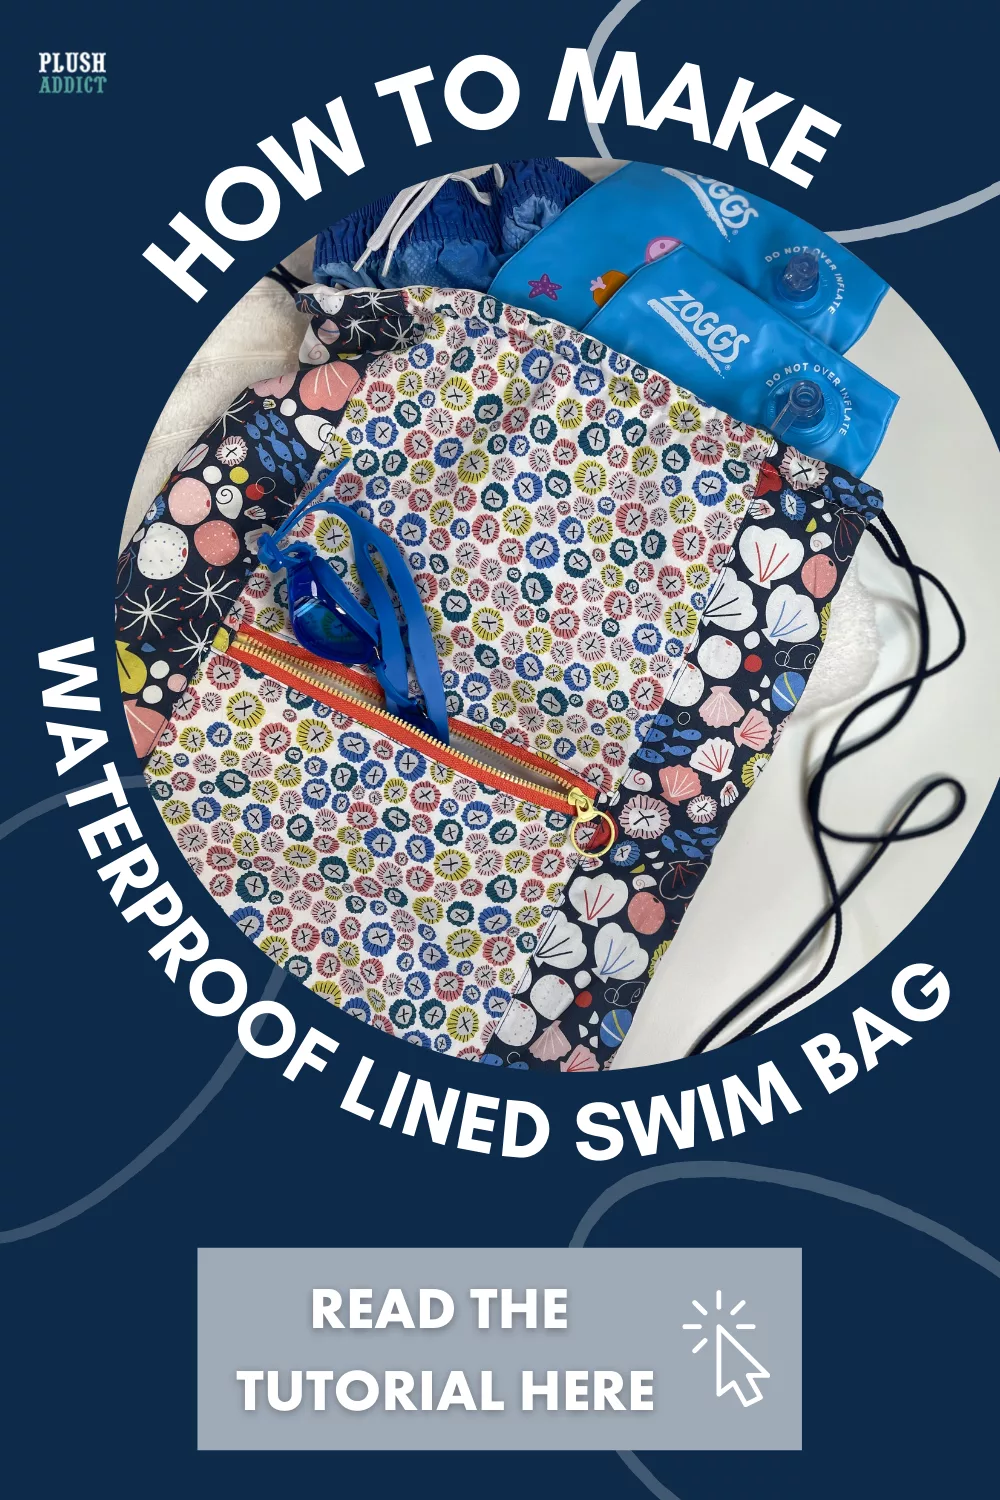
Whether your little one is lucky enough to be heading to the beach or pool on a summer holiday, or attending weekly swimming lessons, a swim bag with waterproof lining is perfect for keeping soggy swimsuits and accessories in and yourself dry!
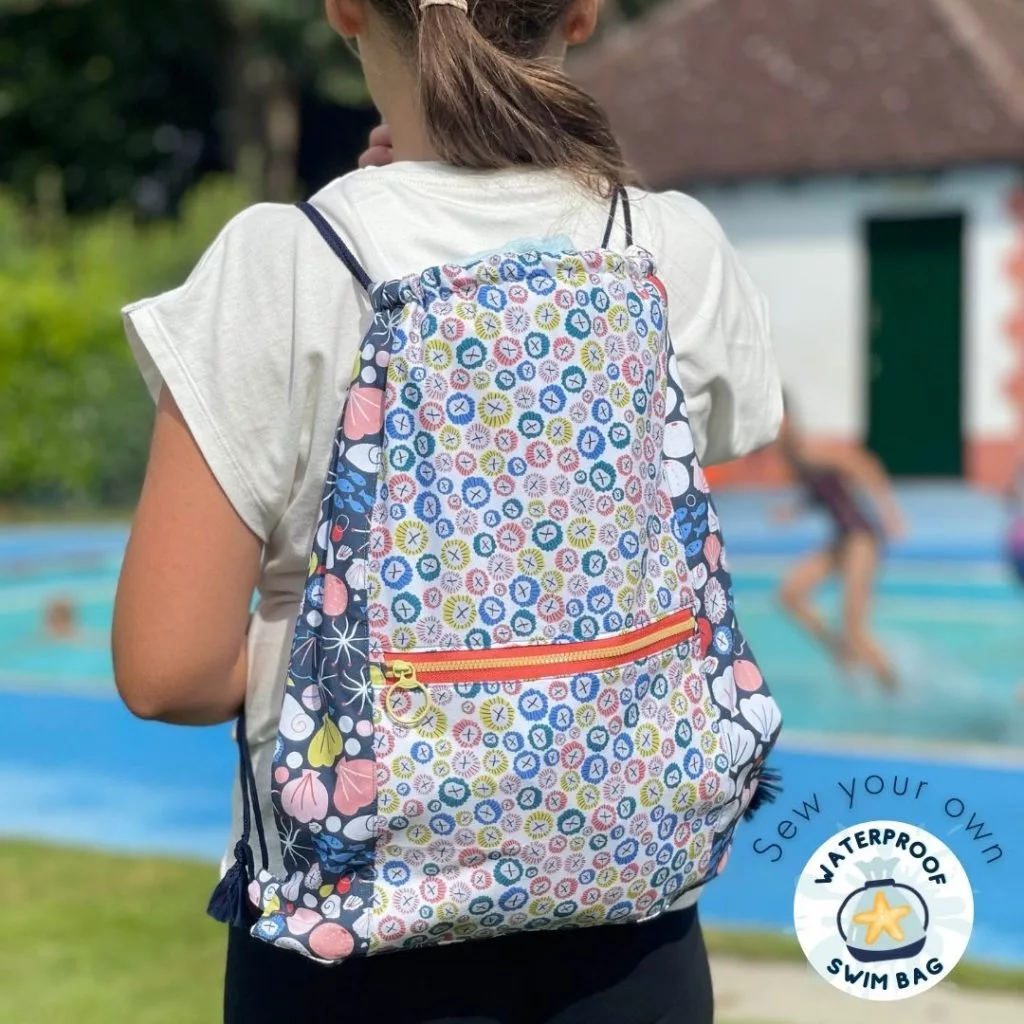
This swim bag is fully lined with waterproof fabric, even in the front pocket. This makes it easy to carry all of your swimming essentials without getting your clothes or other surfaces damp.

We’ve designed this to be the perfect size for your little one’s swimming kit – think goggles, costume, small towel, swim cap, sun cream (although the giant inflatable flamingo you’ll inevitably acquire will need a slightly bigger bag!).

You’ll also be learning how to sew using our fantastic PUL fabric, which is not only waterproof but breathable, how to insert a chunky zip, line a pocket and create a drawstring top for your bag, which can all be applied to variety of different projects, not just this swim bag! 

We’ve also included how to cut and make a plain version of the bag, if you aren’t quite ready to tackle the zip, or if your child has suddenly remembered they have swimming tomorrow and you need to whip something up before bedtime!

It has a waterproof lining for soggy swimming costumes with a ‘dry pocket’ for any valuables. We have used the Rockpool fabrics from Dashwood Studio which we think the kids will love. 
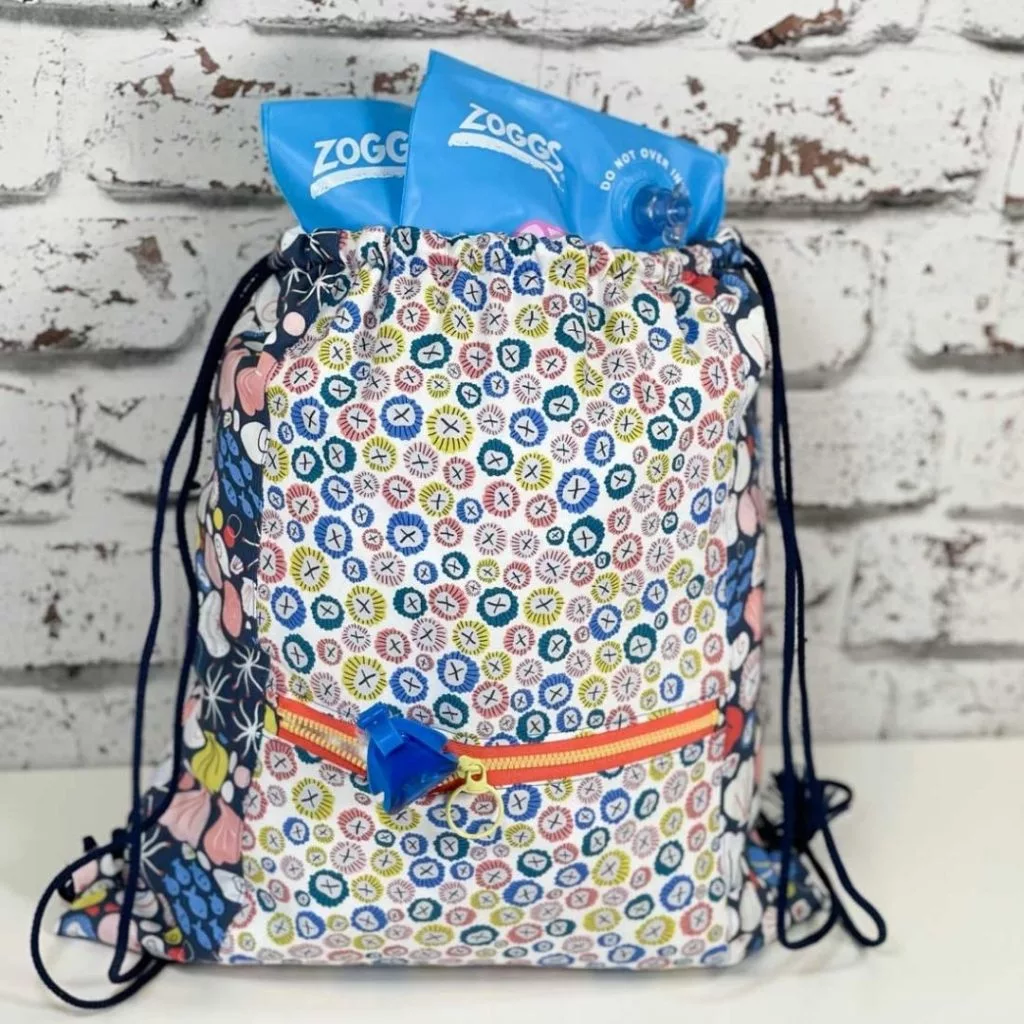
Swim Bag features:

  • This swim bag is fully lined with a waterproof lining so you can keep wet swimming togs away from anything else you wish to keep dry!
  • It features a waterproof front zipper pocket to keep your undies dry or store electronics away from the water
  • Drawstring closure – easy for little hands to open & close
  • If you feel the zipper is pushing your sewing skills, there are also cutting instructions for a bag without the zipped pocket

If you would prefer a printable PDF version of this tutorial you can request a copy is sent to your inbox here

A sewing project for: Confident Beginner

Finished Dimensions: 39cm x 36cm approx

Approximate sewing time: 1hr 30mins (allow extra time if you are a novice)

We have also provided cutting instructions to omit the waterproof pocket 

Important Notes:

  • 1cm seam allowance throughout, unless directed.
  • For steps using machine sewing, straight stitch, backstitching at the start & end using stitch length 2.5 unless otherwise stated.
  • Prepare your fabrics as per manufacturer’s care advice
  • Seams have been finished using an overlocker, but the raw edges can also be finished on a sewing machine using a zig zag stitch, or left as the project is fully lined
  • Quilting clips have been used as pins can create holes in the PUL which do not recover
  • The PUL has no ‘Right Side’, but we like to use the ‘shiny’ side as the RS as it feels more comfortable during use – just make sure whatever you choose is always your RS
  • We recommend cutting the PUL with a rotary cutter and mat to avoid using pins, but you can also use pattern weights and scissors
  • All materials can be purchased from our online sewing superstore Plush Addict.

Materials you will need…

Item:Amount required:We used:
Fabric A: Cotton fabric for side and back panels40cm x 110cm (16” x 44”)Dashwood Studio – Rock Pool – Shells And Fish
Fabric B: Cotton fabric for middle and pocket panels30cm x 110cm (12” x 44”)Dashwood Studio – Rock Pool – Barnacles White
Fabric C: PUL waterproof fabric for waterproof lining40cm x 140cm (16” x 56”)Plush Addict White PUL Fabric (Polyeurethane Laminate fabric) – Waterproof Breathable Fabric
Cord for the straps3m (3 3/8yds)4mm Polyester Braided Cord – Navy
20cm/8” zip1Dual Colour Plastic Chunky Style Zip 20cm/8”

Sewing Kit You Will Need:

Pin This For Later!

If you would prefer a printable PDF version of this tutorial you can request a copy is sent to your inbox here

1) Cut out your fabrics:

To create a colour blocked bag as we made, cut:

From Fabric A Cut: 

  • Front side panels: two 9cm x 42cm
  • Back: 37cm x 42cm
  • Side tabs: two 4.5cm x 8cm 
  • Zip tab ends: four 3cm x 4cm

From Fabric B cut:

  • Front middle panel: 23cm x 44cm
  • Front pocket outer: 19cm x 23cm

From Fabric C cut: 

  • Front and back lining: 37cm x 42cm
  • Pocket bag (outer pocket): 19cm x 23cm
  • Pocket lining panel: 20cm x 24cm

To create a bag in one colour, without the zip pocket/panels cut:

Front outer: 37cm x 42cm

Back outer: 37cm x 42cm 

Front and back lining: 37cm x 42cm 

Side tabs: two 4.5cm x 8cm 

If constructing your bag in one colour without the zip pocket/ panel, skip straight to the ‘Assembling the main bag section

Inserting the zip:

For this section use your zipper foot on your machine.

2. Finish the edges on your zip tab ends using an overlocker or zig-zag stitch. Place one right side up (RS), with the zip facing up (teeth side up), sandwiched with another zip tab end RS down on top. Sew together near the end of the zip.

3. Fold the zip tab ends away from the zip, flat, so that you can see the zip end fully. Press in place (avoid catching the zip with the iron!) Topstitch the zip tab ends down, keeping them in place and flat. Repeat this with the other zip end.
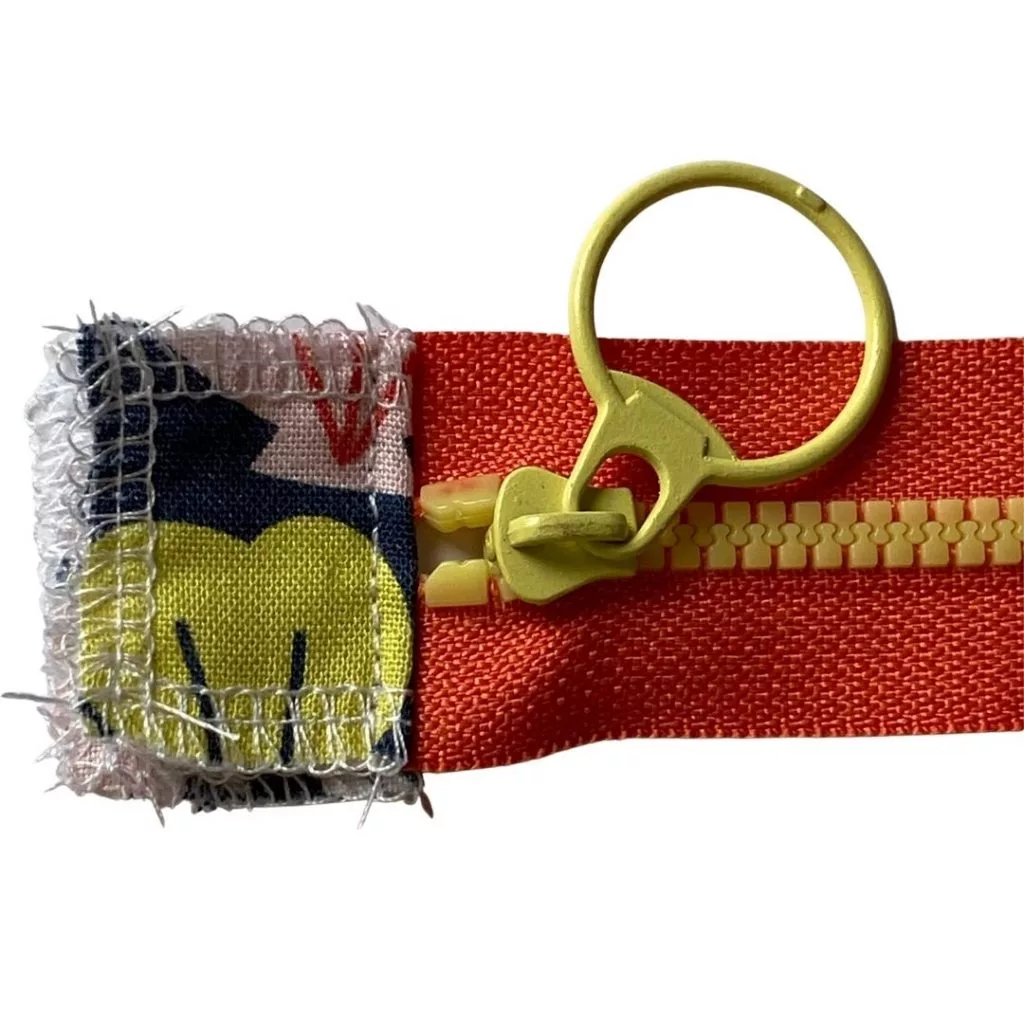
4. Take your outer fabric pocket piece, and the PUL outer pocket piece and sandwich the zip between them, RS together.

5. Flip the zip RS up between the pieces, and top stitch the seam flat in place.
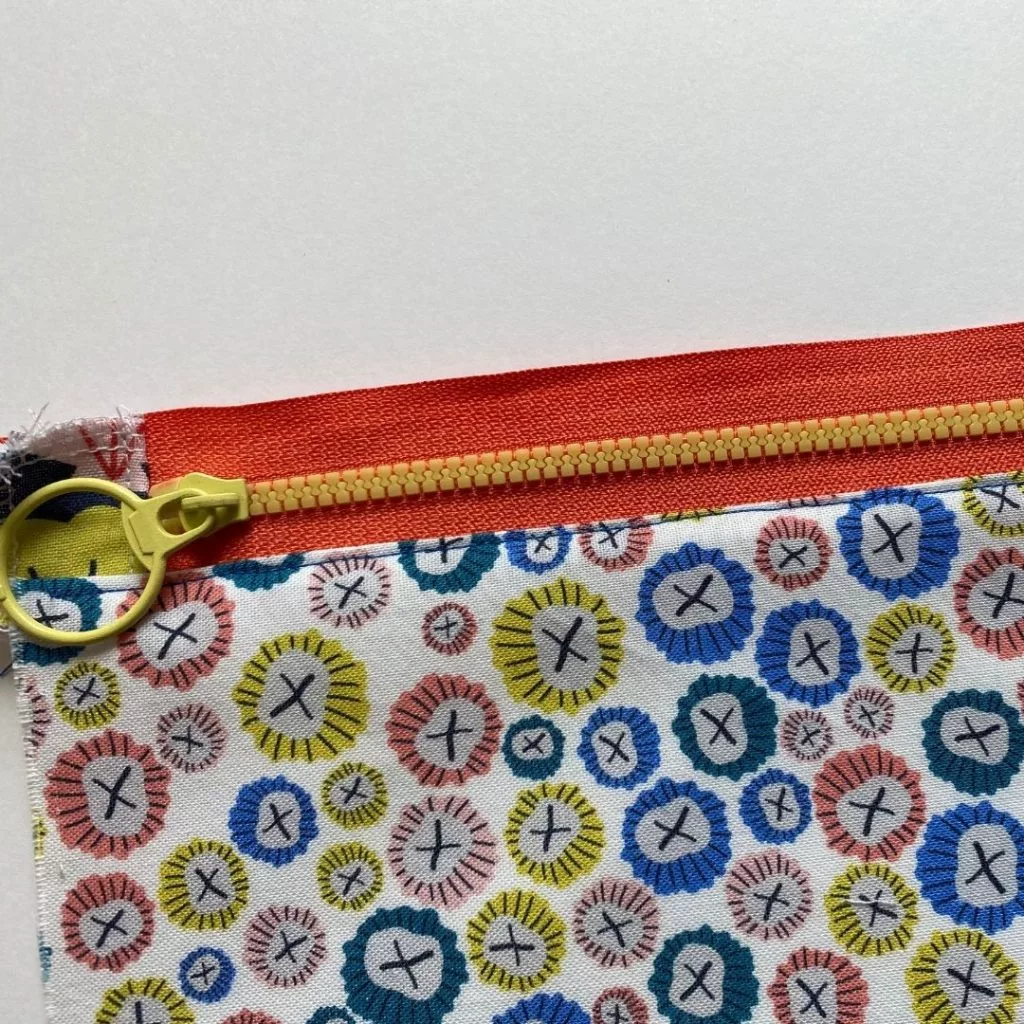
6. Take the larger PUL pocket panel and tack in place on the outer front middle panel both with RS up, along the top only. 

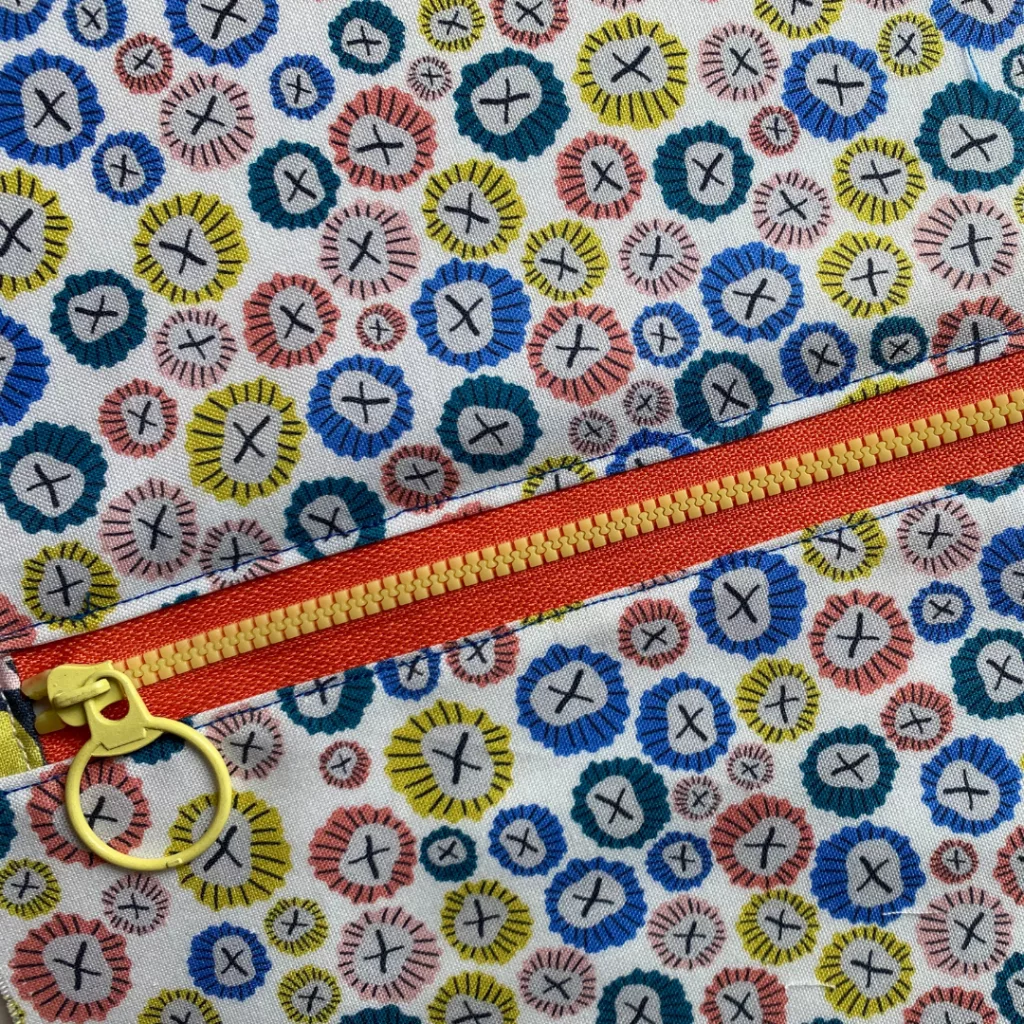
7. Take the pocket bag with zip attached and place it on top of the outer front middle panel. The lower edges of the pocket will need to meet with the bag front after we have folded it to attach the zip.

8. Fold the bag front on itself using the extra 2cm, above where you want the zip to be, to create a folded edge to attach the zip and pocket bag to the front of the bag.

9. Sew the zip to the bag’s outer middle front.
Assembling the main bag:

10) Put the bag sides on the outer bag front, RS together. Sew each side seam, press flat. Topstitch the seams (optional but achieves a more professional look!)
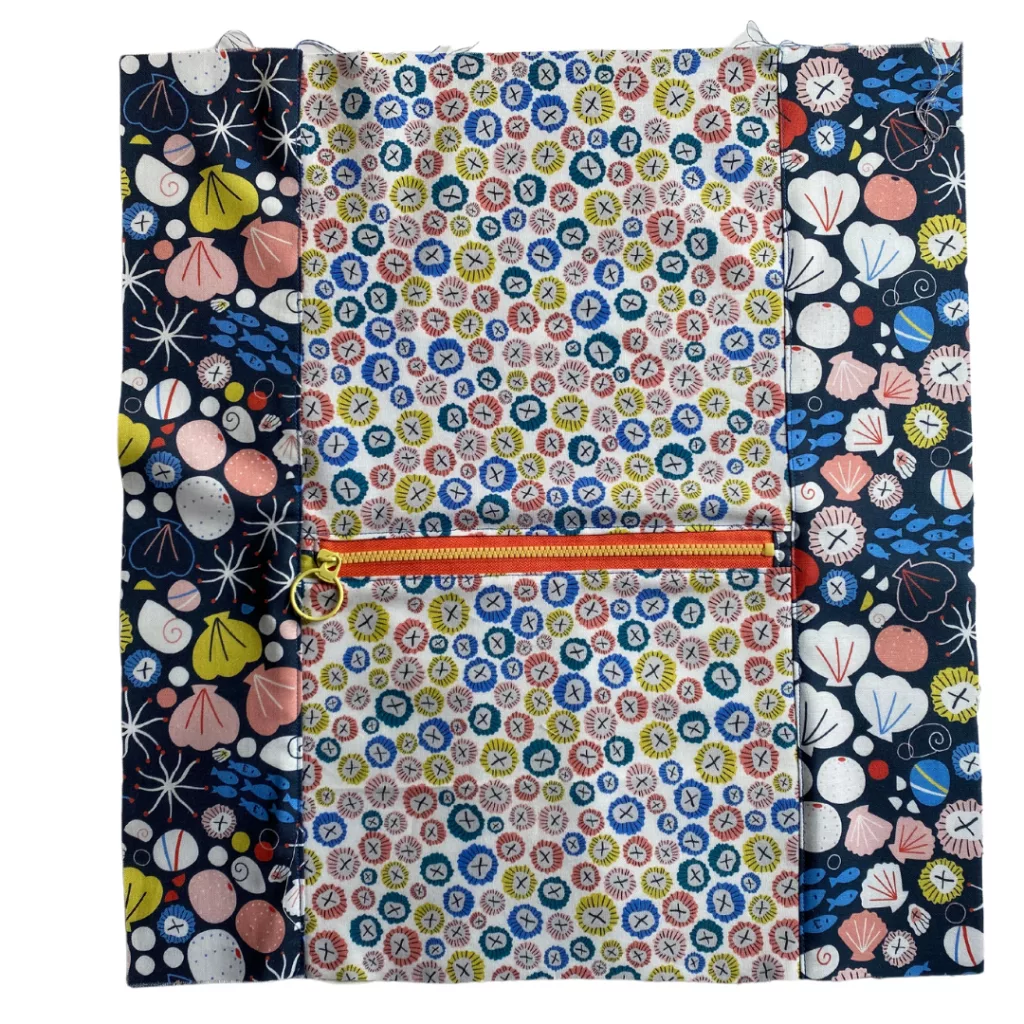
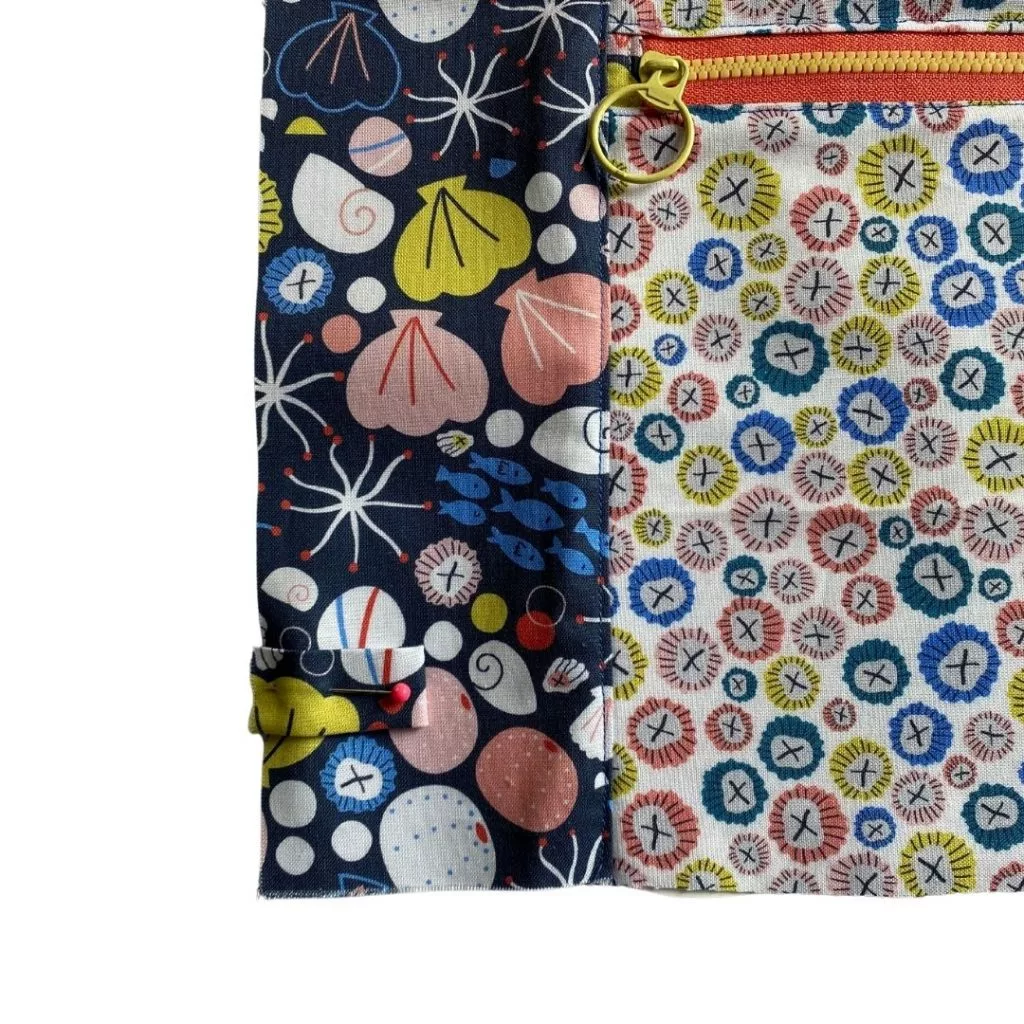
11.To create the loops for the straps, fold the side tabs in half, RS together, lengthways and press. Stitch along the long raw edge. Turn the loop out and fold in half again, press. Lay on top of the outer bag front in the corners, a little from the bottom remembering the seam allowance.
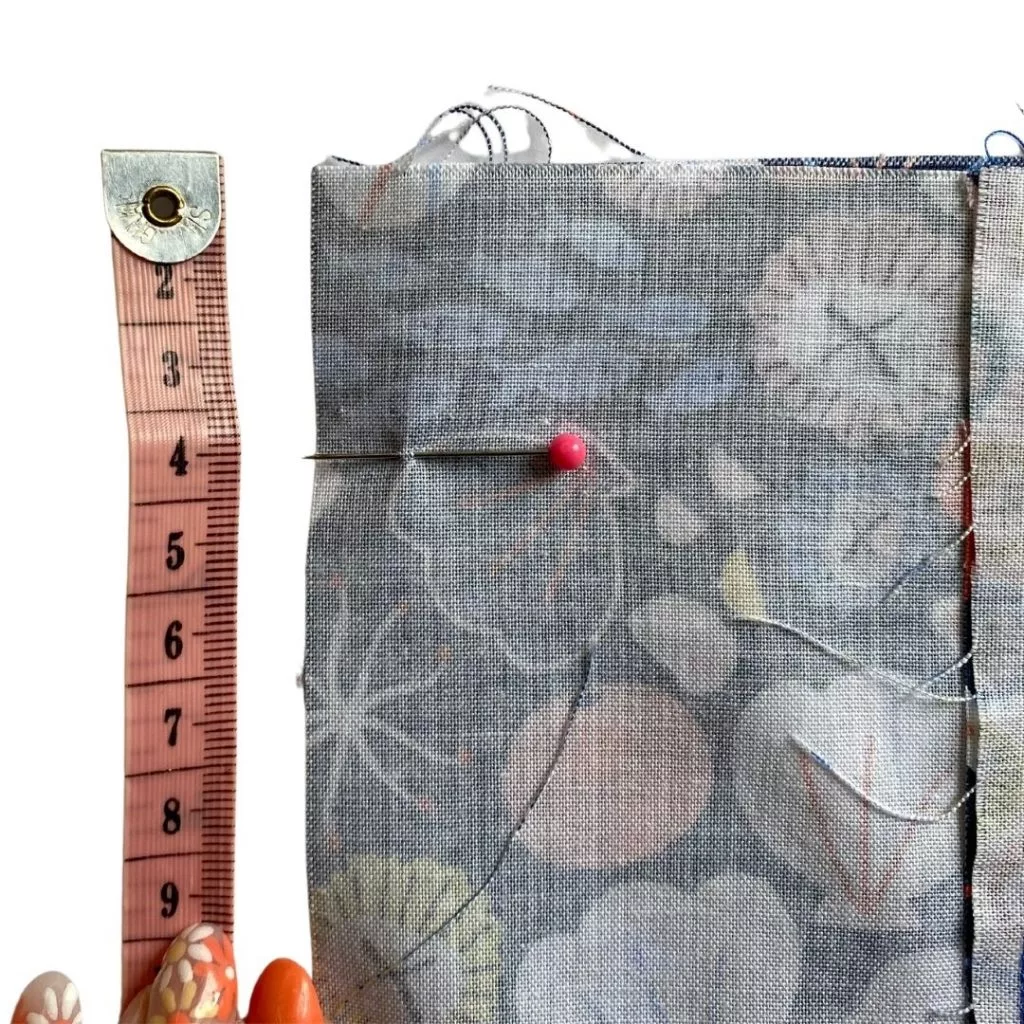
12. With RS together, put the back outer piece on top of the front outer piece, measuring 4cm down from the top of the bag sides, marking with a clip or tailor’s chalk. Stitch down the sides and bottom from this point to the other side 4cm down
13. Repeat the construction of the main bag for the lining also. The lining will come up to the top of the bag for a neat finish. 

14. Place the bag out RS together inside the bag lining. Sew around the top of the bag, leaving the side seam openings you made by measuring down 4cm, and a small gap in the top back of the bag for bagging out.
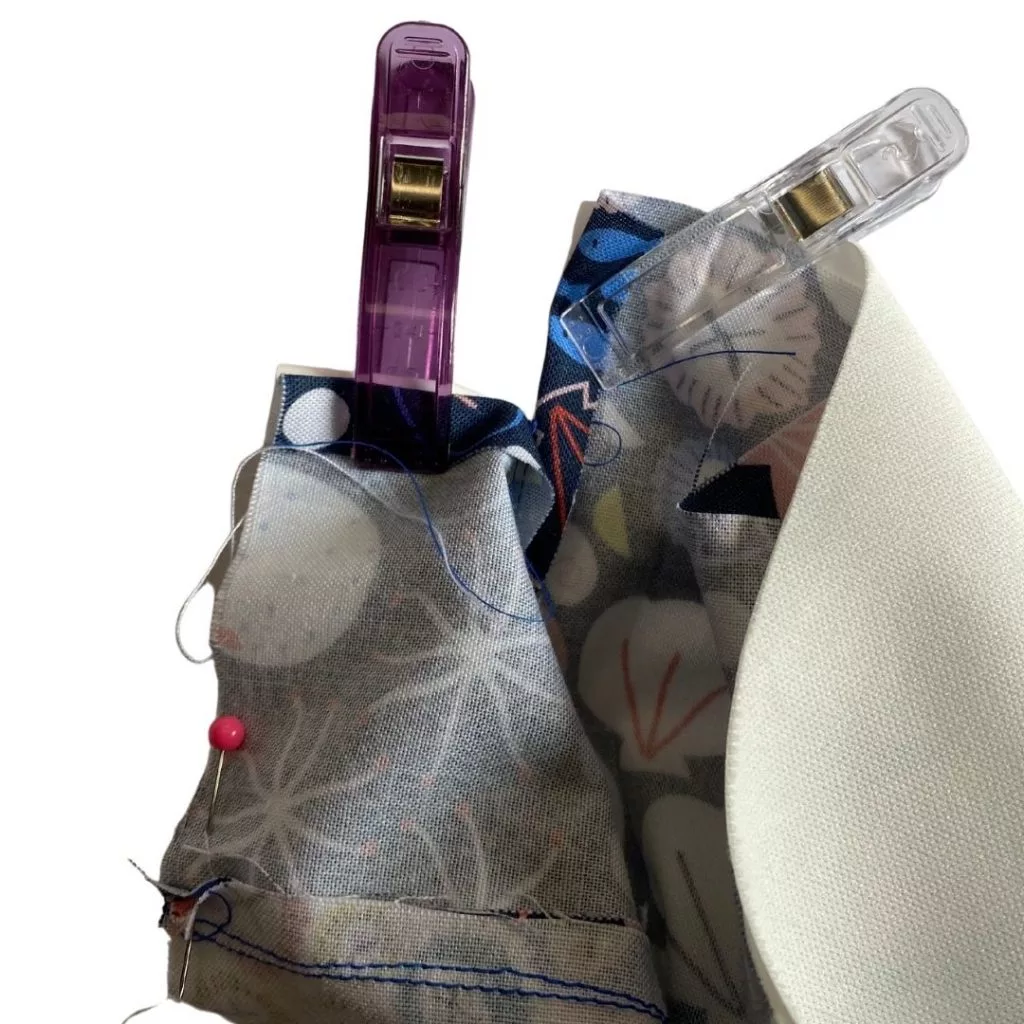
15. Bag out and slip stitch the opening shut.
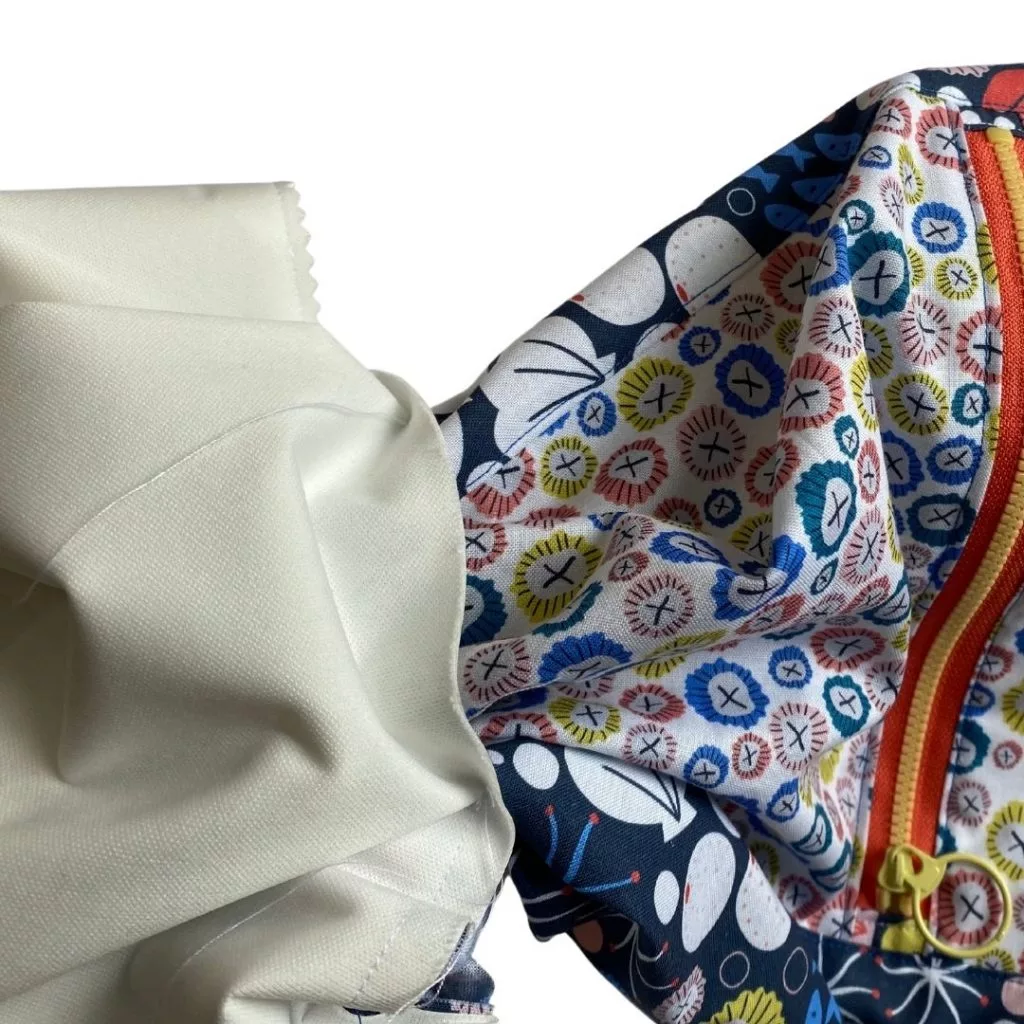
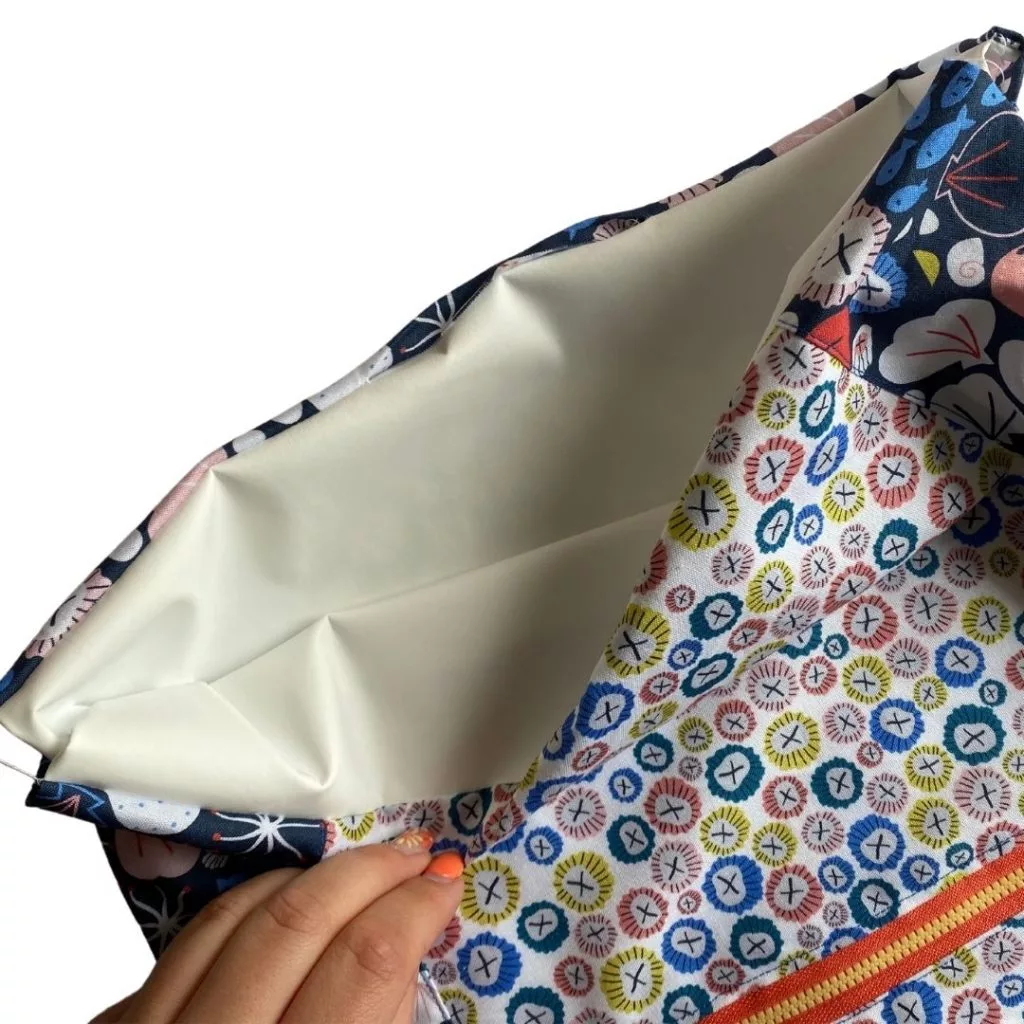
Creating the drawstring channel:

16. Sew across the top of the bag front and back in line with the opening you created, catching the seams flat inside the channel and backstitching at each end.
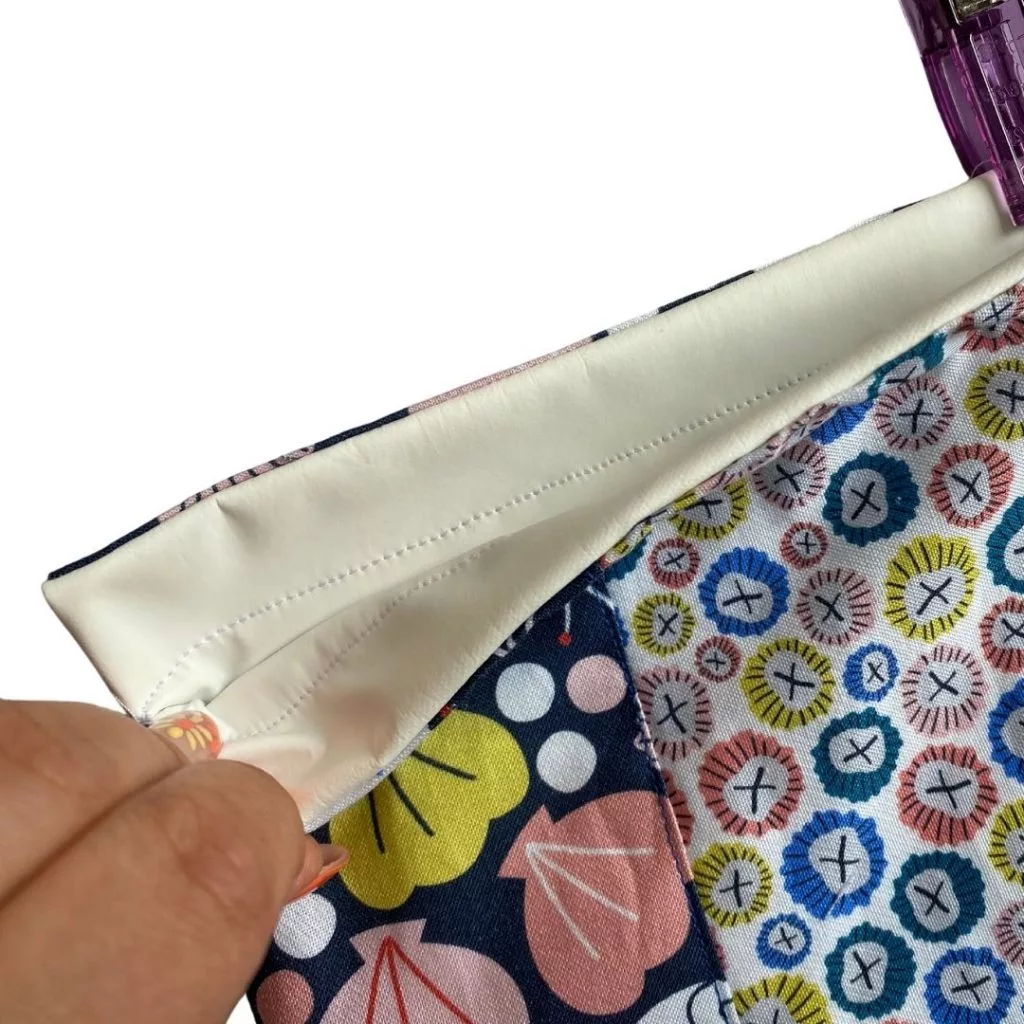
Adding the drawstring straps:

17. Cut two pieces of cord to 1.5m in length (adjust as necessary). Using a safety pin thread one piece through both top casings, so the end comes out the other casing on the same side of the bag.

18. Repeat with the other side.

19. Knot each cord through the side tabs on either side of the bag. 


And you’re finished, well done!

Follow us on Instagram

Outshine Everyones Christmas Decor This Year!

Outshine Everyones Christmas Decor This Year!

What does your Christmas household decor look like?

Are you the type of person to just dash a few christmas lights around the house and call it a day? Or do you go ALL out.. and I mean full house decorated top to bottom inside AND outside all out?

Whatever floats your boat, go with it! But you can’t possibly decorate without some pretty christmas cushions… right?

Well we’ve got just that!

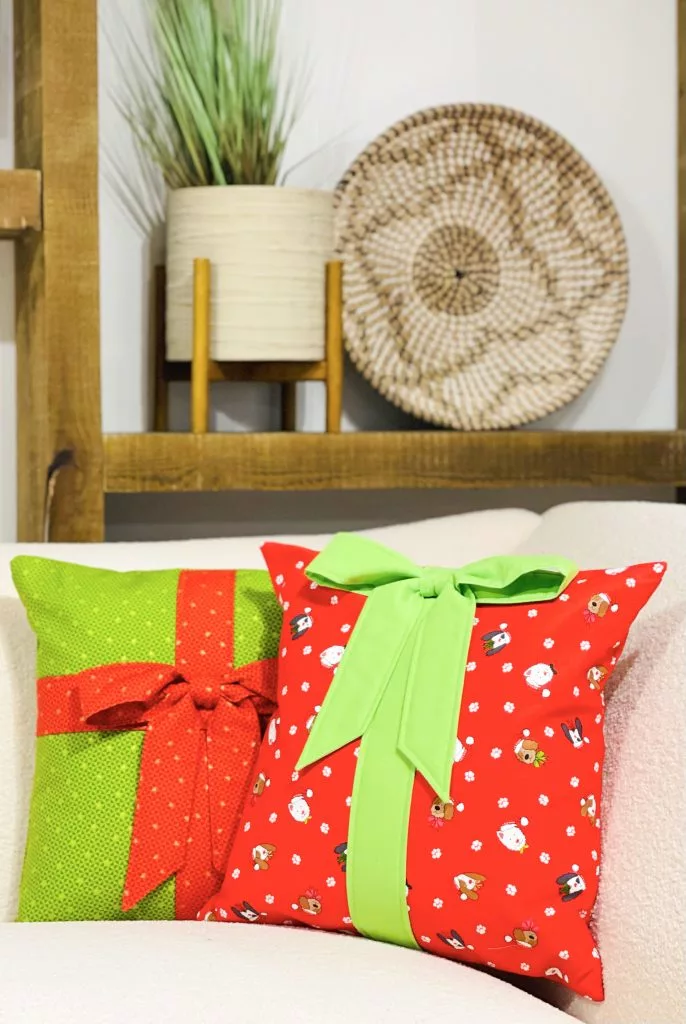
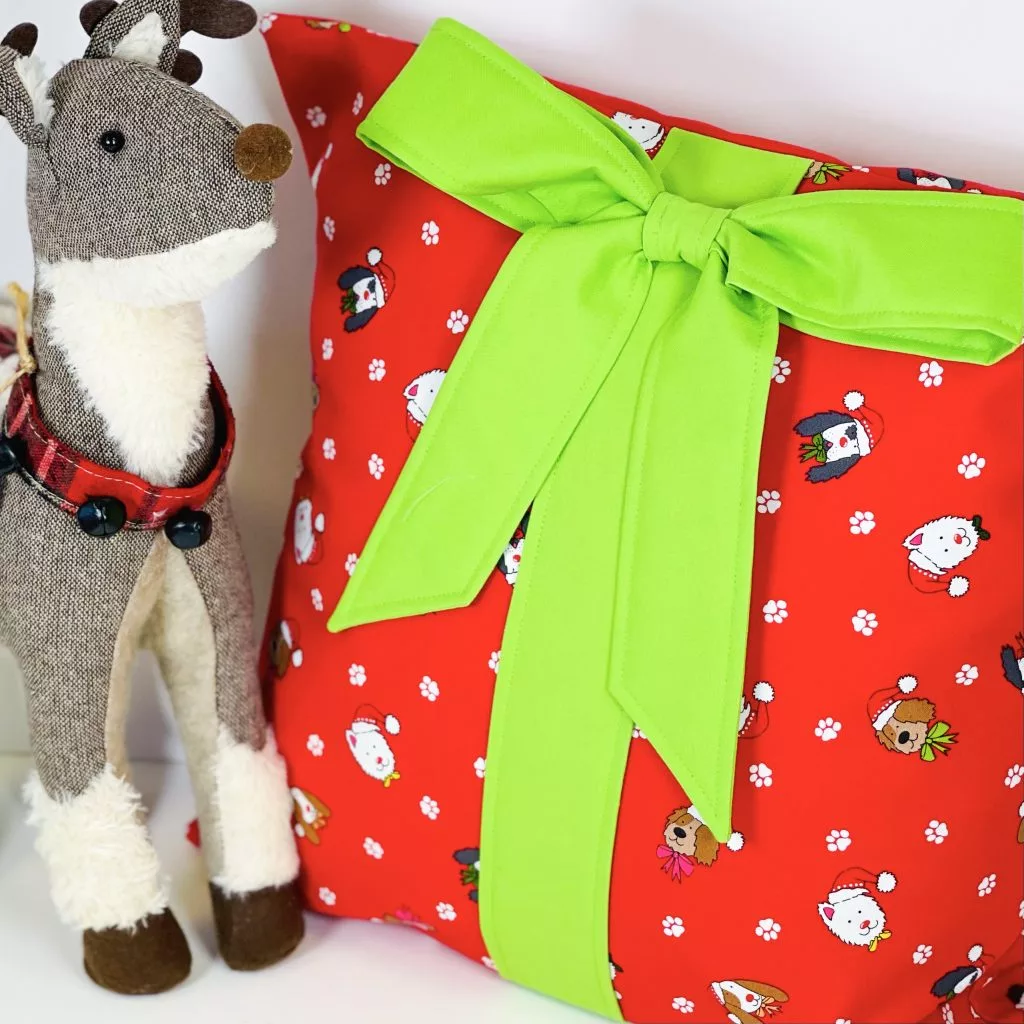
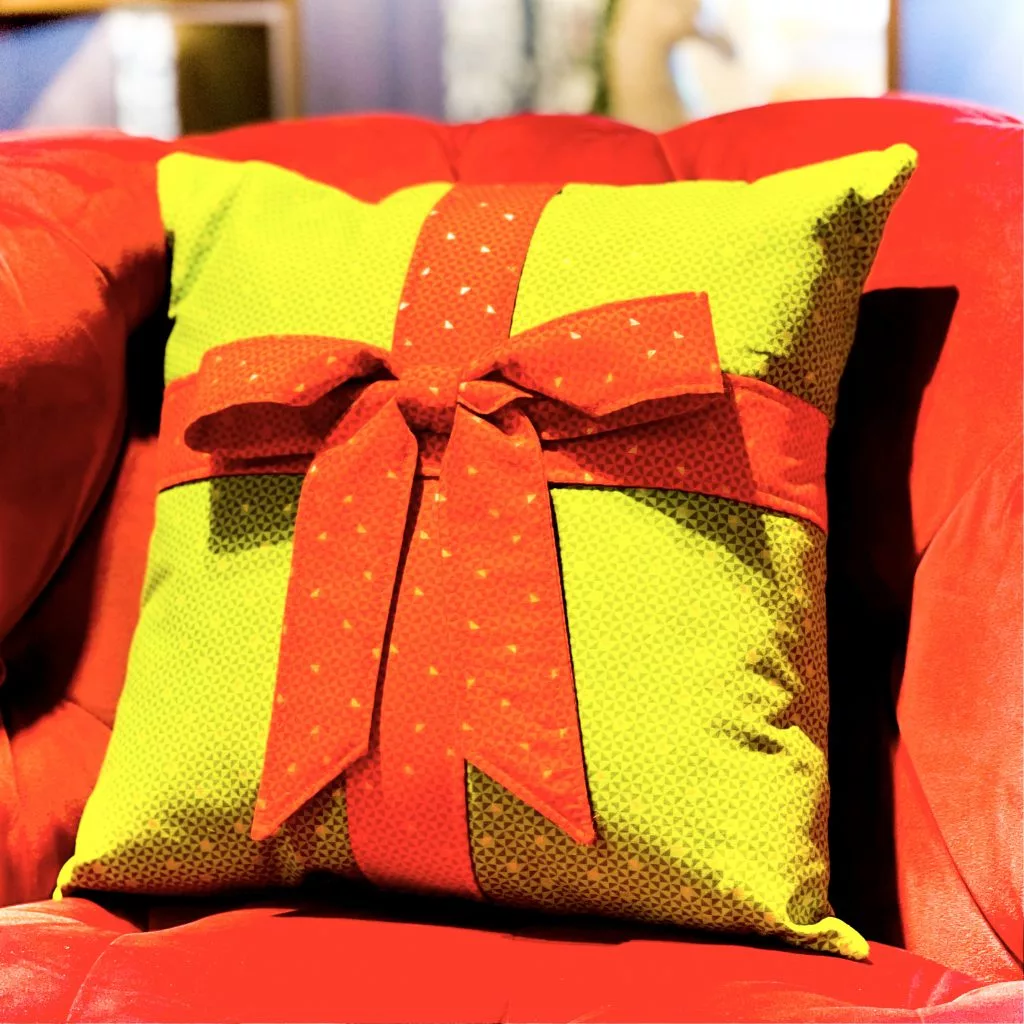
There’s a Christmas bow cushion project available! We’ve made up two using Makower’s Yappy! & Santa Express collection.

Get yourself some Yappy! Or Santa Express fabric from our Christmas shop and you’ll get this Christmas cushion project plus 2 more for FREE!

And if you prefer a more traditional cushion, Makower have their own cushion project using the Classic Foliage collection, find it here.

Makower has not only given us some fabulous collections this year… they’ve also made up some great Christmas projects for seam-stars of all levels! And they just so happen to fit with our household decor theme 😉

First off we couldn’t do household decor without one of the best multi-purpose inventions of all time… a quillow!

It’s a quilt and pillow combined into one, super handy for all sorts, especially when you have friends or family over during the Christmas period!

Plus you can choose between a Santa Express or Yappy quillow!

Next up is the Classic Foliage wall hanging designed by the insanely talented Lynne Goldsworthy!

This wall hanging is sure to make head’s turn this Christmas, will you be giving it a try?

You can find the full free project here and Classic Foliage collection here.

And last but not least on our “Christmas household decor you absolutely NEED this year” list is the gorgeous Scandi quilt.

A mahoosive 68” x 68” inch quilt designed by none other than Lynne Goldsworthy using the Scandi 2021 collection. It’s sure to keep you warm as you sit by the fireplace, roasting marshmallows with a cuppa!

Even if your usual Christmas afternoon isn’t as idyllic as that (because we all know it’s usually more frantic than idyllic…) it’ll keep you cosy during the Christmas period either way! Check it out here.

So which project is your favourite? Which one will you be trying first?

Let us know in the comments!


Want to get 3 FREE Christmas projects?

Go shopping in our Christmas shop and save 10% until 18th July 2021!

When checking out your basket, don’t forget to click the ‘Sign up the Newsletter’ box to make sure you get your 3 FREE projects to get you started!


Follow Plush Addict on social media and keep an eye out for more tutorials, guides and projects

Christmas Bow Cushion – Beginner Friendly Project

Christmas Bow Cushion – Beginner Friendly Project

Learn how to sew a Christmas bow cushion with this beginner friendly tutorial. It’s that time of year again… yup… we’re doing Christmas In July!

What part of decorating is your favourite? Is it the lights or the table or the front porch with a real life Santa Klaus? Whatever floats your boat, go with it! But you can’t possibly decorate without some pretty Christmas cushions… right?

That’s exactly why we’re bringing you our latest tutorial! Learn how to sew a Christmas bow cushion featuring Makower’s Santa Express & Yappy! collections.

An easy to follow and beginner friendly tutorial, you can brush up on skills such as using woven interfacing to give fabric more structure and sewing a bow from scratch.

We’ve also got a Christmas In July offer going, get 3 FREE projects and 10% OFF with any purchase from the Christmas shop!

Never miss another tutorial or guide…

Stay up to date with the latest by signing up to our newsletter!

Click to join our mailing list!

A sewing project for:  Beginner Seam Star

Finished dimensions – 16” square

Estimated sewing time – 2-3 hours

Important Notes:

  • ½” (1cm) seam allowance throughout, unless otherwise directed.
  • For steps using machine sewing, straight stitch, backstitching at the start & end using stitch length 2.5 unless otherwise stated.
  • Prepare your fabrics as per manufacturer’s care advice

Materials Will Need:

ItemAmountWe used
Fabric A:Quilting Cotton for Main Cushion0.5mMakower – Santa Express – Geometric Green Metallic
Fabric B:Quilting Cotton for Ribbon & Bow detail0.25mMakower – Santa Express – Geometric Red Metallic
Lightweight Low Loft  Fusible Fleece0.5mVlieseline Iron-on fusible Low Loft Fleece H630
Woven Interfacing
(Grab a cheeky 10% discount off your next Fusible Woven Interfacing purchase with WOVEN10 One time use per customer.)
0.5mVlieseline Cotton Woven Interlining – Medium G700 – White – 1m x 90cm
16” Cushion PadOneDuck Feather Square Cushion Pad 16″ / 40.5cm

Sewing Kit You Will Need:

Make it easier with: Needle Grippers – these are a great help turning a long fabric tube

Feeling inspired?

Want to access the full tutorial?

Go shopping in our Christmas shop and save 10% until 18th July 2021! 

When checking out your basket, don’t forget to click the ‘Sign up the Newsletter’ box to make sure you get your 3 FREE projects to get you started!

Follow Plush Addict on social media and keep an eye out for more tutorials, guides and projects!

Have the best dressed table this Christmas!

Have the best dressed table this Christmas!

Say cheers at a table filled with gorgeous luxury table place settings this year and have the best dressed table this season! Because we have lots of ideas and inspiration for your Christmas 2021 table decor.

Our fab new table linen kits are available to purchase in both RED & GREY colourways featuring Makower’s Scandi 2021 collection.

In addition, if you purchase one before 18th July 2021 you’ll save 10% AND gain access to our 3 FREE Christmas projects!

Christmas Table Linen Kit


The kit has been designed with the busy Seam-Star in mind.

Moreover, not only is this a simple project, each element comes together FAST as well! For this reason, we reckon you can sew the whole kit and make a luxury table place settings in around 4 hours! (more…)

Personalised Santa Sack Tutorial with Free Templates

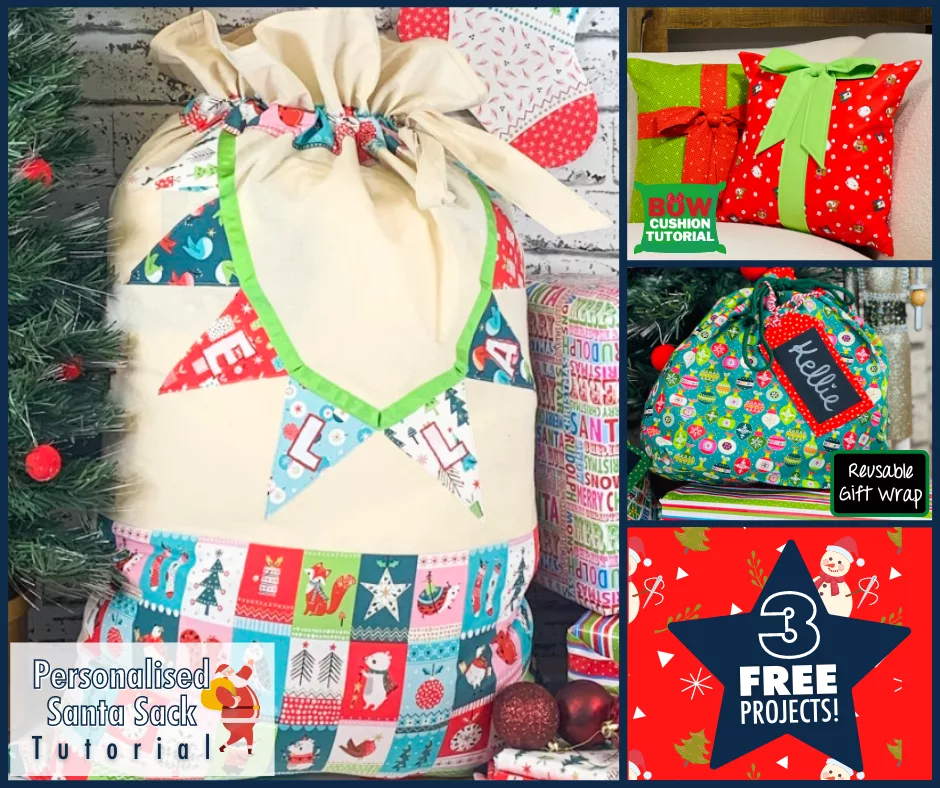
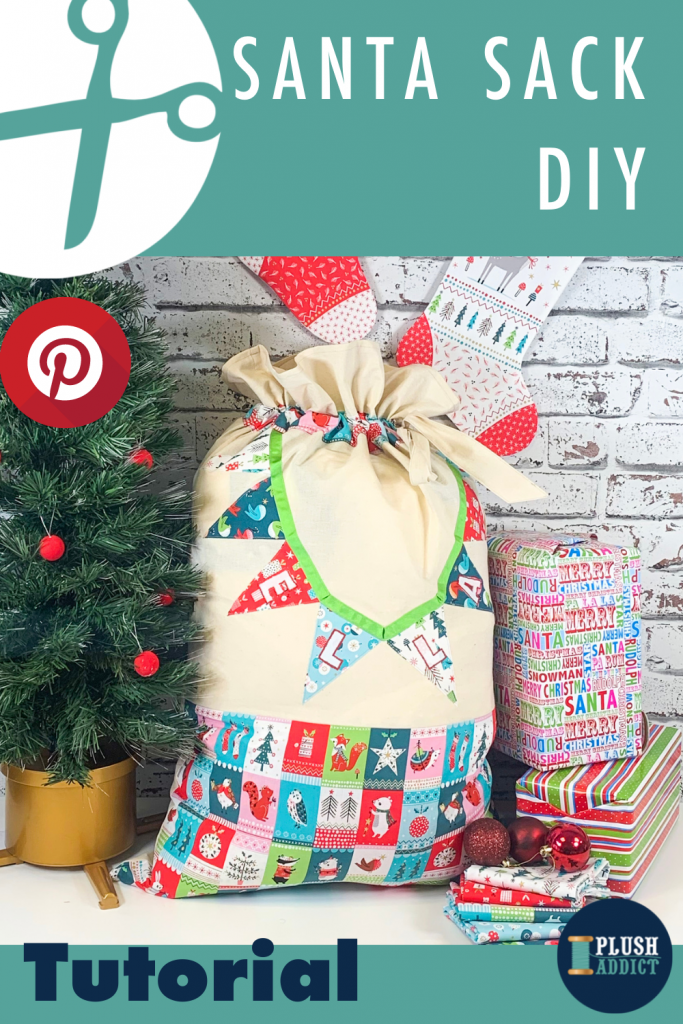
Do you want to add some extra special touches to your Christmas makes this year? Why not make that wish list a little longer with this Santa sack; pre-filled, it will save Santa a fair bit of his precious time when he visits on Christmas Eve. And to avoid confusion, it’s personalised with the recipient’s name! Read on for our Personalised Santa Sack Tutorial!

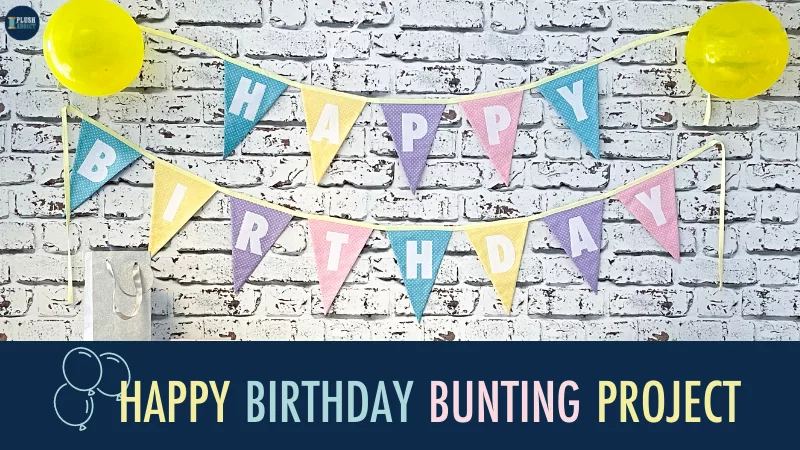
This beginner-friendly sewing tutorial has robust French seams, appliqued bunting with free alphabet templates to add personalisation so you’ll learn to use Bondaweb & applique too!

Pin me for later!

Personalised Santa Sack Tutorial

Personalised Santa Sack Tutorial

The main body of this Santa sack is made from Calico fabric which is economical and a great blank canvas for your Christmas prints. The French seams give an elegant and robust finish and mean you don’t need an overlocker for this project

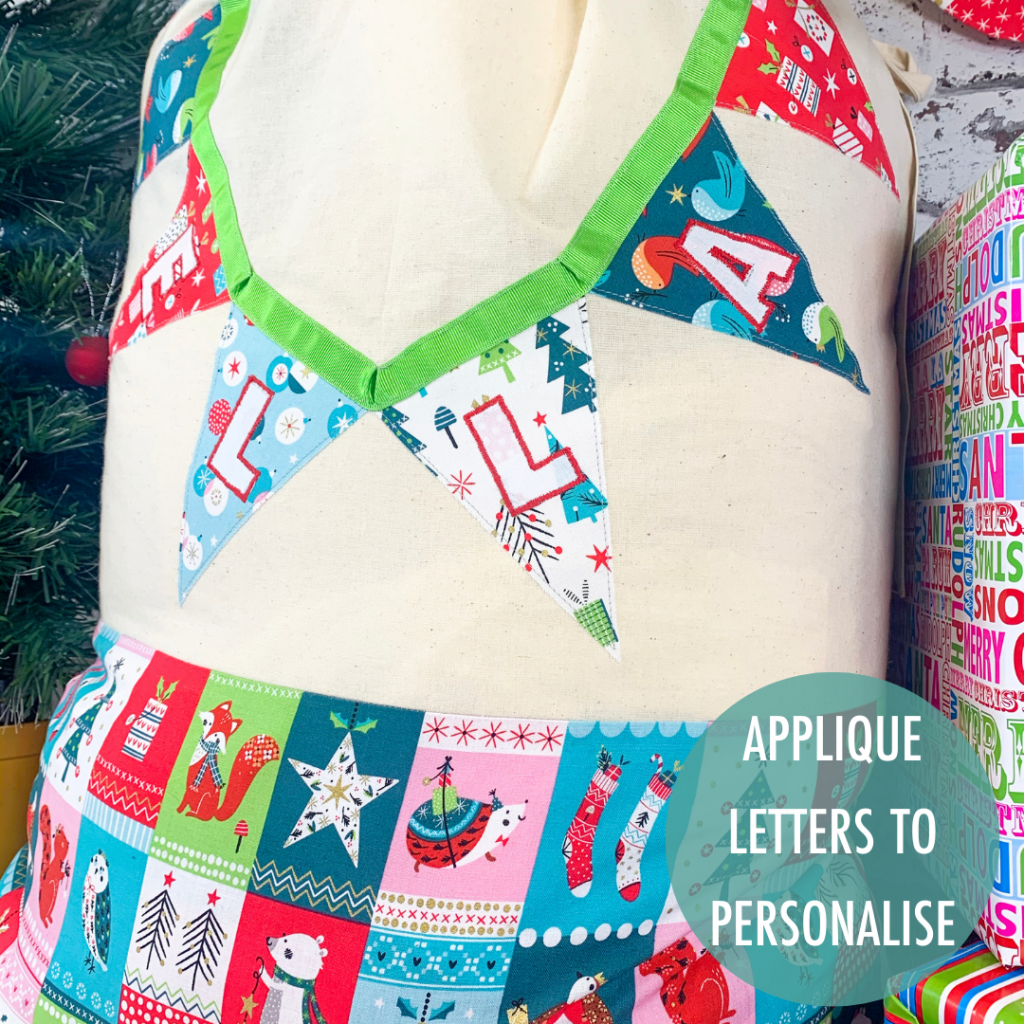
The personalization comes from appliqued letter on the bunting meaning you can personalise with any name whatsoever!

You can request a copy of the free applique templates & tutorial here

Personalised Santa Sack tutorial with free applique letters

For the Personalised Santa Sack Tutorial You will need:

ItemAmountWe used
A copy of the templates & PDF instructionsRequest here
Fabric A Quilting Weight Cotton for Main Sack & tie  1mMedium weight Calico
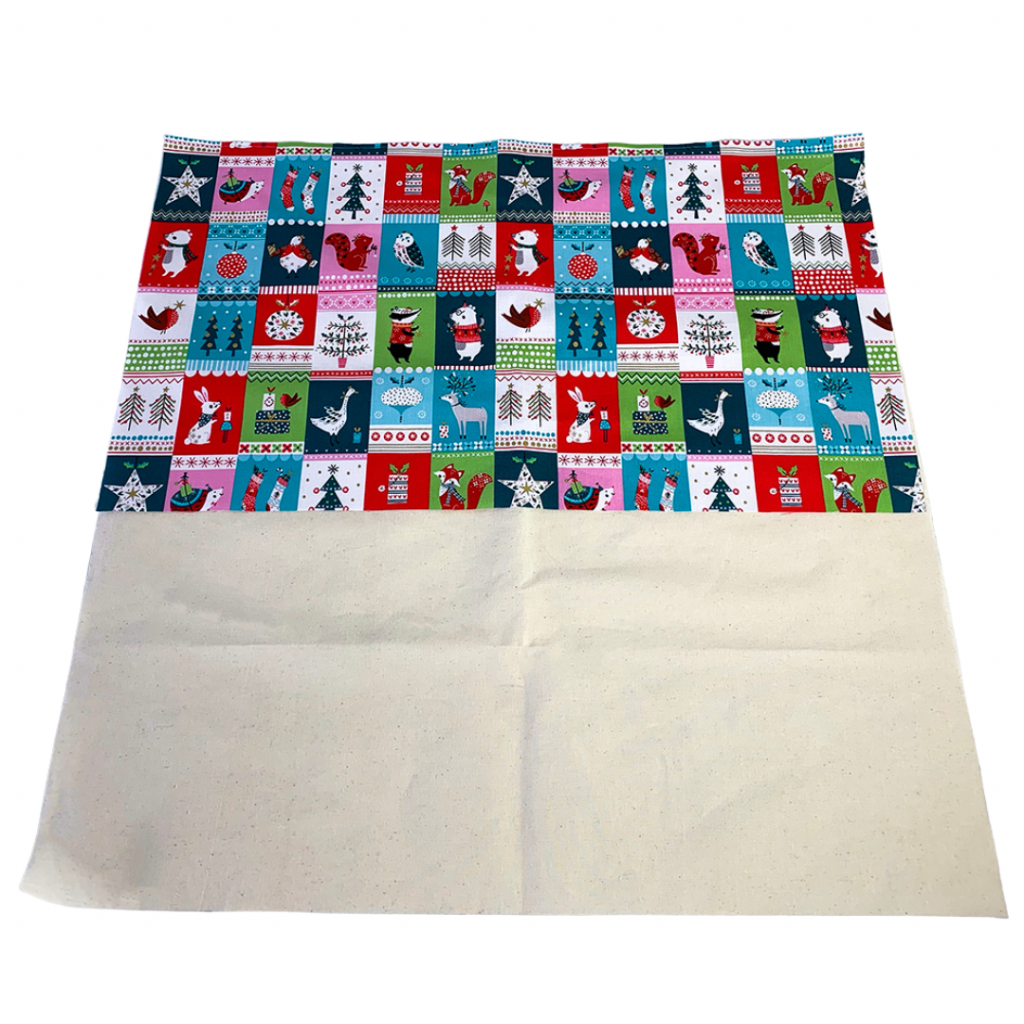
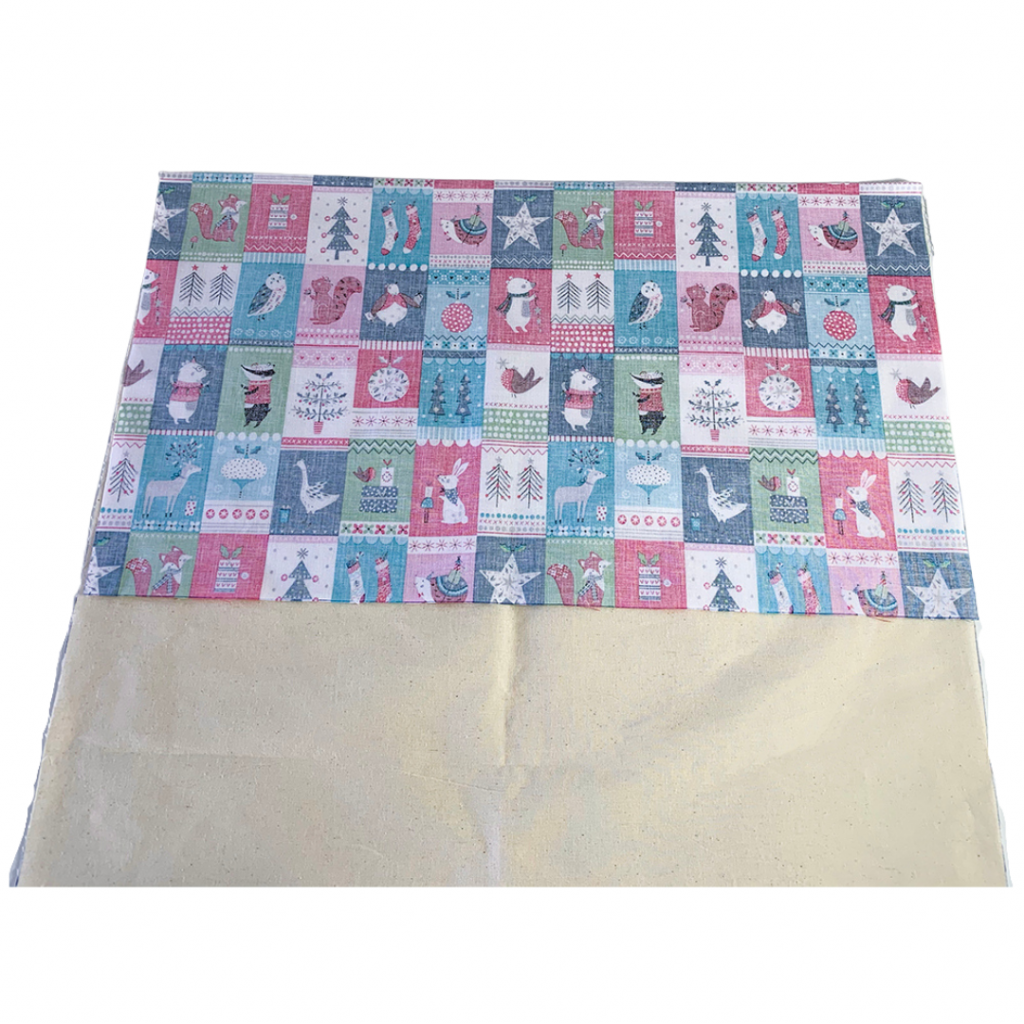
Fabric B Quilting Weight Cotton for Contrast Front Panel0.5mDashwood Studio Festive friends: blocks
Fabric(s) C Quilting Weight Cotton for Bunting FlagsDepends on the number of flags – a 13x15cm piece will yield 2 flag trianglesForest Friends collection
Fabric D Scraps Quilting Weight Cotton for LetteringDepends on the number of letters. We used scrapsRobert Kaufman – Kona solids: White
Bondaweb1 packBondaweb
16mm Ribbon or trim for the bunting “String”1mBerisfords: Spring green
ThreadGutermann colour 38

Important Notes

  • 1.5cm seam allowance throughout, unless directed.
  • For steps using machine sewing, straight stitch, backstitching at the start & end using stitch length 2.5 unless otherwise stated.
  • Prepare your fabrics as per the manufacturer’s care advice.

Disclaimer: Strangulation hazard: This item is intended for decorative purposes only and is not a toy. Children must be supervised at all times.

Personalised Santa Sack Tutorial

  1. Cut your fabrics for the main sack:

From Fabric A for Main Sack & Tie cut  

  • 1 x 63×60.5cm Front panel*
  • 1 x 63×93.5cm Back panel*
  • 2 x 1mx10cm Tie Pieces

*63cm measurement is the width of the sack.

From Fabric B the Contrast Fabric :

  • 63x36cm Front panel*
  • 19×9.5 cm and 107×9.5cm Channel pieces

*63cm measurement is the width of the sack.

A note on cutting the front contrast panel: We have given exact measurements for this panel. If you are using the same fabric that we did (Dashwood Studio Festive friends: blocks) please ensure you are cutting at the correct place to make sure you don’t cut a “block” in half!

The front panel is applied using a French Seam. The total seam allowance for the top of the panel piece is 1.5cm so ensure you’re cutting 1.5cm above

Assemble the front panel with French seams

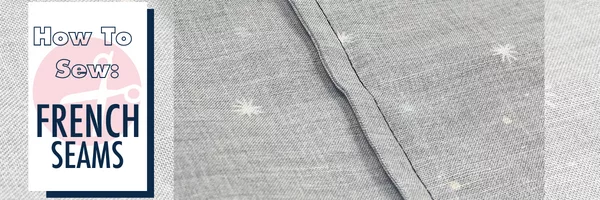
You can check out our dedicated tutorial on French Seams for more detailed photos if you need them

2. Sew the 2 front panels together with a French seam: With wrong sides together, pin the top edge of the contrast front panel to the bottom edge of the calico front panel (match the 63cm edges) ensuring the print is the correct way if you are using a directional fabric.

3. Sew together with a 5mm seam allowance

4. Press the seam allowances to one side, trim any loose threads

5. Fold along the seam to bring the 2 fabrics right sides together & press

6. Pin then sew with a 1cm seam allowance. You have sewn a French Seam, yay!

7. Press the seam allowance toward the contrast fabric & top stitch


Make appliqué bunting

If you need more photos for making this bunting please refer to this post – the method is the same

8. Print off the bunting template & letters supplied. Use the 1” test square to check the sizing. If the sizing is incorrect check print settings. Depending on the device used, select ‘actual size’ or deselect the ‘fit to page’ option.

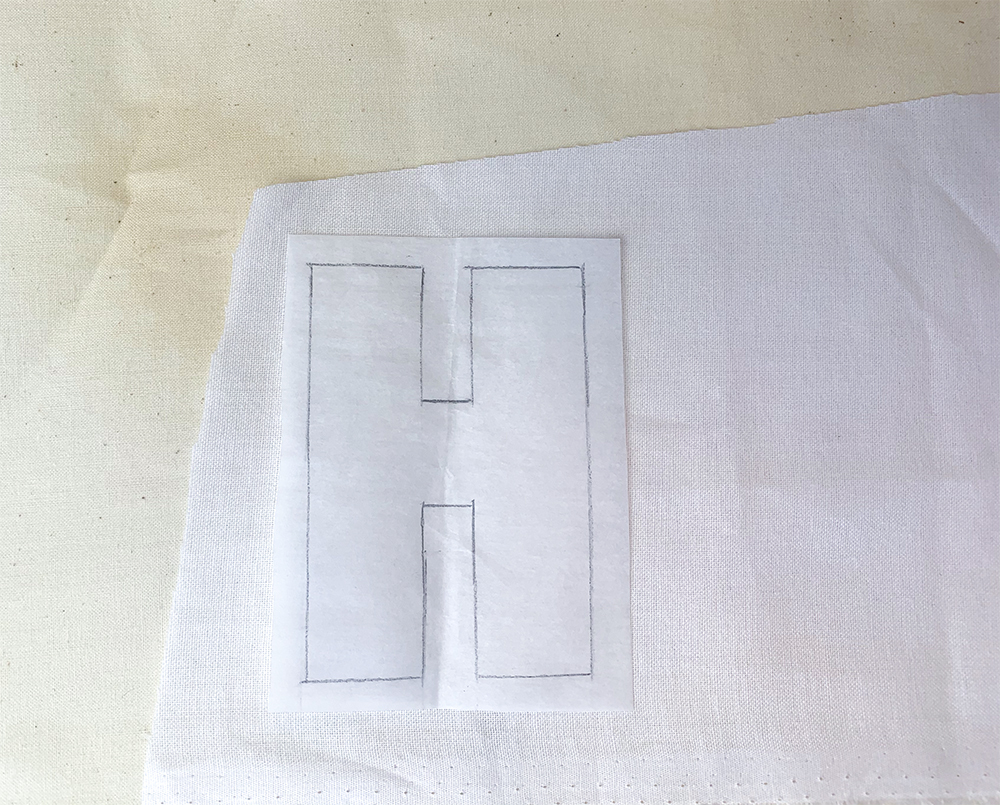
9. Trace the required lettering and number of flags, onto the smooth side of the Bondaweb using a pencil. The letters are mirror images – this is correct.

10. Rough cut around each shape on the Bondaweb, leaving a small border

11. Spread a smooth surfaced tea towel/ spare length of cotton over an ironing board

12. Lay the lettering fabric wrong side up on the ironing board

13. Place the Bondaweb shapes on top of the fabric rough side down, following the fabric grain

14. Lay a smooth-surfaced tea towel/ spare length of cotton over the top and press each letter for roughly 5 seconds, heat setting 2, no steam.

15. Wait around 30 minutes for the Bondaweb to cool and the glue to set

16. Cut out each bonded letter shape accurately. Cutting small details is often easier with fine scissors or a craft knife and cutting mat.

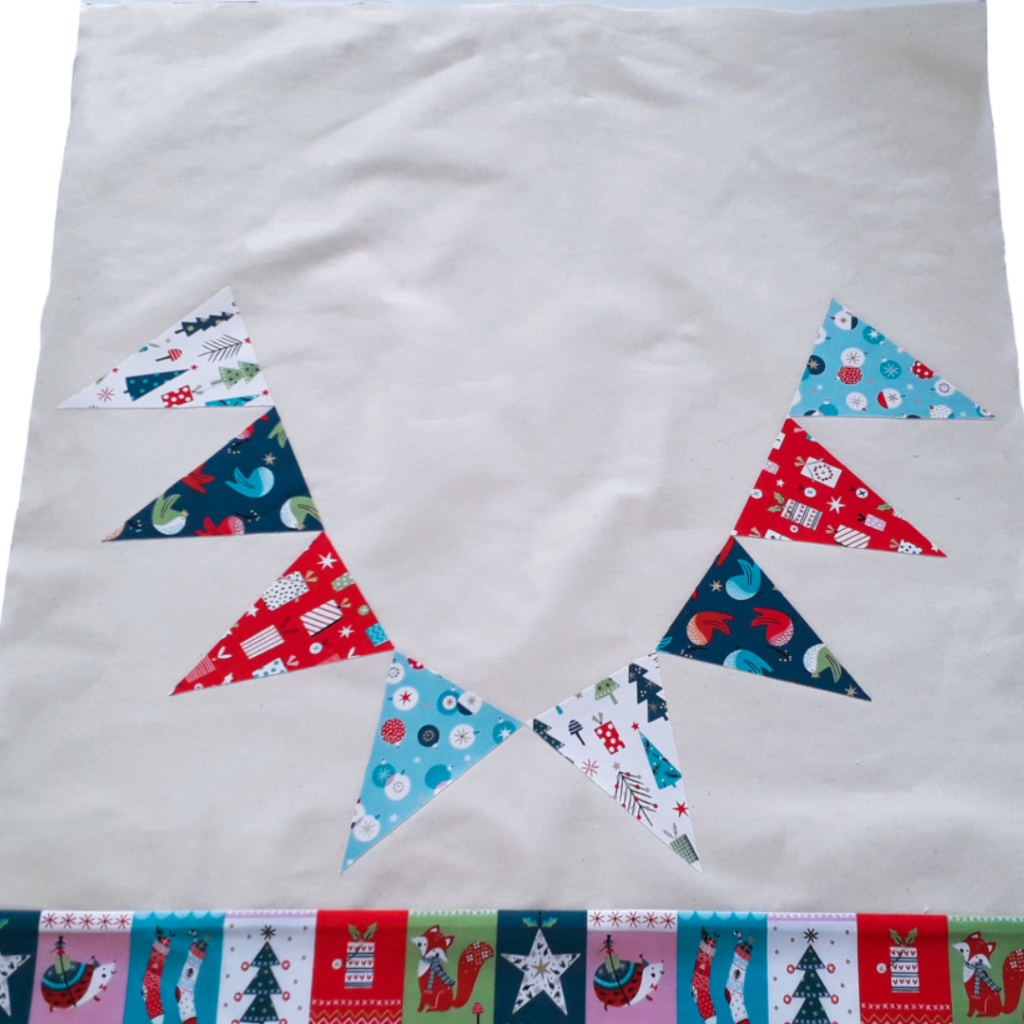
17. Position the flag triangles onto the front panel, spanning the calico front panel as preferred. Leave 22cm clearance at the top for the tie channel etc. and take into account the 1.5cm seam allowance each side when positioning the flags. For longer names you may need to “snake” your flags.

If you would prefer smaller flags/ letter please print off the templates at a reduced size. This will make cutting out the letters a bit trickier though. 

If you have a digital cutting machine you can use this file to cut out the flags & letters.

18. One at a time, peel the backing paper off each triangle and return to its position on the front panel

19.  Place the panel right side up on the covered ironing board. Lay a smooth surfaced tea towel/ spare length of cotton over the top of the flags

20. Dampen the cover fabric using the iron’s spray setting and press over each flag for roughly 10 seconds, heat setting 3

21. Allow around 30 minutes for the Bondaweb to cool and the glue to cure

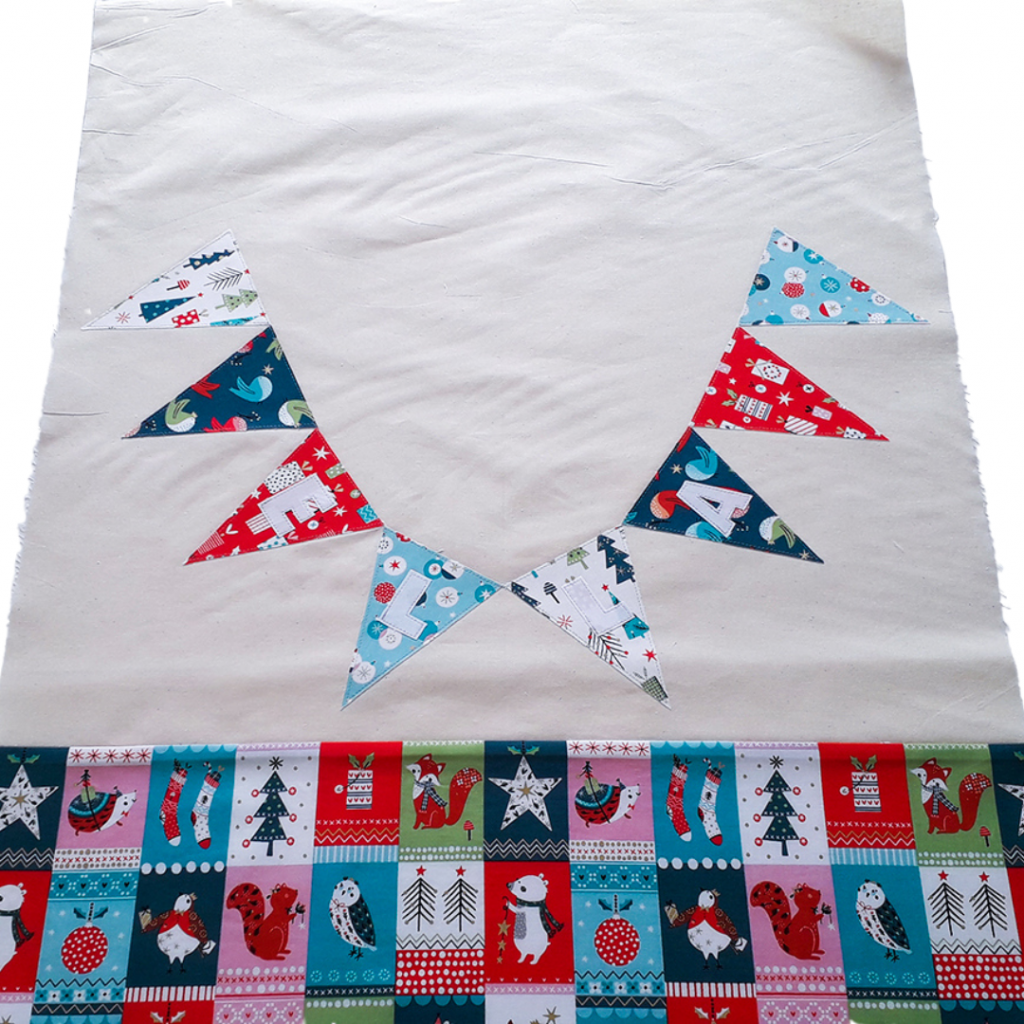
22. Position the letters on their corresponding triangles

23. Follow steps 18. to 21. to apply the letters

24. To secure the letter on to the flags sew around the edge of each flag and letter, including any cut out elements (for example; the centre of an A), 2mm from the edge. Use a contrasting thread to ensure the letters stand out, if required. 

Hand-sewn blanket stitch or machine zig-zag stitch overlapping the edge of the letter and the surrounding fabric can also be used (length 0.5 to 1, width 3 to 4 depending on the finish required)

25. Position and pin the grosgrain ribbon, connecting the top of the triangles

26. Sew along the top and the bottom of the ribbon, tight to the edge, to secure. To allow the ribbon to curve, sew along the outermost edge first then sew small pleats to remove any excess from the inner edge

Press the top hem

27. Turn over and press the top 2cm of fabric on both the front and back panel pieces

28. Turn the raw edge under to reach the crease and press again to create a double-folded hem


Assemble the sack with French seams


29. Align the front and back panels wrong sides together and pin the bottom edge

30. Sew with a 5mm seam allowance

31. Press the seam open with the seam allowance to one side, trim any loose threads

32. Fold along the seam to bring the 2 fabrics right sides together and press

33. Pin then sew with a 1cm seam allowance

34. Press the seam open with the seam allowance to one side

35. Repeat steps 29. to 34. for the side seams, turning the 2 corners of the 1st seam allowance and sewing over the ends with the 1cm seam

36. Turn the sack out the right way

37. Pin the hem then sew along the innermost crease, 2mm from the edge

Sew the tie

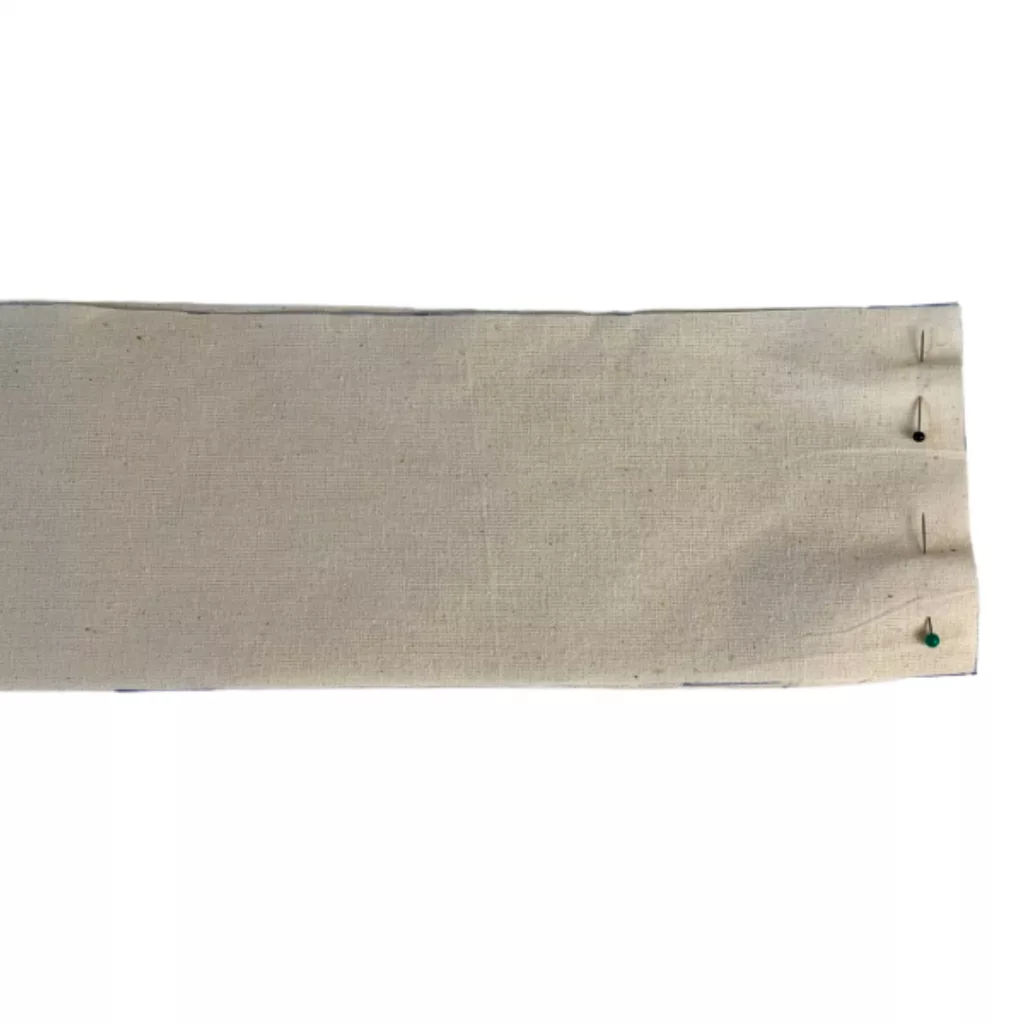
38. Align and pin the two short ends of the tie pieces

39. Sew with a 1cm seam allowance

40. Fold the tie in half lengthways, ensuring the join seam allowance is on the outside

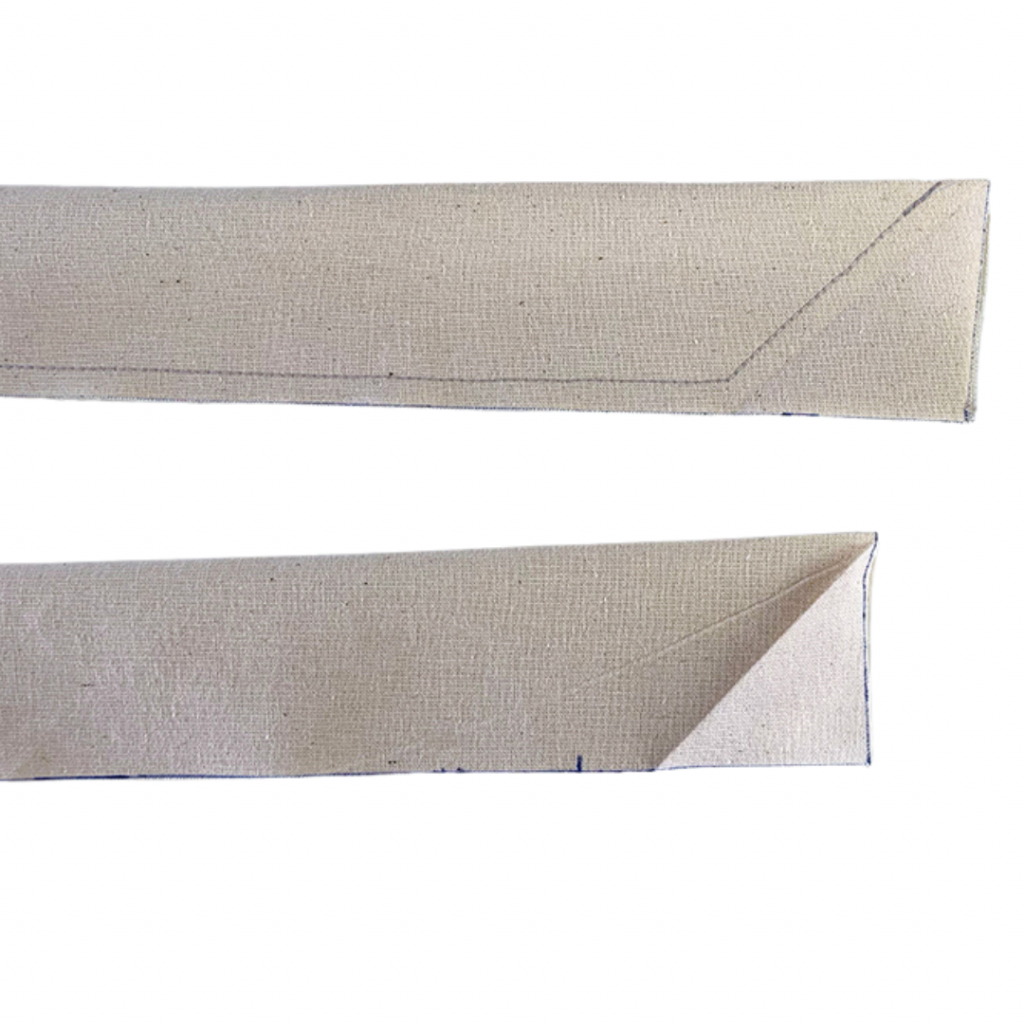
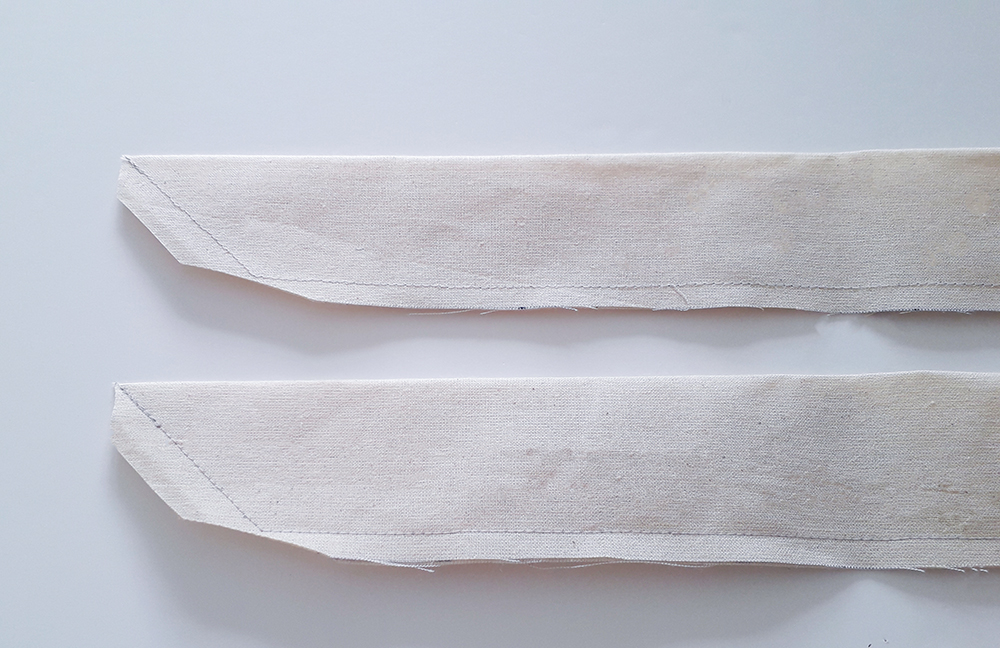
41. At each end of the tie fold the corner up to form a 45 degree angle then cut along the crease

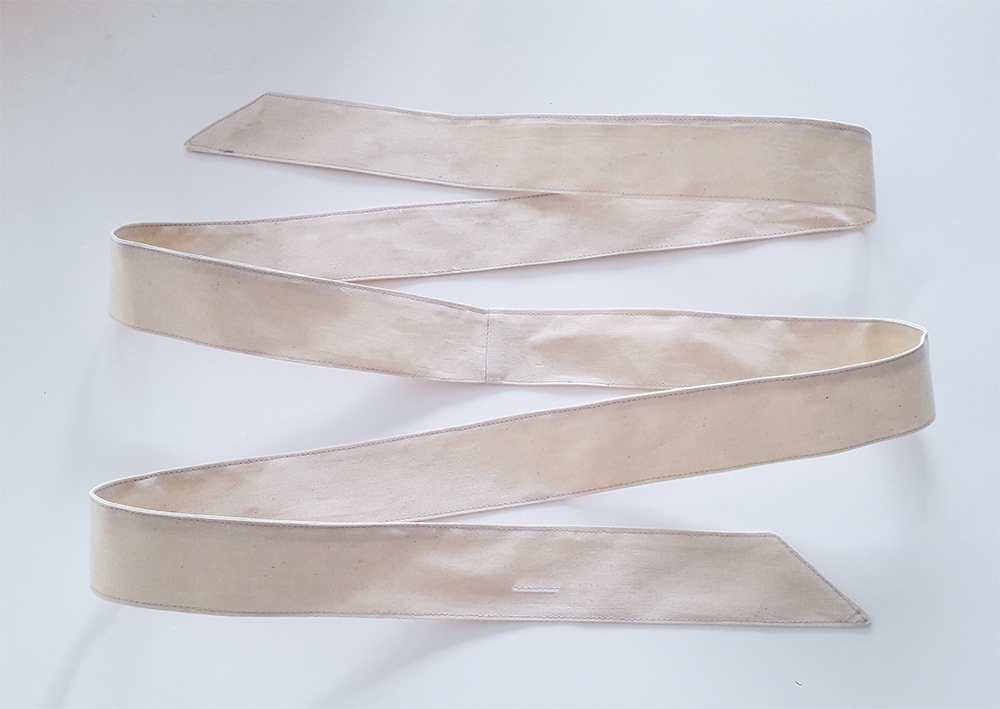
42. Sew along the edge of the tie leaving a 10cm turning gap toward the centre. Sew with a 1 cm seam allowance and continue along the trimmed edges.

43. Clip the corners, turn the tie out the right way and press

44. Top stitch around the edges of the tie 2mm from the edge

Sew the drawstring channel

45. Pin the 2 channel pieces right sides together along the short edge and sew with a 1cm seam allowance

46. Press the seam allowances open

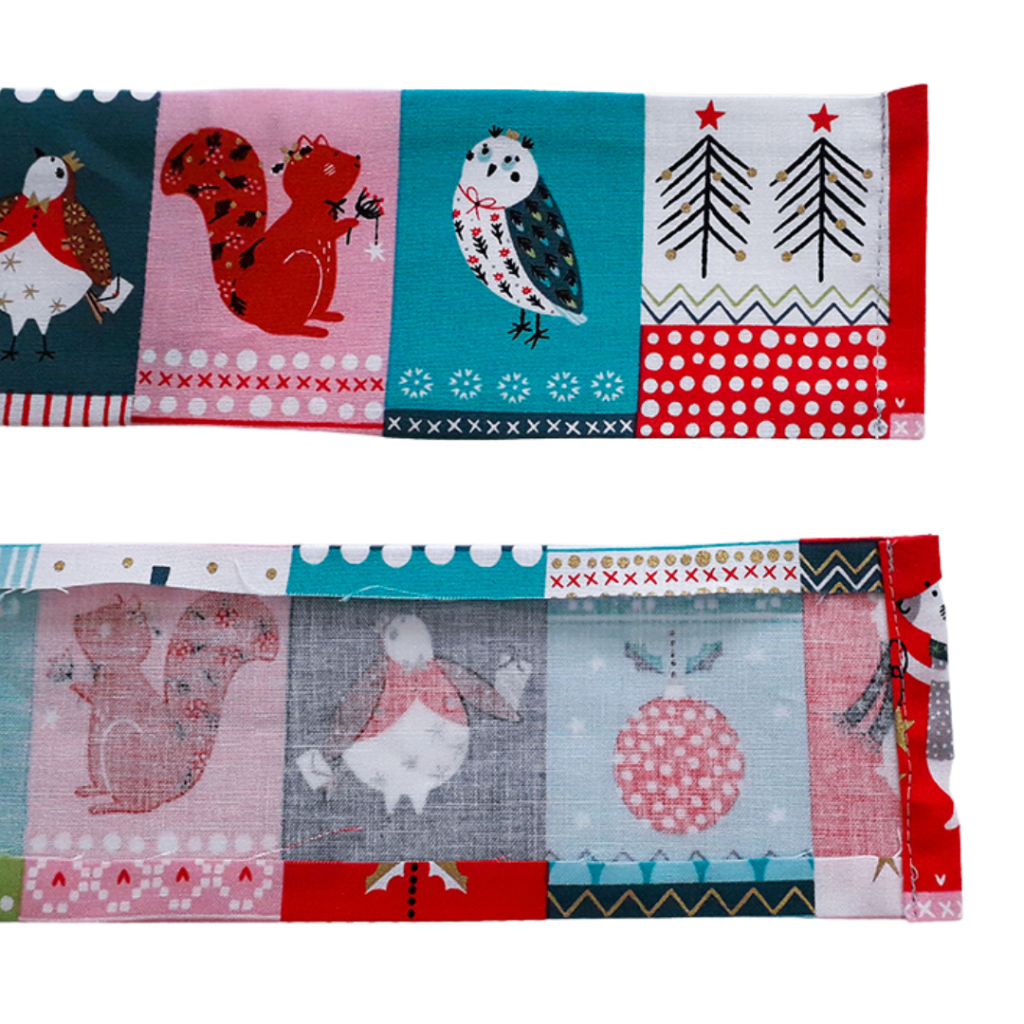
47. With the fabric right side down, turn over and press 1cm of fabric along the 2 long edges

48. At each end of the channel turn over and press 2cm of fabric

49. Turn the raw edge under to reach the crease and press again to create a hem

50. Sew along the inner crease edge of each pressed hem to secure

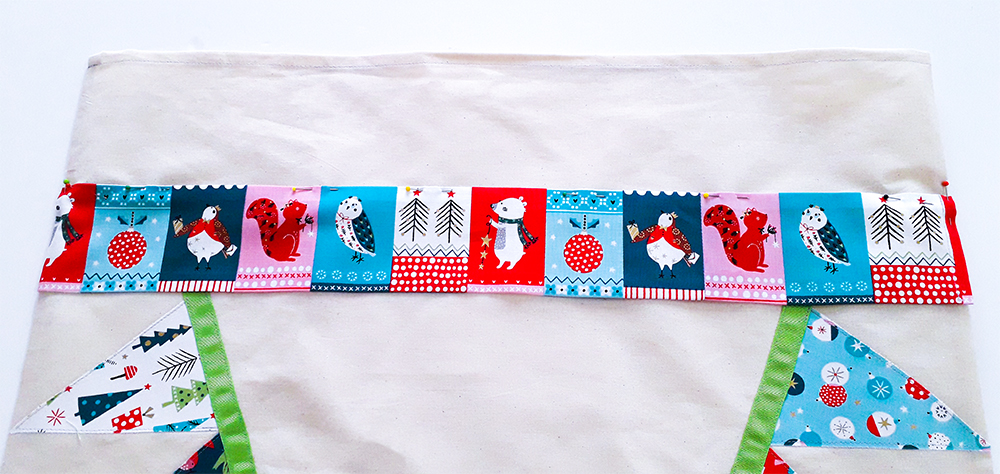
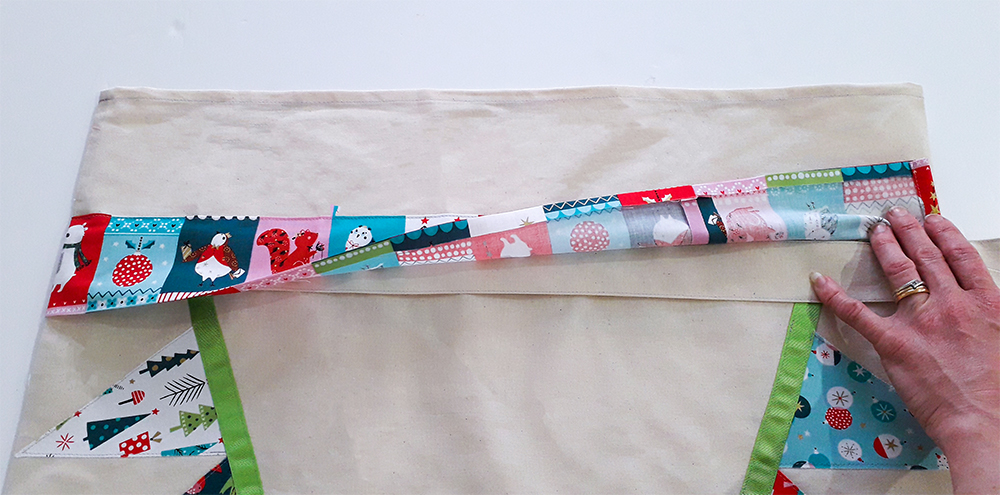
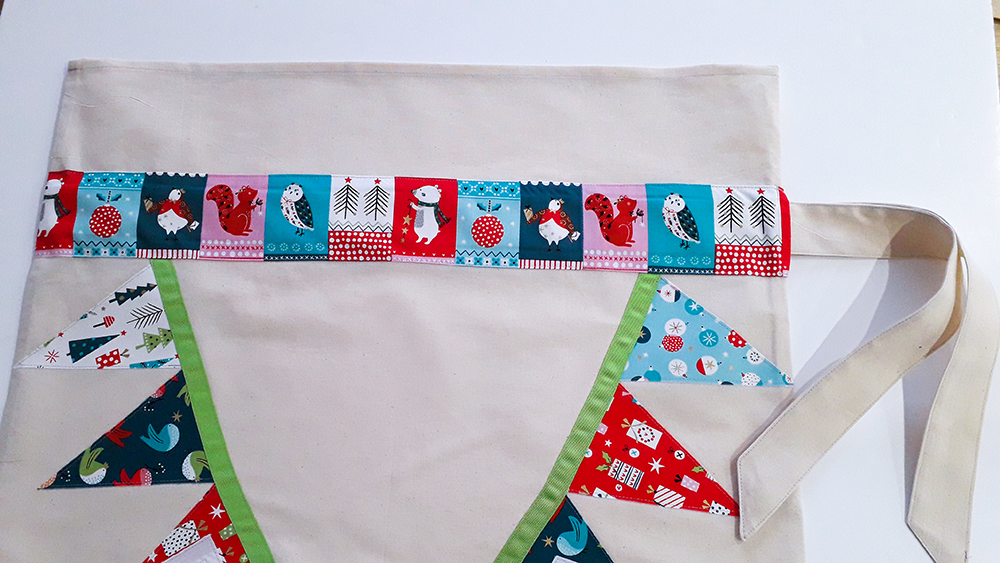
51. Position the channel with the top edge 10cm from the top of the sack and the hems either side of the right side seam

52. Pin and sew along the top edge of the channel only, 2mm from the edge

53. Lift the lower edge of the channel and tuck the tie underneath. Ensure the tie is close to the sewn edge and the tie ends extend from the hemmed opening in the channel

54. Pin and sew along the bottom of the channel, 2mm from the edge

55. Thread the tie through the channel

And you’re all done!
If you enjoyed this tutorial then please leave us a comment… we love to hear from you!