Our site is getting a makeover! Please bear with us whilst we make improvements

DIY Happy Birthday Bunting Tutorial: Free Templates Included

DIY Happy Birthday Bunting Tutorial: Free Templates Included

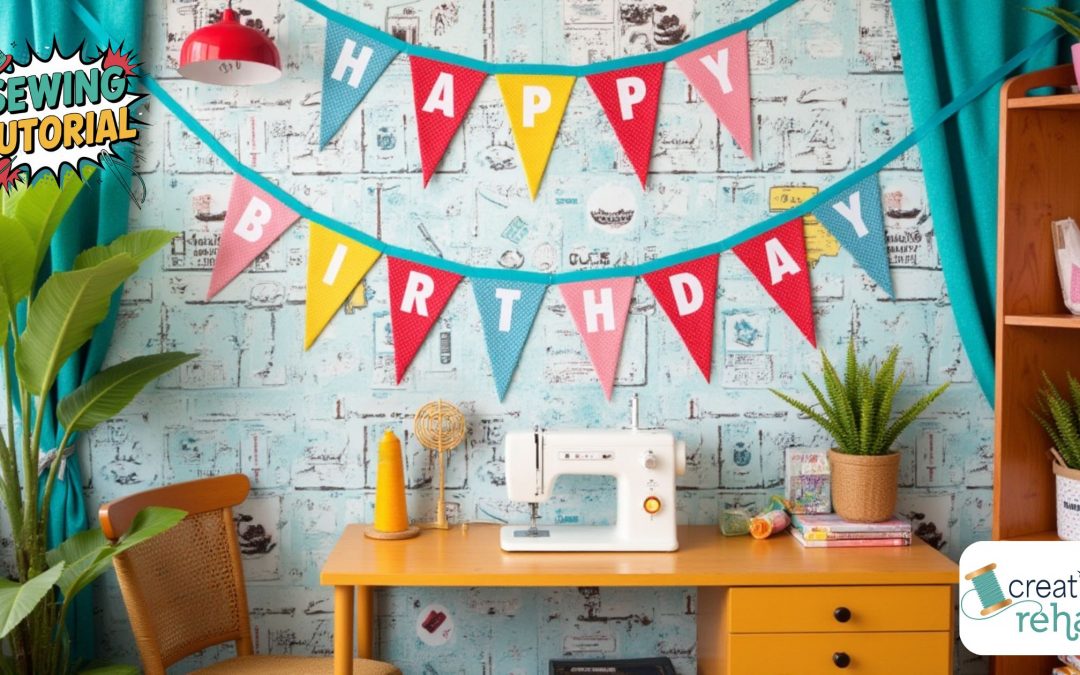
Welcome to this helpful guide to crafting your very own reusable birthday bunting!

Included in this tutorial are free downloadable templates for the bunting flag and the ‘Happy Birthday’ letters, making it even easier to create your personalised decoration.

Celebrate sustainably with a handmade decoration that’s not only eco-friendly but also adds a personal touch to your special day. This project is perfect for beginners and will help you master essential sewing techniques while creating something delightful for your home.

Handmade bunting can be washed and used time and time again and make those special memories for you and your family.

Sewing Skills for Making Reusable Birthday Bunting

You will learn

  • How to use Bondaweb.
  • Appliqué techniques.
  • Sewing bunting.
  • Turning and finishing points.

Materials for Sewing Birthday Bunting Flags

**A note on fabric quantities: Enough fabric is needed to cut 26 triangles depending on your fabric choices and colour combinations you may find you require different amounts. **

1 fat quarter yields 8 or 10 triangles, depending on cutting accuracy. See below for the fabrics & quantities we used to create each look.

What is Bondaweb And Why Use It?

Bondaweb is a brilliantly versatile fabric glue; think of it as a sheet of double sided sticky tape that can adhere 2 fabrics together.

There are many benefits to using Bondaweb:

  • Until heat is applied bondaweb is not sticky
  • Once used it can be washed at up to 60 degrees or dry cleaned
  • Bondaweb is perfect for appliqué, but check out our pinwheel project here for an alternative project idea.
  • Makes it easier to cut appliqué designs accurately
  • It gives appliqué shapes stability, making them easier to sew in place
  • The backing paper can be drawn on in pencil and is translucent enough for tracing, making it easier to pan out designs

Step-by-Step Guide to Sewing Birthday Bunting


Step 1: Prepare Your Bunting Flags

  • Print and cut out the triangle template. Ensure your printer is set to 100% (not “Fit to Page”) and check the sizing using the 1” test square.
  • Trace and cut 26 triangles from your fabric using the template. For precise cutting, a rotary cutter and mat are helpful.

Step 2: Adding ‘Happy Birthday’ Letters with Bondaweb

Once you’re cut all of your flags using the template it’s now time to appliqué on the “HAPPY BIRTHDAY” letters:

Trace “HAPPY BIRTHDAY” letters onto the smooth side of the Bondaweb.

Pro Tip: If your fabric has a definite right and wrong side, trace the letters in reverse.

Roughly cut around each letter on the Bondaweb, then iron the Bondaweb onto the wrong side of your lettering fabric. Follow the manufacturer’s instructions for heat settings.

Once cooled, cut out each letter accurately and peel off the backing paper.

Position each letter onto a triangle, aligning it 3cm from the top edge. Iron into place using a damp tea towel for protection.

Seam-Star Top Tip: use an Olfa knife & a craft mat for an easier cut around the inside of the letters.
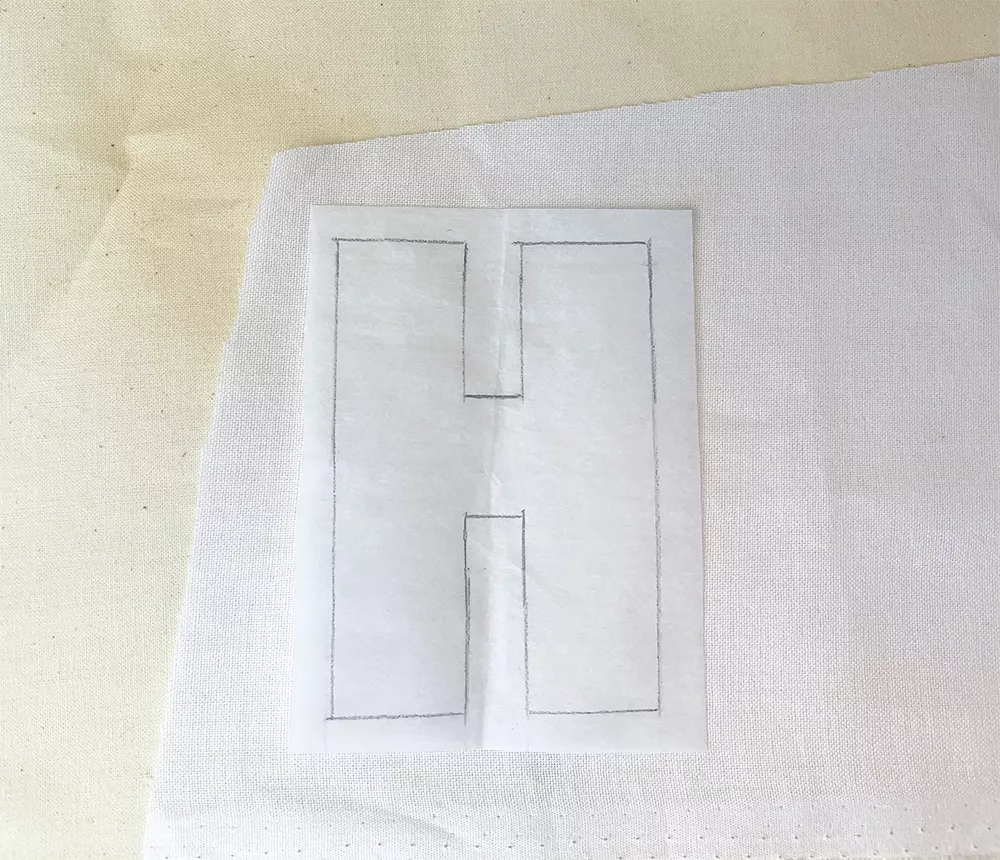
5. Spread a smooth surfaced tea towel or spare length of cotton fabric over an ironing board.

6. Lay the Bondaweb lettering fabric wrong side up on the ironing board.

7. Place the Bondaweb letters on top of your lettering fabric rough side down, following the fabric grain.

8. Lay a smooth surfaced tea towel/ spare length of cotton over the top and press each letter for roughly 5 seconds, heat setting 2, no steam.

Then wait at least 30 minutes for the Bondaweb to cool and the glue to set.

9. Cut out each letter accurately, cutting small details is easier with fine scissors or a small rotary cutter and cutting mat.

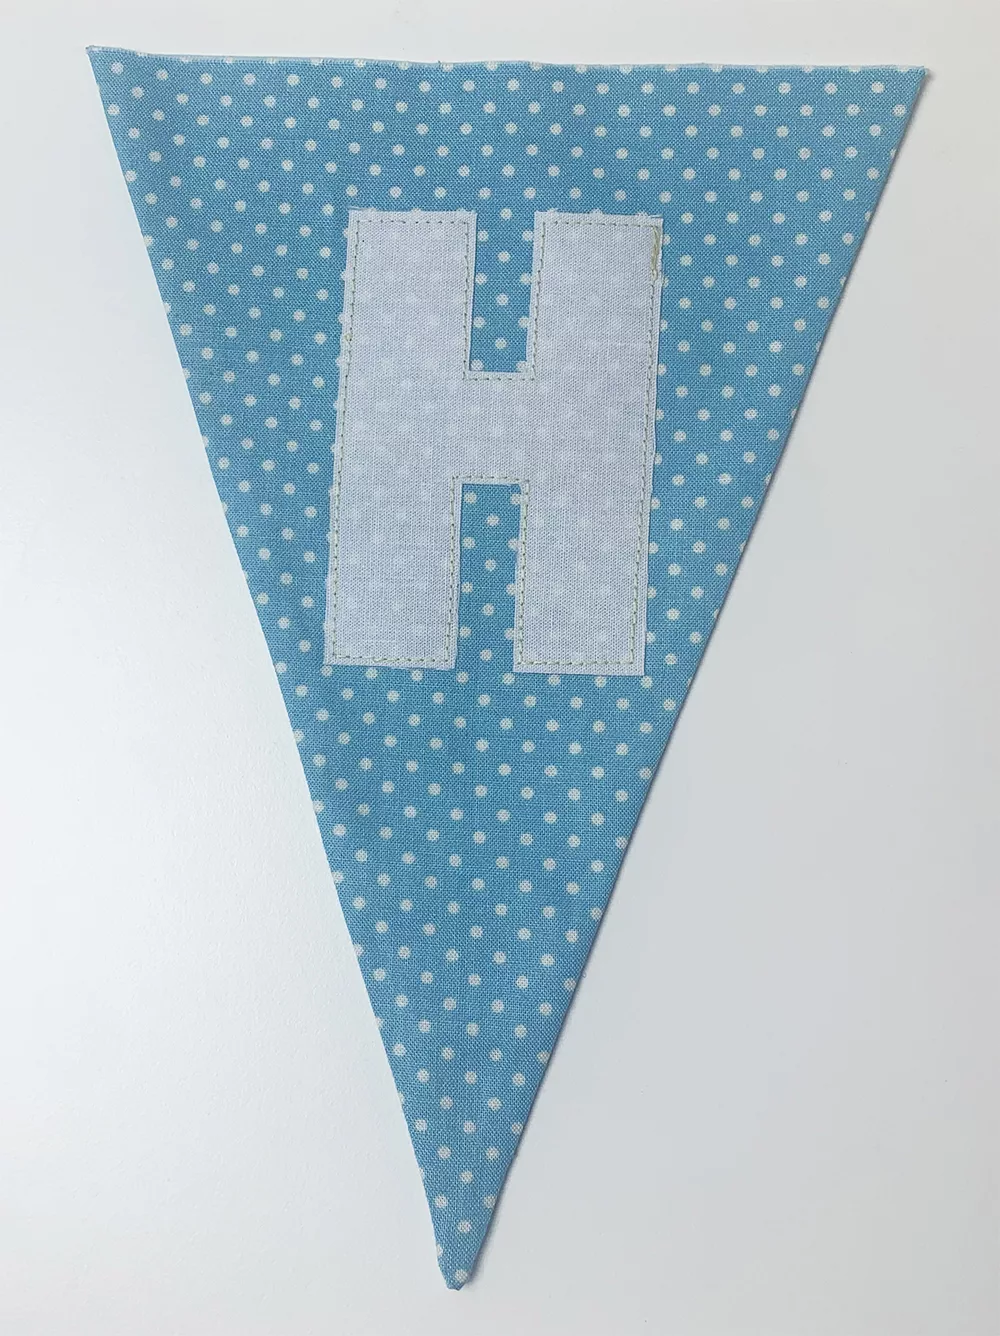
10. One at a time peel the backing paper off each letter and position it centrally on the corresponding triangle, 3cm from the top edge.
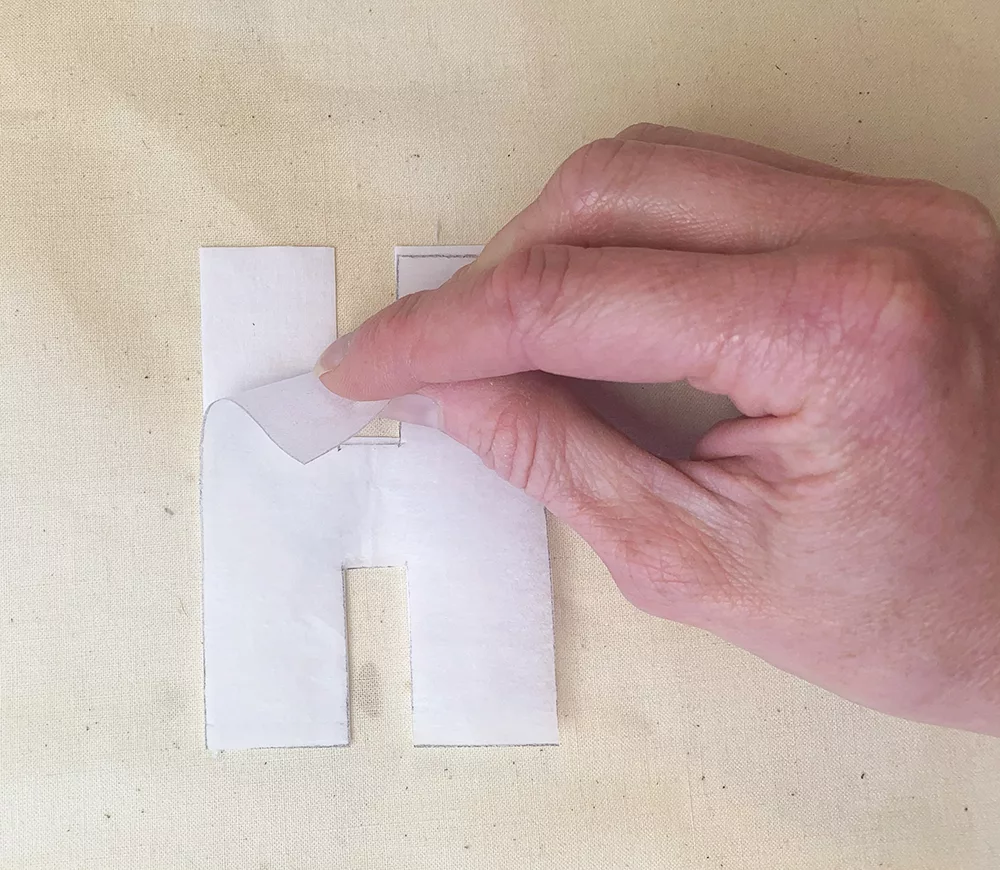
11.  Place the triangle and letter right side up on the covered ironing board. Lay a smooth surfaced tea towel/ spare length of cotton over the top.

12. Dampen the cover fabric using the iron’s spray setting and press over each letter for roughly 10 seconds, heat setting 3.

Allow at least 30 minutes for the Bondaweb to cool and the glue to set.

13. Sew around the edge of each letter and around any cut out elements (for example the centre of the D), 2mm from the edge.

Hand sewn blanket stitch or machine zig zag stitch overlapping the edge of the letter and the surrounding fabric can also be used (length 0.5 to 1, width 3 to 4 depending on the finish required).

Pin For Later!
Sew The Bunting Flags

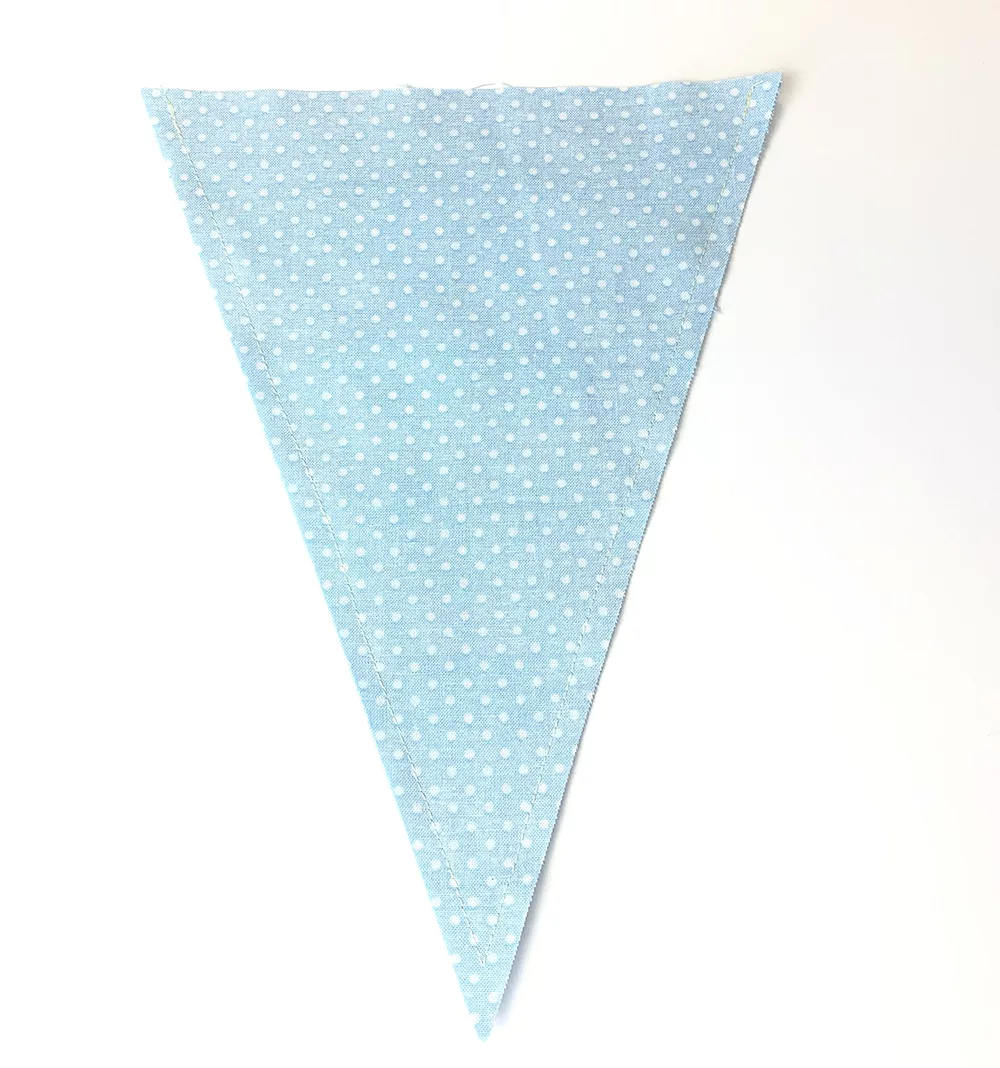
14. Pin and sew 2 corresponding triangles right sides together, leaving the top edge open.
Want a ready-to-use template? We’ve got you covered!

Click the button below to download the Happy Birthday bunting templates & letters.

How To Turn The Point

15. Clip the seam allowance at the point in a straight line across the top, close to, but not through, the sewn seam.
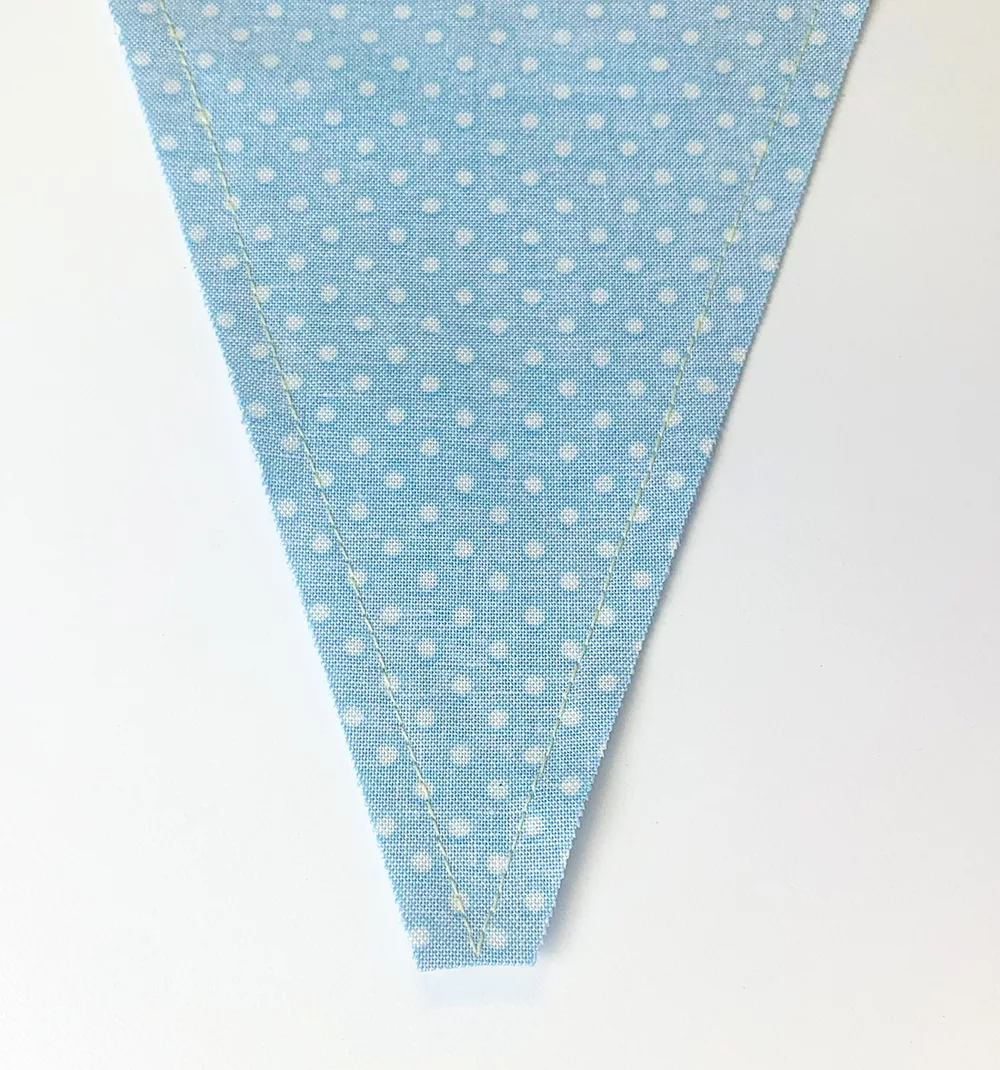
16. Fold in and press the seam allowance along one long edge, then repeat on the other side, overlapping the seam allowance near the tip.

Clip any overhanging seam allowance.
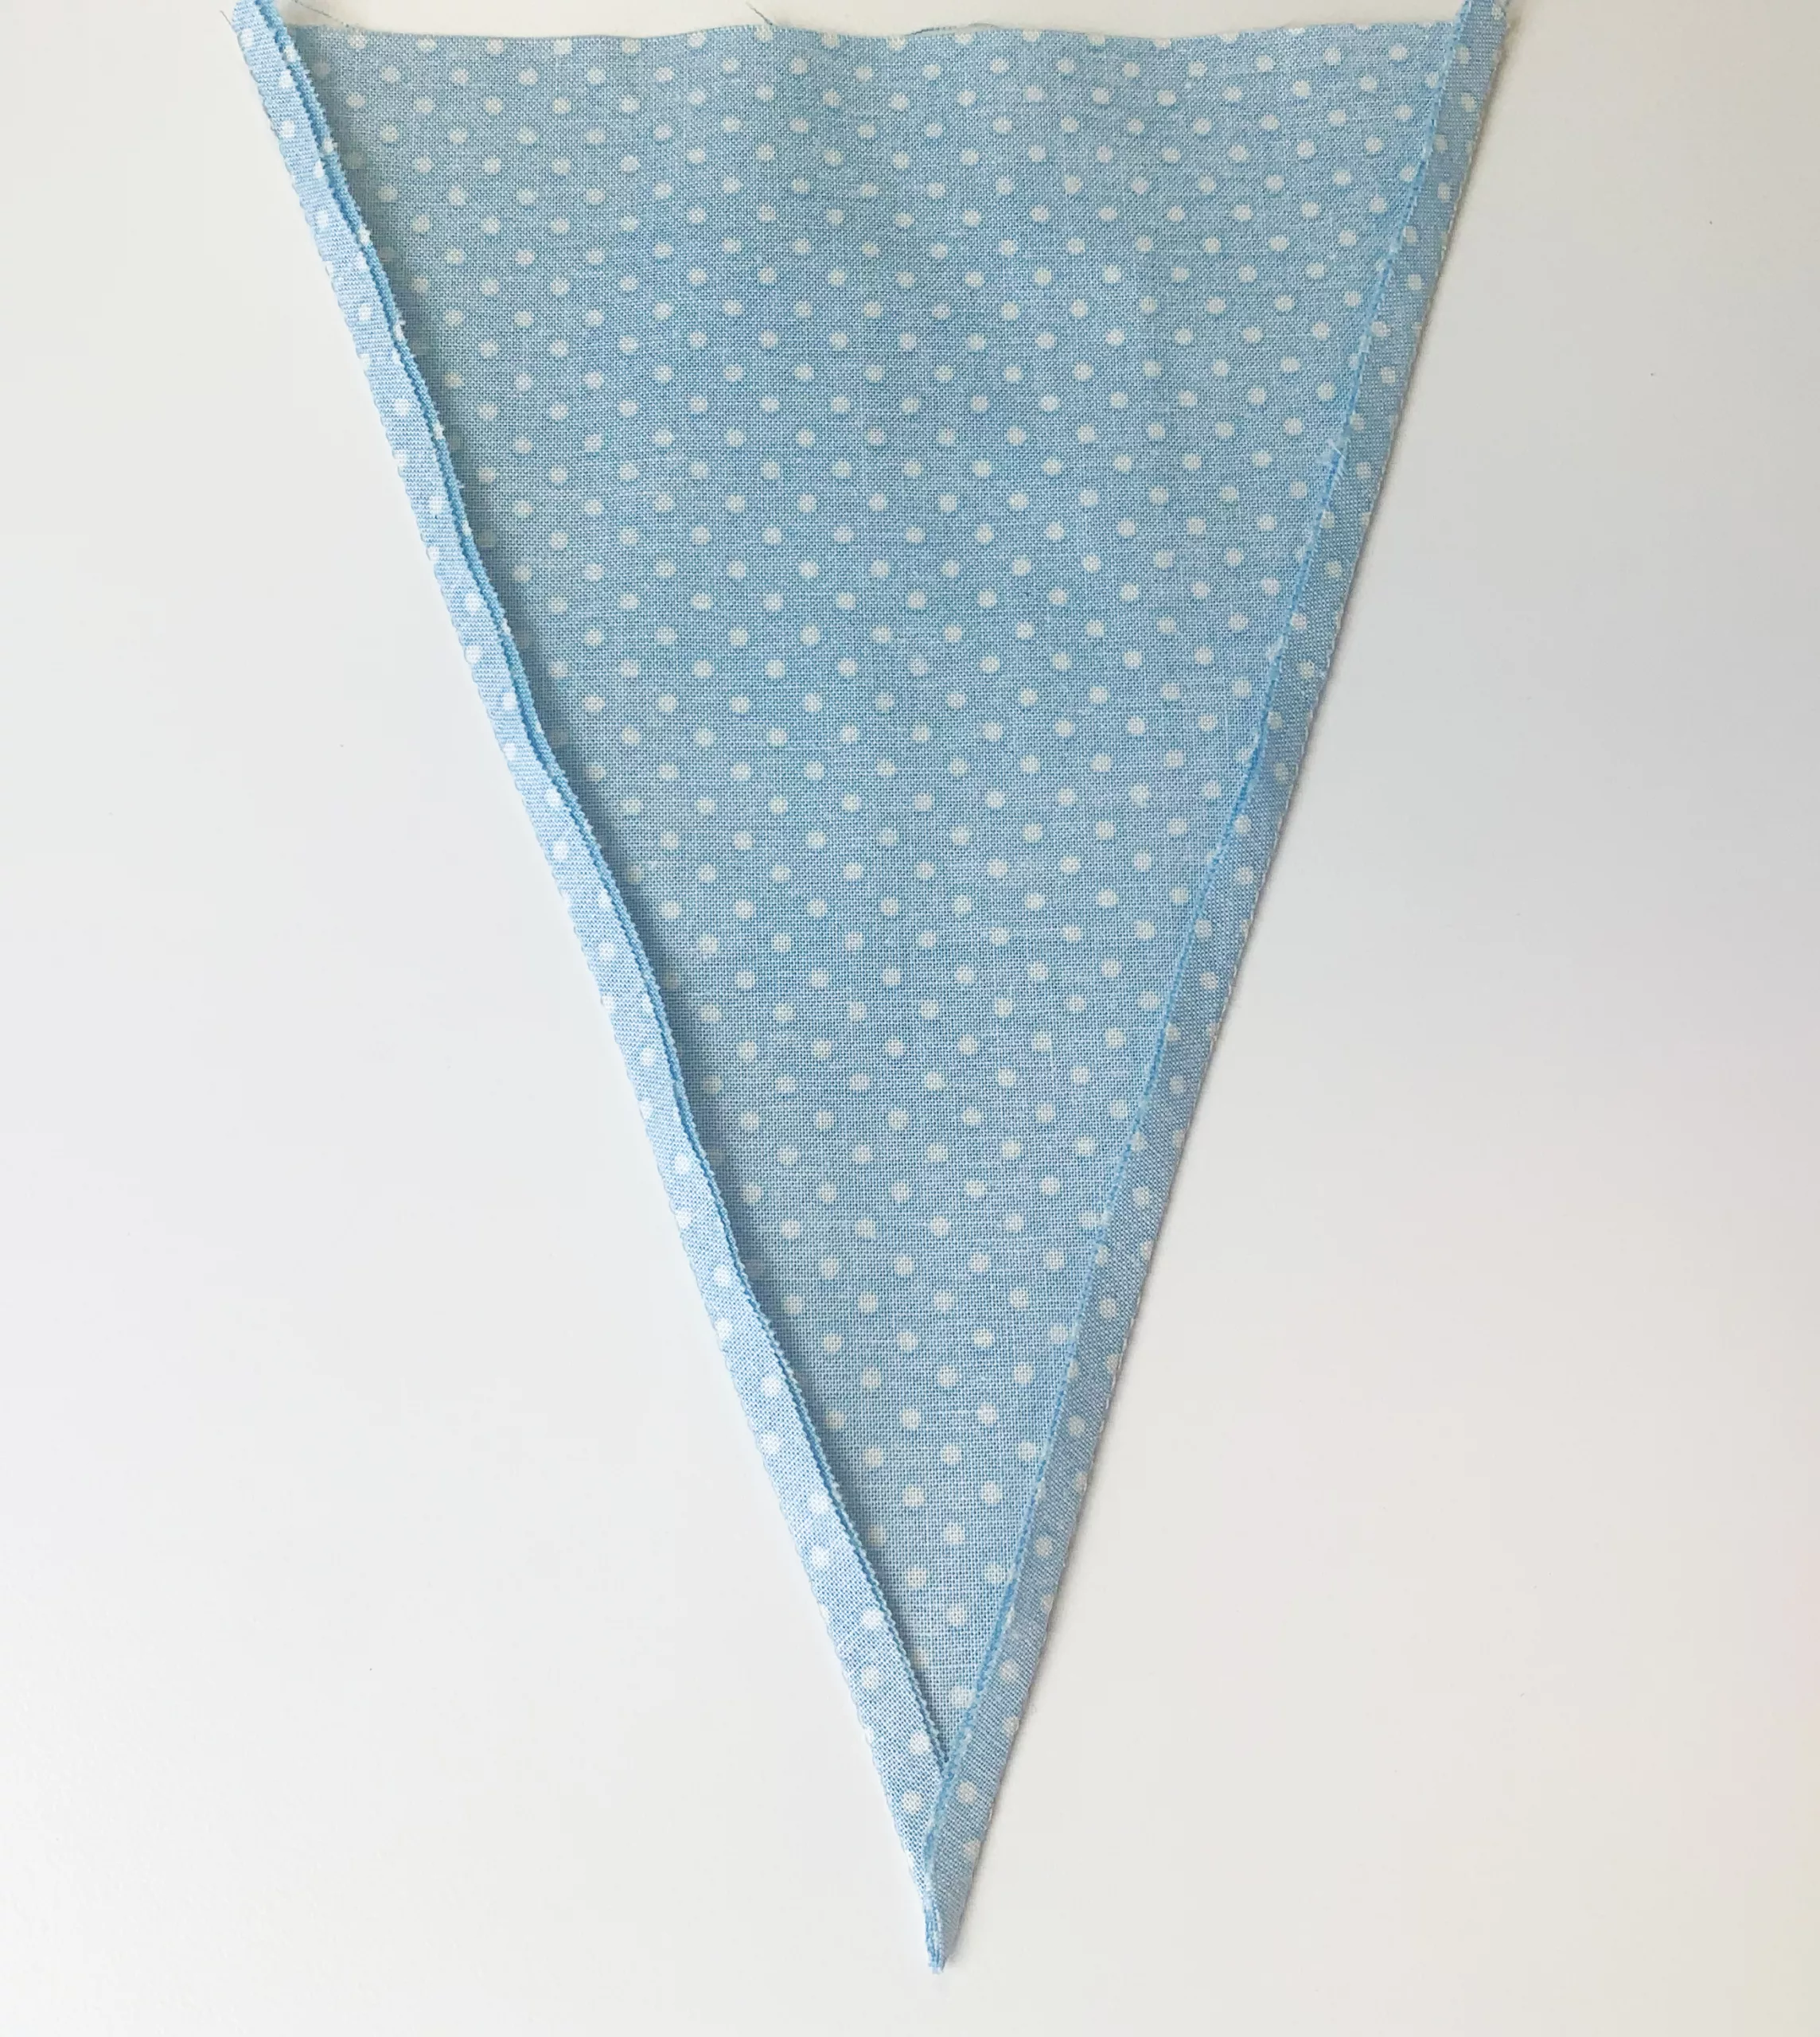
17. Turn the flag out the right way, using a pointed object to help shape the tip.

18. Clip any protruding seam allowance from the top of the flag and press.

19. Clip any protruding seam allowance from the top of the flag and press.
20. Fold the bias binding tape in half and press.
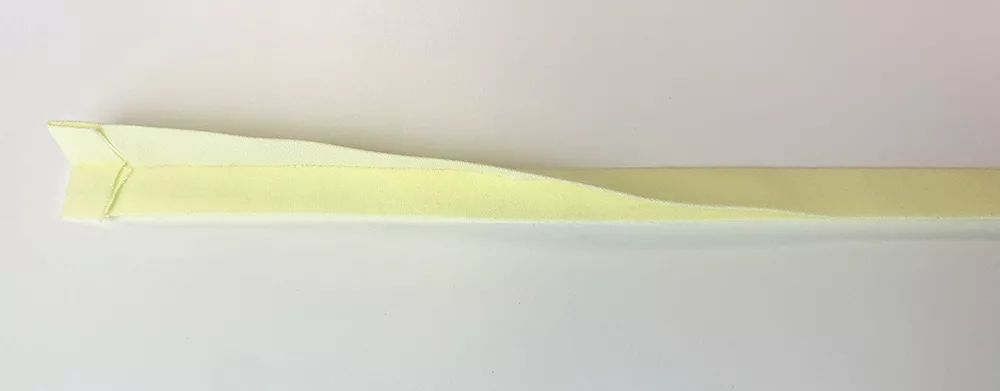
21. Measure 50cm from the end of the tape and position the first flag between the 2 layers of bias tape, the top of the flag meeting the fold line.

Clip or pin the flag in place with the letter facing forwards.

22. Position the second flag 2cm along from the first and clip, checking that the letter faces forwards.

23. Continue clipping all the flags on place leaving a 50cm tail of bias binding at the end.

24. Prepare the tape ends by pressing 1cm of tape inward to encase the raw edges and clip or pin in place.
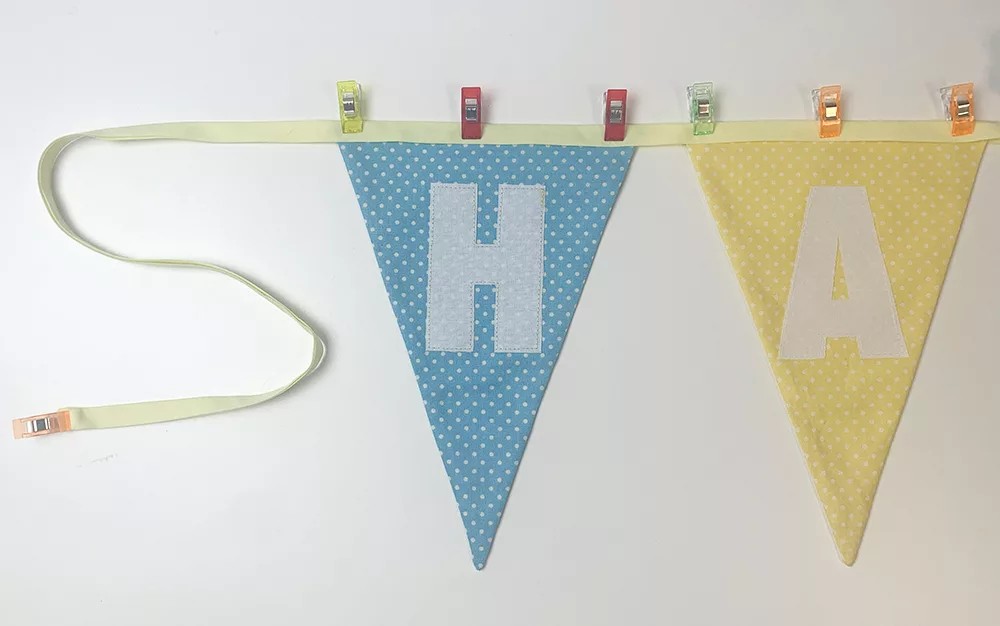
25. Repeat steps 20. to 23. for the second line of bunting.

26. Starting at one end of the bias binding sew the 2 edges together and continue all the way along, sewing each flag in place and stopping at the other end of the bias tape.
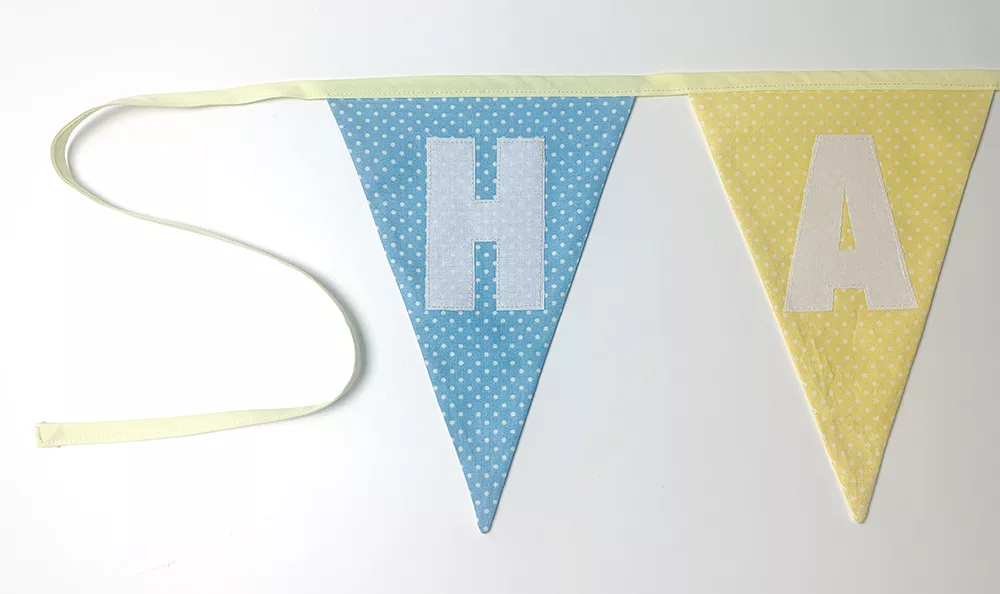
And you’re finished, well done!

Want a ready-to-use template? We’ve got you covered!

Click the button below to download the Happy Birthday bunting template.

Pin For Later!
Follow Plush Addict on social media and keep an eye out for more tutorials!
Sew A Make Up Bag: Free Pattern and Tutorial To Make A Large Make Up Bag

Sew A Make Up Bag: Free Pattern and Tutorial To Make A Large Make Up Bag

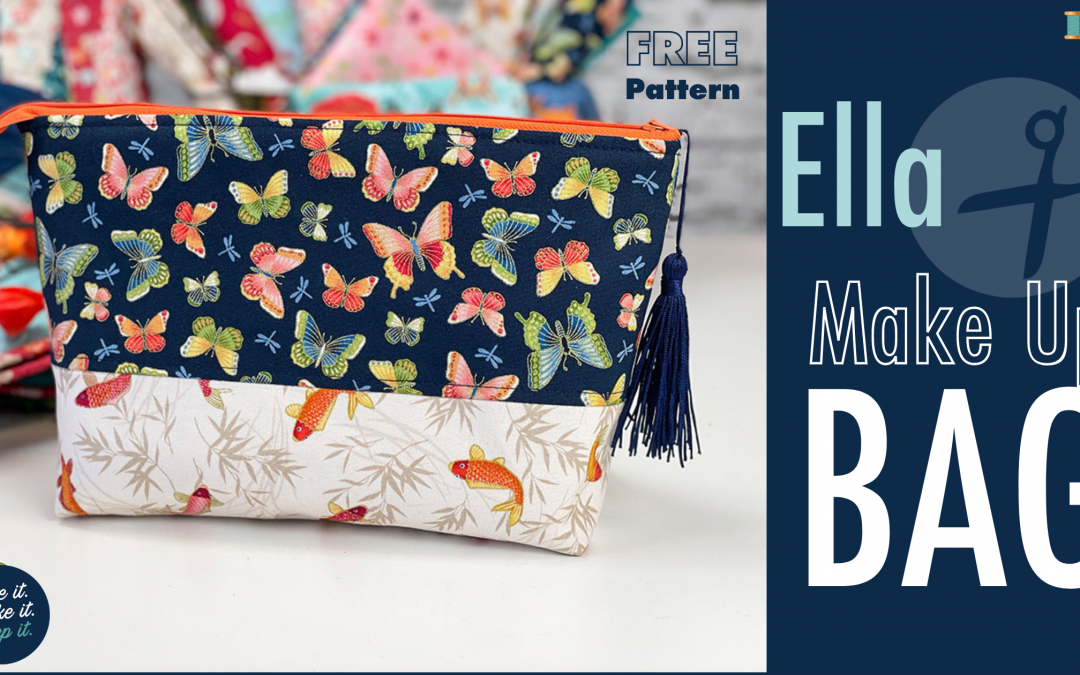
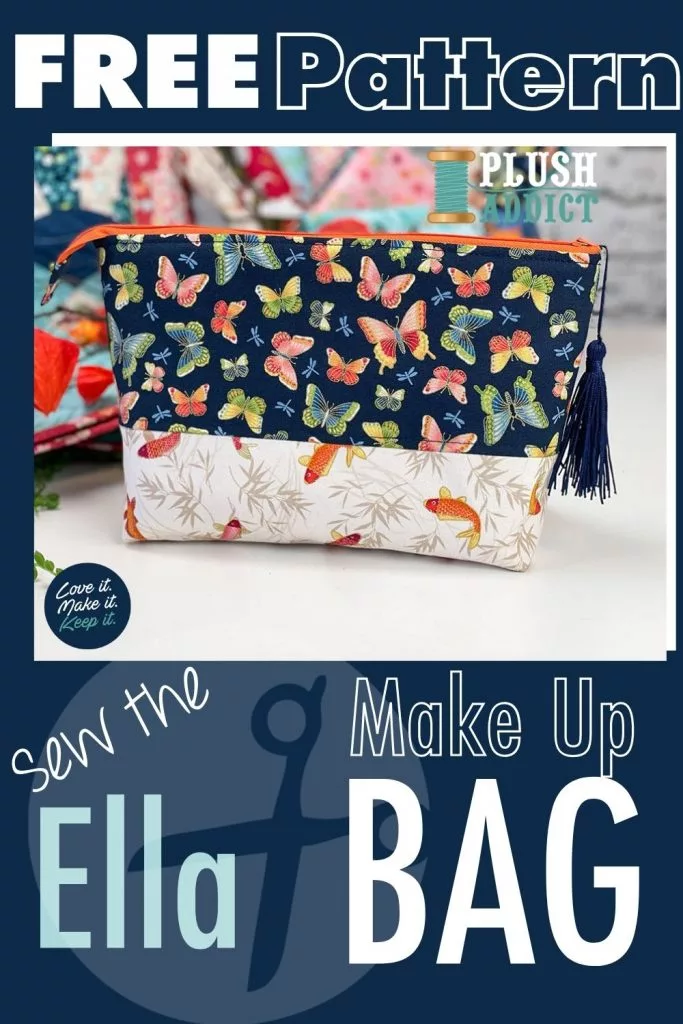
Fancy making a roomy make up bag pouch to show off some fave fabric prints? We just LOVE a make up bag with an accent fabric –  it’s a really easy way to add sprinkling of extra interest to your project. At the end of this tutorial, you will be able to sew a large make up bag. In addition, there is a free pattern to download.

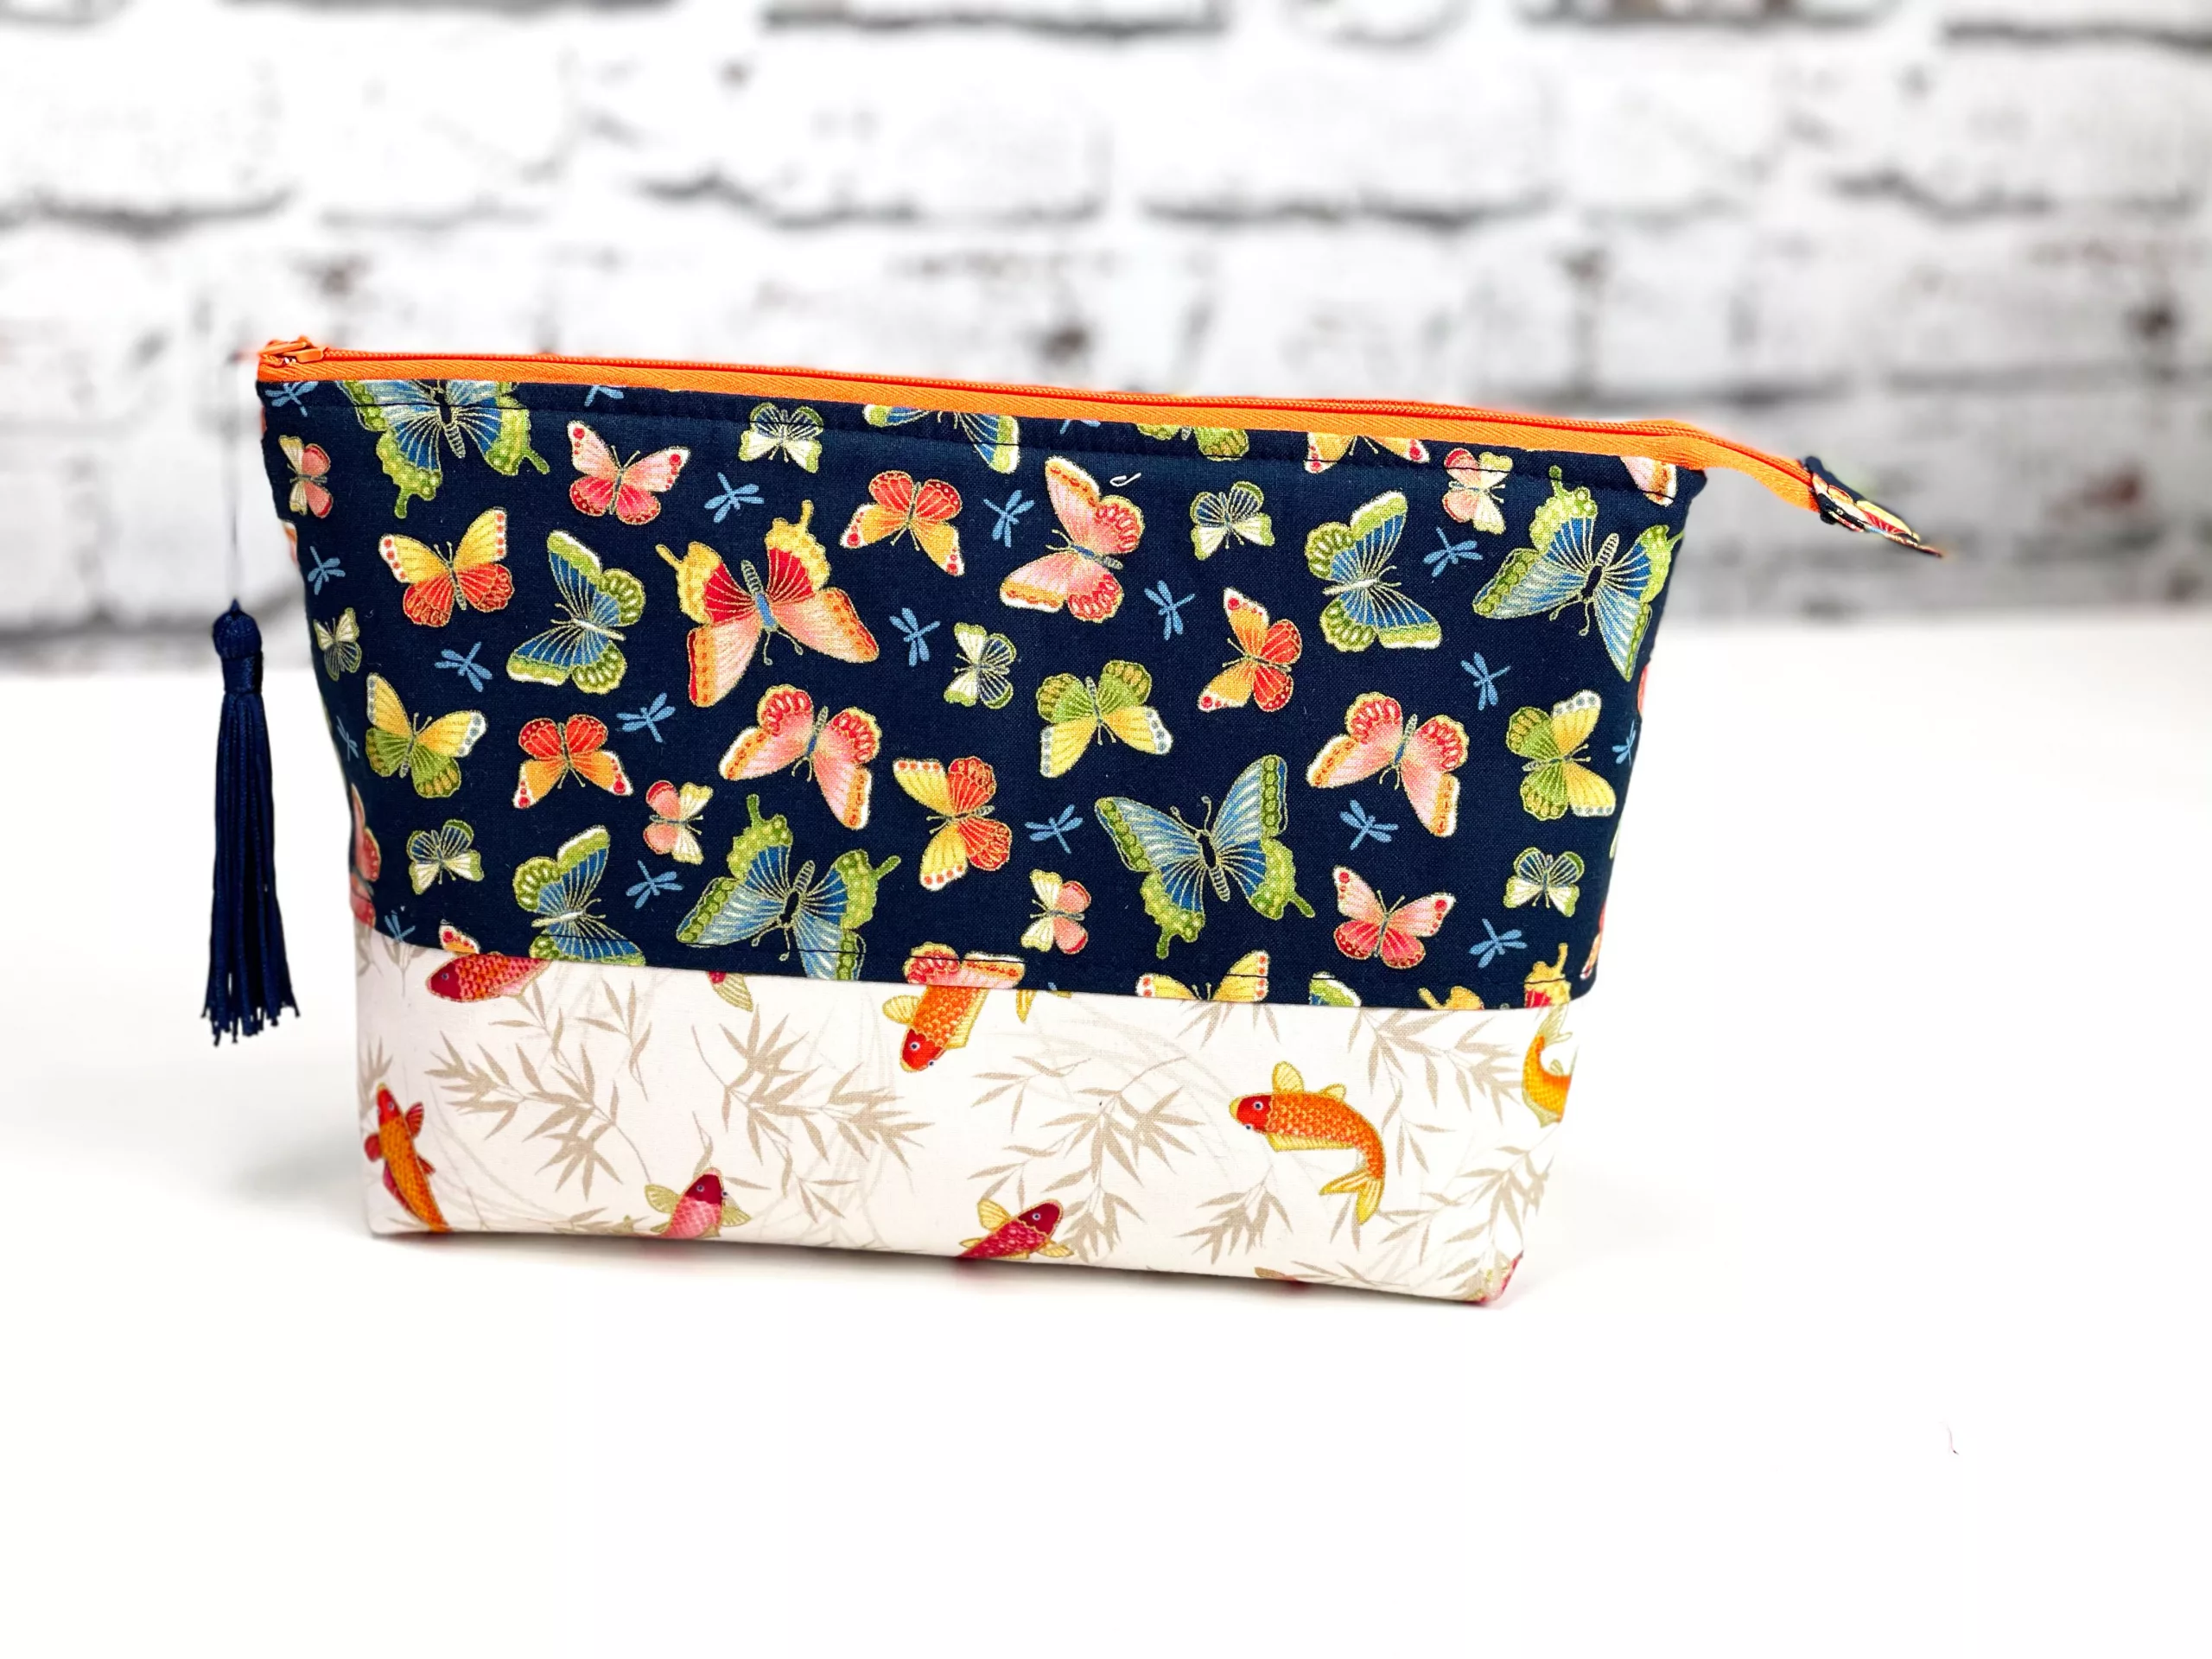
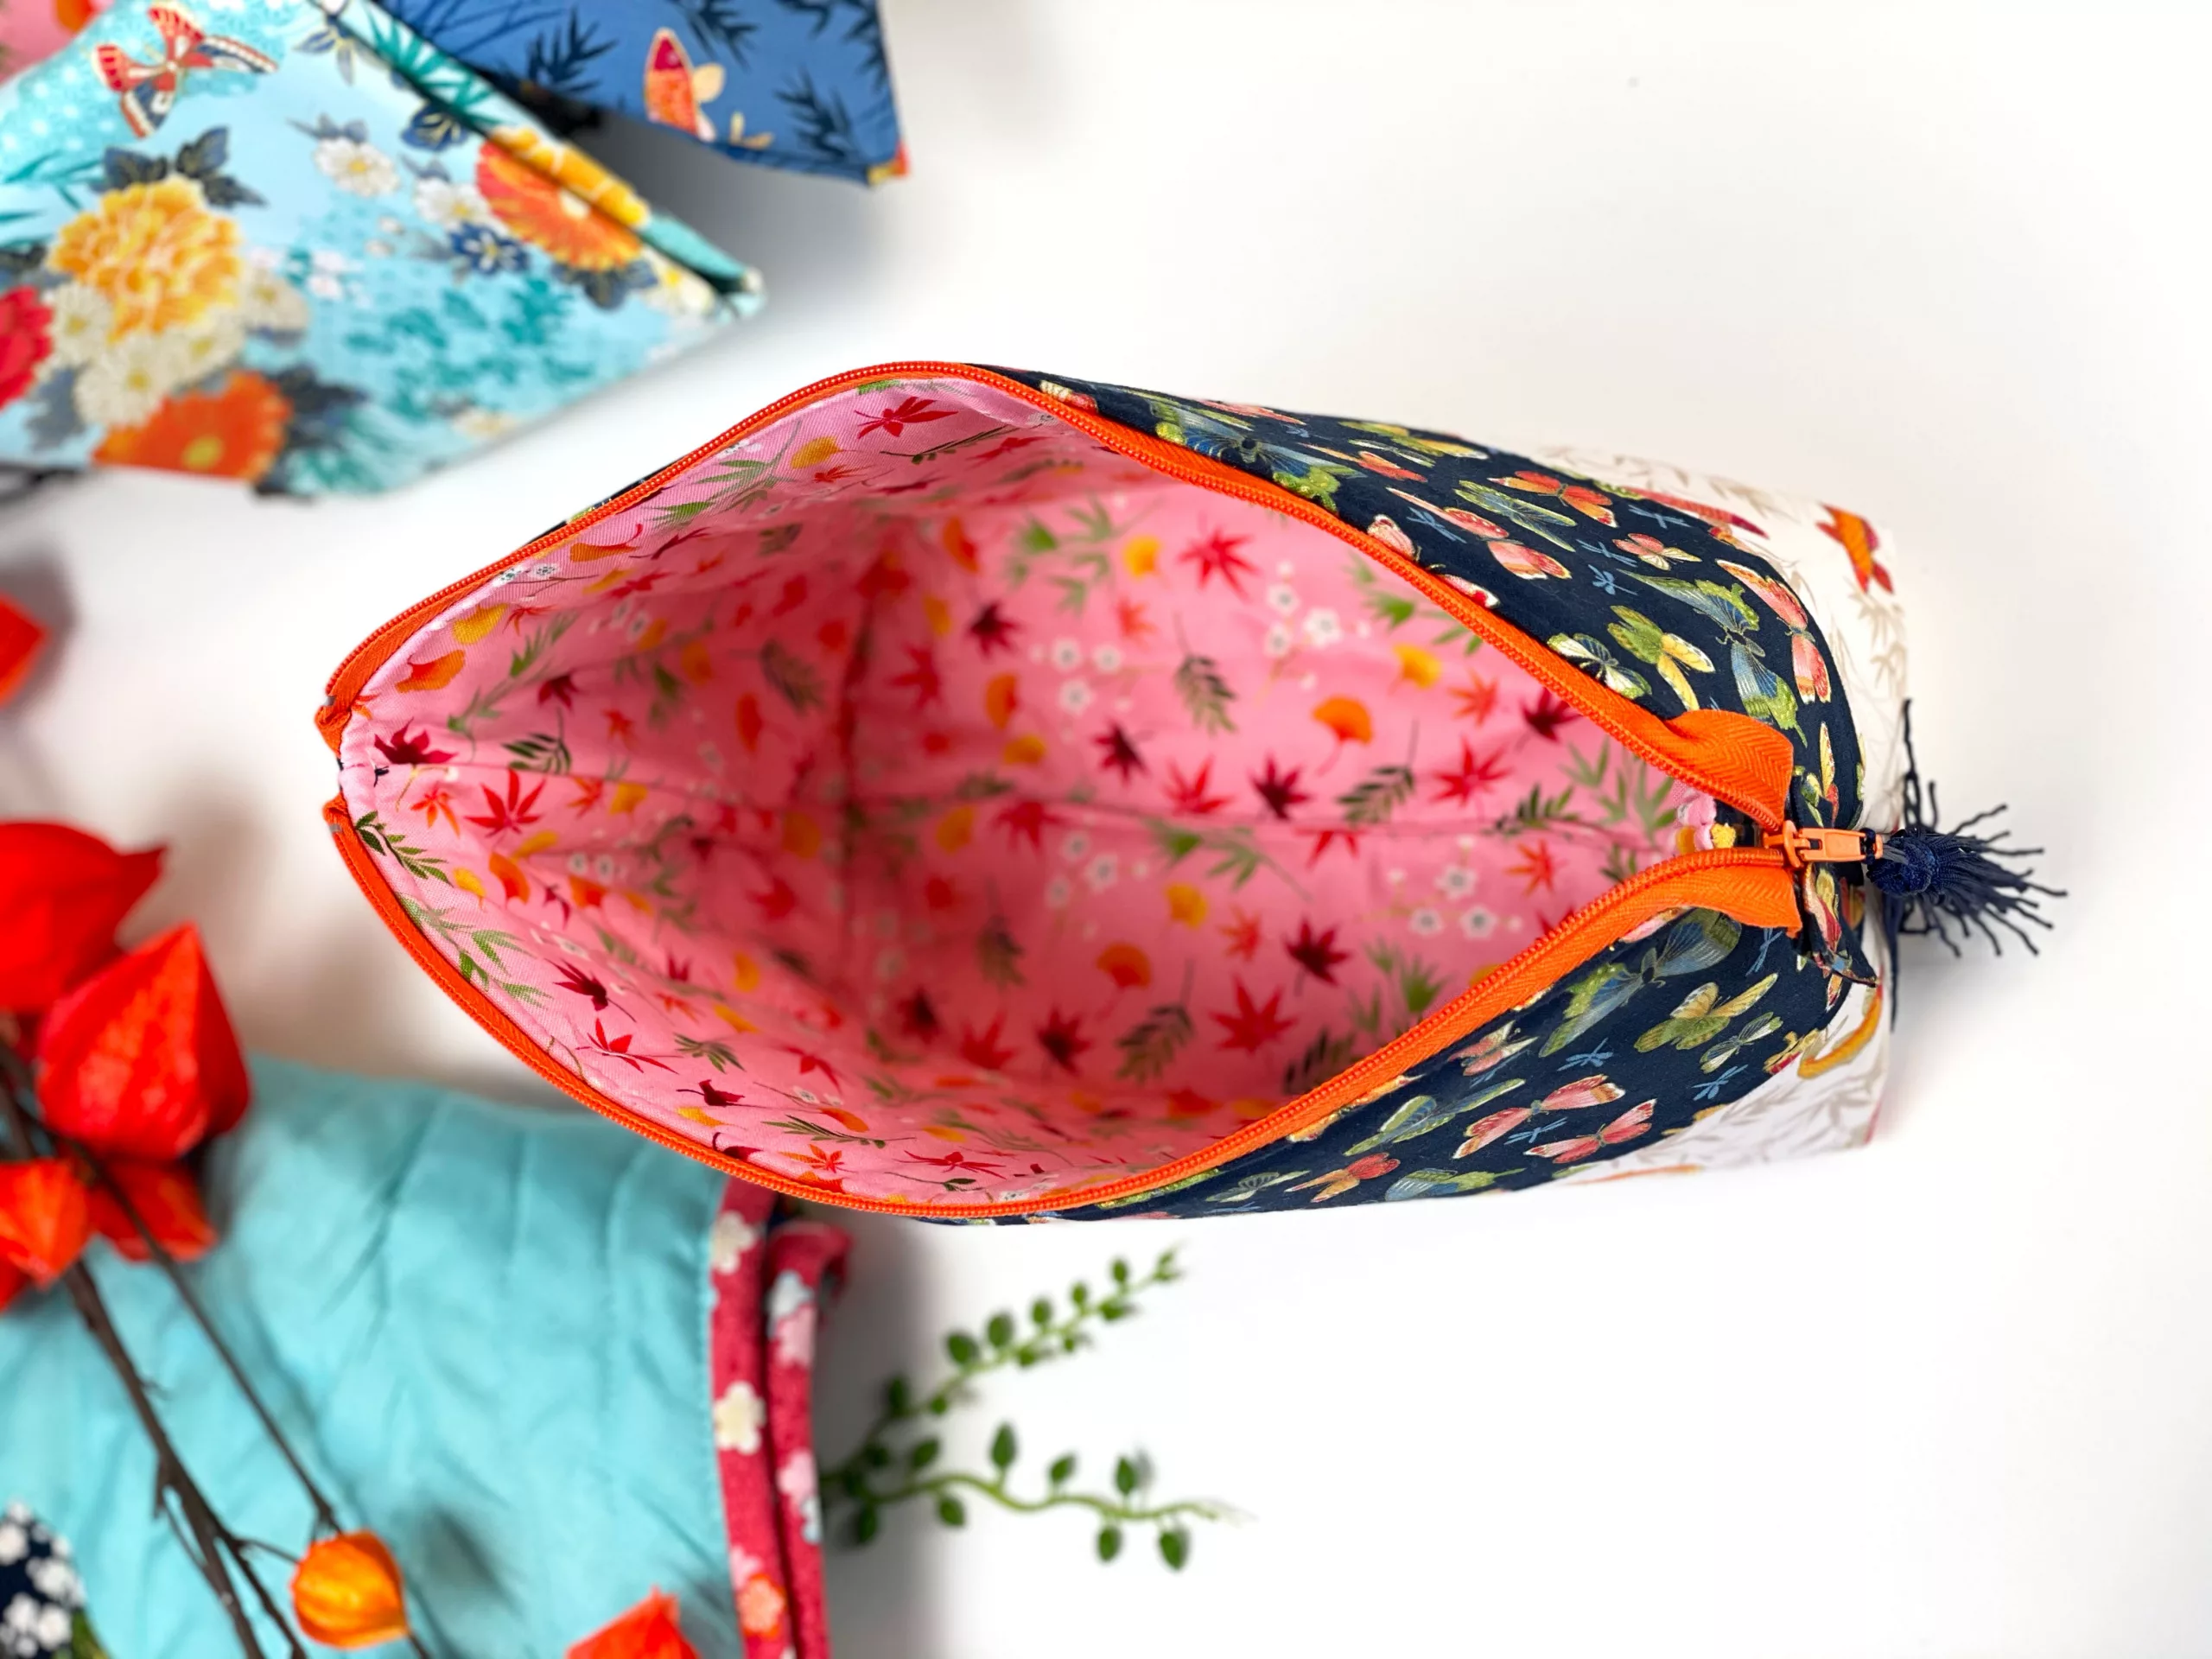
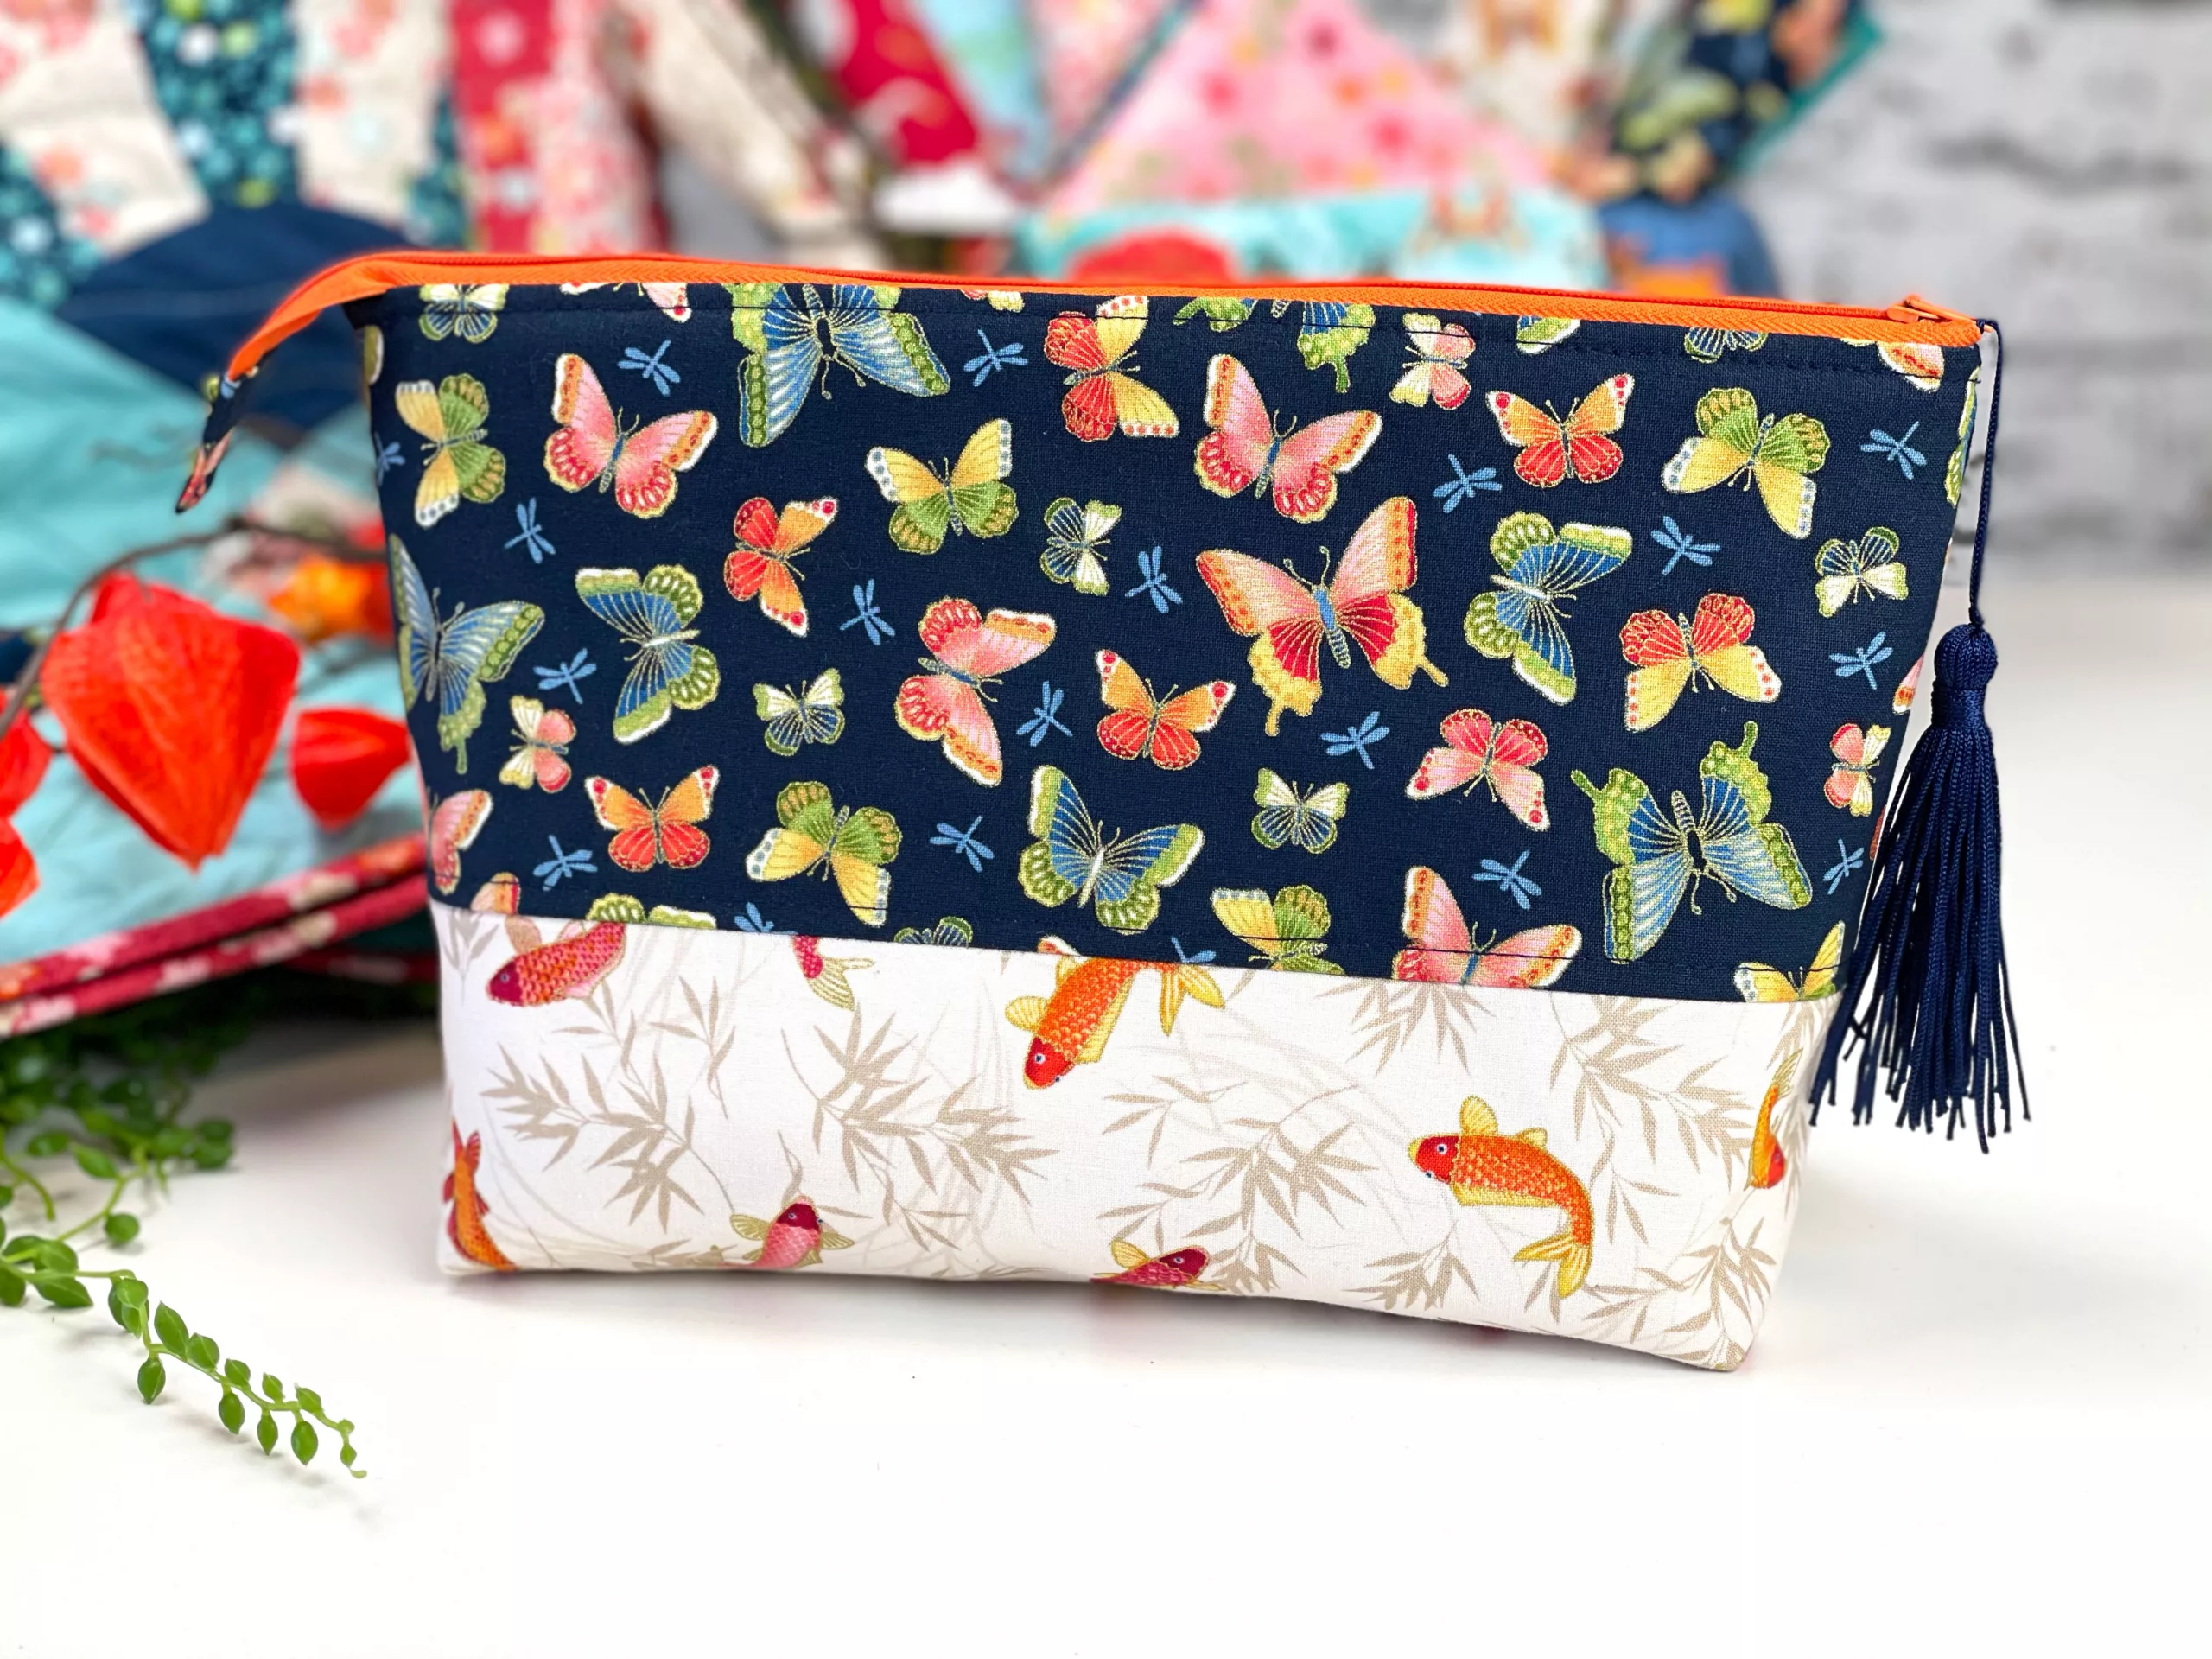
This make up bag is a really great size. The finished bag ends up approx 28cm wide & 17cm deep… add to that a flat bottom & the fact that zip isn’t sewn into the side seams means the pouch is BIG! So you can fit loads of your make up or toiletries inside. Or use it for craft supplies!

Pin This For Later!

We’ve created a FREE PDF pattern for you to download and get stitching.

Download it below!

Get your free make up bag pattern here!

Click the button below to download.

This project is well within the grasp of a confident beginner.

If you need supplies for this project you can find everything you need in our online Sewing SuperStore – Plush Addict. You’ll find links for everything we’ve used throughout this free tutorial to make it super simple for you!

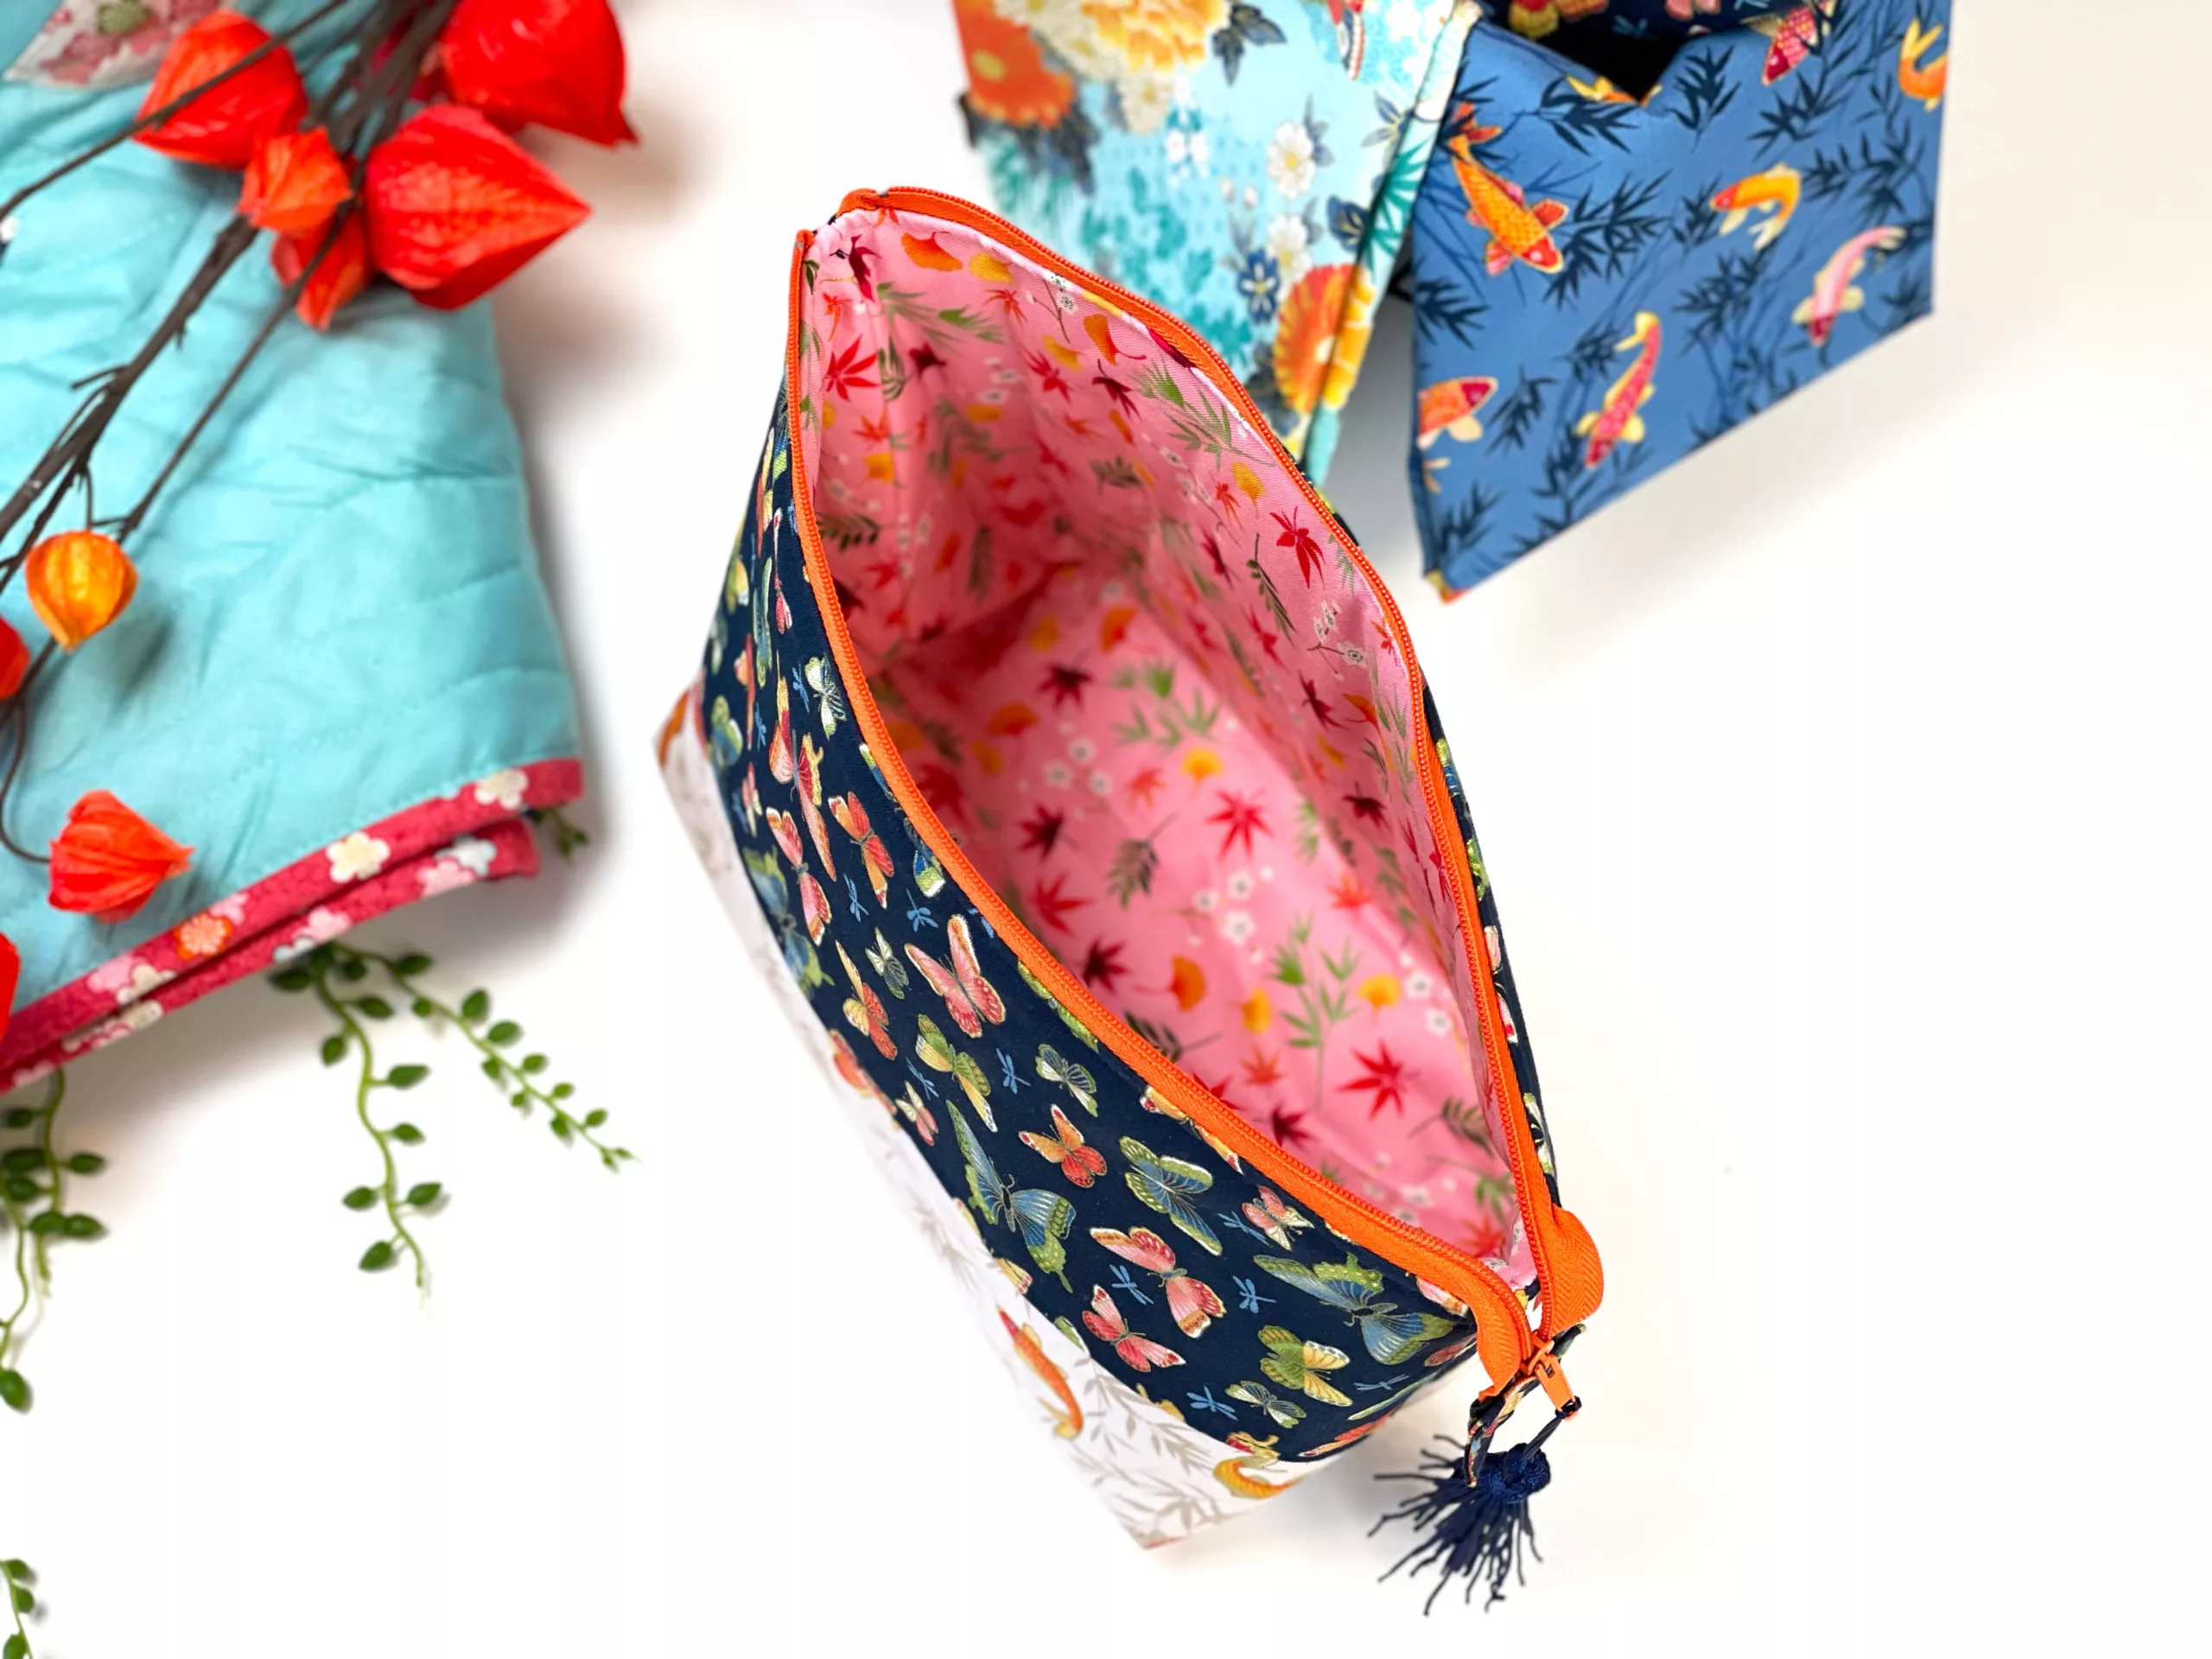
The fabrics we used in this project are from the Michiko collection from Makower & we think they make for a pretty elegant make up bag, the tassel is a darling finishing touch!

If you can bear to give it away after you’ve made it, this make up bag will make a beautiful gift for someone dear.

How To Sew A Make Up Bag

Sewing Skill Level: Confident Beginner

You will learn

How to insert a zip

How to apply woven interfacing

Important Information!

1cm seam allowance, unless directed

Use a 2.5mm straight stitch, backstitching at the start & end using stitch length unless otherwise directed

You will need the following to sew the make up bag:

The PDF Pattern. Request your copy here 

1 FQ quilting cotton for lining (pattern piece C)

30cm x 35cm quilting cotton  outer A

30cm x 40cm quilting cotton  outer B

Scrap quilting cotton for Zipper tab measuring 2” x 3”

50cm fusible Woven interfacing (Grab a cheeky 10% discount off your next Fusible Woven Interfacing purchase with WOVEN10 One time use per customer.)

50cm x 30cm of  Fusible Fleece

12” zip (or longer) We used a 14″ zip and trimmed it down

1 x 10mm  tassel (or make your own with a tassel maker!)

Thread

We used fabrics from the beautiful  Michiko collection from Makower available from our online fabric shop here

Optional but very useful tools:

Clover Curved Awl

Wonder clips

Applique scissors

Let’s get started!…

Step 1: Cut your fabrics, interfacing & fusible fleece on the fold, as directed on the pattern pieces (request the pattern here).

Step 2: Iron the woven interfacing to outer fabrics A & B. For full instructions on how to apply woven interfacing please check out this post.

Step 3: Iron on fusible fleece to the Lining C following manufacturer’s instructions.

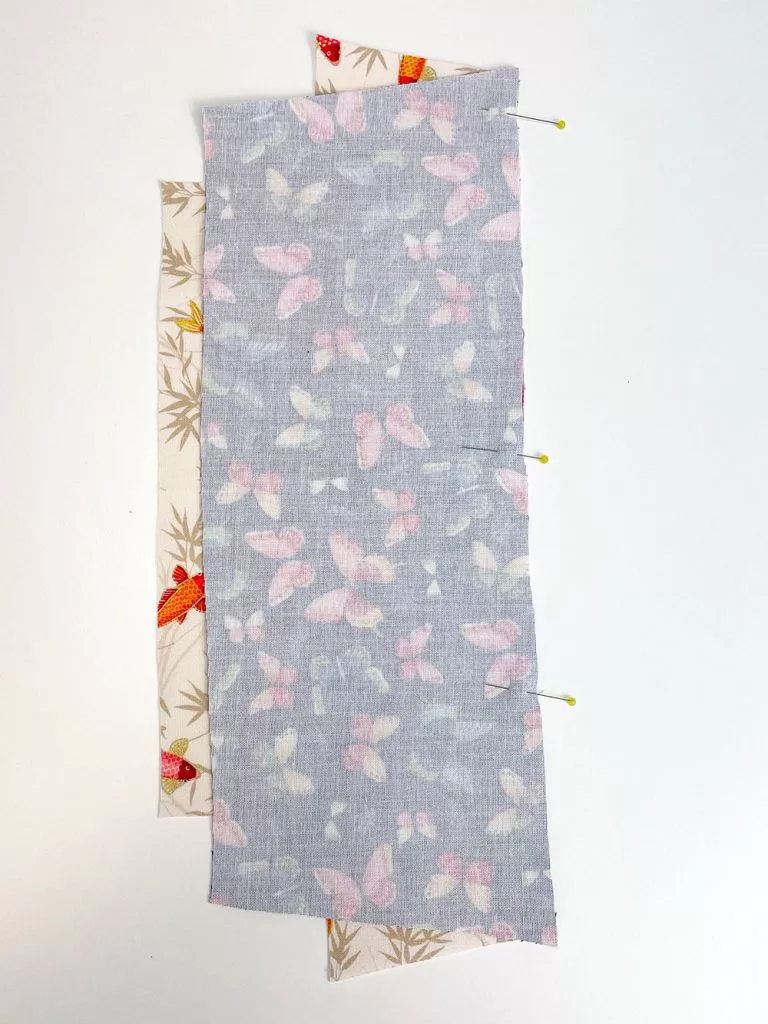
Step 4: Take 1 x outer A and 1 x outer B  & then sew with RST, taking note of which way is the top of your bag (especially important with a directional fabric – you don’t want to sew it upside down!).

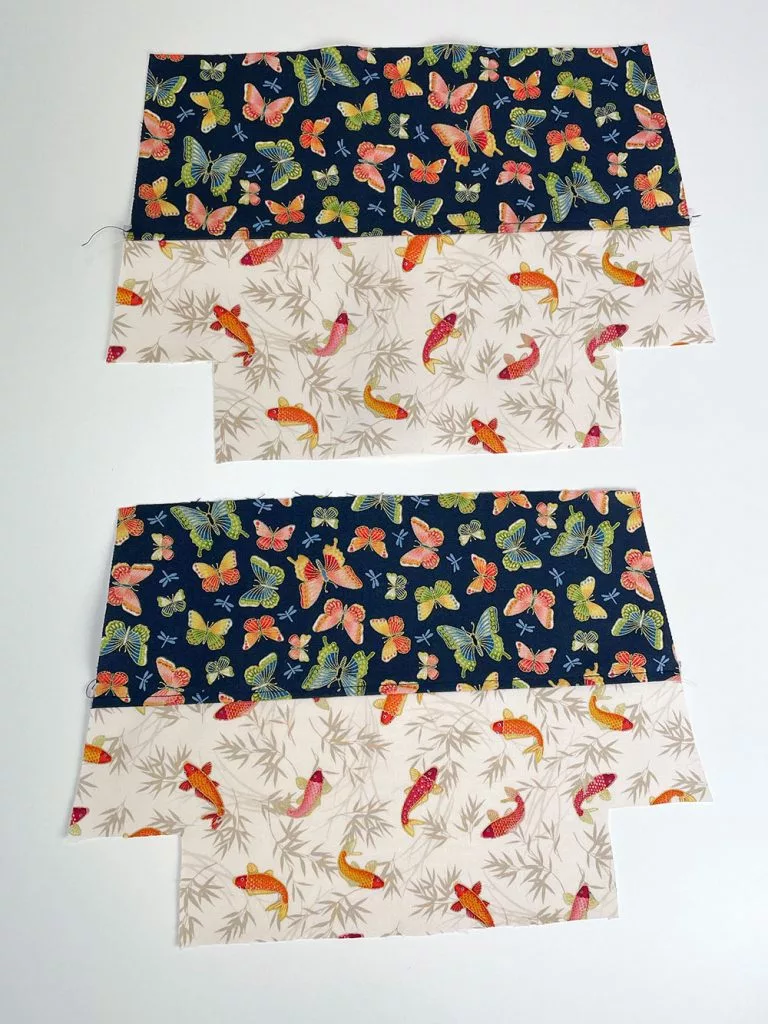
Step 5: Press the seam allowance to one side (the darker fabric side) &  top stitch with 3mm stitch length.

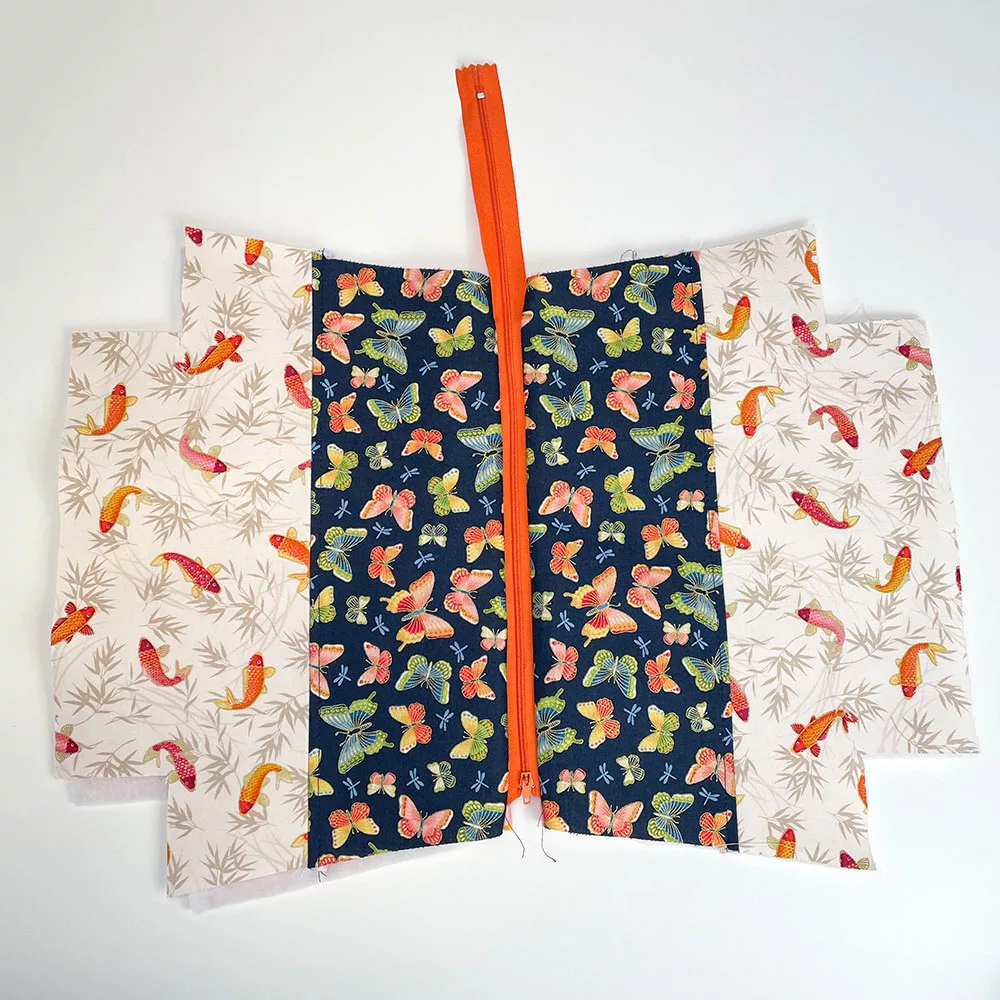
Step 6: Repeat steps 4 & 5 for the other side of the make up bag. You should now have fabrics that look like this.

Inserting The Zip:

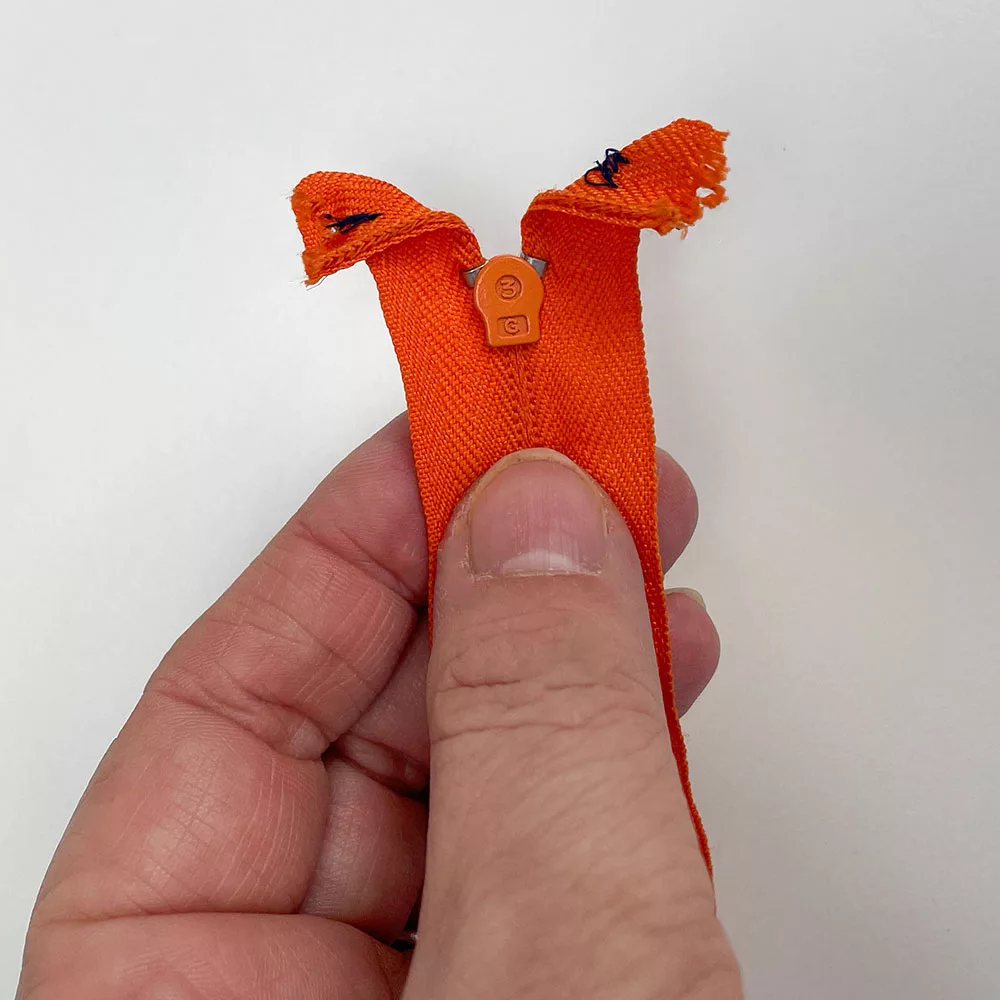
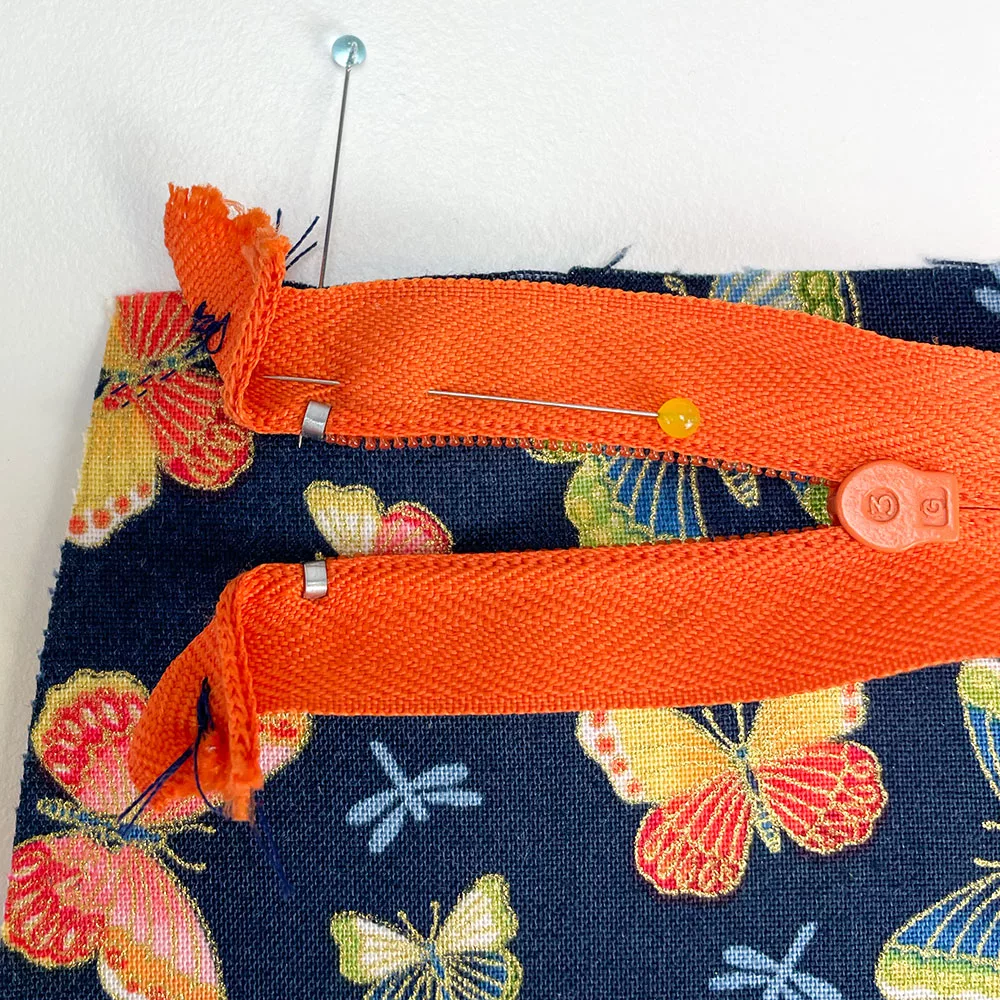
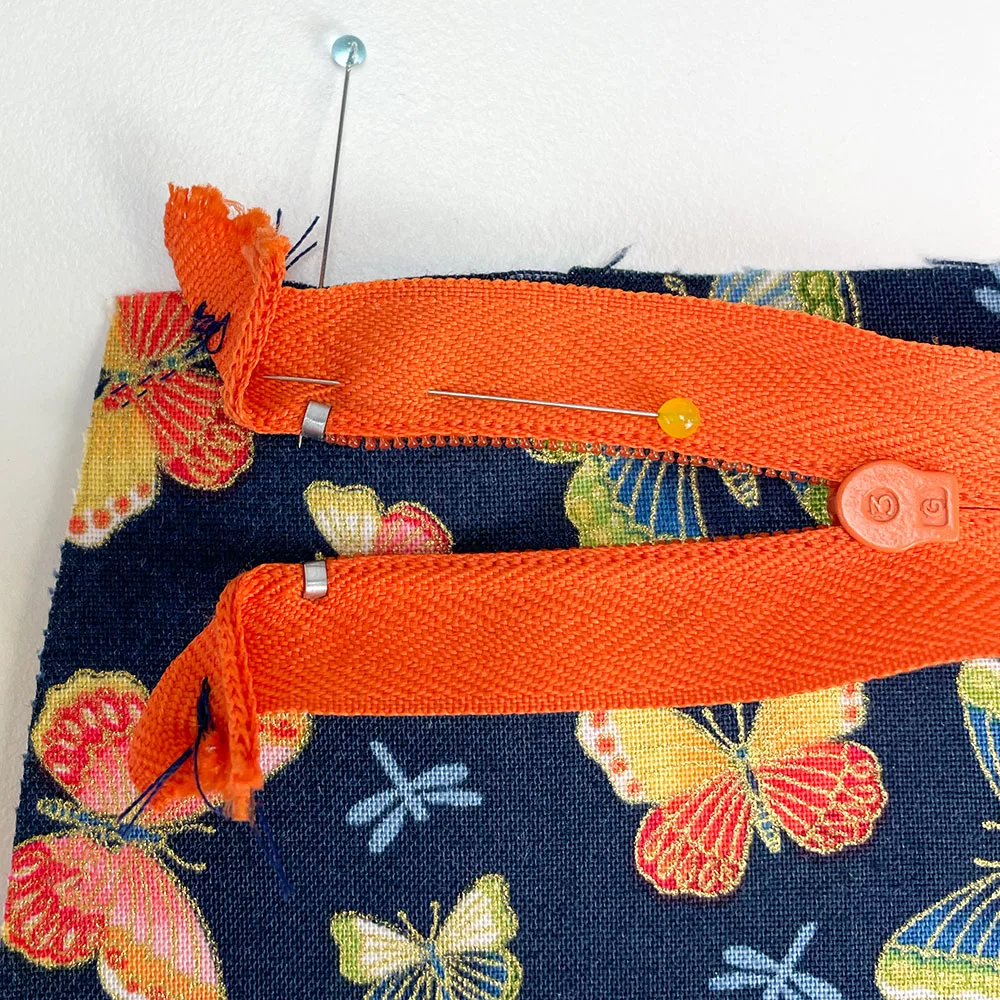
Step 7: Fold back the end of the zip tape so it makes a right angle to the zip teeth. Tack with a couple of hand stitches.

Step 8: With outer piece face up lay the prepared zipper teeth side down.

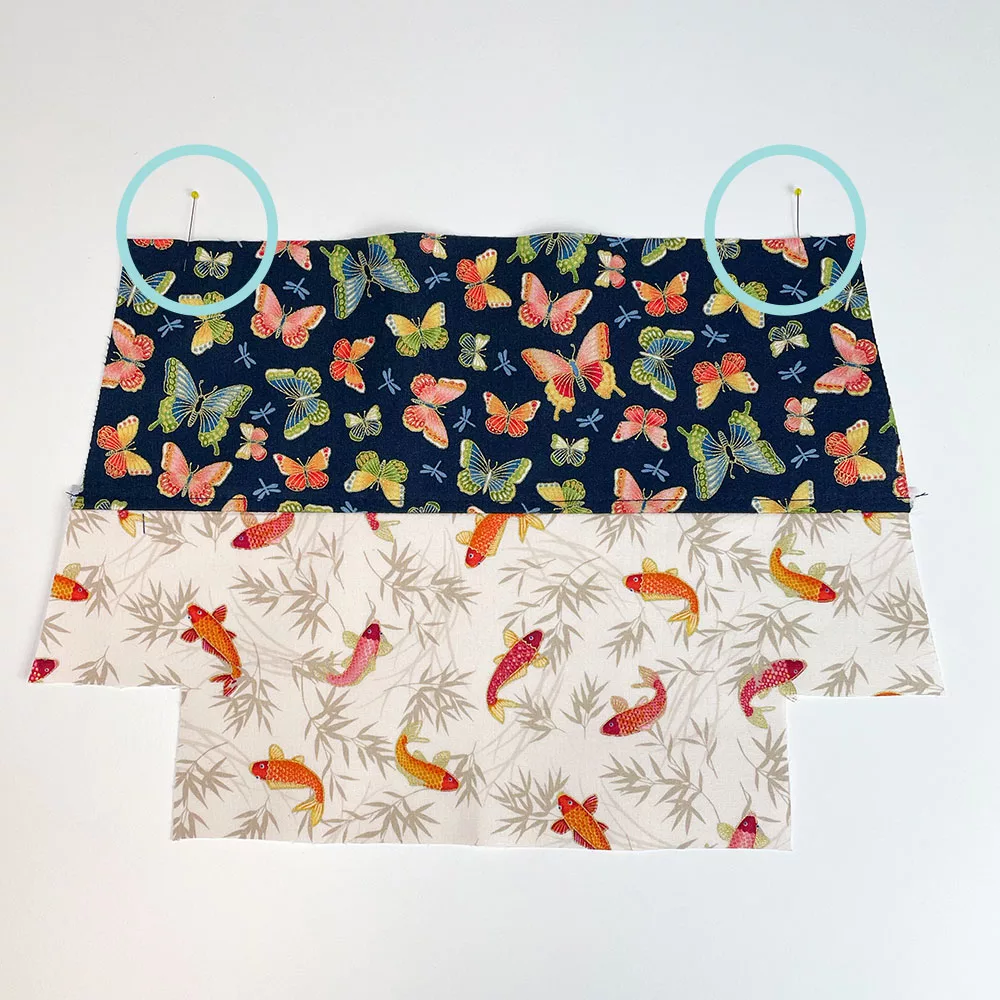
Step 9: Take one of the outer pieces & mark with a pin ¾” from the left edge of the and 1” from the right hand side.

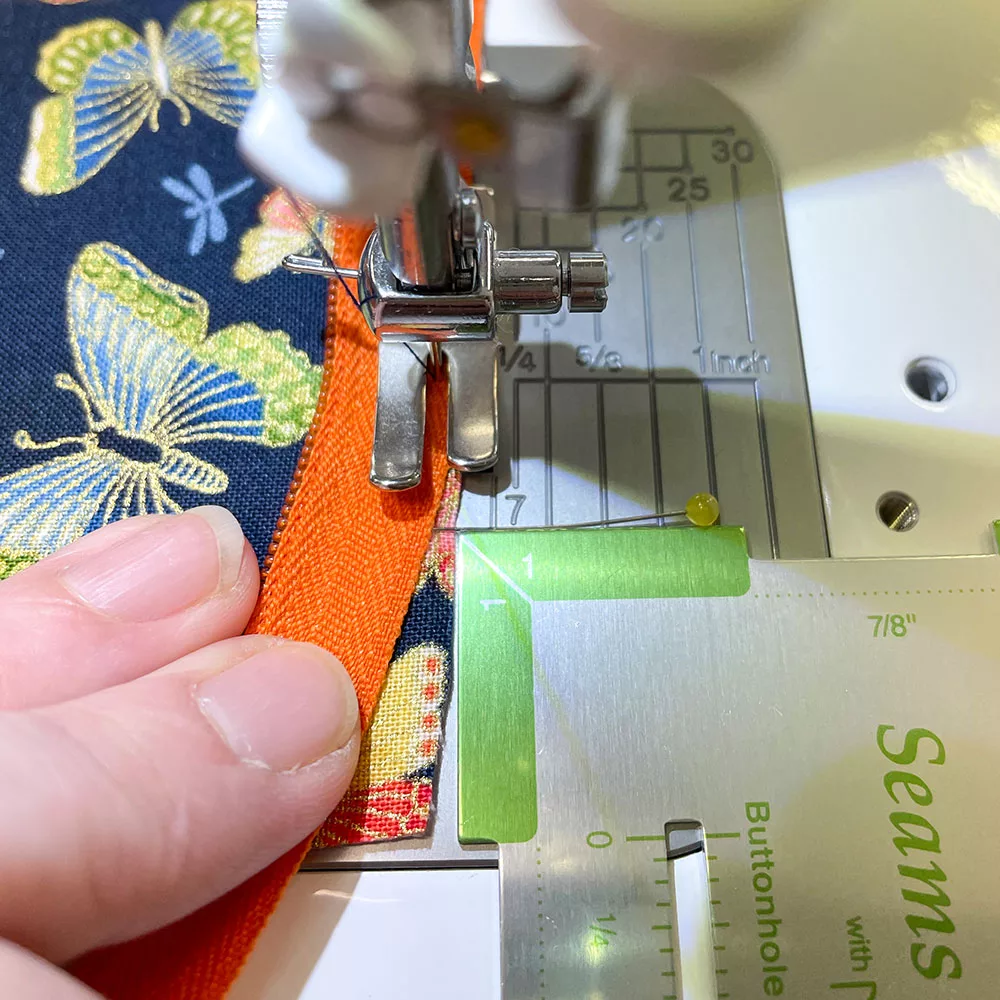
Step 10: With the zip teeth face down against the right side of the fabric, align the metal zip stop with the pin ¾” from the fabric edge.

Step 11: Aligning the zip tape with the raw edge of the fabric pin the zip in place. Baste the zip in place with ⅛” seam allowance aligning the fabric edge. Stop stitching at the 1” mark at the other end of the fabric.

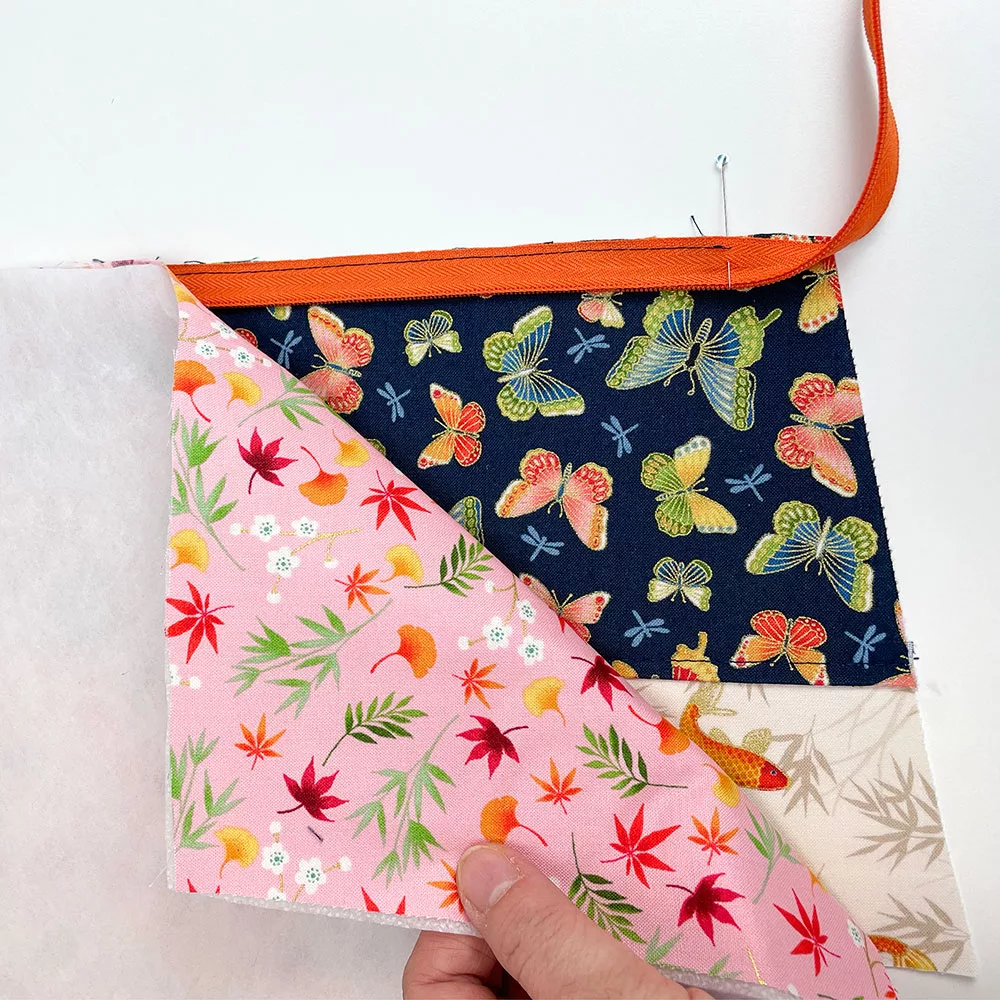
Step 12: Lay the lining piece face down to sandwich the zip between the outer and lining fabrics.

Step 13: Stitch the zip in place with ¼” seam. When you get to the point you have marked 1” from the other end stop with your needle down.

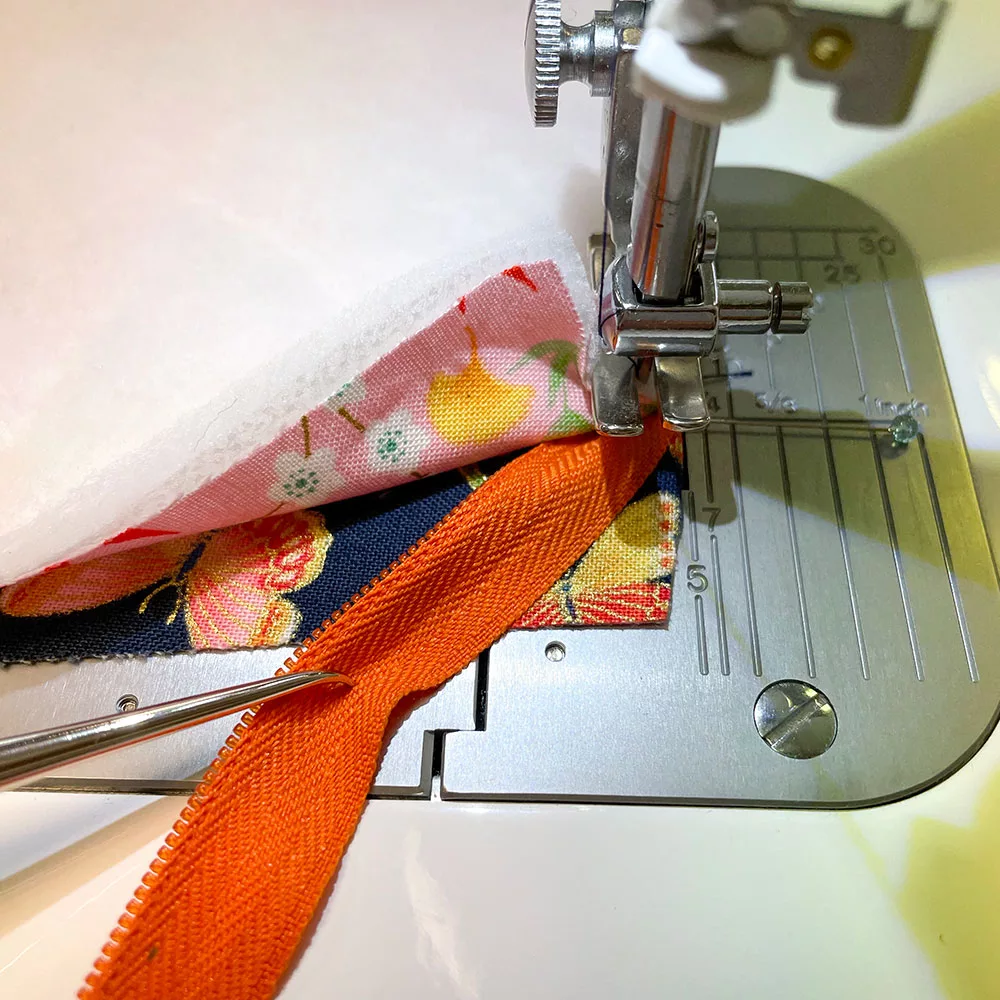
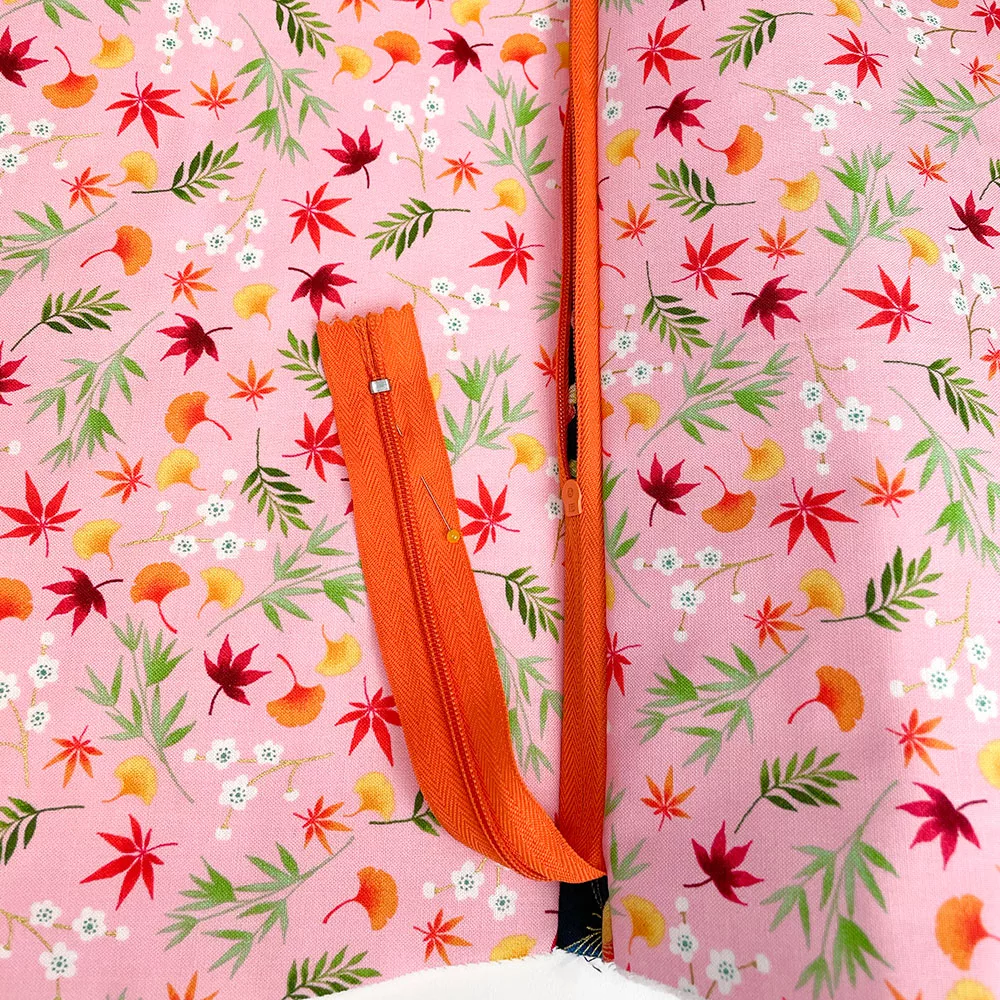
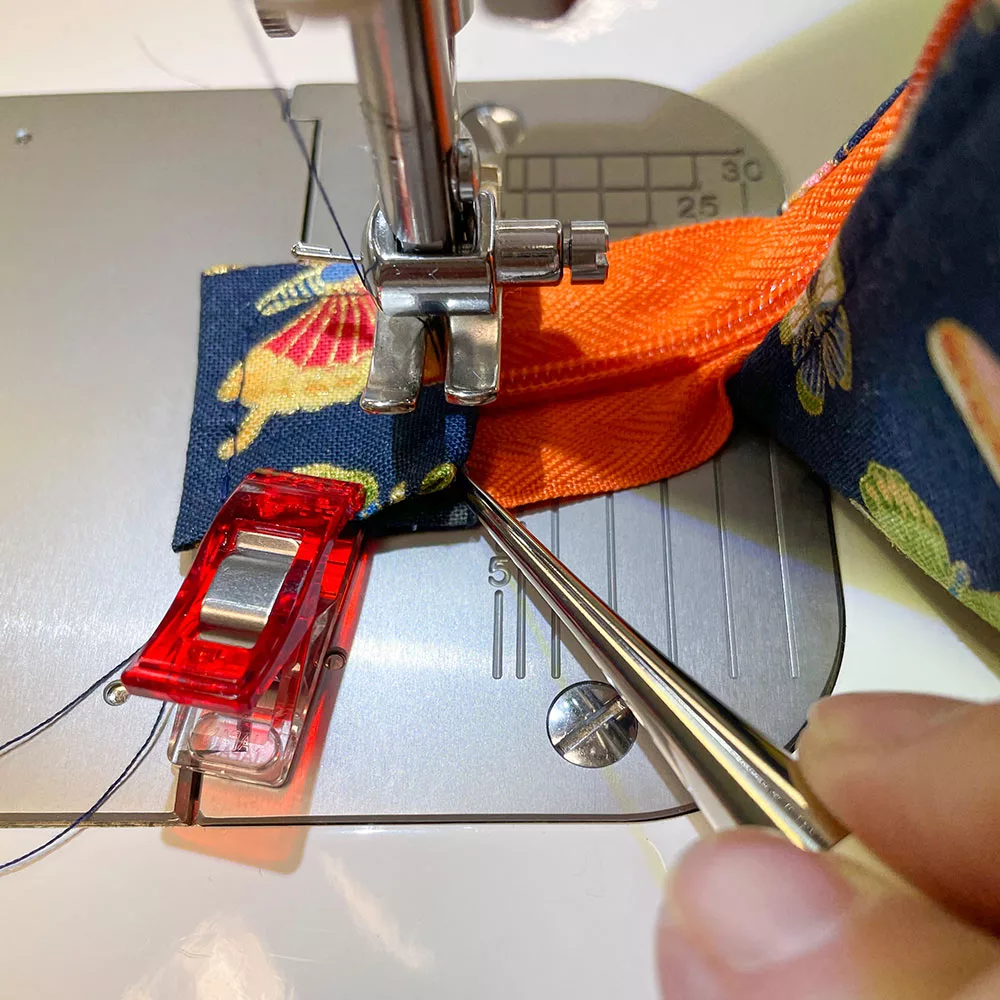
Step 14: Pull the zipper tape away from the raw edge so the zipper is no longer in line to be stitched.

Pro Tip – A curved awl like this one is a very helpful tool here) Carry on with the seam to the edge of the fabric, stitching through the outer and lining fabrics only.

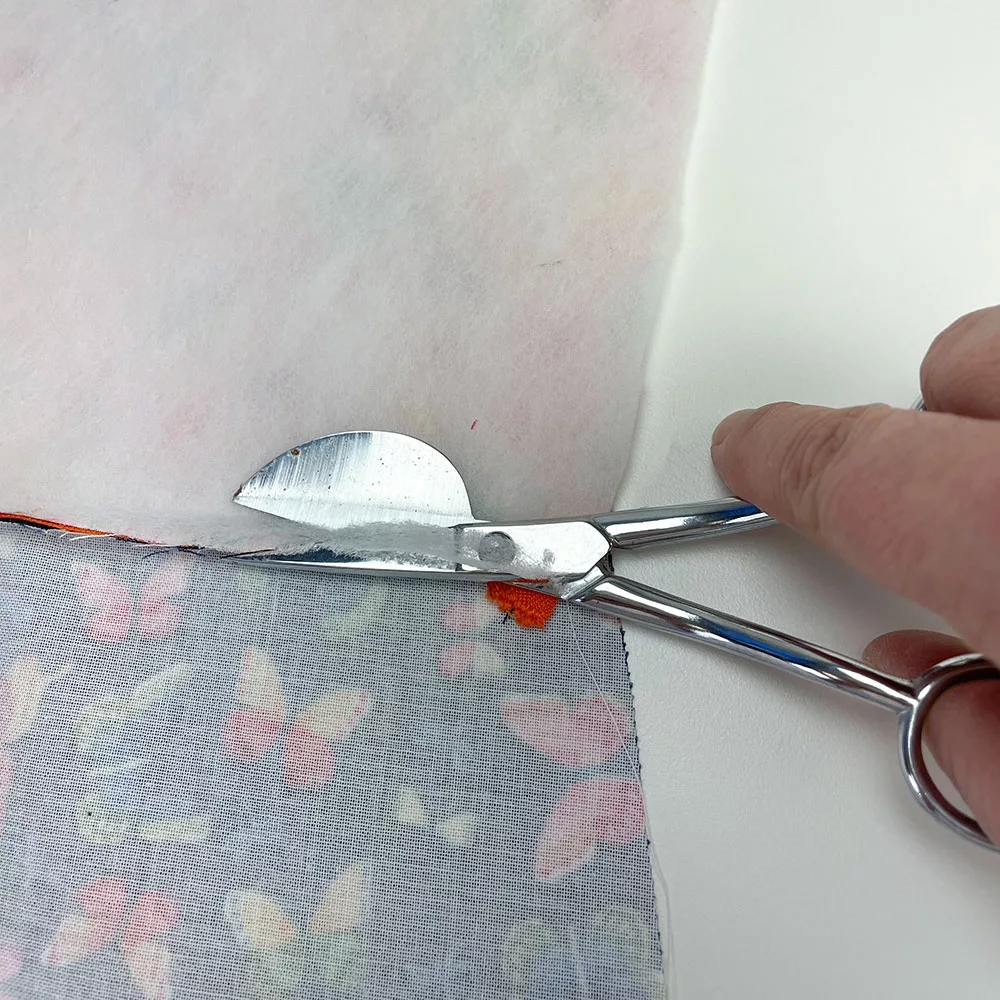
Step 15: Trim the fusible fleece excess out of the zip seam allowance.

Pro tip – These applique scissors make this a cinch & lessen your chances of cutting in to your fabrics by mistake.

Step 16: Finger press the zip seam,  but don’t top stitch yet.

Step 17: Repeat steps 5 – 8 for the other side of the zip. Remembering to mirror the markings points as the outer piece is a mirror. Your project should now look like this…

Get your free pattern to sew a make up bag here!

Click the button below to download.

Sewing Up The Pouch:

Step 18: Open the zipper half way for turning purposes & pin the loose zipper tail to the lining to keep it out of the way.

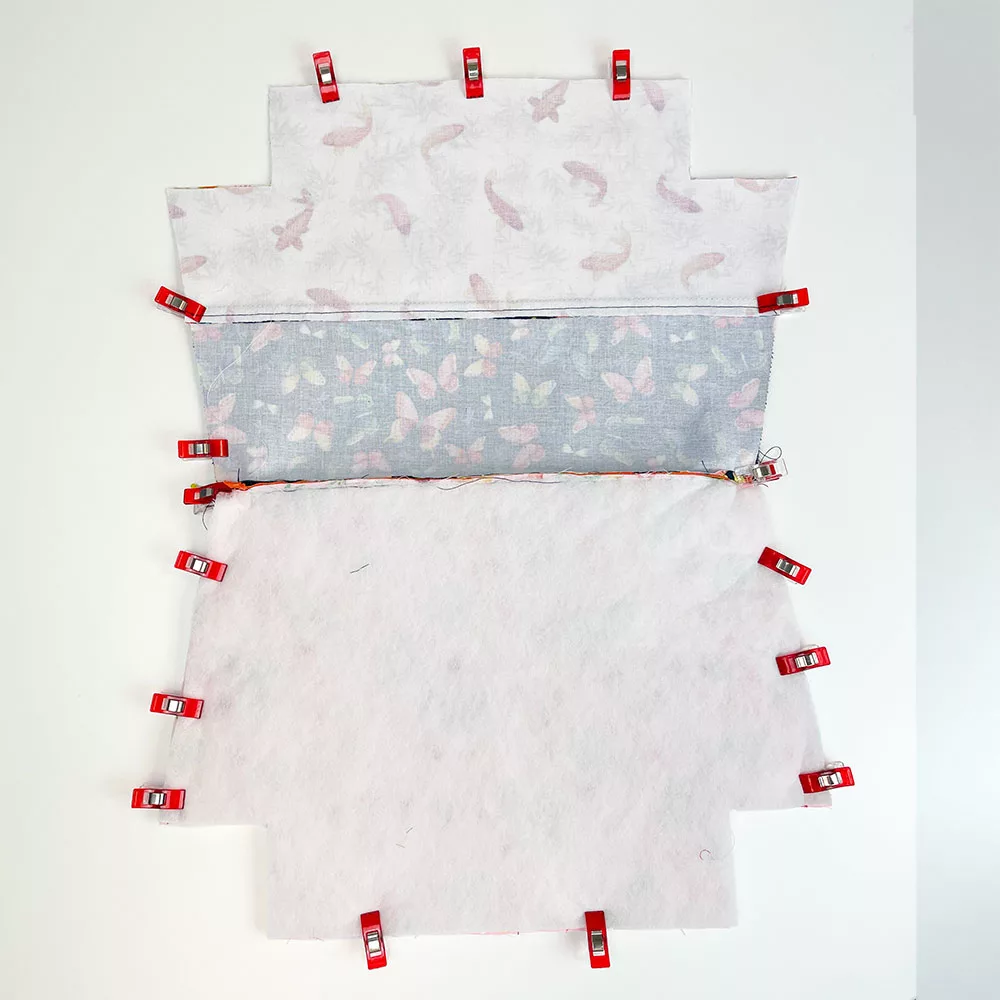
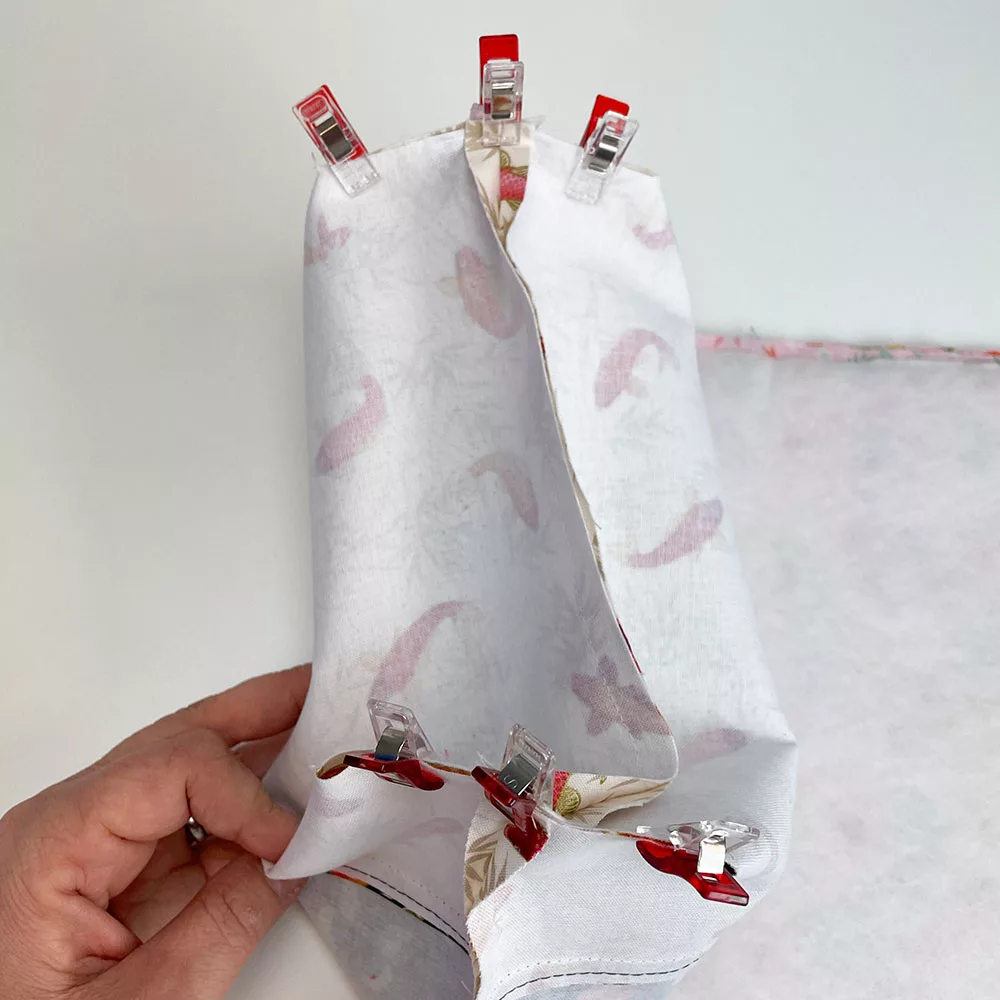
Step 19: Bring together the 2 x outer pieces & 2 x lining pieces RST. On the outer pieces pin/ clip at the seam join & then clip all the way around, making sure the seam match at the outer seam and the zipper.

Step 20: Sew down both both side seams only.

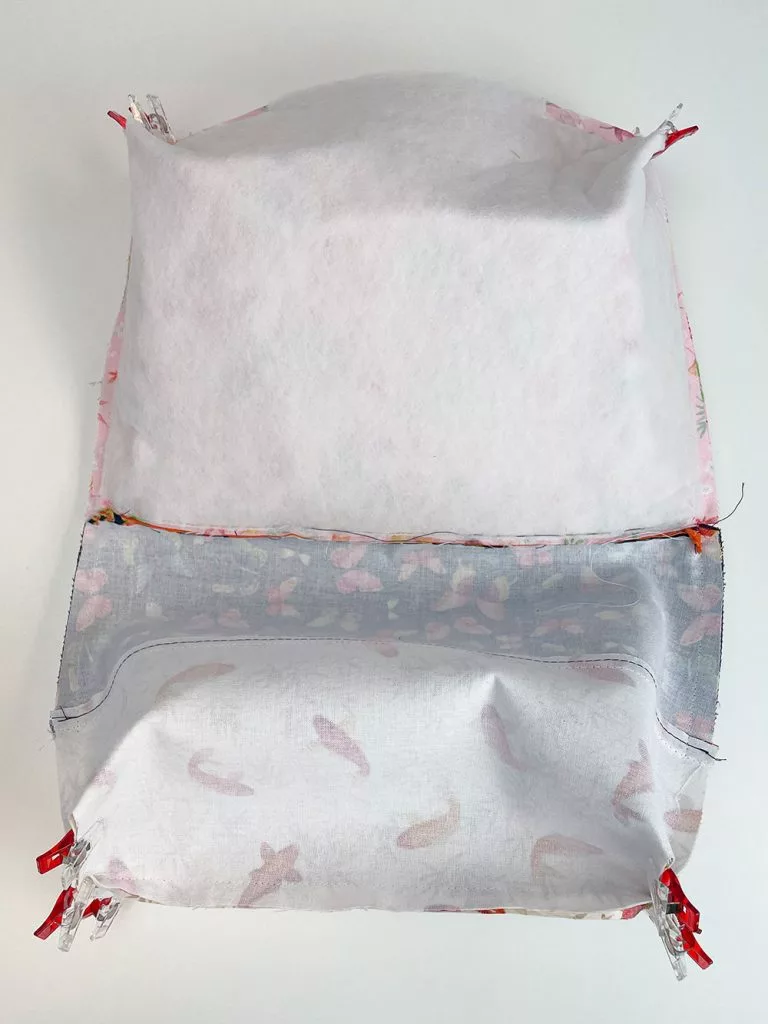
Step 21: Trim away the excess fusible fleece from the seam allowance.

Step 22: Sew the bottom seam of the outer layer, then sew the lining fabric but leave a 4”-5” turning gap. Trim away the excess fusible fleece from the seam allowance.

Sewing The Corner:

Step 23: On each corner match the seams.

Step 24: Clip the bottom seams together & then sew, making sure the seam allowances are sewn open. Do this for all corners.

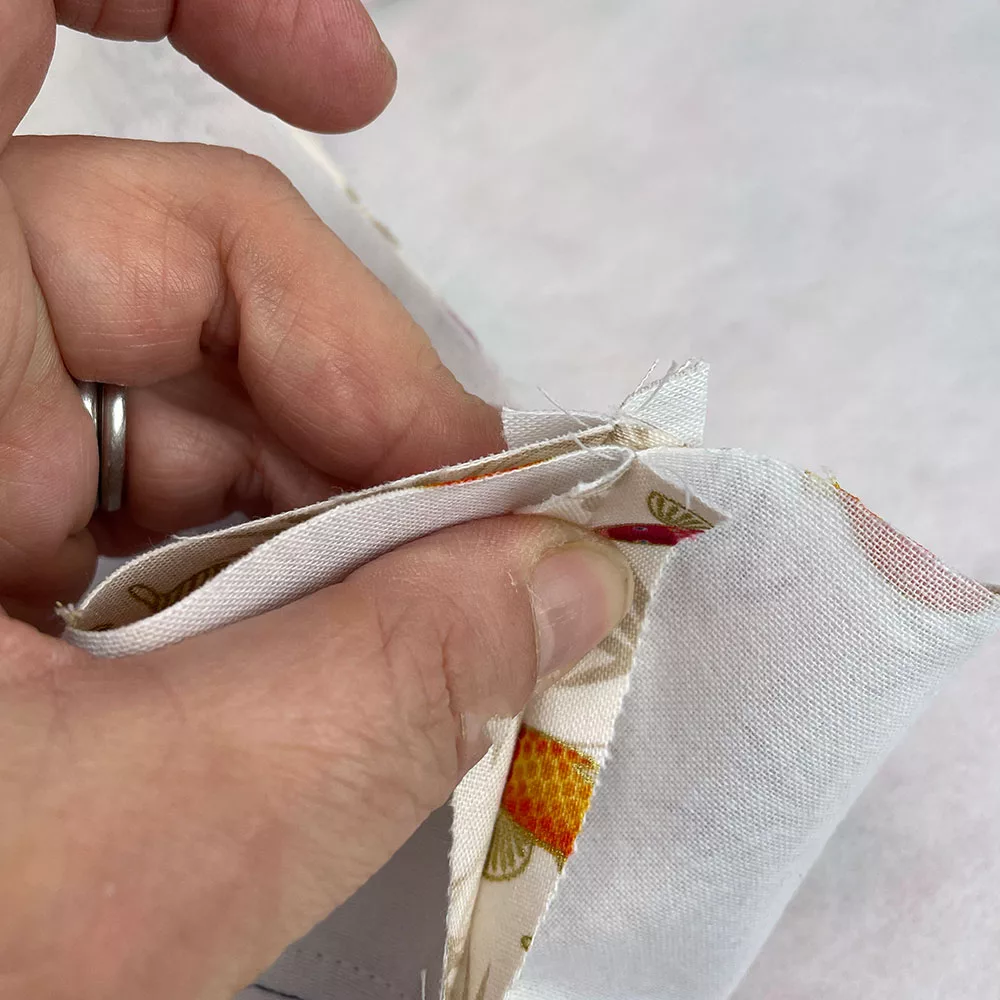
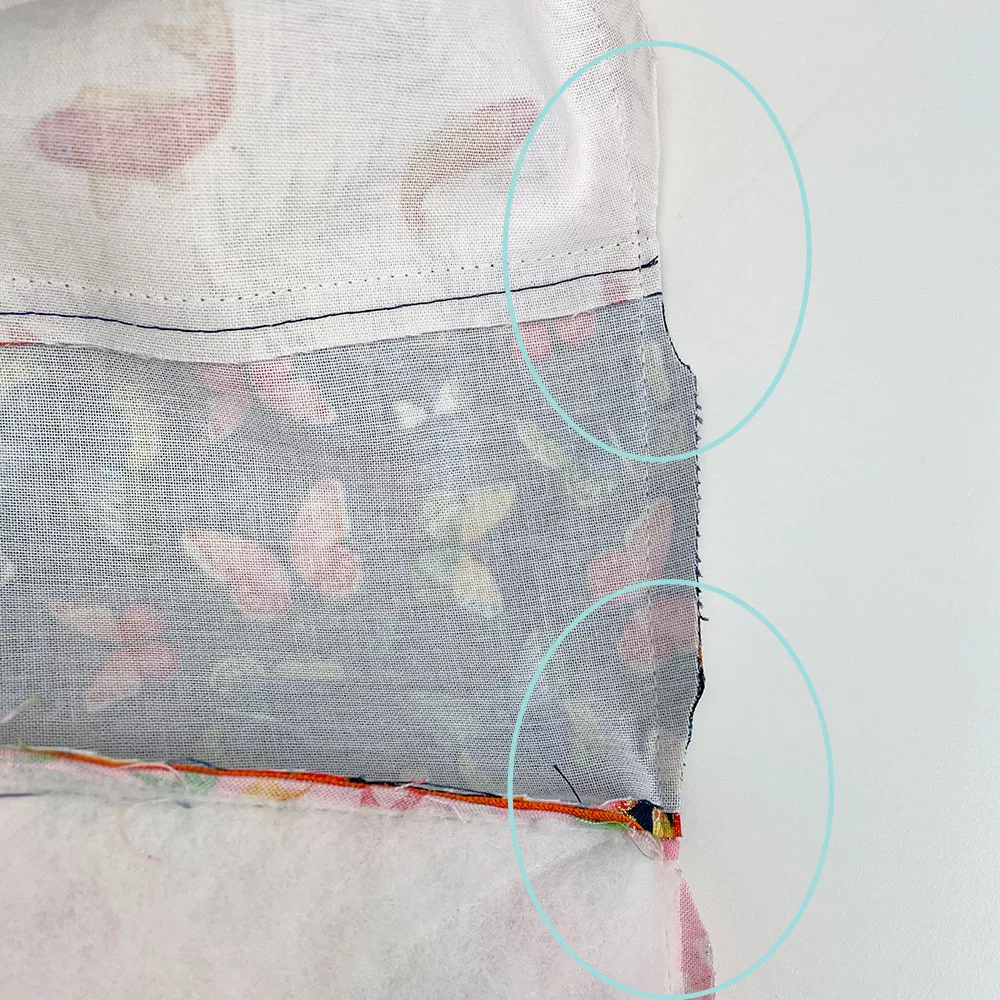
Step 25: Trim back the excess fabric on the corner seams to ¼”. Repeat for all 4 corners.

Step 26: Trim excess fabric at either end of the zip, being careful not to cut your stitch line.

Step 27: Turn your bag to the right side through the hole left in the lining & then stitch the hole closed either by hand or by machine with a very scant seam.

Step 28: Top stitch all round the top of the bag with a 3.5mm stitch length.

Adding The Zipper Tab

Step 29: Crop off any the excess on zip tail to suit your desired length – you need to leave at least 1”.

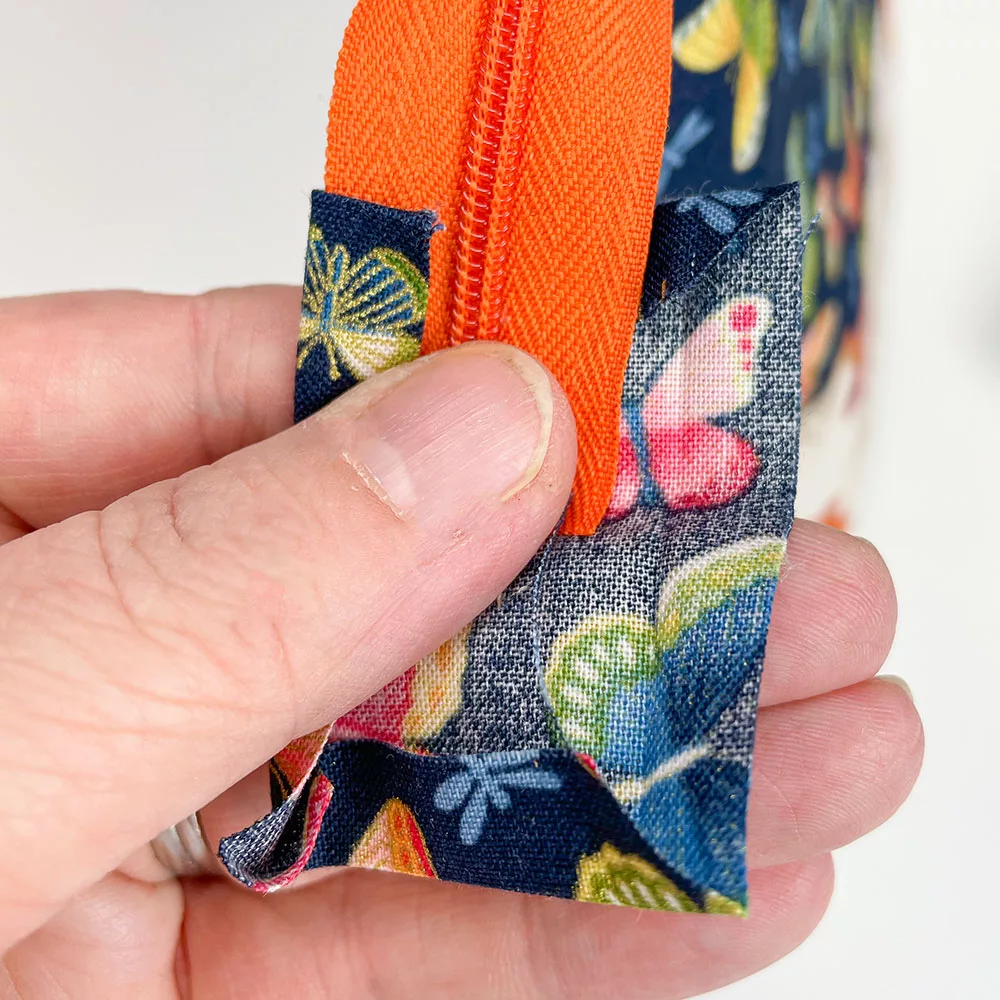
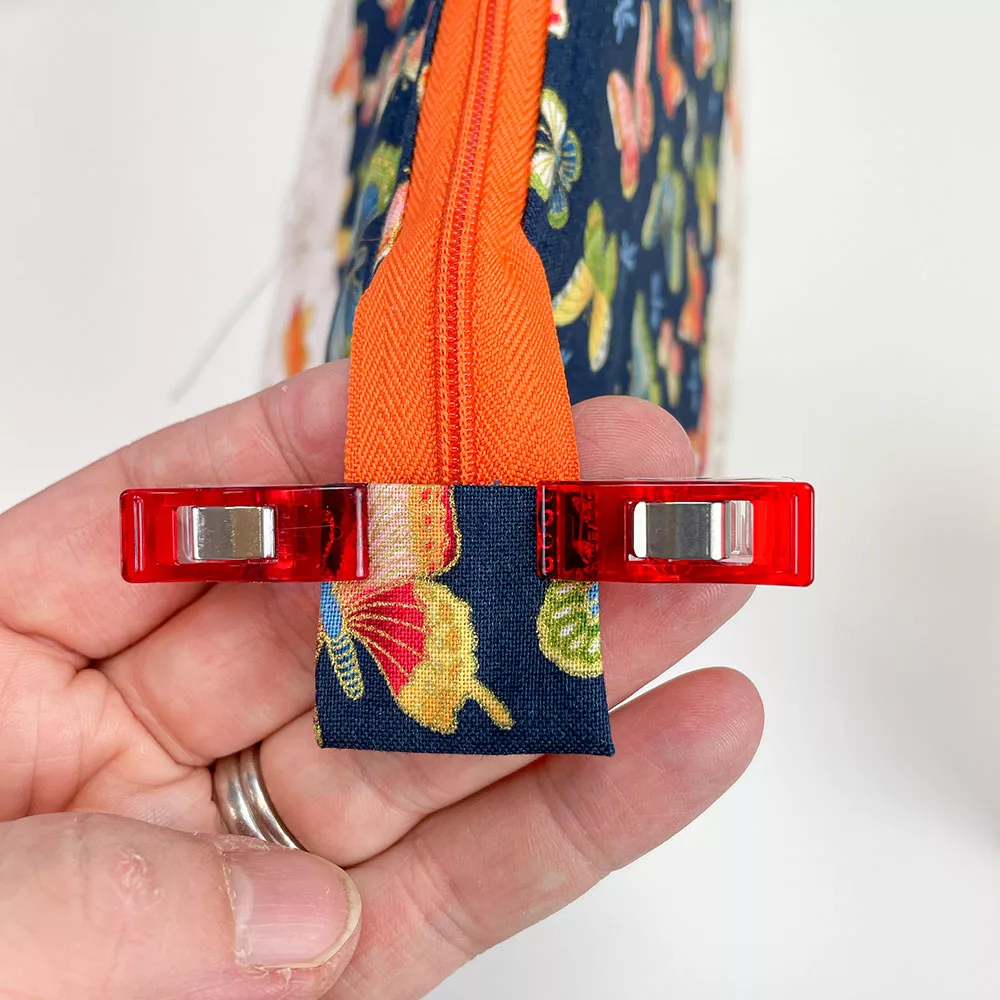
Step 30: Take your zipper tab fabric and press in each edge by 1cm, then fold in half along the long side. With both short ends folded in 1cm, place 1 folded edge at the reverse of the zip and wrap both sides around the zip tape.

Step 31: Once both sides are wrapped around fold up the long side in half and match the 2 short folded edges and pin/clip in place.

Step 32: Stitch around the 4 sides of the zip tab with a ⅛” seam.

Pro Tip – the Clover curved awl can really help here for tucking in the edges of fabric that want to peek out!

Press your bag and you are finished!

Get your free make up bag pattern here!

Click the button below to download.

All done!

We hope you found this tutorial useful!

Let us know how you get along in the comments below 🙂

Follow Plush Addict on social media and keep an eye out for more tutorials!
Make An Easy Reading Cushion Tutorial

Make An Easy Reading Cushion Tutorial

Boring Legal Bit: If you follow any tutorial or guidance found in this post, or on this blog, you agree to be bound by our disclaimer which can be viewed here

Need an easy reading cushion tutorial?

I don’t know about you, but when I think of reading a book I want to snuggle up somewhere cosy & lose myself among the pages.

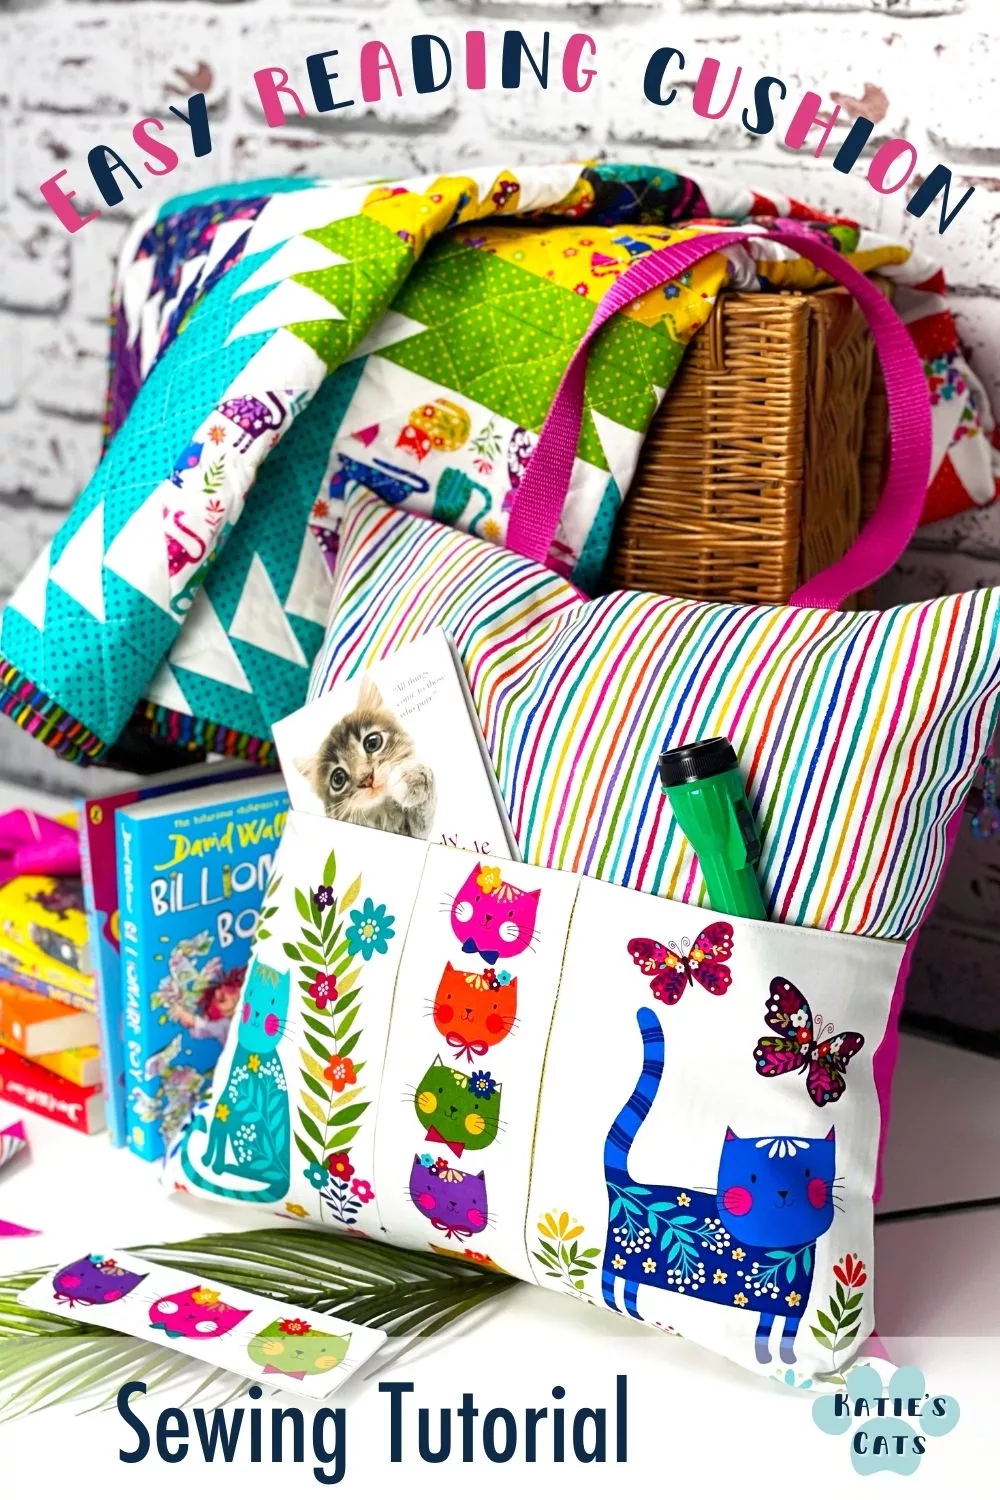
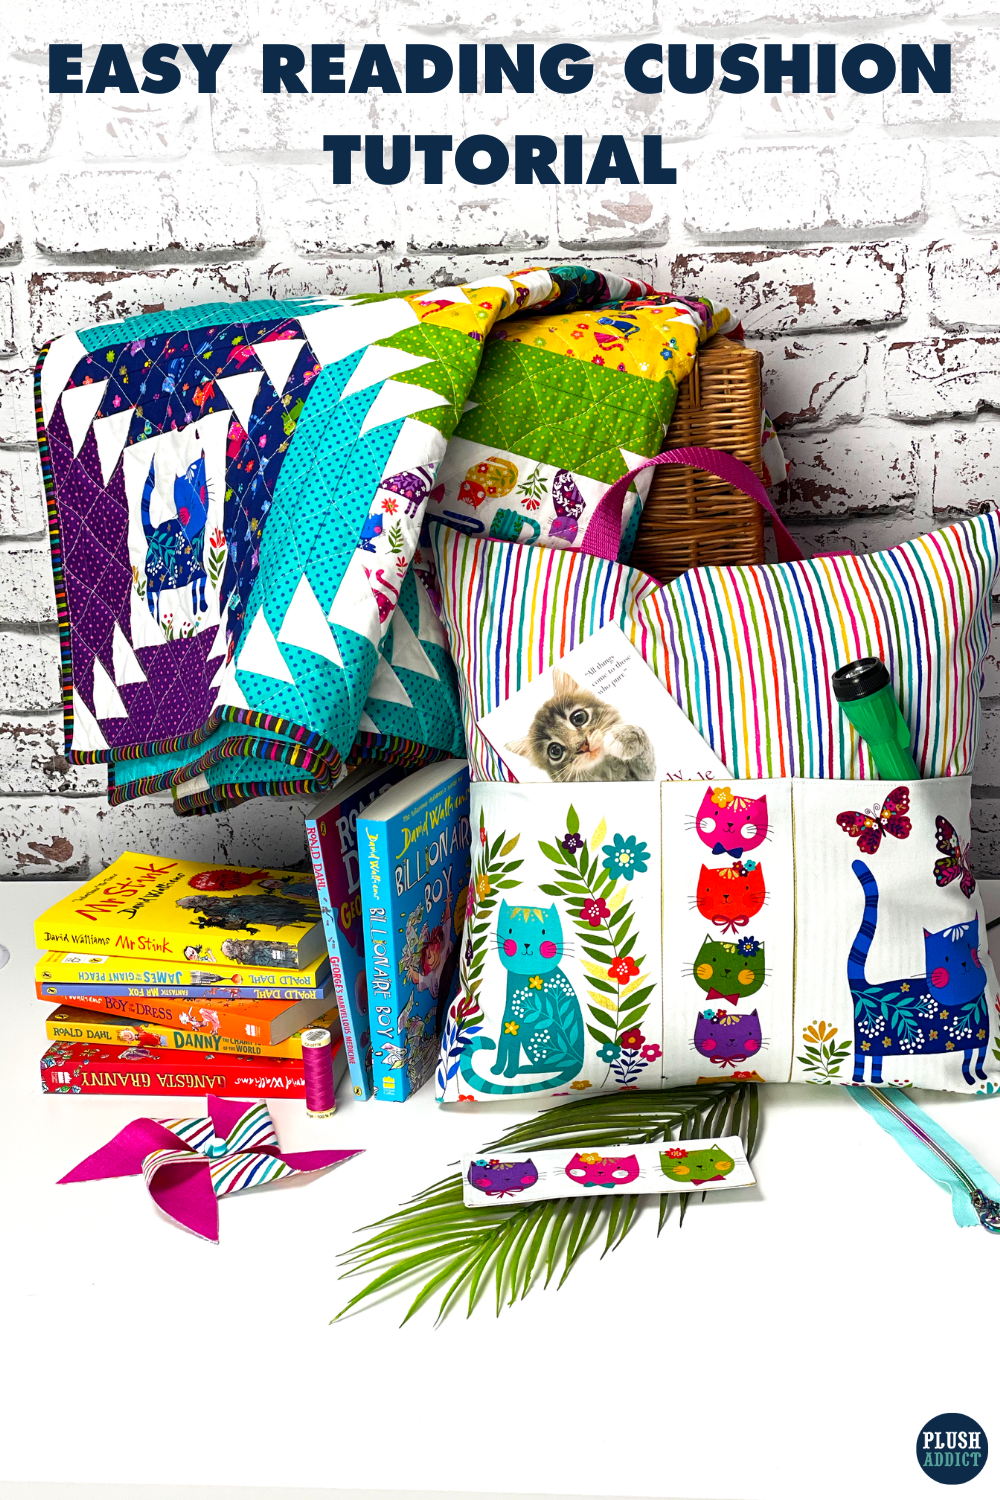
This reading cushion tutorial allows you make a cushion that brings all the best things together; a cushion for cosiness, a safe spot for your book & an extra space for a torch, cuddly toy or reading glasses.

The handle makes it easy to escape to your favourite spot. And there is no risk of corner folding savagery… there’s a bookmark too!

Skill level: Adventurous beginner

You will need

We used the following in this reading cushion tutorial:


Never miss a tutorial or fabric guide…

Stay up to date with the latest by signing up to our newsletter!

Click to join our mailing list!

Reading cushion tutorial

Important notes for this reading cushion tutorial


1 cm seam allowance throughout, unless directed.

For steps using machine sewing, straight stitch, backstitching at the start & end using stitch length 2.5 unless otherwise stated.

Pre-wash your fabrics

Disclaimer – Strangulation hazard, children must be supervised when using the book pocket cushion.

Cut the fabrics

1. Cut pieces in both fabric & interlining using the measurements above

For the cushion:

  • 1 Cushion front
  • 1 Cushion back

For the bookmark:

  • 2 Bookmark pieces: Choose 2 17.5x6cm panels – cut adding a 5mm border to all sides

For the pocket: *Note the interfacing is cut separately as 1 panel

  • 2 Pocket sides: Choose 2 17.5x25cm panels – cut adding a 1cm border top and bottom and a 5mm border on both sides
  • 1 Pocket centre: Choose 1 8x25cm panel – cut adding a 1cm border at the top and bottom and 5mm border on both sides
  • Pocket Interlining: 45x27cm

Prepare the fabric

2. Apply the fusible interfacing to the cushion front and back

New to woven interfacing? Check out our how to product guide here

Assemble the reading cushion back panel

3. Measure and mark a line 11cm from the shortest edge of the back piece.

4. Cut along the line to form the zip opening.

5. Tidy the 2 raw edges of the zip opening using an overlocker or zig zag stitch.

Reading Cushion Back Panel

6. Clip or pin the 2 sides of the zip opening right sides together.

7. Baste along the opening with a 1cm seam allowance.

8. Press the seam open.

Press the seam of the cushion back panel

Prepare the zip

9. Seal the ends of the tape gently, taking care not to damage the zipper teeth.

Want to know your #5 from your #3 zip? Check out our Zip Type Guide 

10. Pull the bottom 10cm of the zipper teeth apart.

Pull the bottom of the zipper teeth apart

11. With the back of the zip pull and back of the tape facing upwards thread 1 end of the tape into the zipper from the top. To make this easier angle the teeth into the pull from the side.

 thread 1 end of the tape into the zipper from the top

12. Repeat step 4. on the other side. Both sets of teeth should sit toward the top of the clasp.

13. Keeping the 2 sides of teeth level with each other, hold the zip pull between one finger/ thumb then draw the 2 sides of the tape down through the pull with the other hand. The zip pull should then begin to move up the tape.

hold the zip pull between one finger/ thumb then draw the 2 sides of the tape down through the pull

14. Slide the pull toward the top of the tape (without coming off the other end) then pull it back down to check the zip works.

Top tip:

A fork can help hold the zip pull: tuck the bar of the zip between the central teeth (not the clasp where the teeth need to go). A blob of blue-tack can help keep the fork still.

Sew the zip

15. On the cushion back panel with the zip fastened, align the zipper teeth along the basted seam line. Position the zip, pull side down, end aligned with one edge, pull and excess tape overhanging at the other.

Align the zipper teeth along the basted seam line

16. Tape or baste the zip in place.

17. Starting at the end nearest the zip pull, begin sewing using a zipper foot. Backstitch at the start then sew down to the bottom of the zip.

18. Stop sewing 5mm from the bottom. Turn and sew across the bottom carefully, backstitching for added strength.

19. Turn and sew along the other side of the zip teeth to the top and backstitch.

20. Remove the tape/ zip basting stitches.

21. Turn the cushion back over and unpick the basting stitches using a seam ripper. Remove all loose threads (a lint roller can help with this) then test the zip.

Turn the cushion back over and unpick the basting stitches using a seam ripper

Never miss a tutorial or fabric guide…

Stay up to date with the latest by signing up to our newsletter!

Click to join our mailing list!

Assemble the pocket

22. One at a time, align the edge of a pocket side panel piece with the corresponding edge on pocket centre piece and pin.

23. Sew the pieces together with a 5mm seam allowance then press the seams open.

Assemble the pocket - Press the seams open

24. Apply the interlining to the back of the pocket piece.

25. Hem the top of the pocket by folding over and pressing the top 1cm of the panel.

26. Turn the raw edge under to reach the crease and press again to create a hem.

27. Clip and sew along the edge of the pressed hem to secure.

Clip and sew along the edge of the pressed hem to secure

28. Align the bottom of the pocket piece with the bottom of the cushion front.

29. Pin along the seam line that runs between the right and centre pocket panels

30. Sew along the seam line. Backstitch twice at the top of the pocket for strength.

Sew along the seam line

Position the strap

31. Fold the back cushion piece in half and finger press a crease in the centre of the top edge.

32. Position each end of the webbing 7.5cm from the crease and pin with the strap ends and fabric edge aligned.

Position the straps - pin with the straps end and fabric edge aligned

Assemble the cushion

33. Lay the pieces out in the following order:

  • Cushion front and pocket – right side up
  • Cushion back – right side down with the strap ends to the top (strap tucked down between the layers)

34. Vertically pin the opening end of the zip then unzip it by 10cm.

35. Clip or pin the 4 sides of the cushion together.

Clip or pin the 4 sides of the cushion together

36. Sew the easy reading cushion front and back together. Carefully backstitch at each end of the zipper tape, the strap ends and the tops of the pocket for strength.

37. Clip the corners, cut off the excess zip tape (using domestic scissors for the teeth) and turn the cushion out the right way.

Cut off the excess zip tape and turn the cushion out the right way

38. For a polished finish, press the completed cushion cover.

Make the bookmark

39. Pin the 2 bookmark pieces right sides together.

40. Leaving a 5cm opening, sew around the bookmark with a 5mm seam allowance.

41. Clip the corners and turn out the right way.

Clip the corners and turn out the right way

42. Press the bookmark

43. Sew 2 lines of top stitching around the bookmark; the first close to the outer edge and the second 5mm in from the 1st

Reading cushion bookmark

And you’re finished, well done!

Pin For Later!

Never miss a tutorial or fabric guide…

Stay up to date with the latest by signing up to our newsletter!

Click to join our mailing list!

We hope you found this easy reading cushion tutorial useful.

Let us know how you get along in the comments below 🙂

Follow Plush Addict on social media and keep an eye out for more tutorials. Please tag us @PlushAddict on your fave social media channel… we’d love to see your makes!

Upcycled Denim Bag Tutorial

Upcycled Denim Bag Tutorial

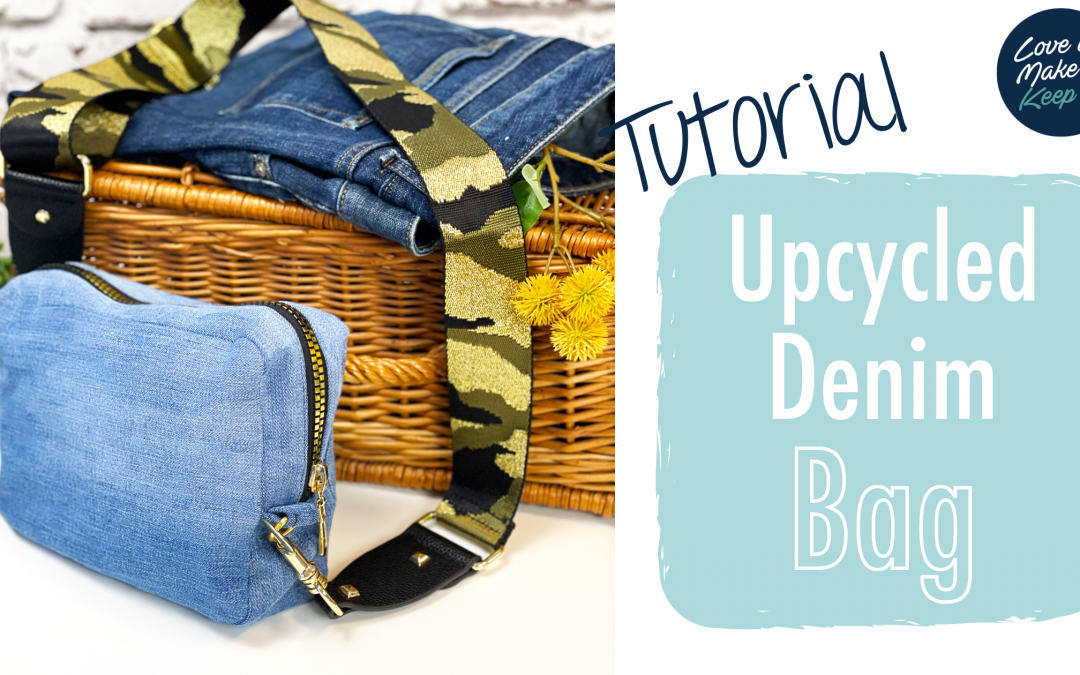
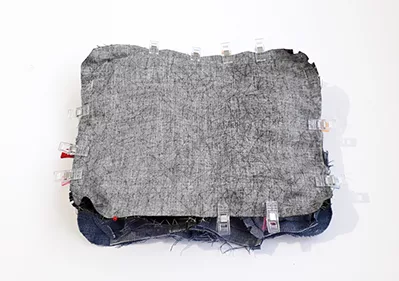
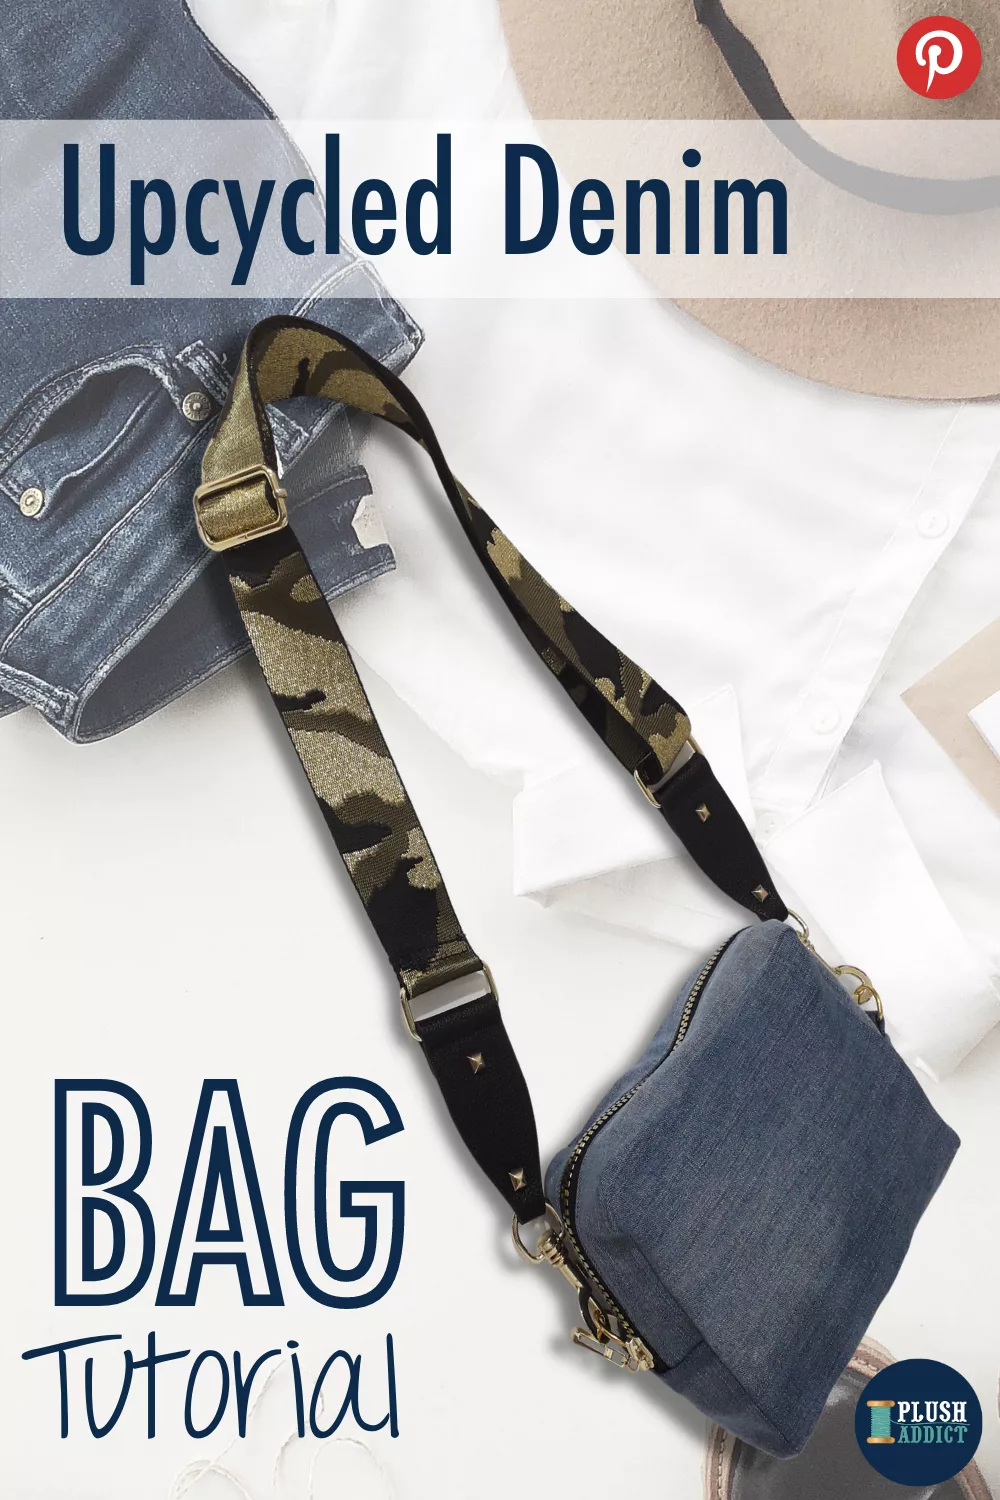
If you have some tired looking jeans, their destination doesn’t need to be the charity rag bag yet. Give them a new lease of life with a transformation into this fabulous handbag using this upcycled denim bag tutorial.

Treat yourself to a new bag – from old jeans!
There is a massive selection of bag hardware & accessories here at Plush Addict, so let your creativity flow and produce a one of a kind masterpiece.


Skill level: Intermediate Seam-Star


You will need:


Want to follow along with printed instructions instead? We’ve got you covered!

Click the button below to download this step-by-step printable upcycled denim bag tutorial.

Important notes for sewing the upcycled denim bag:


1.5 cm seam allowance throughout, unless directed.

For steps using machine sewing, straight stitch, backstitching at the start & end using stitch length 2.5 unless otherwise stated.

Pre-wash your fabrics

You will need a strong sewing machine for steps 19 and 24, some machines may struggle with these steps

Please note: The images and video clips were taken during pattern testing, if the pattern pieces appear a different size to your’s and the steps sequenced differently, don’t panic & trust the instructions!

Print and cut the pattern


1. Sign up here to be emailed the pattern piece file.

Use the 1” test square to check the sizing. If the sizing is incorrect check print settings. Depending on the device used, select ‘actual size’ or deselect the ‘fit to page’ option.

Cut your fabrics


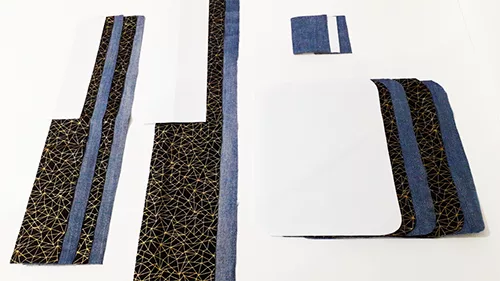
2. Using the pattern, cut out the following from BOTH outer & lining fabrics:

2 Side panels
2 Top panels
1 Base panel
From outer only:
2 D ring tabs

If you would like to read our full guide with tips on sewing denim fabric, check out our fabric guide here

Top tips:

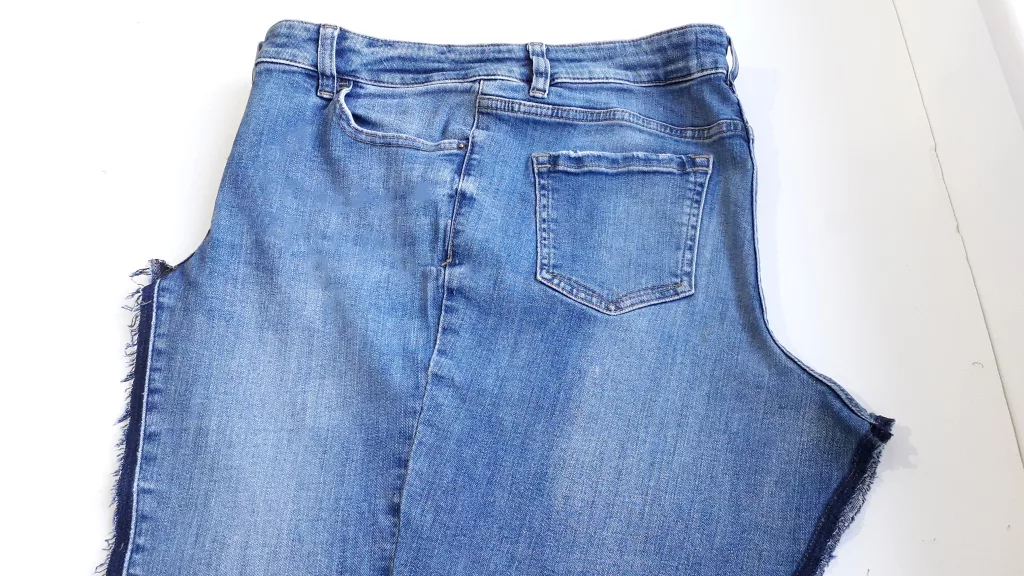
  • Some denim has graduated fading, before sewing lay out the pieces and plan which direction you want the graduations to flow on your finished denim upcycled bag.
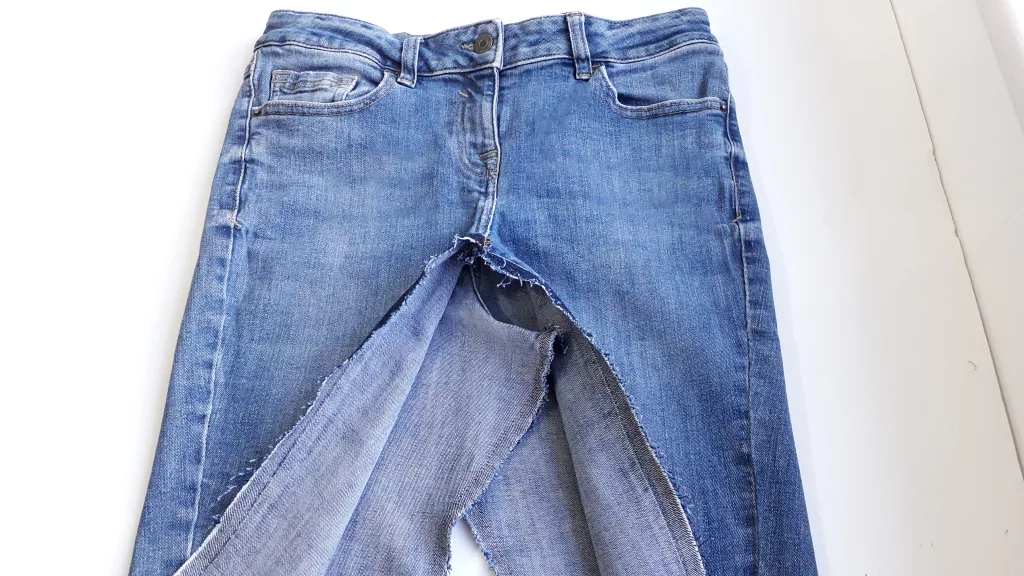
  • Unpick the inside leg seams on jeans to lie them flat

Check your zip


3. Open and close the zip to ensure it moves freely.

Assemble the zip panel

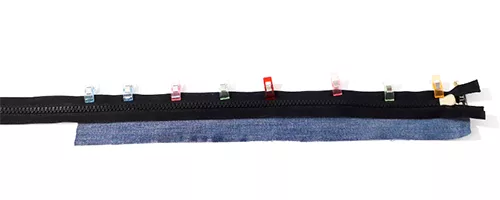
4. Place one top panel outer piece right side up. Align the edge of the zipper tape with the edge of the top panel right side down. Set the open end of the zip 1.5cm back from the end of the panel. Clip the zip in place

5. Baste along the edge of the zipper tape, the full length of the top panel, with a 5mm seam allowance. Use a zipper foot, stitch length 4.

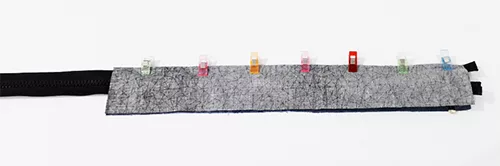
6. Align a top panel lining piece right side down with the basted seam and outer top panel piece. The 2 top panel pieces should be right sides facing with the zip sandwiched between them.

7. Using a zipper foot sew the three layers together with a 1cm seam allowance.

8. Top stitch alongside the zip on the outer fabric only; using a zipper foot sew along the outer fabric 2mm from the edge.

9. Repeat steps 4 to 8 for the other side of the zip using the remaining top panel pieces.

10. At the end of the zip panel (not the end where the pull lies when the zip is fastened), hand-sew several stitches around the end of the zipper teeth as a zip bar. Any excess zipper tape can then be cut off; be careful and use domestic scissors when cutting through the teeth.

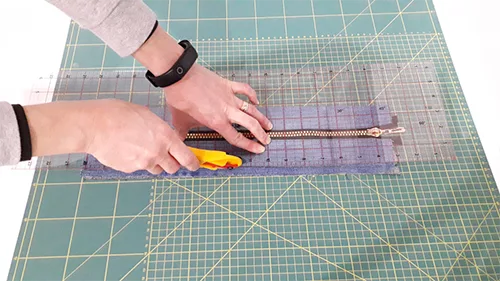
11. Measure the total width of the assembled zip panel. If the width exceeds 10cm trim equal amounts of each side to achieve the correct width. For example, if the total panel width is 12cm, trim 1cm off each side.

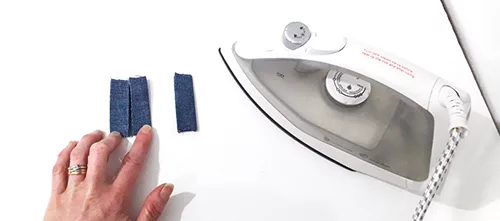
Form the D ring tabs


12. Fold each piece in half along the long edge wrong sides together and press.

13. Open the tabs back out and fold the short edges to the central crease and press.

14. Fold the tabs in half again with the raw edges tucked inside and press.

15. Top stitch 2mm from the edge along the 2 longest sides.

16. Lay the base panel outer piece over the zip panel. Fold a D ring tab in half and thread one of the D rings onto it so the straight edge of the D ring sits in the crease.

17. Position the D ring tab along the short edge of the base panel. Using the zip panel as a guide, position the tab so it sits to one side of the zipper teeth and clip in place on the base panel only.

18. Repeat steps 16 and 17 with the other D ring tab, positioning it at the other end of the base panel on the other side of the zipper teeth.

19. Sew the D ring tabs in place with a 1cm seam allowance. Backstitch over each one twice to create 4 lines of stitching.

Want to follow along with printed instructions instead? We’ve got you covered!

Click the button below to download this step-by-step printable upcycled denim bag tutorial.

Assemble the central panel


20. At each corner of the outer base panel on the wrong side, make a mark 1.5cm in from the long edge.

21. Align the pieces in the following order:

  • Base panel lining, right side up
  • Zip panel, right side up
  • Base panel outer, right side down

22. Line up the short edges at one end and clip them together.

23. Line up and clip the short edges at the other end together.

24. Sew along the short edges between the markings from step 20.

We have used a zipper with plastic chunky teeth (we love this look!) When sewing over the ends of this type of zip the fabric may need moving forward manually to create a longer stitch:

To do this – Sew to the side of the zipper teeth, raise the needle, lift the presser foot and move the fabric enough for the needle to enter the fabric on the other side of the zipper teeth. If you are using a zip with nylon coil teeth then you should be able to sew straight over the zip teeth.

Reverse this step to go back over the zipper then come forward again to give added strength.

Caution: trying to sew through zipper teeth can break sewing needles, which may result in injury.

25. Turn the base panel outer piece to the back forming the finished central panel. Then turn the whole central panel inside out so the lining fabric is around the outside

26. Assemble the bag: Undo the zip then take one outer side panel and fold it in half along the long edge to find the centre bottom.

27. Find the centre of the bottom panel by lining up the 2 side seams from step 24 and folding the outer bottom panel in half.

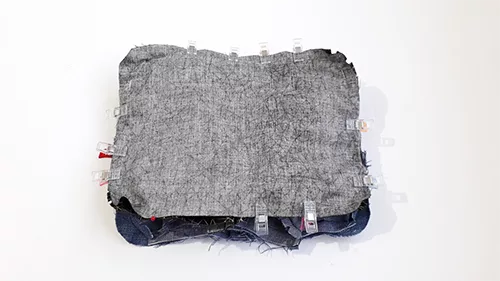
28. Line up the 2 centre bottom points and clip right sides together. Continue clipping the central panel around the side panel piece.

29. At the corners make 1cm cuts into the central panel edge for ease around the curves.

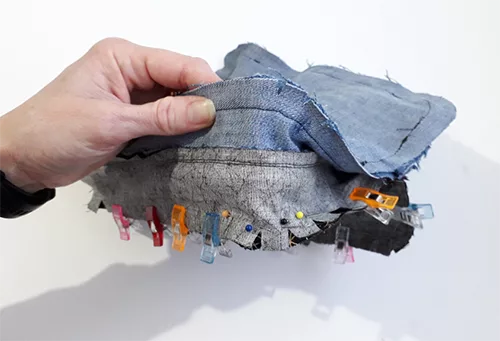
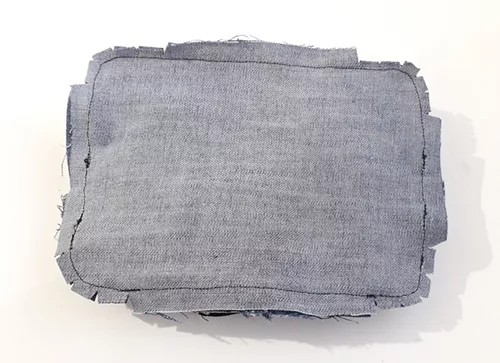
30. Sew all the way around the bag side panel. To sew alongside the joins in the central panel (step 24) cast off and switch to a zipper foot and sew avoiding the lining fabric. Then switch back to a standard presser foot to continue sewing round.

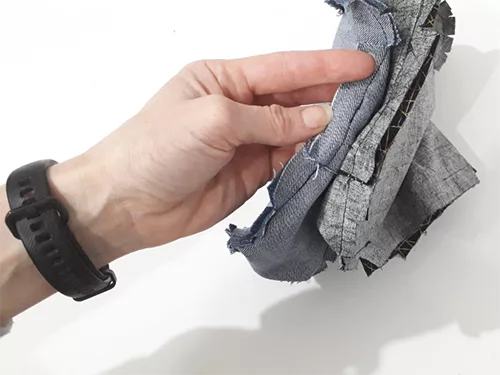
31. At the 4 curved corners, make V shaped cuts in the seam allowance at 1cm intervals. They should be 5mm wide then narrow to a point just before the seam line. Then trim the corner seam allowance down to approx. 5mm

32. Repeat steps 26 to 31 with a lining piece.

33. Turn the bag to access the other side of the central panel and repeat steps 26 to 32. When sewing the final lining piece leave a 10cm opening along the bottom edge for turning.

Finishing touches


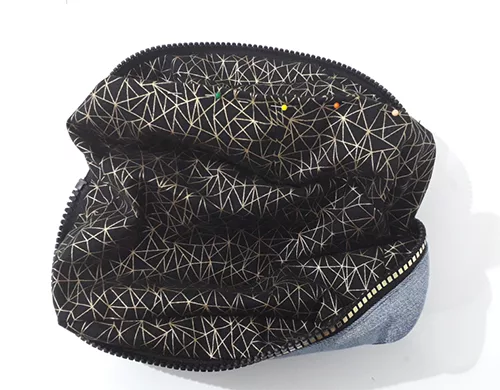
34. Turn the bag out the right way and press the seams, avoid the zipper teeth as the heat may damage them.

35. Find the opening in the lining and clip the 2 sides together. Either machine sew the opening or hand sew with ladder stitch.

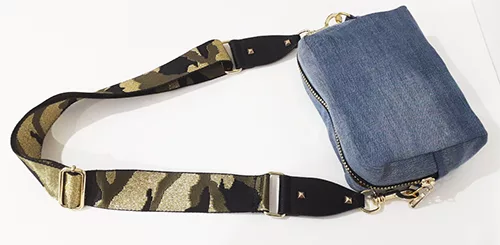
36. Clip the strap through the 2 D rings and the upcycled denim bag is complete!

We used:


Want to follow along with printed instructions instead? We’ve got you covered!

Click the button below to download this step-by-step printable upcycled denim bag tutorial.

Pin For Later!