Our site is getting a makeover! Please bear with us whilst we make improvements

Washable & Reusable Bin Liner Sewing Tutorial

Washable & Reusable Bin Liner Sewing Tutorial

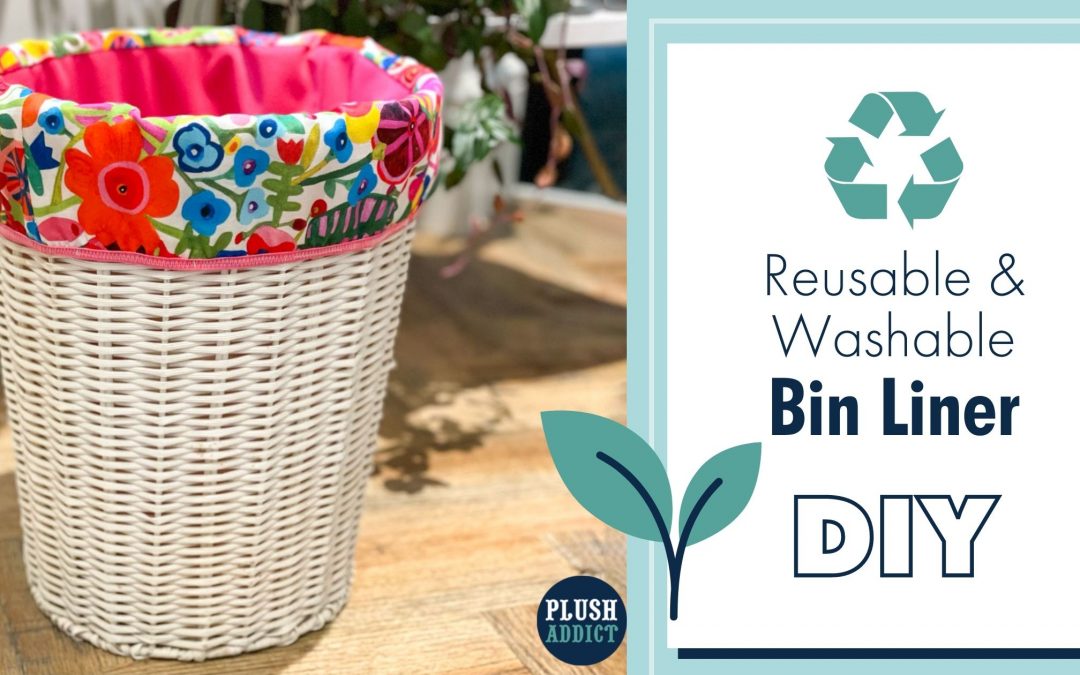
We’re always looking for new ways to go zero waste here at Plush Towers & one item we have been keen to ditch is the plastic waste-bin liner and we have been looking for a reusable alternative…

As the world, quite rightly, moves away from single use plastic bags that at one time many of us used to line small waste bins we have been pondering what a zero-waste replacement could be. We thought it was time to unleash into the world a tutorial for a reusable & washable waste bin liner!

This washable bin liner is the perfect zero-waste solution for all those light use bins in the bedroom, office or bathroom…
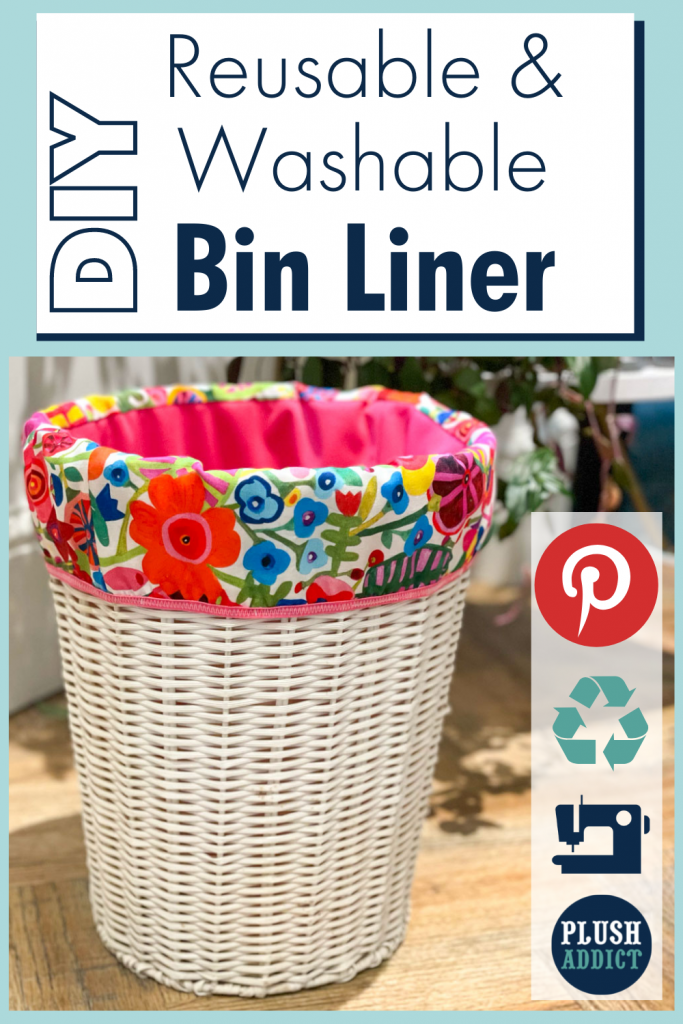
Reusable Bin Liner Sewing Tutorial


Anatomy of the washable bin liner

Outer Fabric: We’ve used waterproof PUL as the lining fabric in this project.

Why this fabric you might ask?! We figured it was the perfect fabric choice for handling lightly soiled bathroom items such as cotton pads or ears buds. Choosing waterproof PUL means there there won’t be any unwanted leaks through to the exterior of the bin liner…

It also means if you live with people that insist on chucking away their banana skins in their bedrooms that get buried & forgotten about you won’t get any leaky food waste either, ha!

Lining Fabric: For the liner outer we’ve used calico as it’s economical , but you can use any cotton. This part of the liner generally won’t be seen (unless your bin has lots of hole in it) so this is a great opportunity to use up your stash, or this as a great chance re-purpose or upcycle some other fabric.
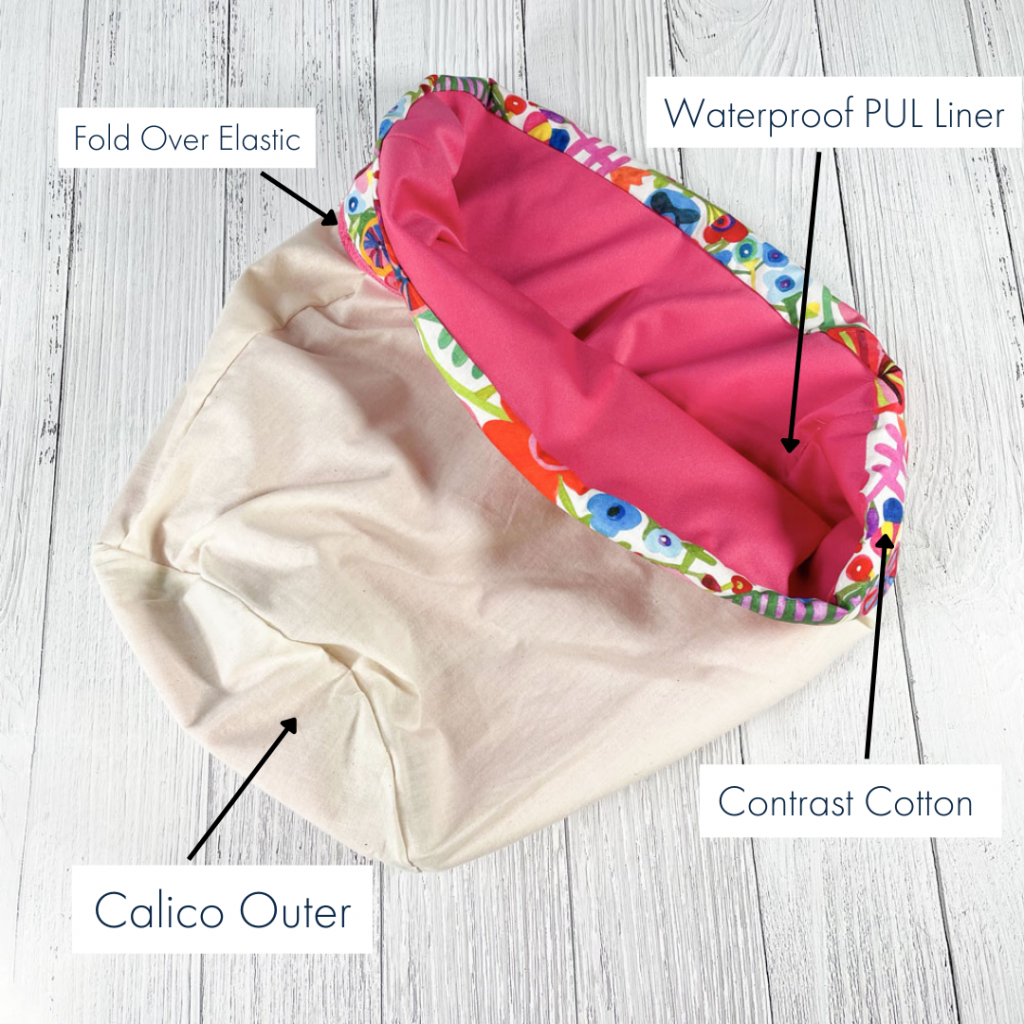
Contrast Fabric: We wanted to give you the option to make it pretty so we’ve used a small amount of quilting fabric as an accent to give you the chance to match to your decor, or add a touch of personality to your bin. This fabric is actually part of the lining but appears on the exterior of the bin once folded over.

The whole liner is held securely in place by fold over elastic at the liner’s opening edge.

The method we’ve described in this tutorial would also work perfectly for washing baskets, laundry baskets, nappy bins, kitchen bins… You can use the same method for storage baskets (any size) to prevent leaking, damage, snags & scrapes!

We’re going to show you how to draft a pattern for a circular 3D vessel – in this case your waste bin – which you can apply to a variety of other storage projects! Follow along and you can draft your own pattern to fit any size circular bin or basket.

By using a liner you will be reducing your plastic use and waste, and become more conscious as to what waste you are producing, sewing a sustainable and useful project! 

How to launder your reusable bin liner

  • We recommend that your fabrics are pre-washed before you start this project.
  • This liner is designed for light use waste bins so it can usually be laundered at 30 degrees.
  • If you decide to use it for “messier” bins that might harbour higher bacterial growth, you can launder these fabrics at 60 degrees but it’s imperative you pre-wash everything at that temperature first. Washing consistently at 60 degrees may reduce the life of the cotton fabrics.
  • We recommend air drying this project after laundering. We do not recommend tumble drying PUL as regular tumble drying can delaminate PUL fabric over time.

A sewing project for Adventurous Beginners

Finished Dimensions: Depends on the size of your bin – we used this bin [affiliate link]
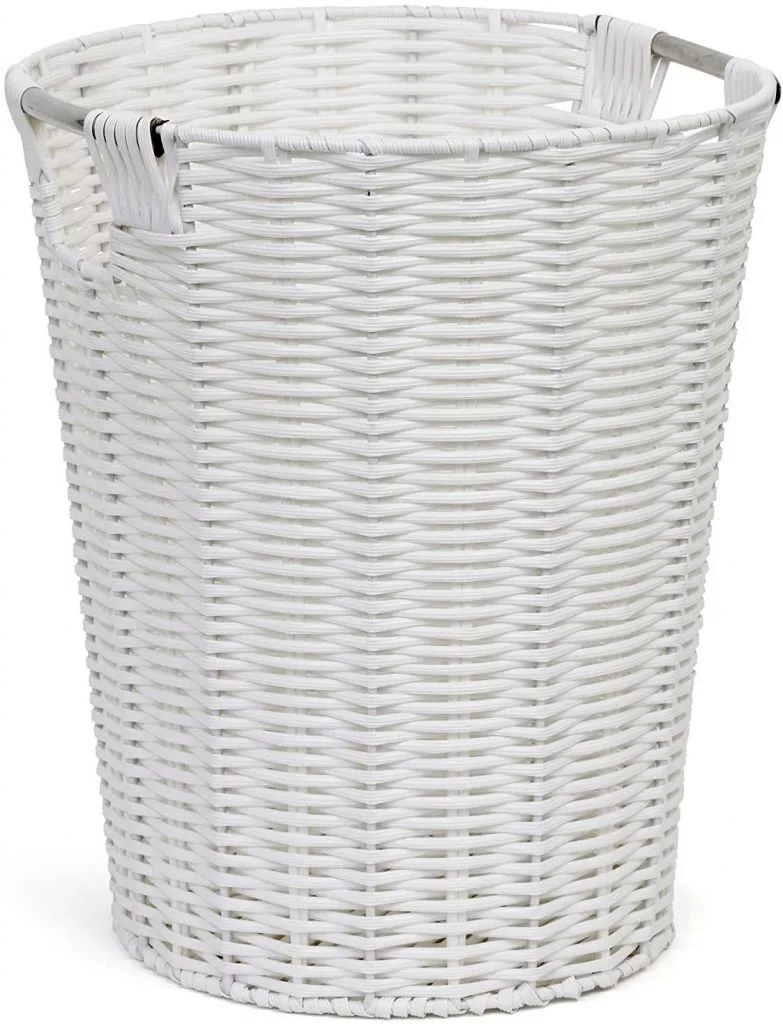
With the following dimensions: Dia 25.5cm x H 31cm / Dia 10” x H 12”

Approximate sewing time: An afternoon

Important Notes:

  • Pre-wash your fabrics
  • 1cm ⅜” seam allowance throughout, unless directed.
  • For steps using machine sewing, straight stitch, backstitching at the start & end using stitch length 2.5 unless otherwise stated.
  • We have overlocked our seams but if you don’t have an overlocker you can check out this post for other seam finishing ideas
  • When top stitching – use a 3-3.5mm length & stitch approx 3mm from the seam
  • Prepare your fabrics as per manufacturer’s care advice
  • RST = Right Sides Together
  • WST = Wrong Sides Together
  • Read through the instructions fully before starting
  • Please note that pins can create permanent holes in PUL. we recommend using clips

You Will Need:

The requirements given below are enough for a similarly sized bin to this bin which measures Diameter 25.5cm x Height 31cm / Diameter 10” x Height 12”

If your bin is a different size draw the pattern out and then calculate what you need from the pattern.

Sewing Equipment You Will Need:

Draw Your Reusable Bin Liner Pattern

  1. Measure & draft the pattern pieces for your bin:

You need to take a few measurements to work out how to draw your pattern pieces. We realised this can seem daunting for some people so we’ve worked hard to make it as accessible and easy to follow as we can.

We’ve put together:

  • A video (below) for those that prefer visual instruction
  • Detailed written instructions & a handy printable which has a calculations table for you to complete with your own bin measurements. Use this for fool proof pattern drafting!
  • A worked example

The video & printable are designed to work together and compliment each other.

Measure your bin

Cutting Out The Fabrics

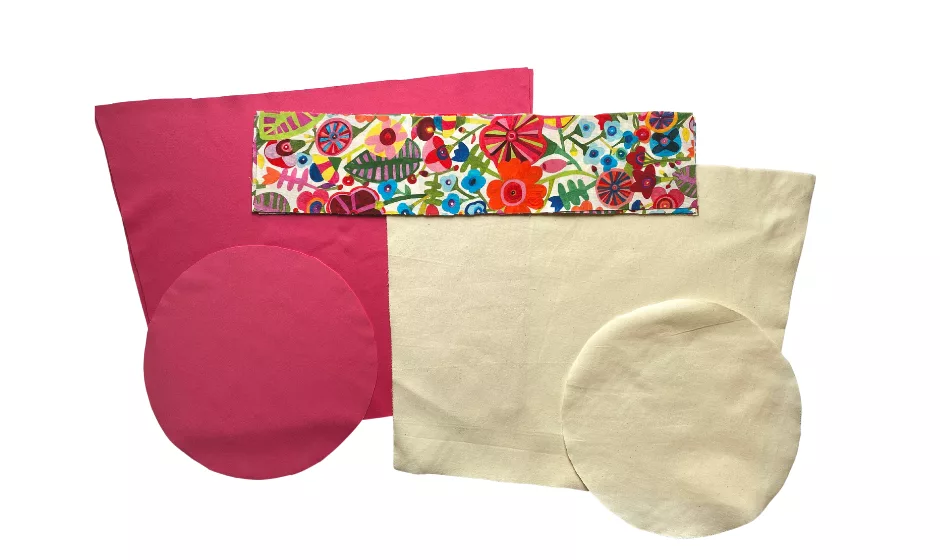
Cut the following :

  • From Fabric A (Contrast Top): 4 x Contrast Top rectangles
  • From Fabric B (Calico Cotton) : 2 x side panels & 1 x base circle
  • From Fabric C (PUL lining): 2 x sides and 1 x base circle
3. Constructing the reusable bin liner

  • With RST, sew the side seams of the 2 x calico side panels  together, using a 1cm / ⅜” seam allowance
  • Repeat for the PUL side panels
  • Mark the quarter points: On both outer & lining sewn side panels & the base circles, mark ¼ points :
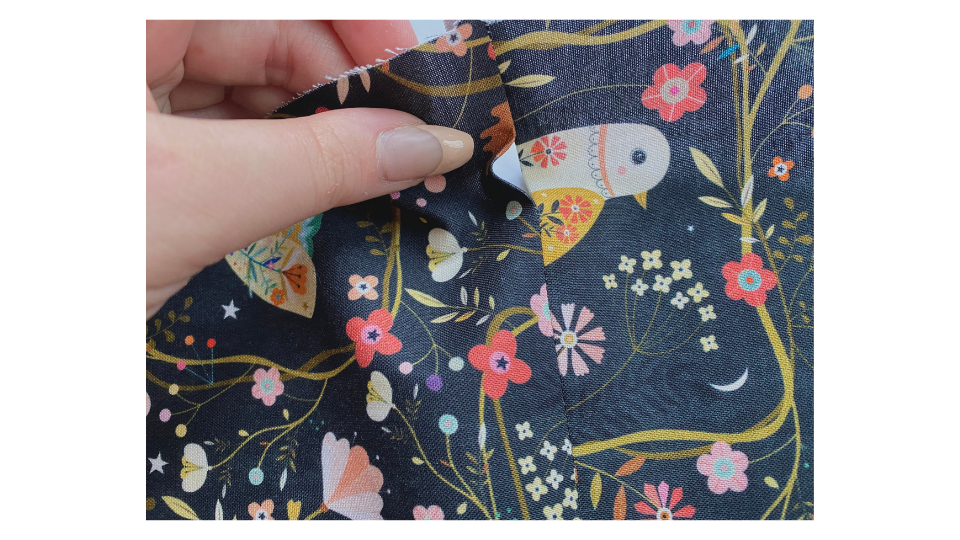
    • On the side panels, fold the fabric on the seam & smooth & fold it across; the seam line is a one-quarter point & the fold crease is another. Bring those points together & smooth the fabric out to the sides; mark where the next 2 folds form.
    • For the base circle, fold it in half, make marks at each end of the fold line. Fold it in half again and mark both layers of fabric where they fold.
  • Take the PUL side panel & base & match up the marked 1/4 points & pin
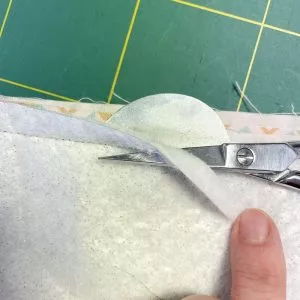
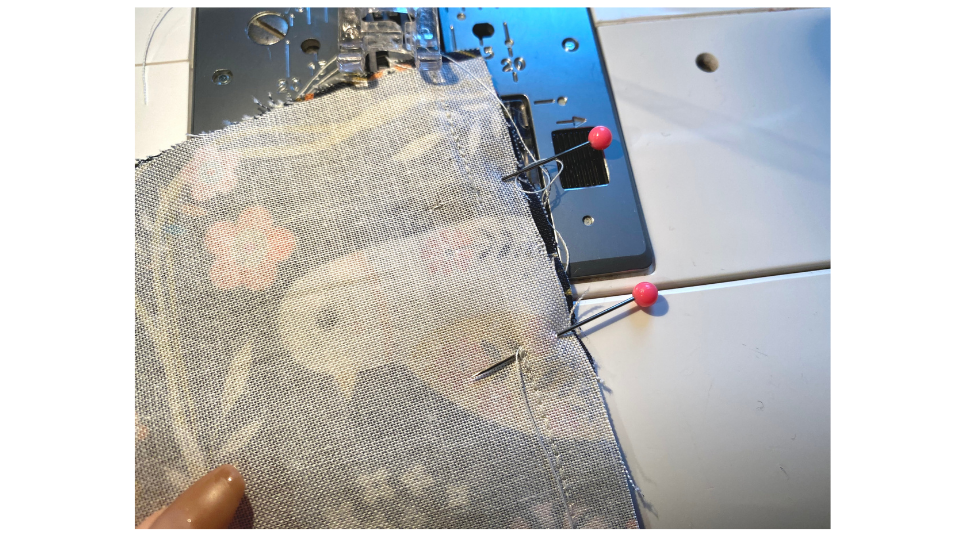
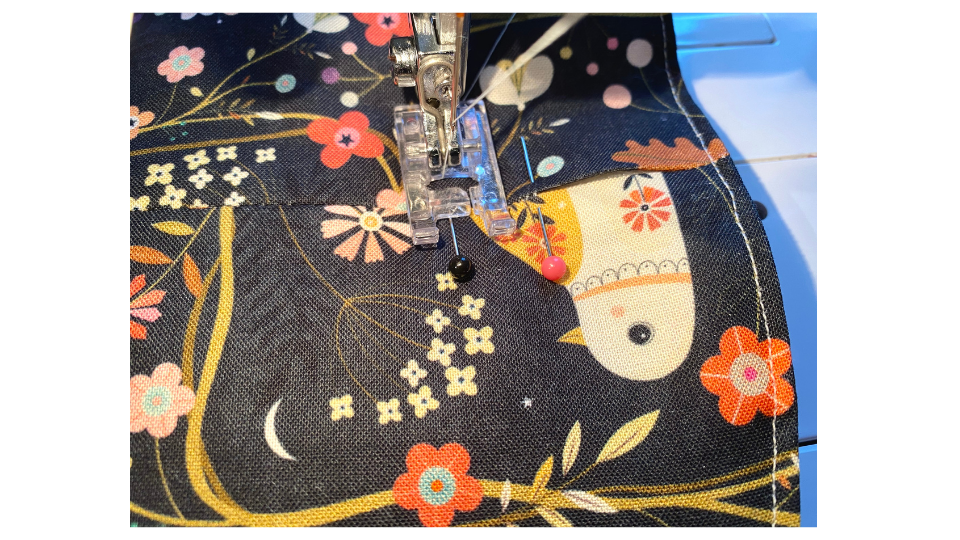
  • Now pin the fabric between the ¼ points, using the snips to help ease the fabric around the outer edge if you need to. Align the fabric edges & pinning where the seam line will be sewn will help accuracy.
  • Sew in place using a 1cm / ⅜” seam allowance. If you have a walking foot use this as it will help if the fabric is slippery. You could also use your overlocker if you have one.
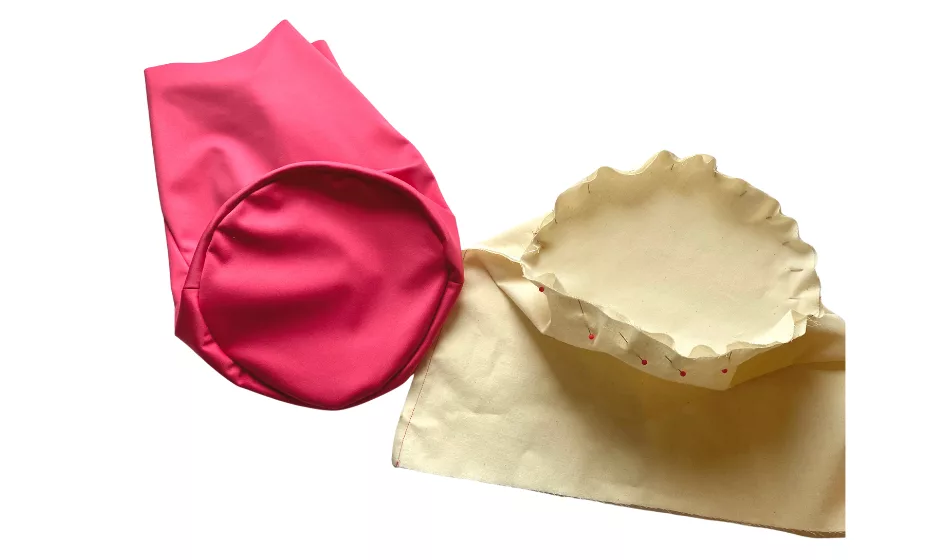
  • Repeat the same steps on the Calico side panels & base circle
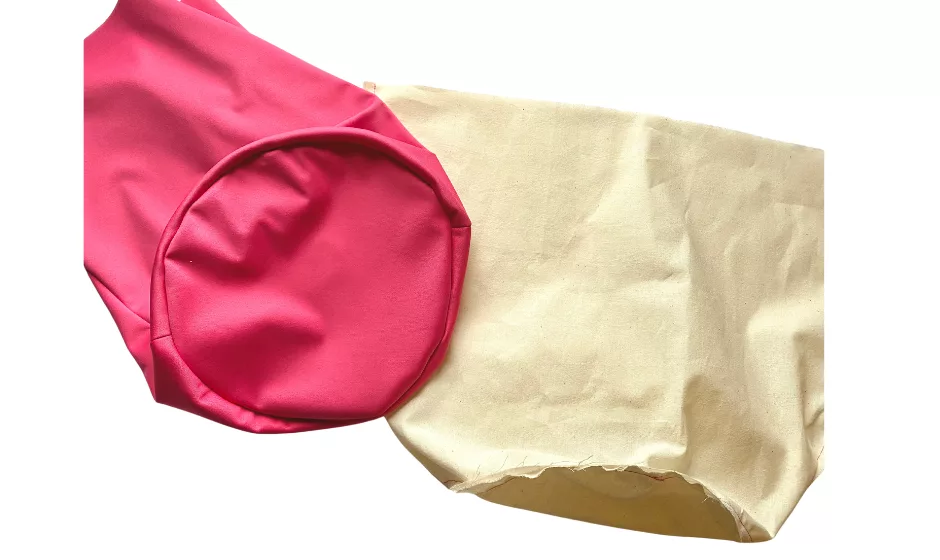
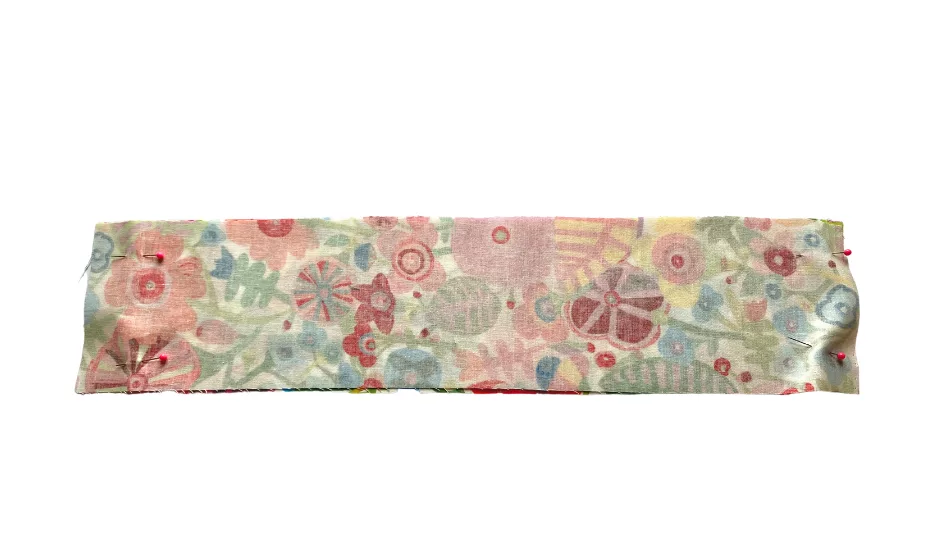
  • Add the contrast panel: Take 2 of the top contrast panels & place RST. At the shorts ends sew in place using a 1cm / ⅜” seam allowance. This will create two fabric “loops”.
  • Repeat for the other 2 top contrast panels. You should now have 2 “loops” in the contrast fabric
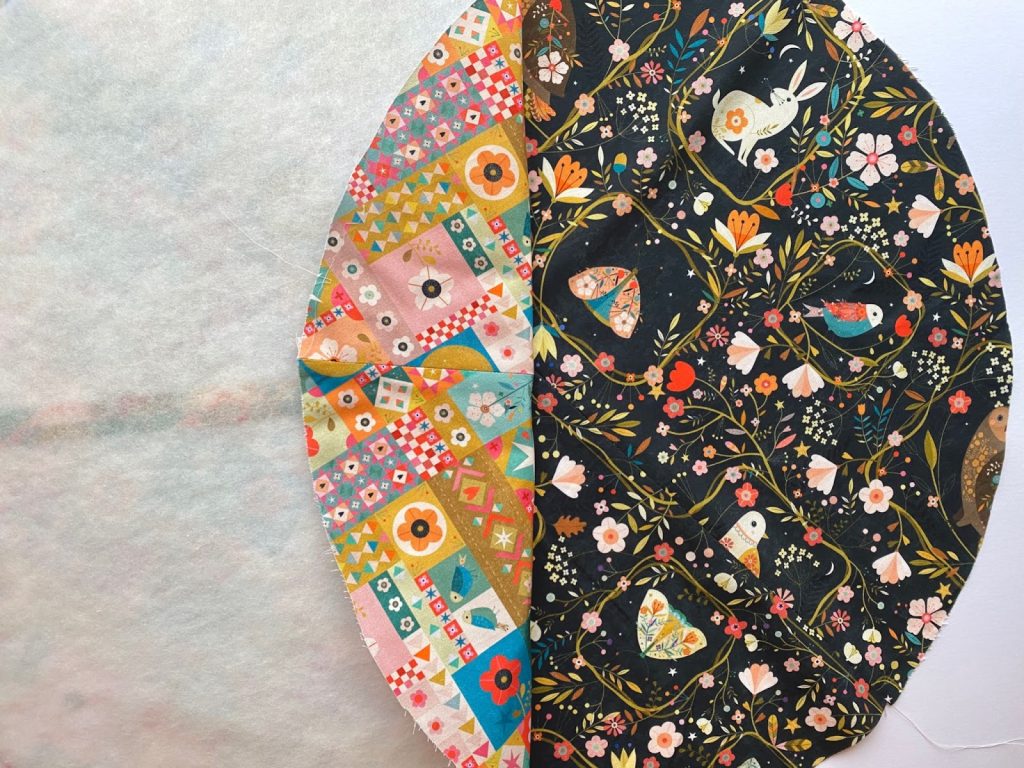
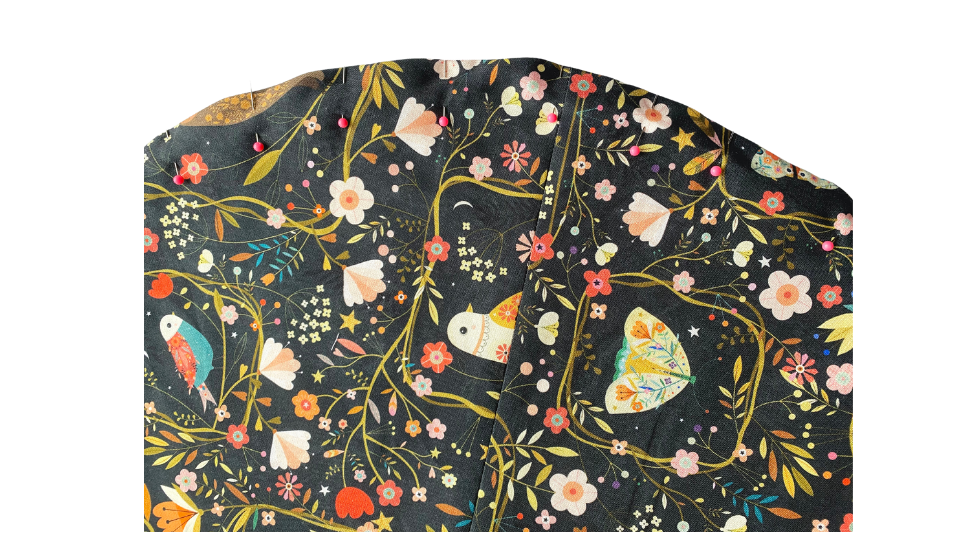
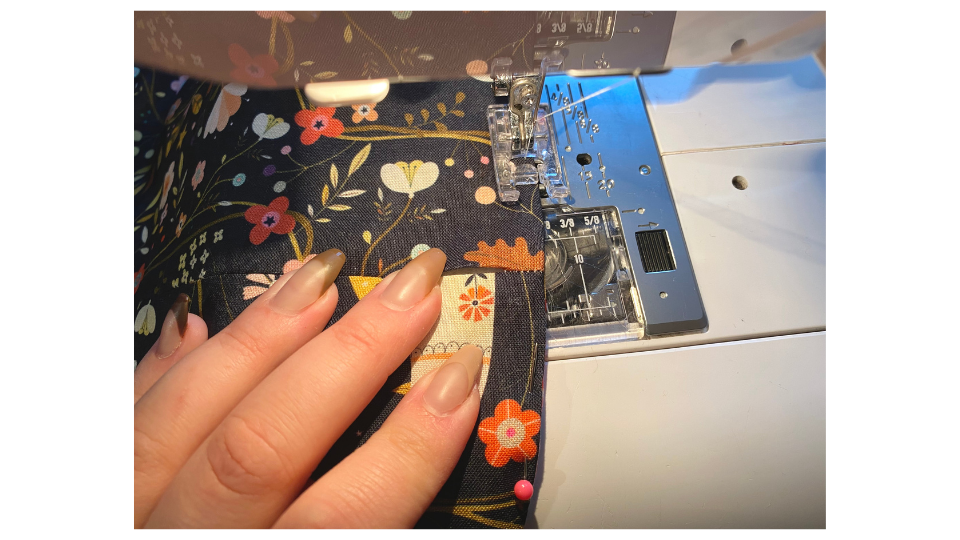
  • With RST, pin one top contrast loop to the Calico part of the liner along the top of the exterior bin liner, matching at the seams. Sew in place around the loop.
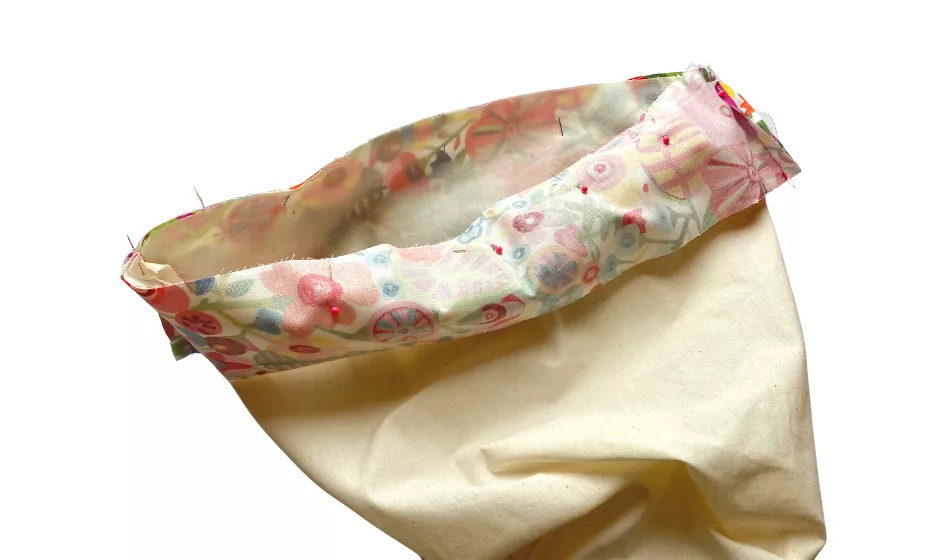
  • Repeat, sewing the remaining top contrast loop to the the PUL part of the liner.
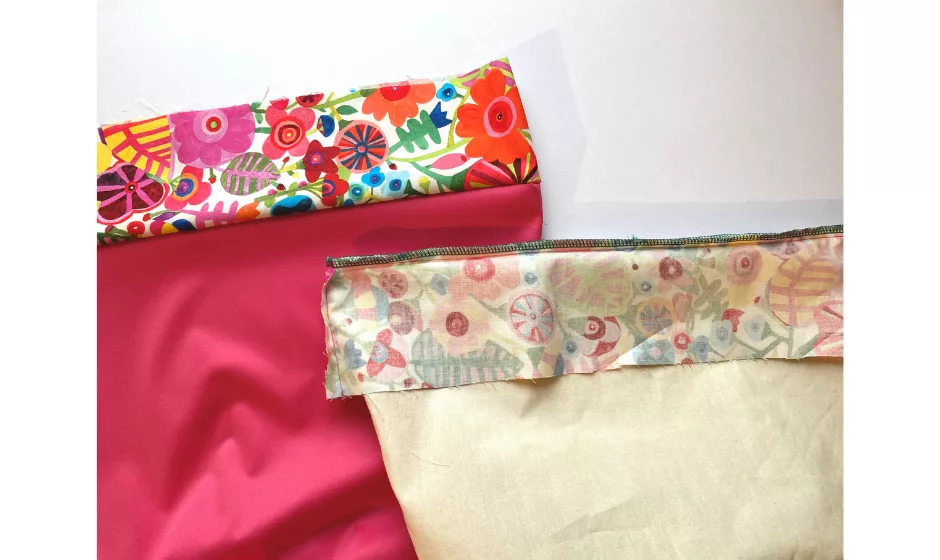
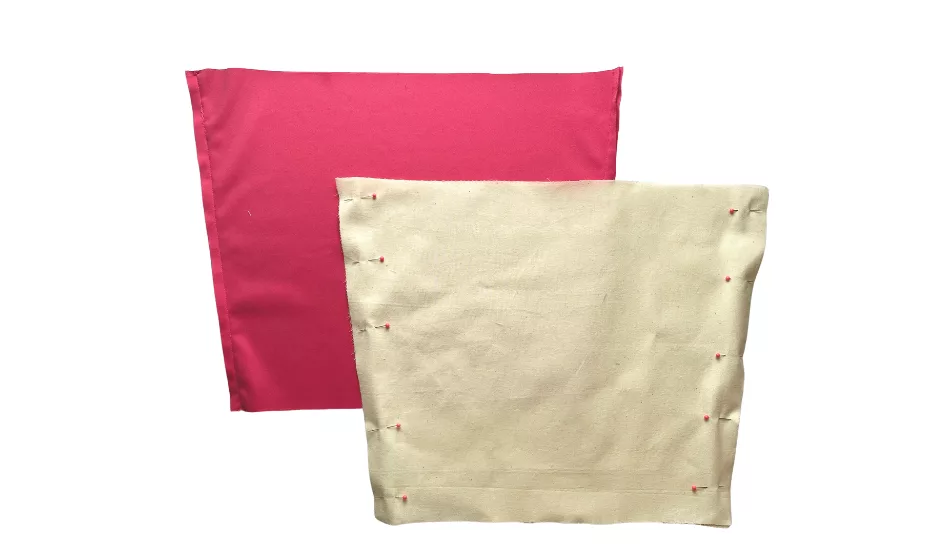
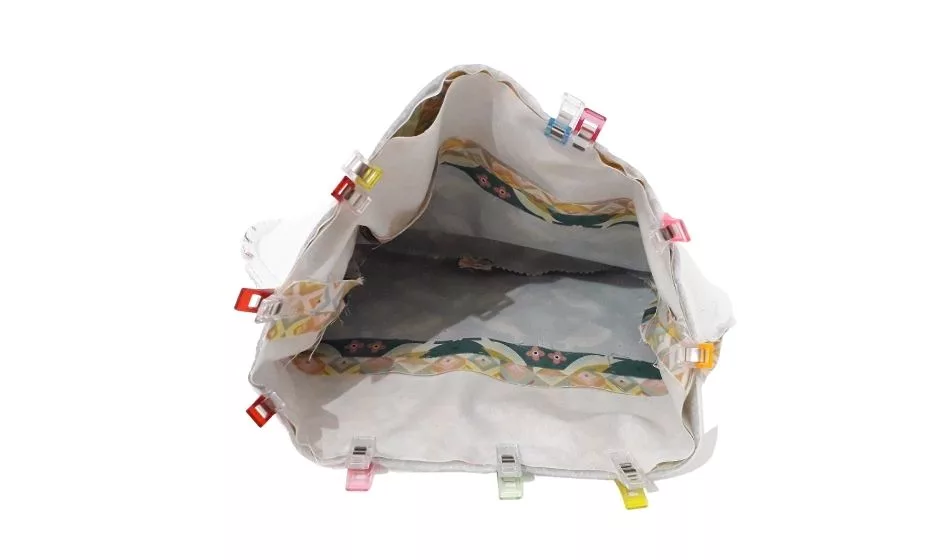
  • Put the PUL lining of the bin liner, wrong sides together with the Calico exterior. Line up the 2 x top contrast panels, match at the seams & pin. Baste the outer and lining together at the top
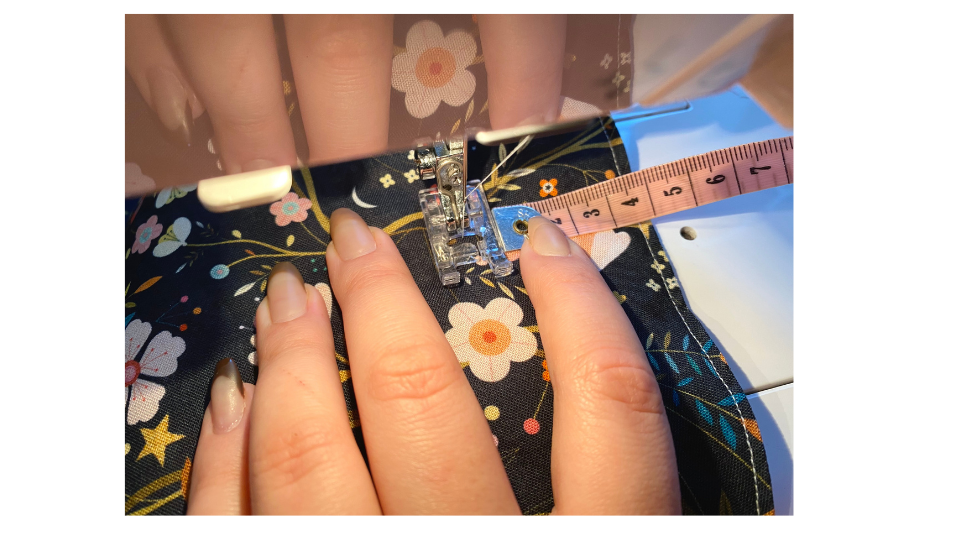
  • Attach the fold over elastic: Take your bin and pull the elastic firmly around the part of the bin where the top contrast fold over will sit. Measure where it fits comfortably and then take a few cm off this length so that when in place, the bin liner will fit snugly to the bin & keep the liner in place.

Measure Fold Over Elastic

  • Apply the fold over elastic using your preferred method: Please refer to our post here for detailed instructions on the different methods you can use to apply fold over elastic.


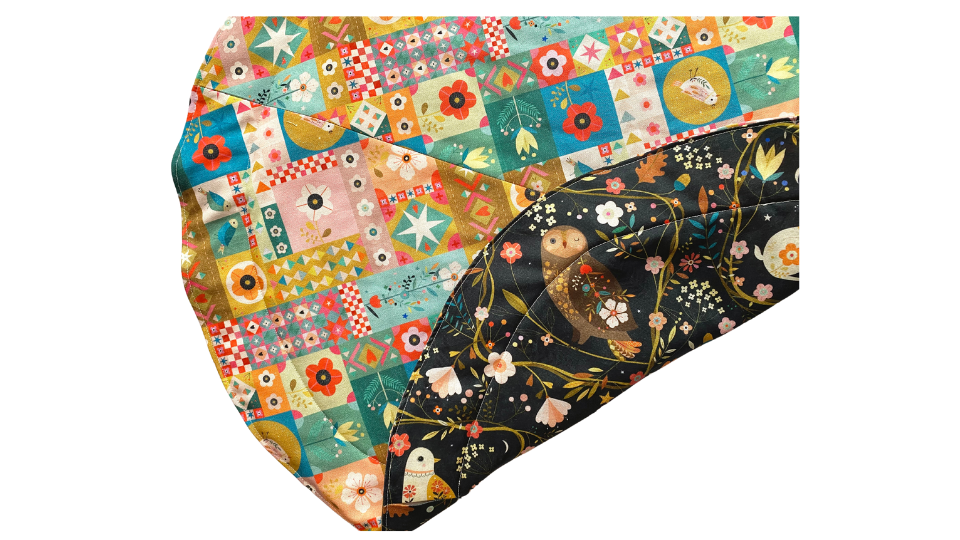
DIY Reusable & Washable Bin Liner


And you’re finished, well done!

Feeling proud? Show us your makes! Tag us @PlushAddict on your favourite social media channel!
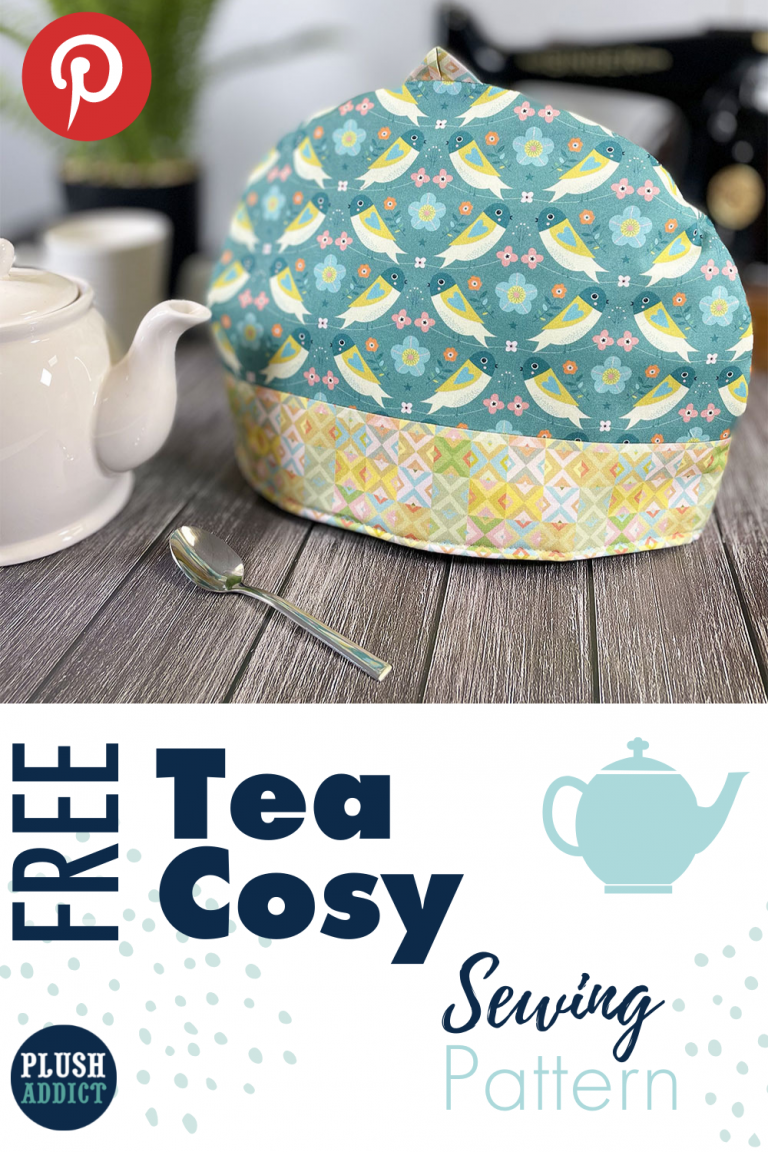
Free Tea Cosy Pattern

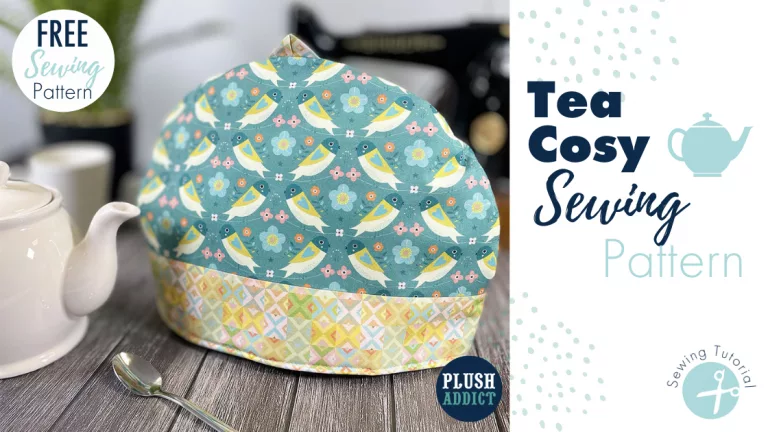
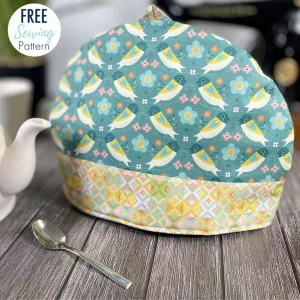
Hands up if you love a cuppa! Drinking tea is almost a compulsory part of being British, isn’t it?! I love a cuppa and can’t start my day without one. There’s just something about the ceremony of a pot of tea… So my blog wouldn’t be complete without a Free Tea Cosy Pattern, now would it?!

We get a lot of questions about the best choice of wadding for a tea cosy so we’ll be talking about that too…


Free Tea Cosy Sewing Pattern

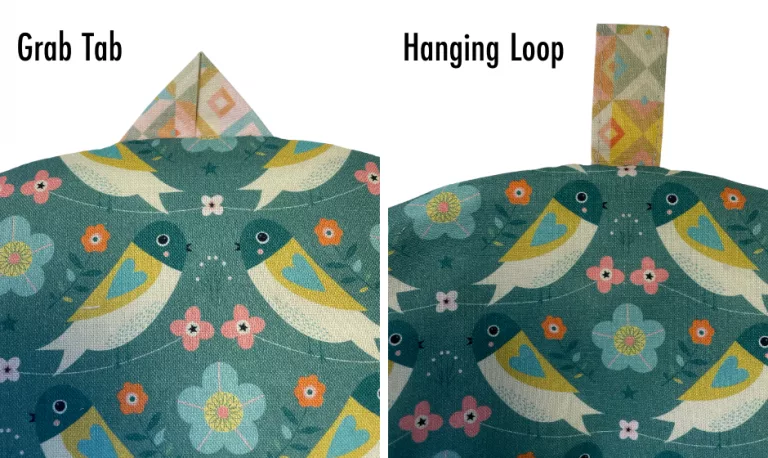
When I was making up the samples of this I tried a couple of different tabs for the top and I couldn’t decide which to go for – so I’ve included both!

There’s a cute little folded grab handle, or a hanging loop – you decide!

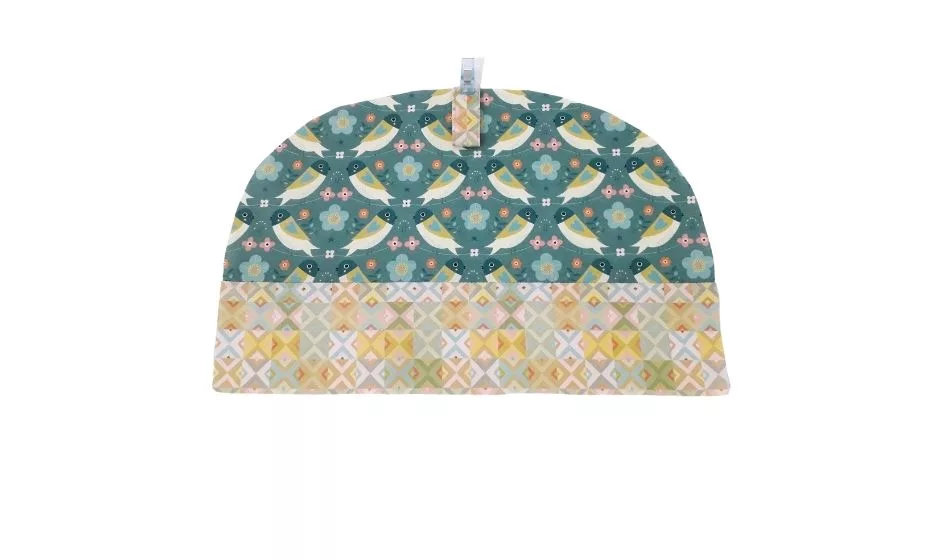
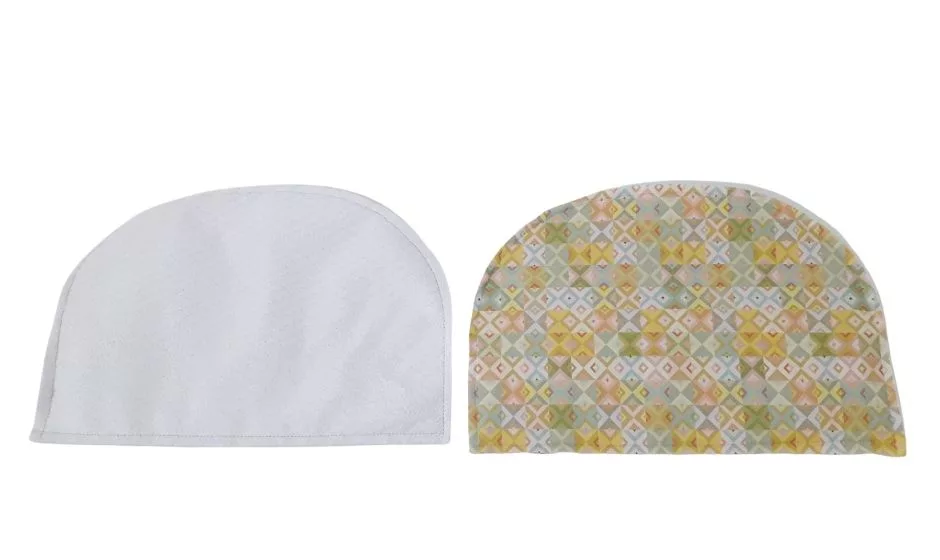
The contrast band at the bottom is an easy way to elevate the visual interest of this tea cosy, and to use up some pretty coordinating fat quarters.

Equally, you could just use the lining pattern piece for both the outer and lining of the tea cosy if you wanted to simplify.

Request your free copy of the tea cosy sewing pattern here

Please note: This pattern has been designed to print on A4 paper

Sewing Skill Level: Beginner

Finished Tea Cosy Dimensions: approx 35cm wide x 25cm high

Approximate sewing time: a couple of hours

You will need

Sewing Equipment You Will Need:

Important notes:

  • 1cm seam allowance throughout, unless directed.
  • For steps using machine sewing, straight stitch, backstitching at the start & end using stitch length 2.5 unless otherwise stated.
  • When top stitching – use a 3-3.5mm length & stitch approx 3mm from the seam
  • Prepare your fabrics as per manufacturer’s care advice
  • WST = Wrong Sides Together
  • RST = Right Sides Together
  • Read through the instructions fully before starting 
  • Disclaimer:
    • Heat and steam will build up within the finished tea cosy, care should be observed when removing it and handling the teapot. To prevent mildew formation, turn tea cosies inside out to release condensation and excess moisture between uses.
    • Insul-Bright is heat resistant not heatproof.
    • Insul-Bright must not be used in the microwave
    • Insul-Bright may dull blades or scissors that cut it

What’s the best choice of wadding for a tea cosy?

In truth, you can use any kind of wadding in a tea cosy but I can highly recommend using thermal wadding like Insul-Bright. It’s clever stuff as it keeps hot things hot, and cold things cold!

I’ve used Insul-Bright in all of my tea cosies and can confirm that it definitely keeps a pot of tea at a hotter temperature for longer

1.    Print & Assemble The Tea Cosy Sewing Pattern

  • If you’ve not already got the free tea cosy pattern, you can request it here
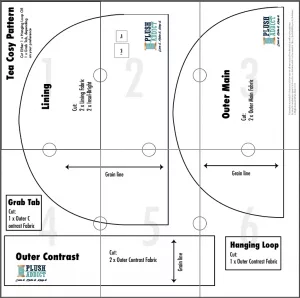
  • Print the pattern on A4 Paper and tape the pages of the pattern together like the diagram below matching the circles

This pattern has been designed to print on A4 paper. Use the 1” or 2cm test squares to check the sizing. If the sizing is incorrect check your print settings. Depending on the device used, select ‘actual size’ or deselect the ‘fit to page’ option

2. Cut Out The Fabrics

Using the pattern pieces cut out the following:

  • Lining: Cut 2 x lining fabric and 2 x Insul-Bright
  • Outer Contrast: Cut 2 x Outer Contrast Fabric
  • Outer Main: Cut 2 x Outer fabric
  • Hanging Loop or Grab Tab : Cut one of either the hanging loop OR the Grab Tab from contrast fabric

3. Make the Grab Tab or Hanging Loop

You have a choice of top accent to make –

  1. A grab tab
  2. A hanging loop

Pick your fave option! But you only need to cut and make one…

Option 1: Make the Grab Tab
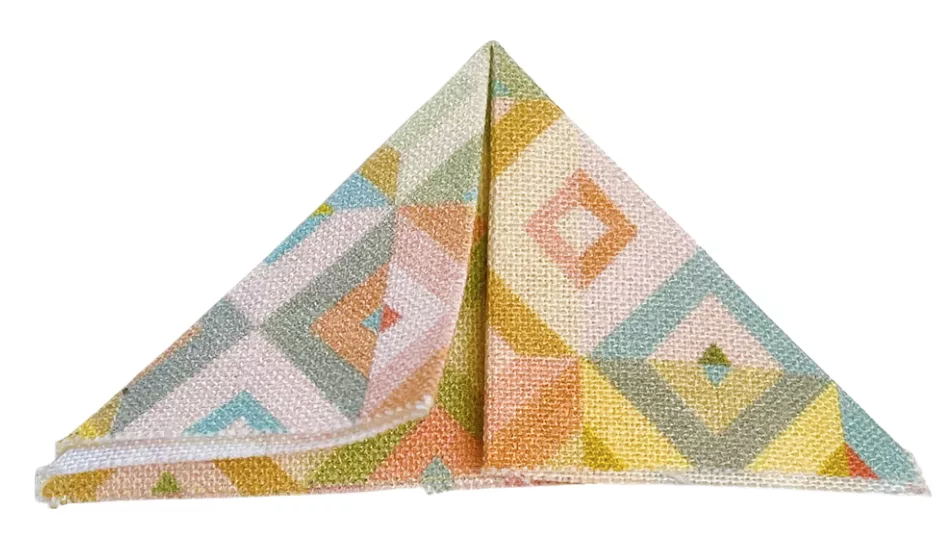
  • Fold the Grab Tab piece in half and press
  • Find the centre point along the folded edge and finger press
  • Bring the 2 outer corners at the folded edge to meet the centre crease line and press to make a point at the fold
Option 2: Make the Hanging Loop
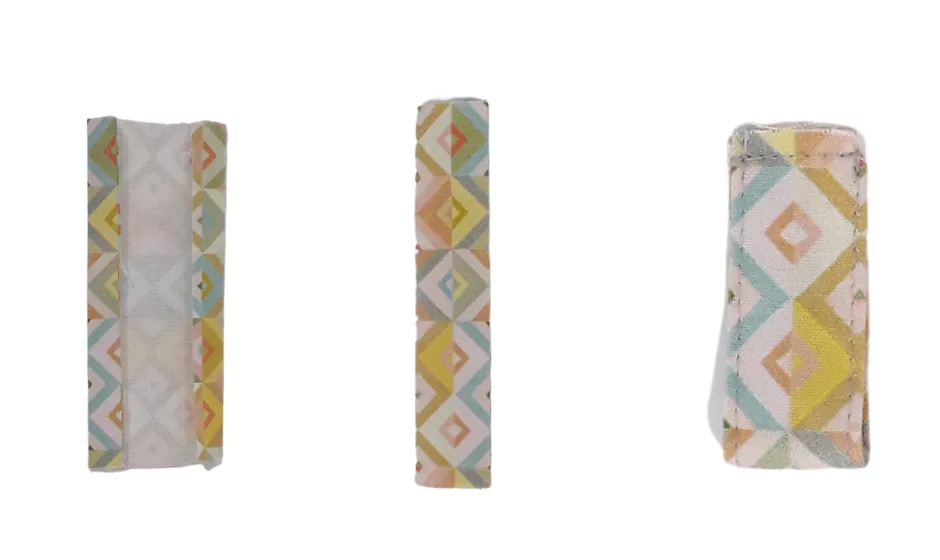
  • Place the loop piece right side down, fold over and press 1cm of fabric along the two long sides
  • Fold the loop in half lengthways with the raw edges inside and press
  • Sew along the 2 sides of the loop, 2mm from the edge
  • Fold the loop in half and baste 1cm from the raw edges

4. Assemble The Outer Panels

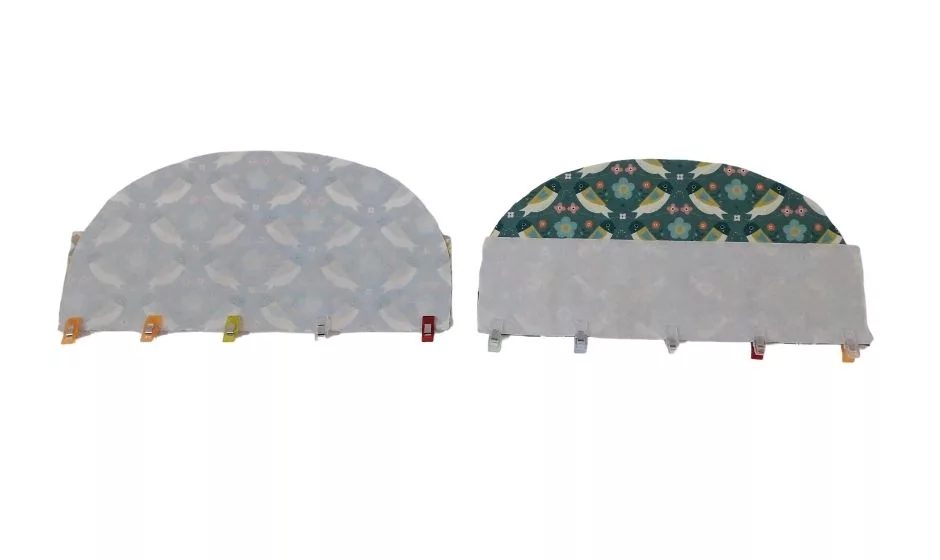
  • One at a time, clip or pin the Outer Main and Outer Contrast pieces together, right sides facing along the straight edge
  • Press the seam allowances open
  • Fold one of the outer panels in half and mark the centre top
  • Clip the hanging loop (or grab tab) at the centre top of the prepared outer panel, raw edges aligned, loop (or tab) facing downwards and baste in place
  • Line up the 2 prepared outer panels right sides together and clip/ pin around the curved edge
  • Sew the 2 panels together, leaving the bottom open
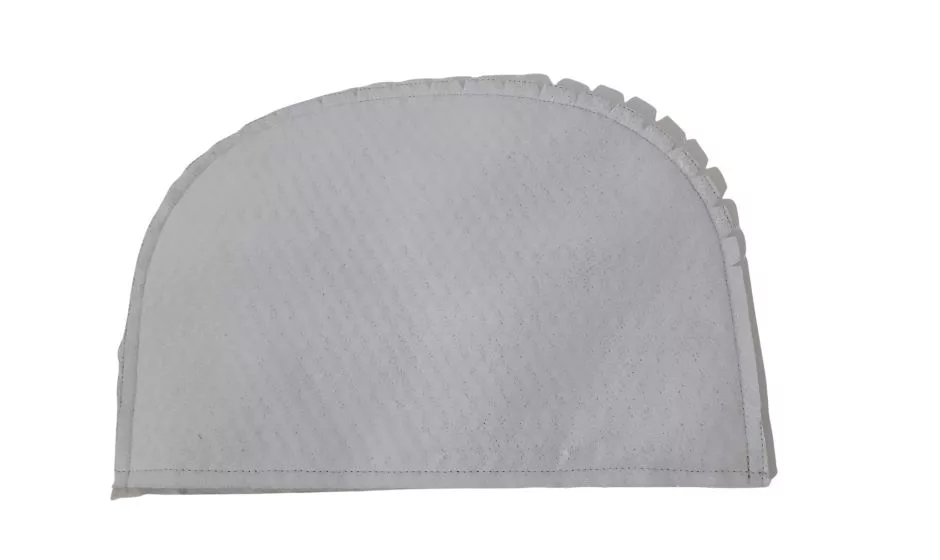
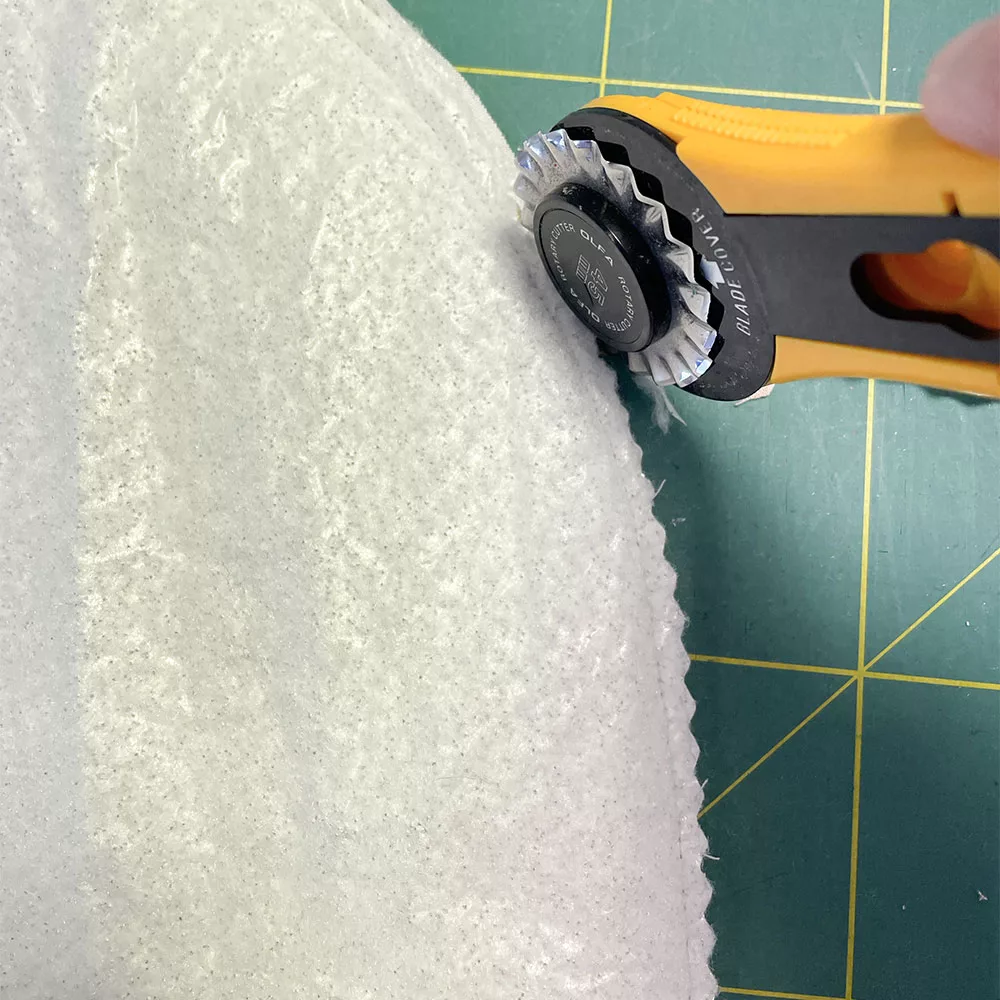
  • Using pinking shears trim the seam allowance around the curved edge to 2mm from the seam line. Or cut the seam allowance to 1cm then clip small V shaped notches in the seam allowance at 1.5cm intervals. They should be 5mm wide narrowing to a point stopping just before the seam line
  • Turn out the right way and press the seam allowances open. A Tailors Pressing Ham can make pressing curves much easier

5. Assemble the lining panels

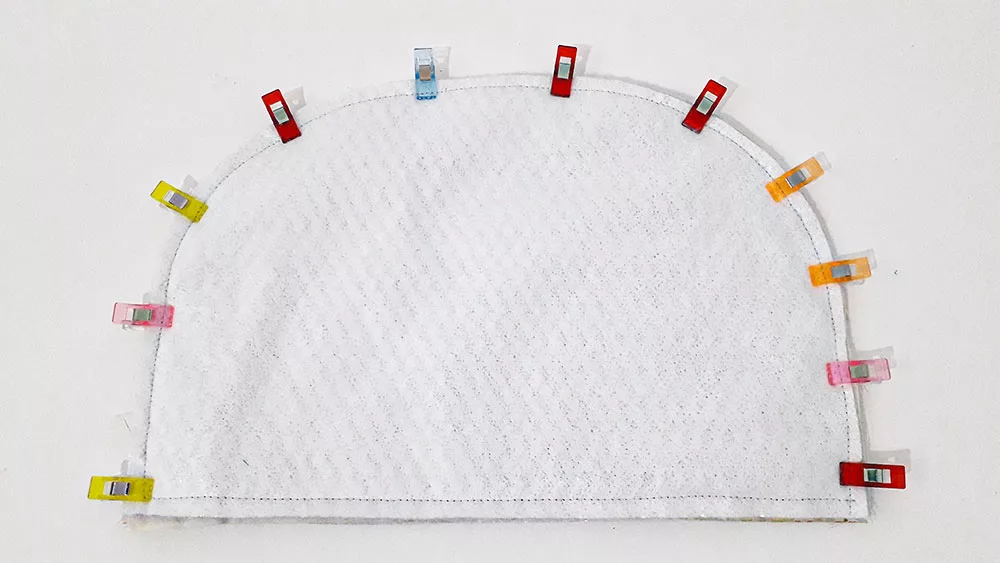
  • Clip 1 piece of Insul-bright onto the wrong side of each lining panel
  • Baste all the way round each panel with a 5mm seam allowance, stitch length 4 or 5 to hold the Insul-Bright in place
  • Sew the lining panels right sides together along the curved edge, leaving the bottom open
  • Clip around the curved edge 
  • Cut the seam allowance to 0.5cm with pinking shears/ rotary blade OR clip small V shaped notches in the seam allowance at 1.5cm intervals. They should be 5mm wide narrowing to a point stopping just before the seam line.

 6. Assemble the tea cosy

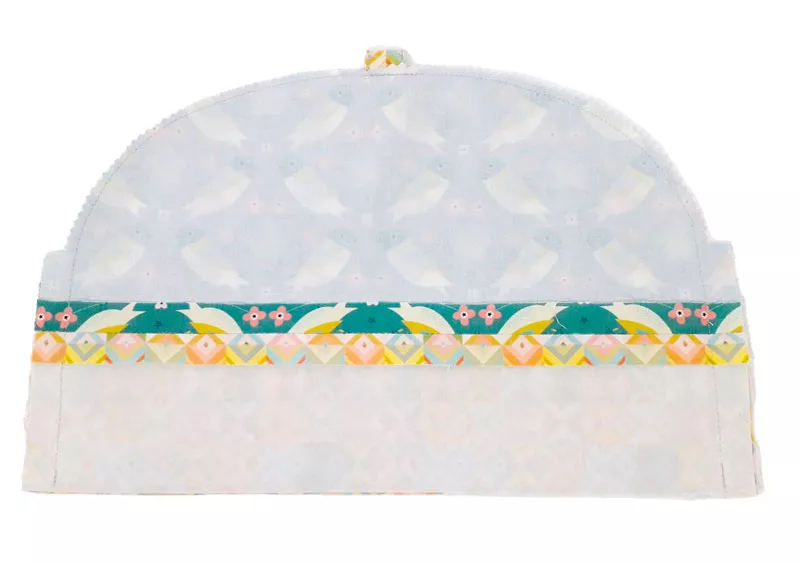
  • Take the tea cosy outer and place inside the lining, right sides together taking care to line up the side seams
  • Clip round the bottom edge of the tea cosy, opening the seam allowances at the side seams
  • Sew around the bottom of the tea cosy leaving a 10cm turning gap
  • Reduce the bulk at the bottom of the tea cosy by trimming away the Insul-Bright from the bottom seam. Applique Scissors can make this easier
  • Turn the tea cosy out the right way and clip the opening closed
  • Top stitch all the way round the bottom of the tea cosy 5mm from the edge

And you’re finished, well done!

Quick Homemade Gifts You Can Sew For Mother’s Day

Nothing says I love you like homemade, right? But what if you’re short of time?! We thought it would be a good idea to round up some of our most popular tutorials to help you sew up some quick homemade gifts for Mother’s Day this year!


Quick Handmade Gifts for Mother's Day

1) Sew up our free A Hot Water Bottle Cover!

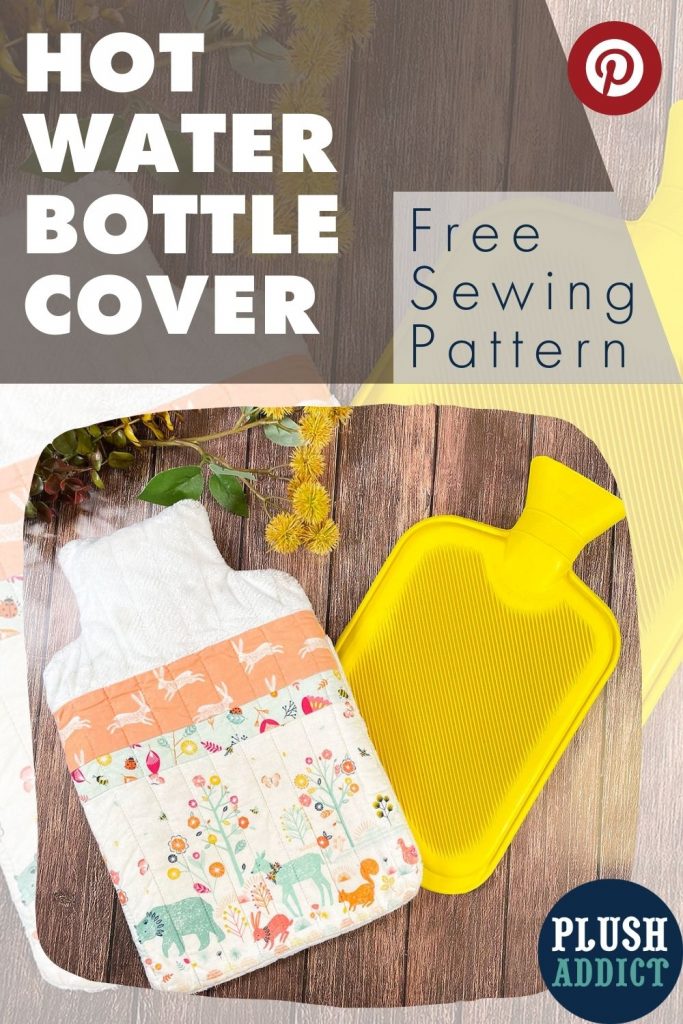
Keep those toes toasty and save on your heating bills too! Sew up this hot water bottle cover in an hour or two using our free hot water bottle cover pattern & tutorial

Sew A Hot Water Bottle Cover

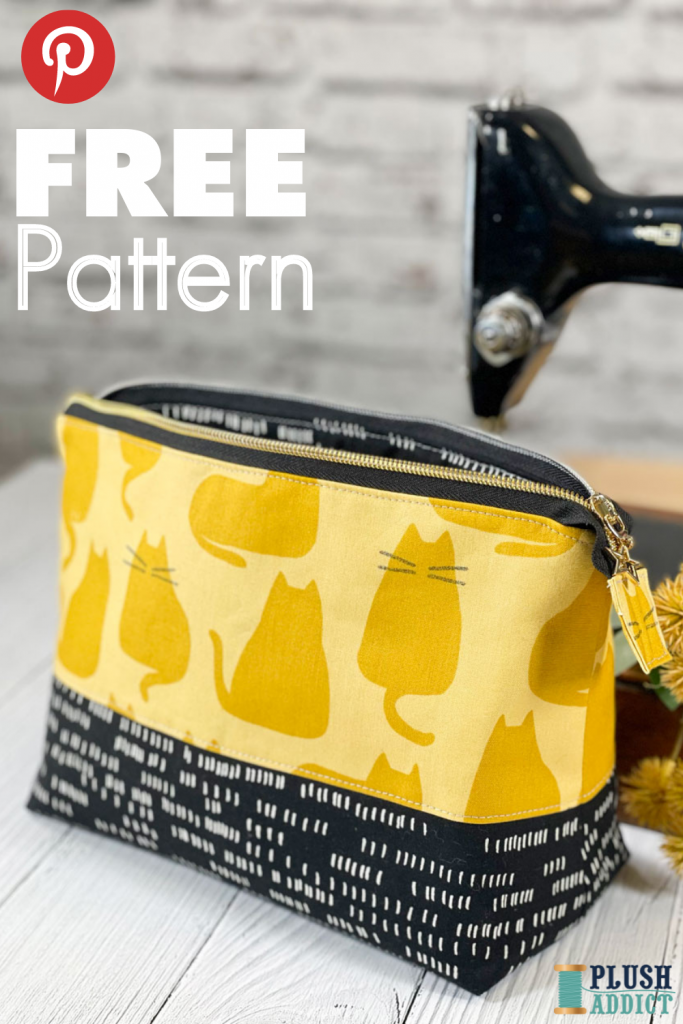
2) Sew A Makeup Bag – Make The Ella Pouch

Who doesn’t love to receive a handmade zipper pouch? They are so useful!
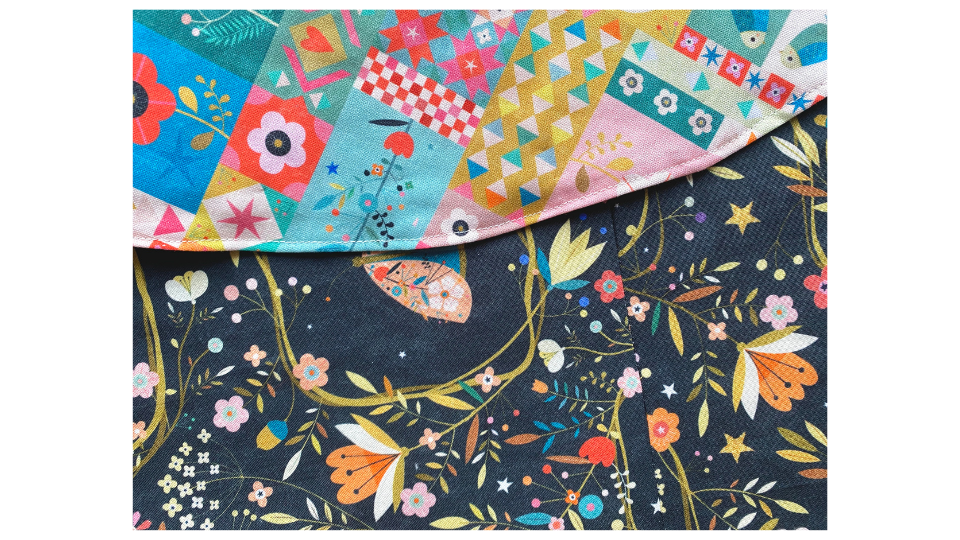
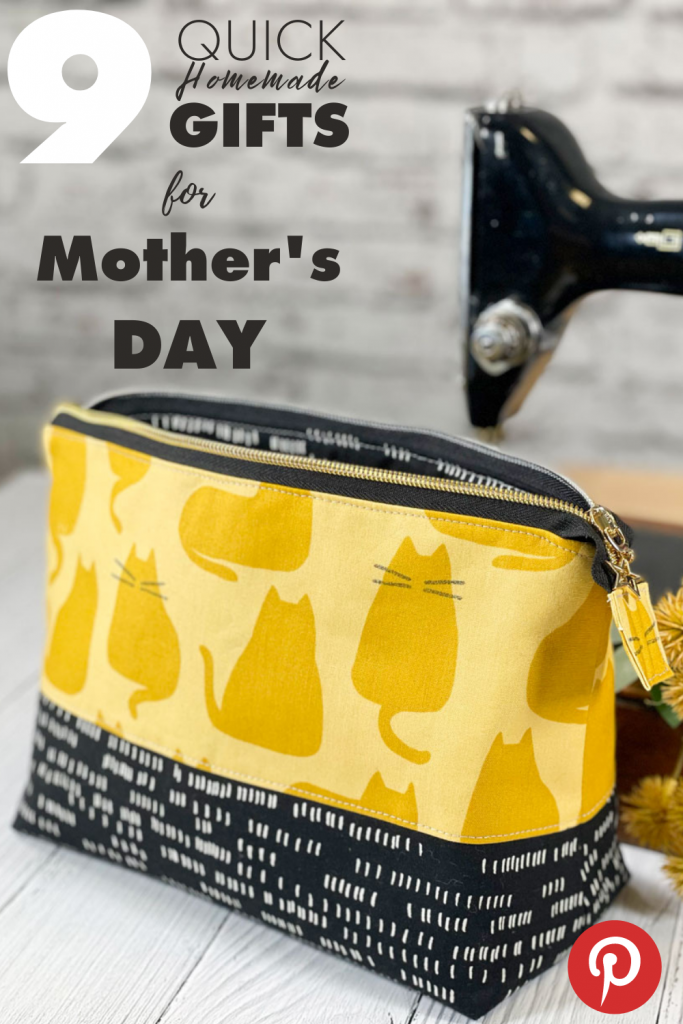
The Ella Pouch is BIG – perfect to use as a makeup bag, to store craft supplies and more!
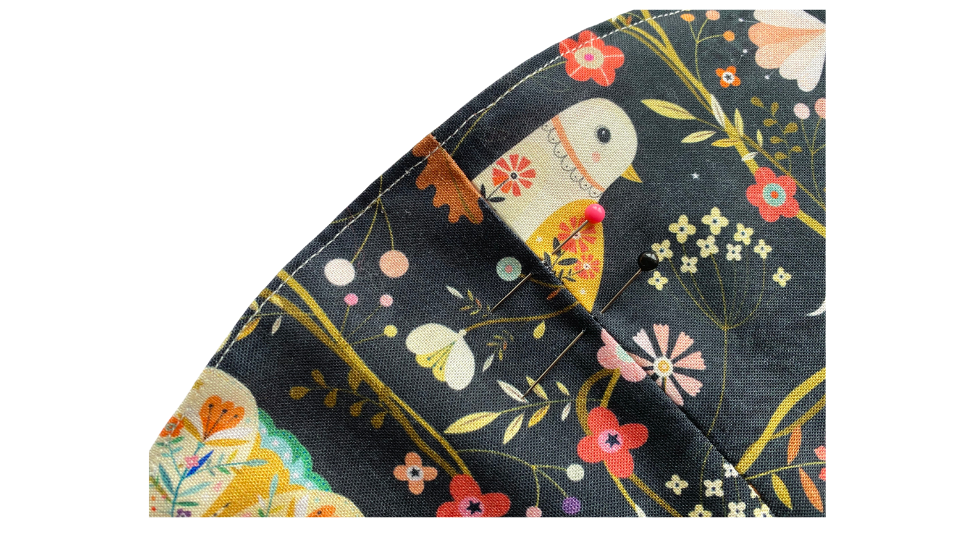
Grab the free pattern & tutorial for this large zipper pouch over here

free Makeup bag pattern and sewing tutorial

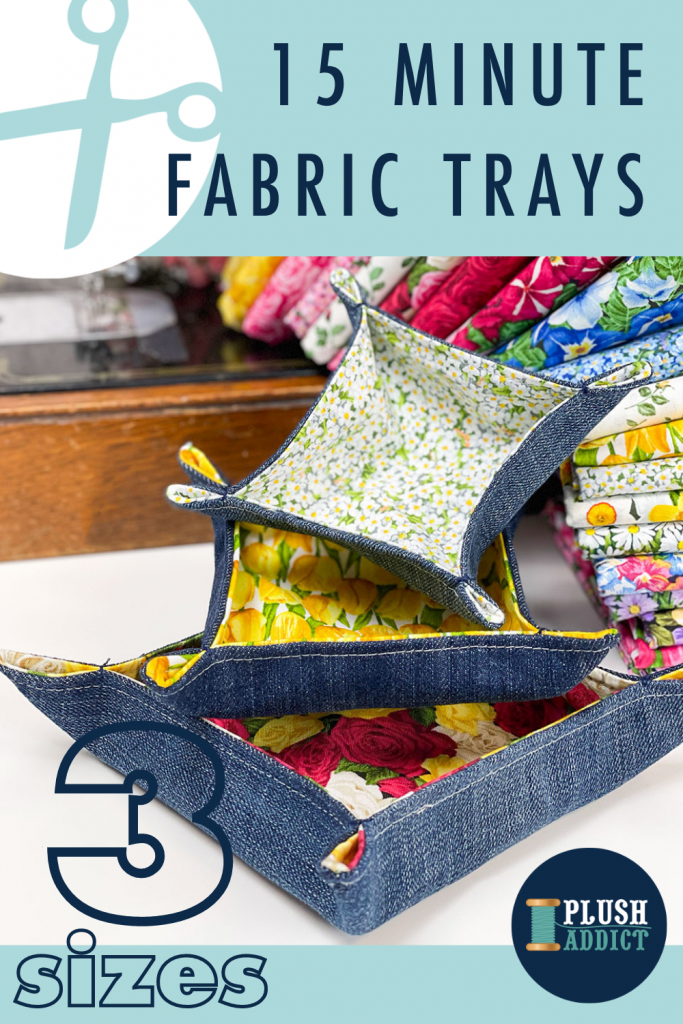
3) Sew up 15 Minute Fabric Trays

Perfect for beginners, these fabric trays are the perfect speedy sew… These fabric trays come in 3 sizes and only take around 15 minutes to make!

Use fabric mum will love, or even upcycle something you already have.

This project is also a great way to use up those pretty scraps you’ve been hoarding

quick handmade gift idea

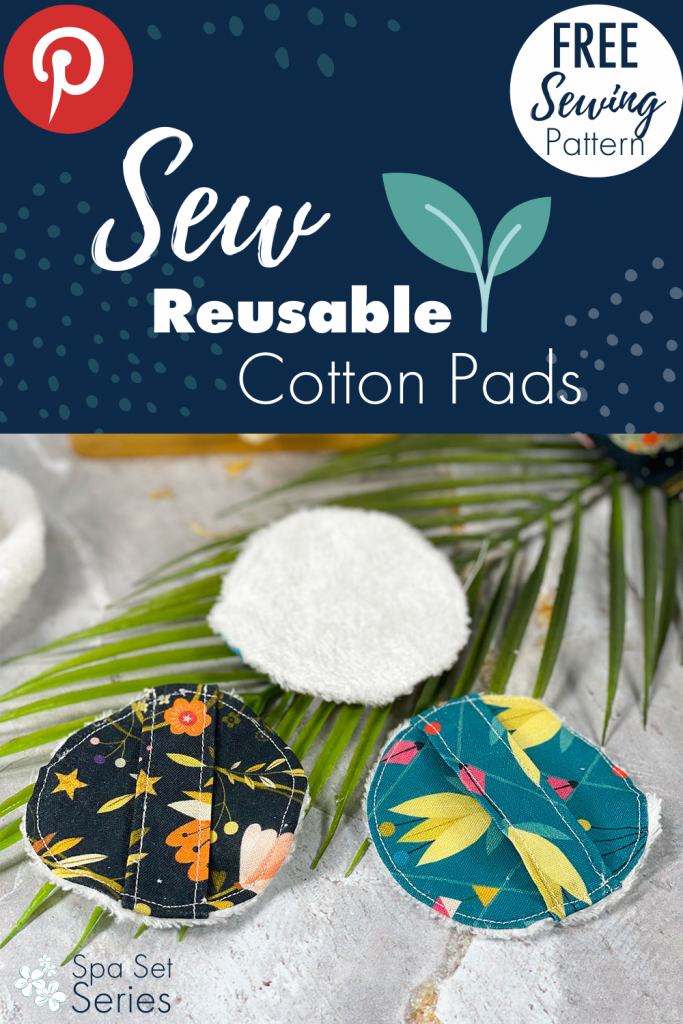
4) Make some reusable cotton pads

If mum is eco-consious AND you’re short on time then I’m sure she’d appreciate some pretty reusable cotton pads to help reduce her waste & look good on her dresser….

This is a great little scrap buster too…

Check out the free tutorial and grab the templates over here

Sew reusable cotton pads

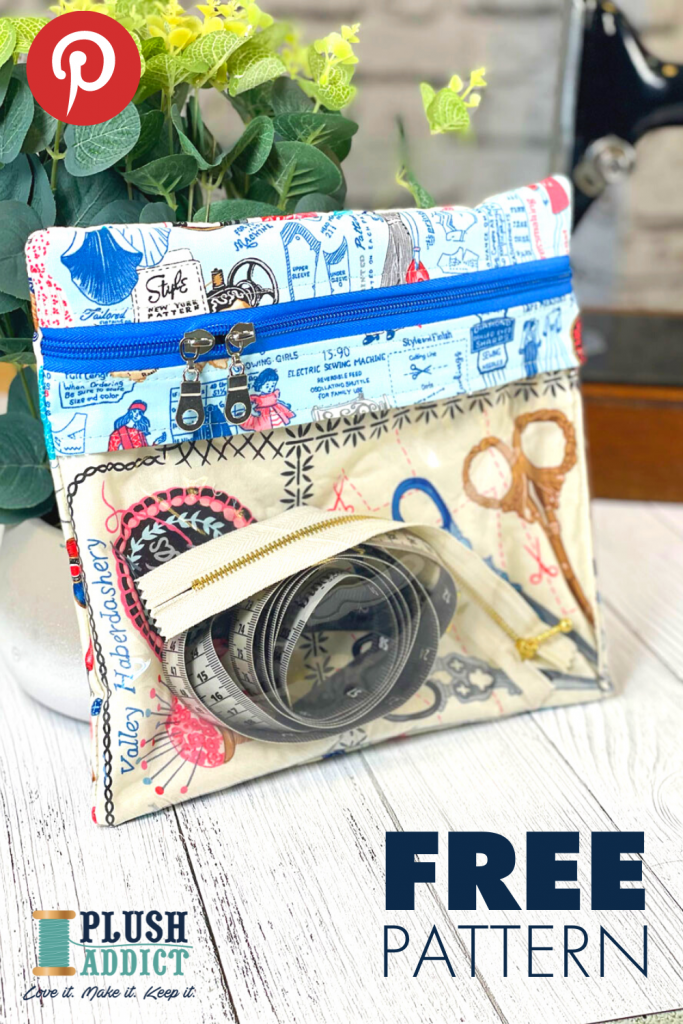
5) Sew a clear vinyl pouch

Is mum crafty? These clear vinyl pouches are perfect for organising craft supplies, sewing notions, stationery and much more!

They take a couple of hours to make and can be customised to showcase your fave fabrics inside and out!

Grab the free pattern here

PVC vinyl zipper pouch tutorial

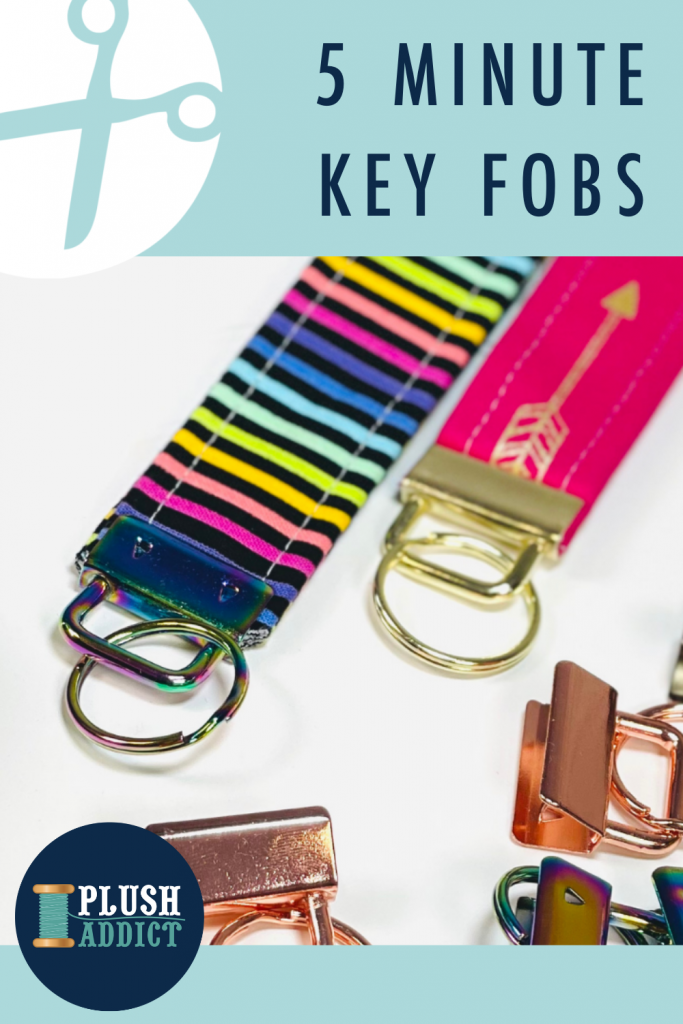
6) Make a key-fob in just 5 minutes

Making key fobs is a perfect small project to bust those scraps and sew something super useful too!

Find the tutorial over here

Key fob tutorial

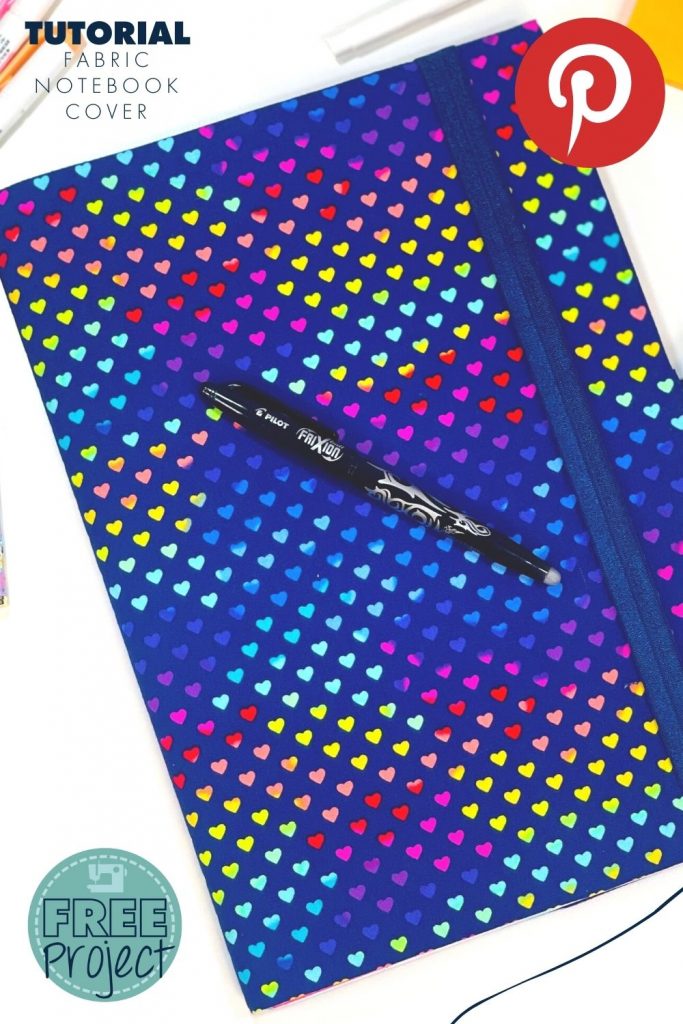
7) Make a notebook cover

Does mum love stationery? Or maybe she’s a reader and wants to protect her beloved library on the move?

Sew up our book cover – any size – in super speedy time!

Find the tutorial over here

Fabric Notebook Cover Tutorial

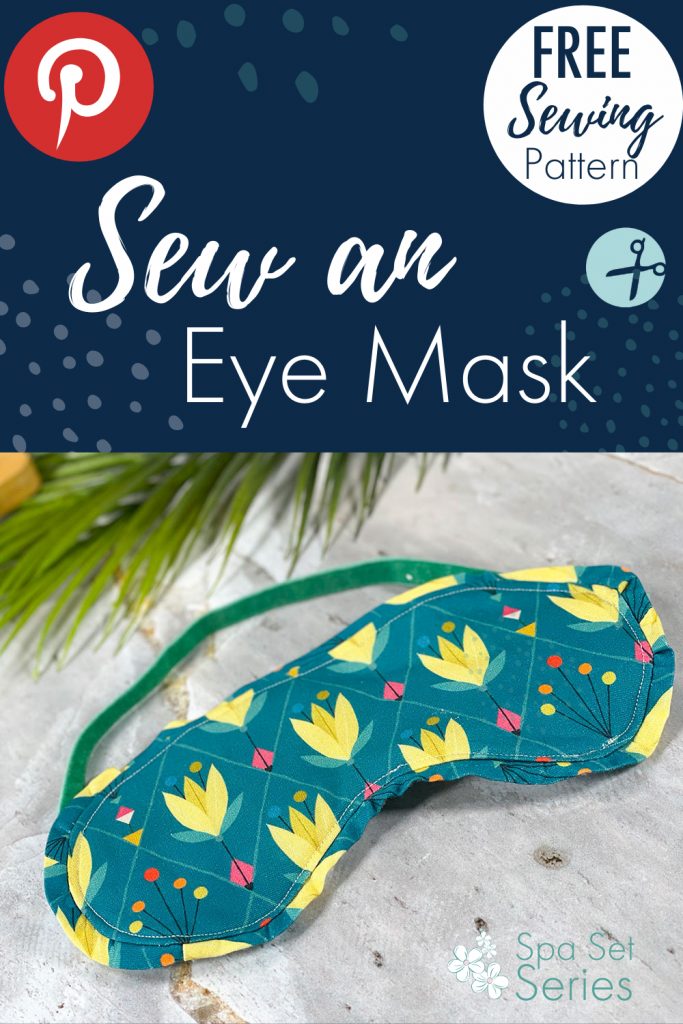
8) Make a sleep mask

Sometimes you just need to block out the light and our eye mask can be used in the bath or in bed! Just switch out the fabrics accordingly…

To make it even quicker, just leave out the binding!

Find the tutorial over here

Free sleep mask template

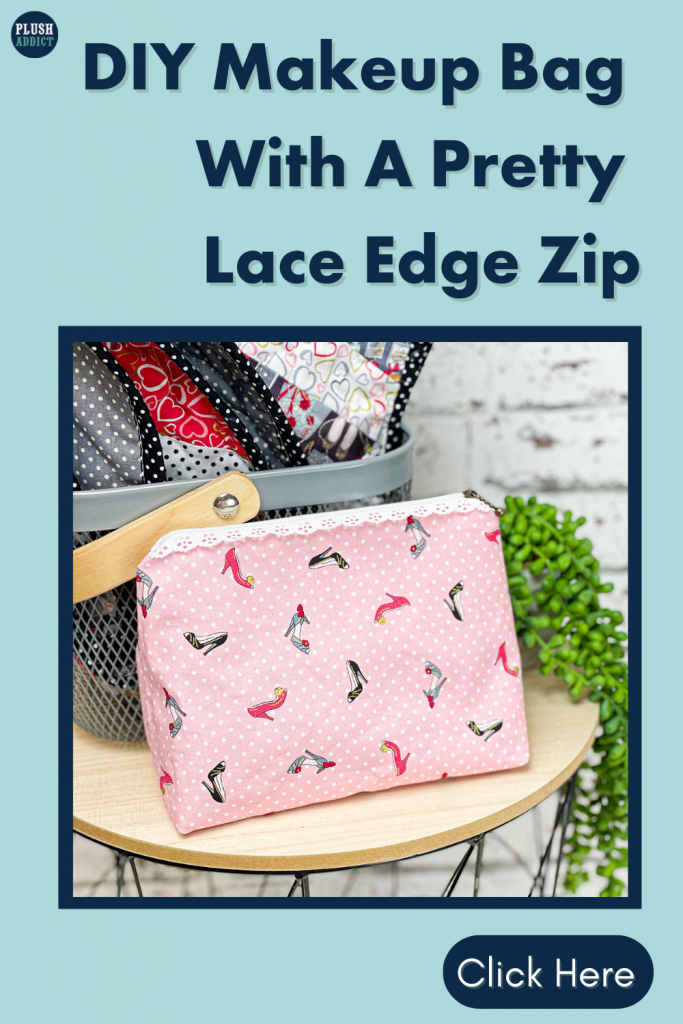
9) Sew a pretty lace edge zip makeup bag

Perfectly sized to fit in a handbag, this pretty bag is perfect to hold treasures whilst on the go and is a simple enough sew.

You could whip this one up in an hour or two without breaking a sweat

Grab the pattern & tutorial over here

lace edge zip make up bag tutorial

We really hope this post has been helpful and offered a sprinkling of inspiration to make something handmade this Mother’s Day.

Please do let us know if you make any of these projects – we love to hear from you!

Follow us on Instagram!

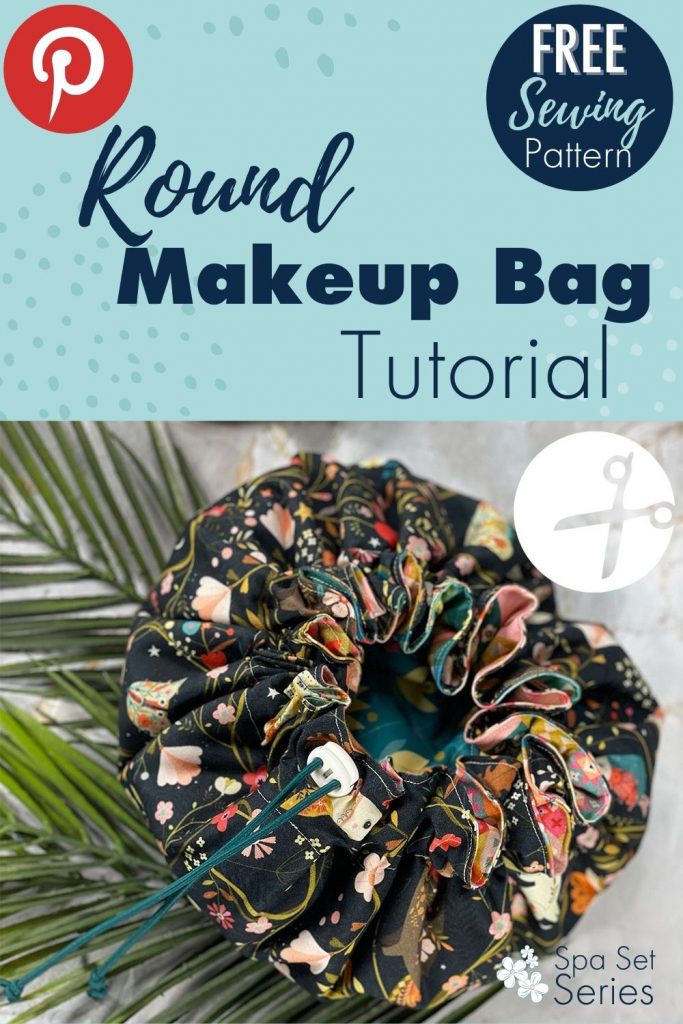
Sew A Spa Set Series #7: How To Make A Round Makeup Bag Tutorial

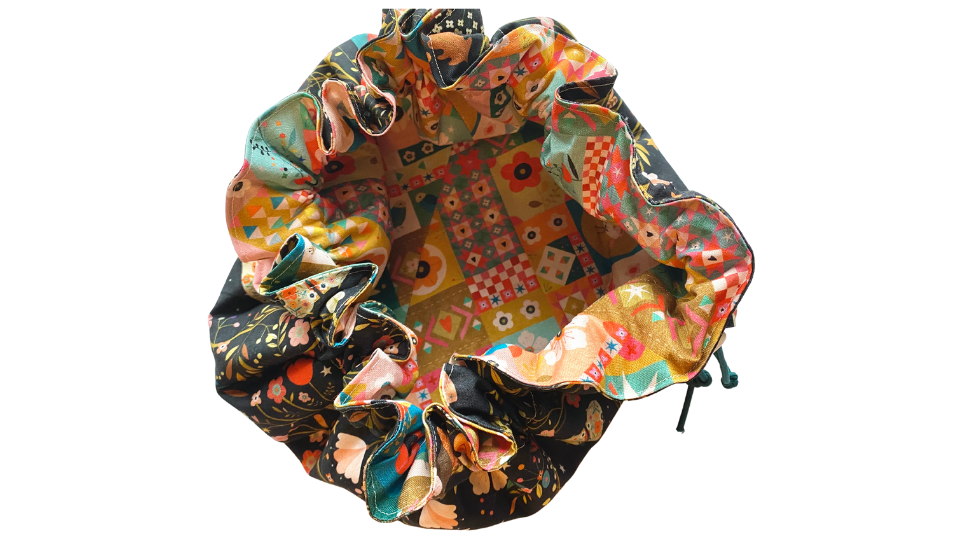
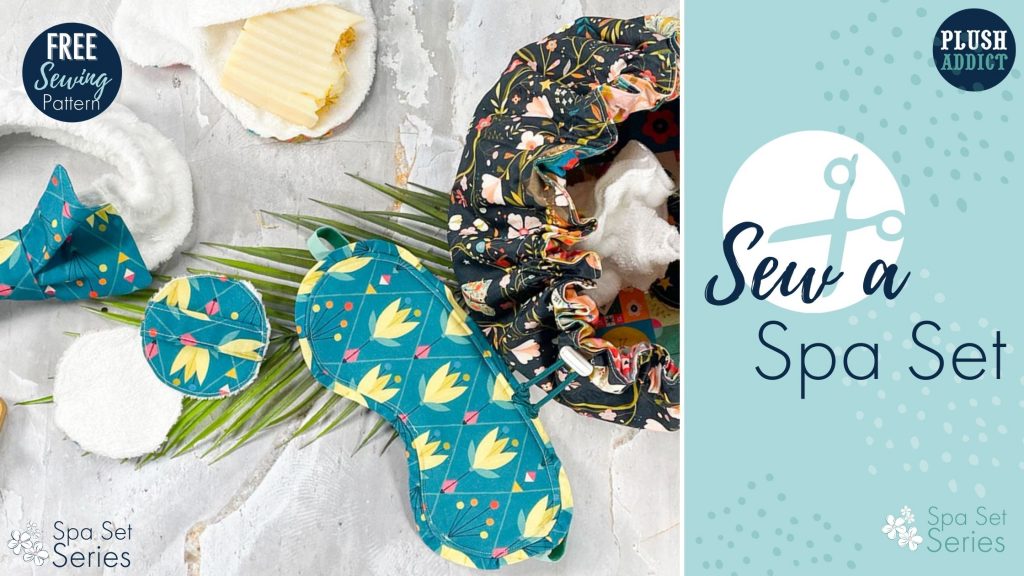
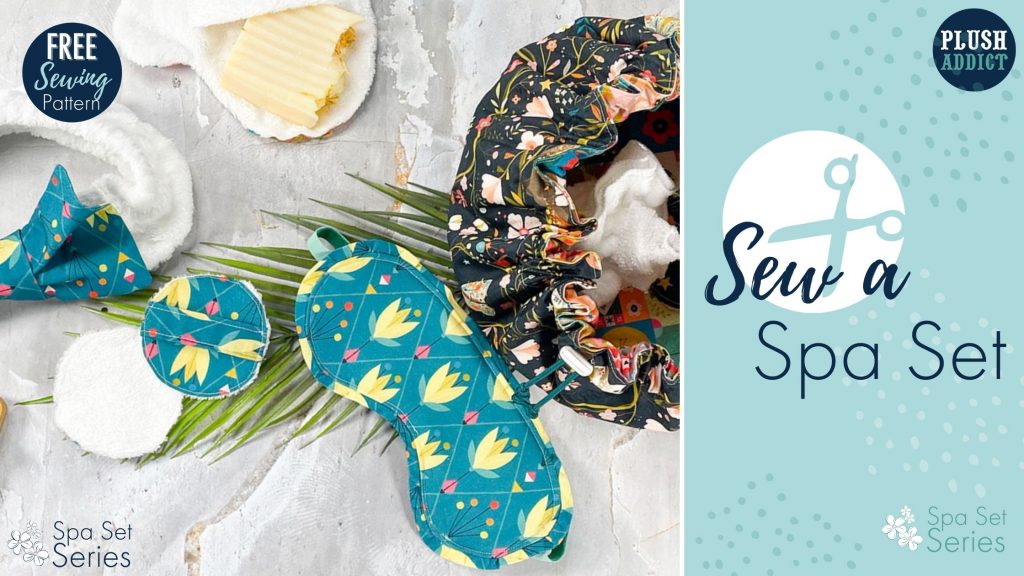
Welcome to the last tutorial in our Sew A Spa Set Series! This post is for a super useful round makeup bag tutorial – useful and stylish! You’ll find a free pattern you can print at home and use as your round bag template.

We’re using this round drawstring bag as a handy storage solution for all the items in our Sew A Spa Set Series but it could easily be gifted (to yourself or a loved one!) on it’s own if you didn’t want to sew the whole set.


Round Makeup Bag Tutorial for Pinterest

There are 6 of handmade items in our  Sew A Spa Set Series. See the full set in the  Intro post

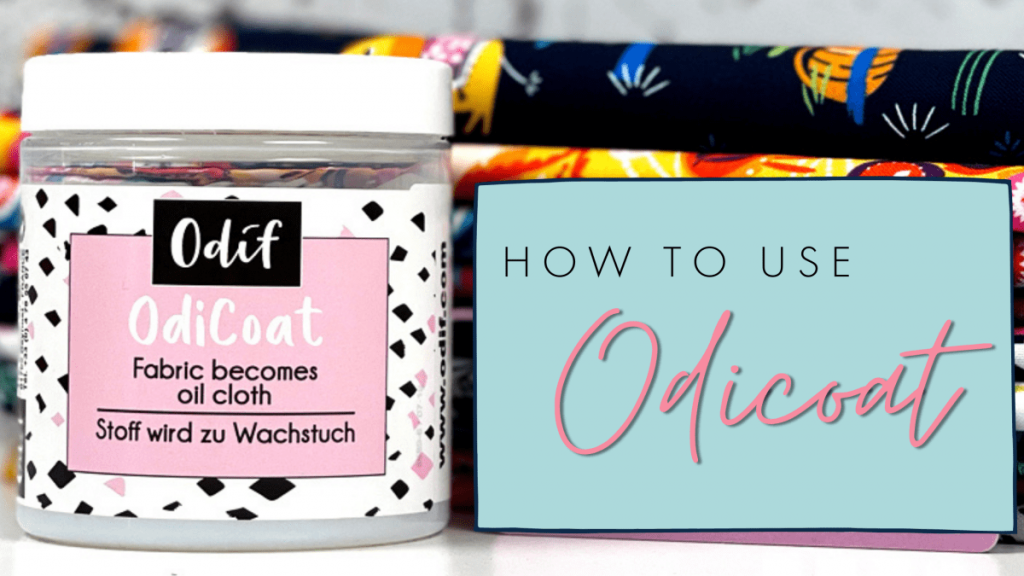
If you’re planning on using this bag as a makeup bag and not just to store your  Spa Set items then we would definitely recommend coating your lining fabric with Odicoat to give it a barrier coat and help with makeup stains.

Read all about how amazing Odicoat is, and learn how to apply it here

How to use Odicoat

It is a good idea to let multiple coats of Odicoat dry for 24 hours so plan ahead if you want to complete this step!

To be able to make this round makeup bag you’ll need a copy of the FREE Spa Set templates. Request them here 

These simple tutorial can easily be adjusted to create a different items. You could size the template up or down to make gift bags, storage bags and you could even line it with PUL fabric and make an adjustable shower cap!

Round Makeup Bag Tutorial

Important Notes:
  • 1cm /  ⅜” seam allowance throughout, unless directed.
  • We used an overlocker to finish our seams. If you don’t have an overlocker check out this post for other seam finishing options
  • For steps using machine sewing, straight stitch, backstitching at the start & end using stitch length 2.5 unless otherwise stated.
  • Prepare your fabrics as per manufacturer’s care advice – we recommend pre-washing all fabrics used in this project as they will be used to make items that will be washed frequently

To Make This Round Makeup Bag You Will Need:

Sewing Kit You Will Need to Sew a Spa Set:

Making the Round Drawstring Bag

1. Pre-wash your fabrics

We recommend pre-washing all fabrics used in this project as they will be used to make items that will be washed frequently

2. Odicoat your fabrics (Optional)

If you want to apply a protective coat your bag lining and/ or outer, and make your bag water resistant then now’s the time to apply Odicoat. Follow our Odicoat tutorial here

3. Print the Round Drawstring Bag Pattern

Print off the bag Template ensuring you print at 100%. If you haven’t already, request your pattern here.

Please note: This free pattern has been sized to print on A4 paper.

4. Cut your fabrics

Using the bag template cut out:

  • Cut 2 x Main bag from Cotton Outer fabric
  • Cut 2x Main bag from Cotton Lining fabric
5. Assemble The Makeup Bag
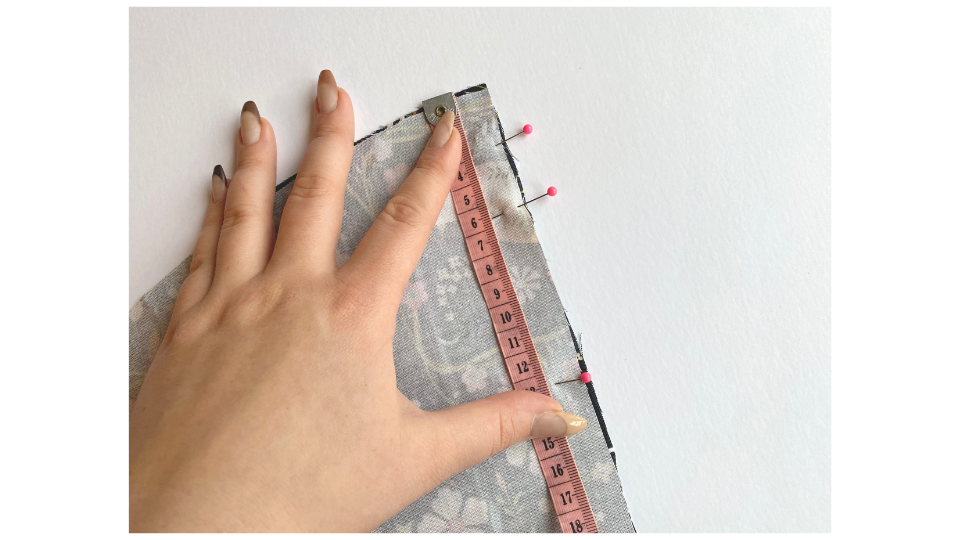
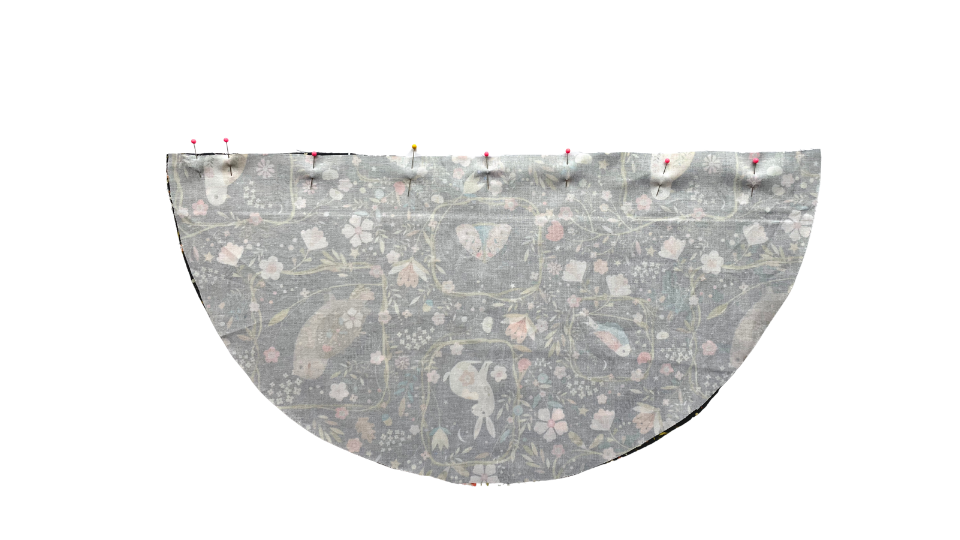
  • Pin RS (right sides) together the two outer pieces. On the long straight edge of the outer semicircles [that will be the middle of the circle] mark down 2.5cm / 1” from the top edge, a line approximately 2.5cm / 1”  long.
Assemble the Makeup Bag Step 1
Assemble the makeup bag step 2
  • Sew the 2.5cm / 1” line you marked open. Make sure you back stitch either side of the opening you leave. 
Assemble the makeup bag step 3
Assemble the makeup bag step 4
  • Repeat for the lining fabric pieces together, but without leaving any gaps.
  • Apply the fusible fleece to the WS (wrong side) of your lining fabric.


Apply the fusible fleece
  • Pin the bag lining and outer pieces together, RS (right sides) together.
    Assemble the makeup bag step 6
    • Sew the lining and outer pieces together, with a 0.5cm / ¼” seam allowance. Leave an opening, approximately 6/7cm / 2 ½” to turn the bag through. Avoid putting it near the small openings you made when sewing the semicircles together.
    • Turn the bag RS out
    • Press the bag. If you have used Odicoat, then use a pressing cloth and adjust your iron settings
    • Once the curved edge of your bag is pressed flat and smooth, top stitch around the outer edge, catching the opening you left to turn the bag.


    Assemble the makeup bag step 7


    Assemble the makeup bag step 8
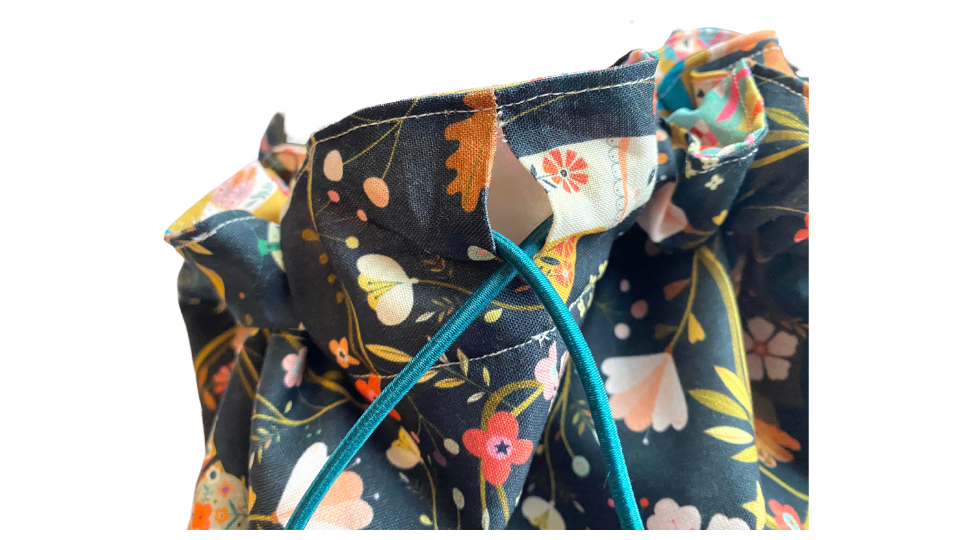
    • Top stitch a second line, 1.5cm / ⅝” down from the 2.5cm / 1” opening you left when sewing the bag pieces together to create a channel for the elastic


    Assemble the makeup bag step 9


    Assemble the makeup bag step 10


    Assemble the makeup bag step 11


    Assemble the makeup bag step 12

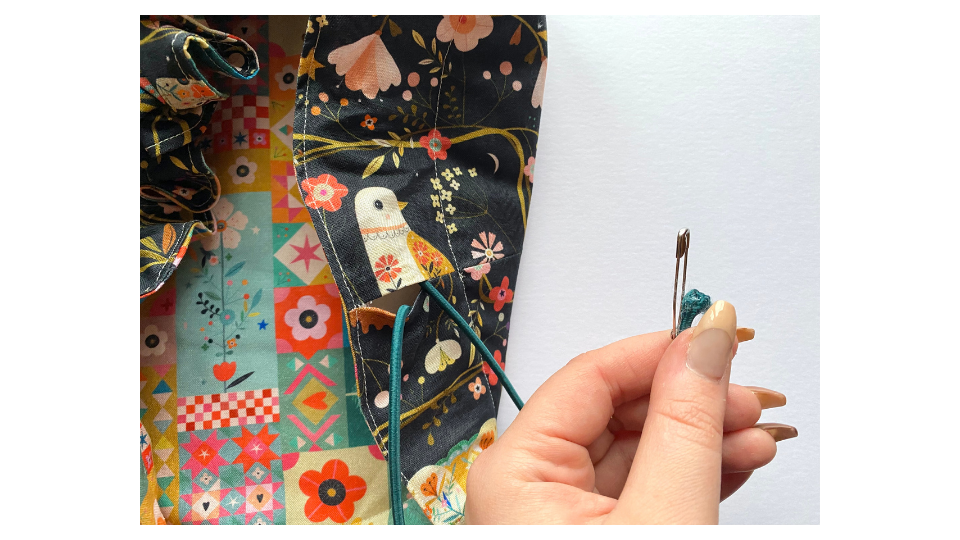
    12. Using a Safety pin, Elastic Guide or bodkin, feed the cord through the opening, until it comes through the other side. 


    Assemble the makeup bag step 13
    Assemble the makeup bag step 14

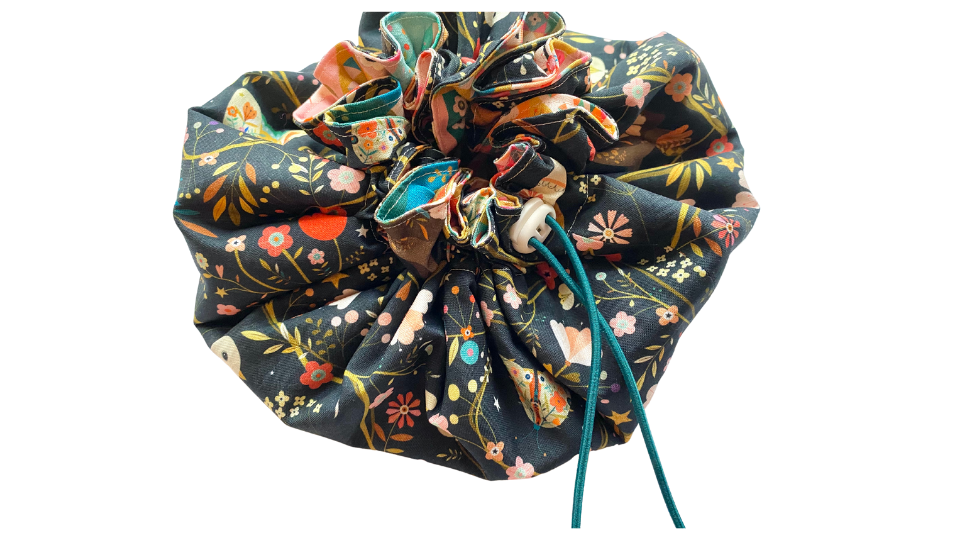
    13. Put the ends of the cord through your cord stop, and gather the bag by pulling on the ends of the cord.

    Assemble the makeup bag step 15


    Assemble the makeup bag step 16

    14. Trim any excess cord and secure the ends by tying a knot and, if you like, carefully using a lighter to heat seal the elastic cord end to prevent further fraying.

    And you’re finished, well done!

    To find the full Sew a Spa Set tutorials series, check out our Intro post here


    Sew a Spa Set Tutorials

    Follow us on Instagram!


    Sew A Spa Set Series #6: Sew Reusable Cotton Pads

    Sew A Spa Set Series #6: Sew Reusable Cotton Pads

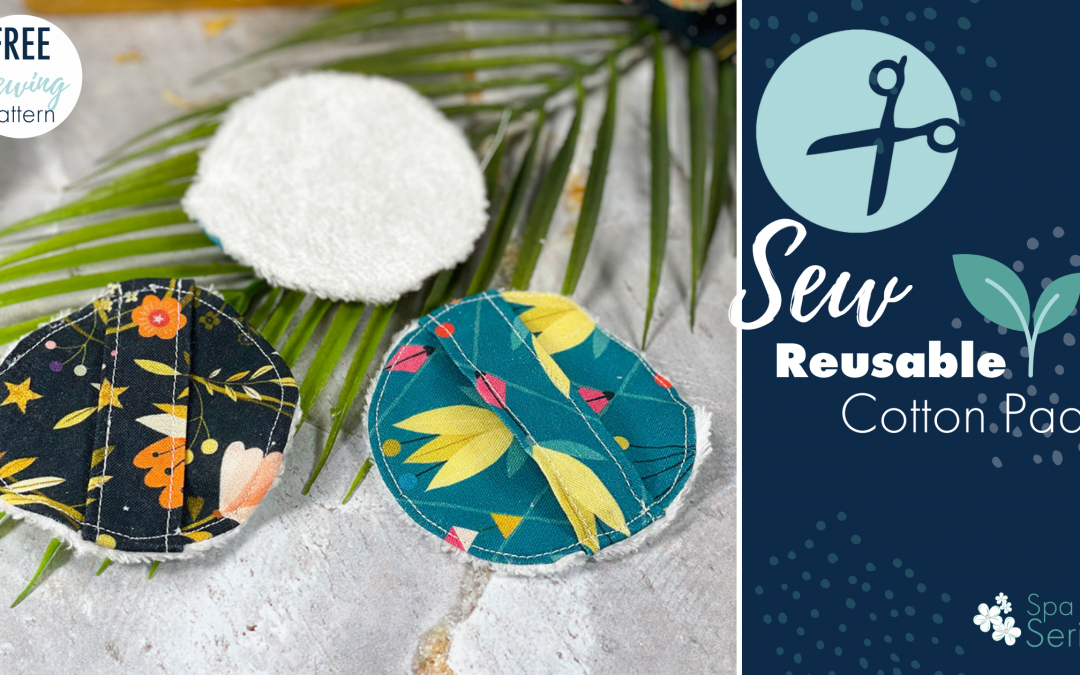
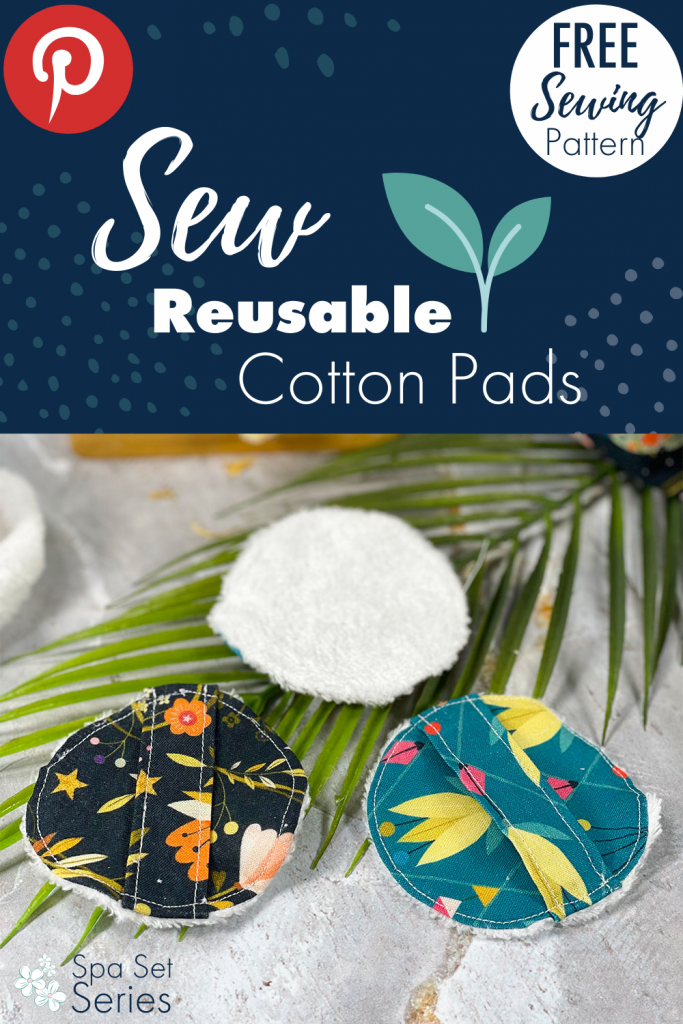
    As we all start to look at simple ways we can reduce our waste, the bathroom is a great place to make some simple swaps! Did you know that disposable make up remover pads can often contain plastic?! Switching to reusable cotton pads is a quick and easy swap to help reduce your waste.

    This tutorial is part of our  Sew A Spa Set Series – check the  Intro post  to see what else you can make for a relaxing day or evening pampering yourself, or a loved one and would make a great gift.

    This project is also a great little scrap buster!

    Reusable cotton pads

    We’ve used bamboo towelling rather than cotton towelling here (but who’s heard of Bamboo Pads?!) so we’re using poetic license when we’re calling these cotton pads…

    There’s a good reason why we’re using bamboo though – it’s far more sustainable than cotton. Read more about Bamboo Towelling’s eco-credentials in our full guide here

    There are 6 items that make up the Spa Set and if you’re pushed for time, each of these handmade items would make a great small gift on their own.

    Sew A Spa Set banner

    You can use out template or size up, or change the shape to a square (and make up using the same process) to make reusable baby wipes or rounds.

    We hope you enjoy sewing and gifting these handmade items!

    Important Notes:
    • 1cm /  ⅜” seam allowance throughout, unless directed.
    • We used an overlocker to finish our seams. If you don’t have an overlocker check out this post for other seam finishing options
    • For steps using machine sewing, straight stitch, backstitching at the start & end using stitch length 2.5 unless otherwise stated.
    • Prepare your fabrics as per manufacturer’s care advice – we recommend pre-washing all fabrics used in this project as they will be used to make items that will be washed frequently

    To make One Reusable Cotton Pad

    Sewing Kit You Will Need:

    Making the Reusable Cotton Pads

    1. Pre-wash your fabrics

    We recommend pre-washing all fabrics used in this project as they will be used to make items that will be washed frequently

    2. Print the cotton pad templates

    Print off the Spa Set Templates ensuring you print at 100%. If you haven’t already, request your pattern here.

    Please note: This free pattern has been sized to print on A4 paper.

    3. Cut your fabrics & notions

    To make one pad cut out:

    • 1x Circle from Bamboo Towelling
    • 1x Circle from Patterned Cotton
    • 1x Back loop from Patterned Cotton
    4. Assemble The Cotton Round

    Sew the loop

    • On the loop pattern piece, fold the long edges over 1cm / ⅜” and press.

    Making the makeup rounds step 1

    • Fold the entire rectangle lengthwise again to the middle and press.

    Making the makeup rounds step 2

    • Top stitch down both sides of the rectangle.

    Making the makeup rounds step 3

    Making the makeup rounds step 4

    Assemble the pad

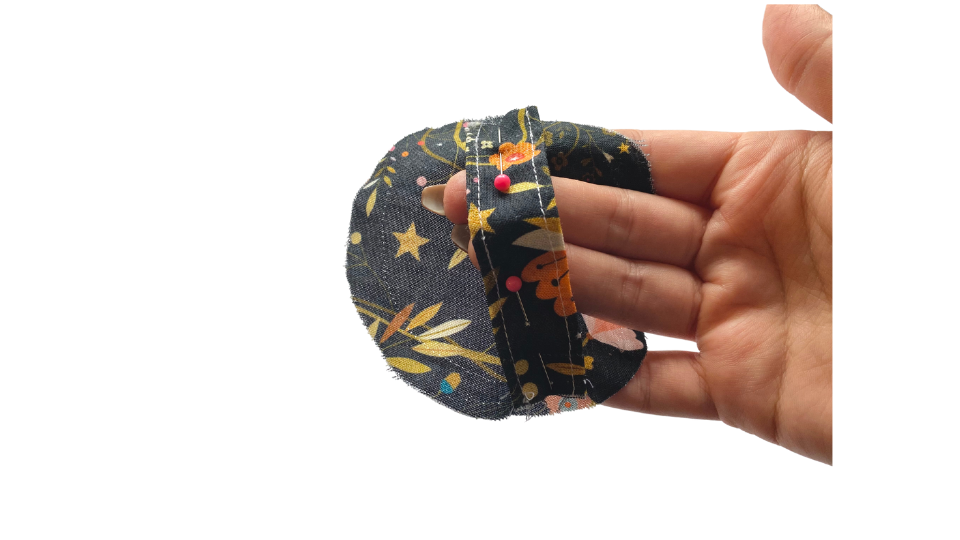
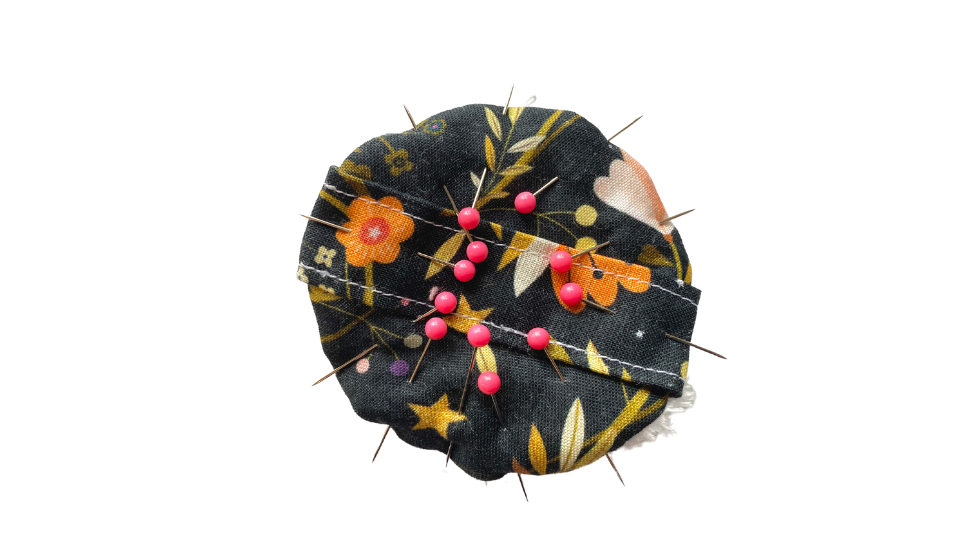
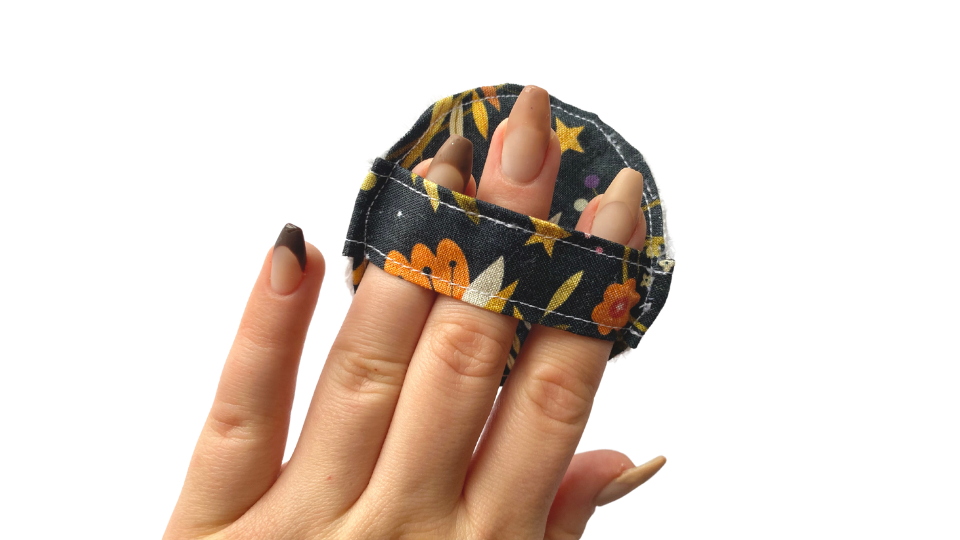
    • Pin the rectangle to RS (right side) of the Cotton fabric circle of your pad. Make sure there is a little space to slide your fingers between the loop and the pad, this will mean the loop is not flat against the pad.
    Making the makeup rounds step 5
    • Baste the edges where the rectangle meets the circle edge.
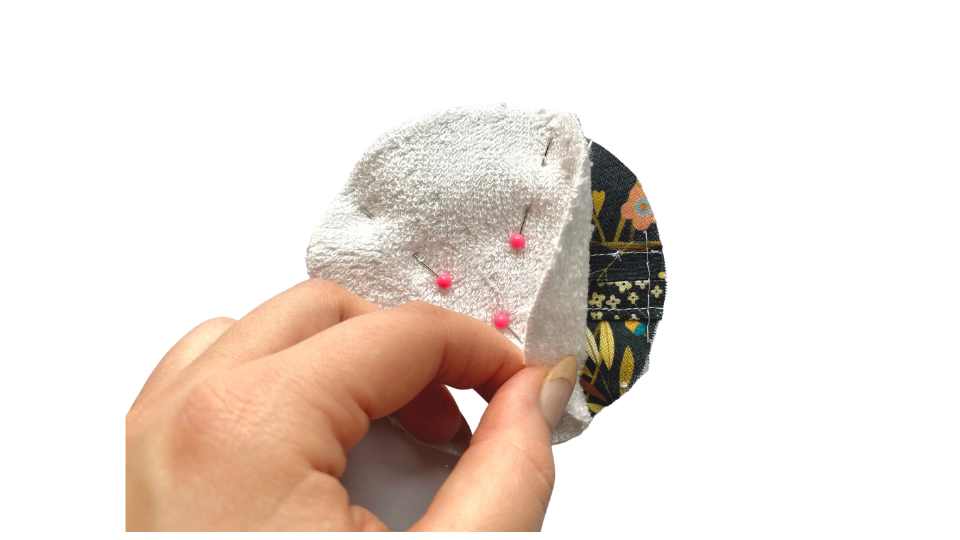
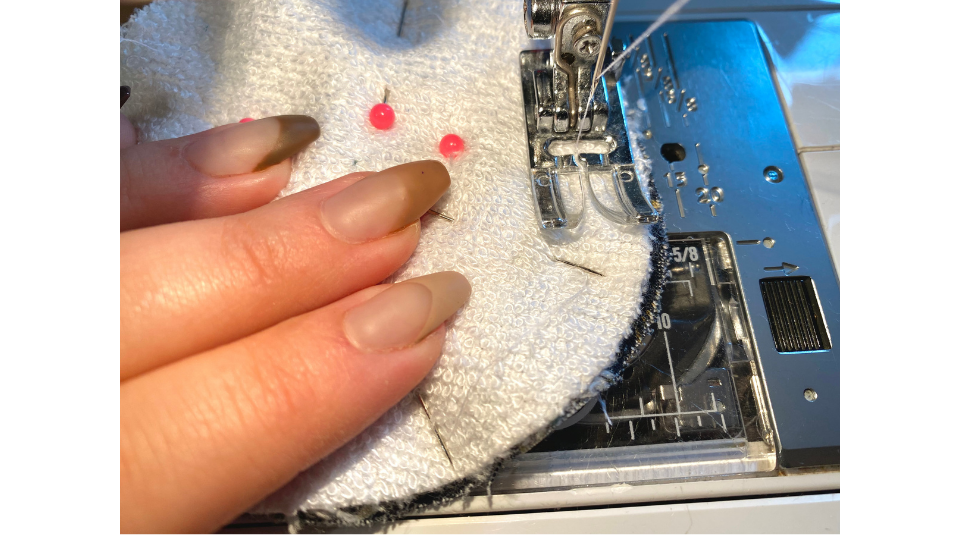
    • Place the bamboo towelling circle RS together with the Cotton circle, sandwiching the loop in between. Pin in place and stitch around the circle with a 1cm / ⅜” seam allowance, leaving an opening to turn it out the right way.
    Making the makeup rounds step 6
    Making the makeup rounds step 7
    • Pink or clip the seam allowance. Turn the pad out through the opening you left. 
    Making the makeup rounds step 8
    • Fold in the seam allowance at the opening.
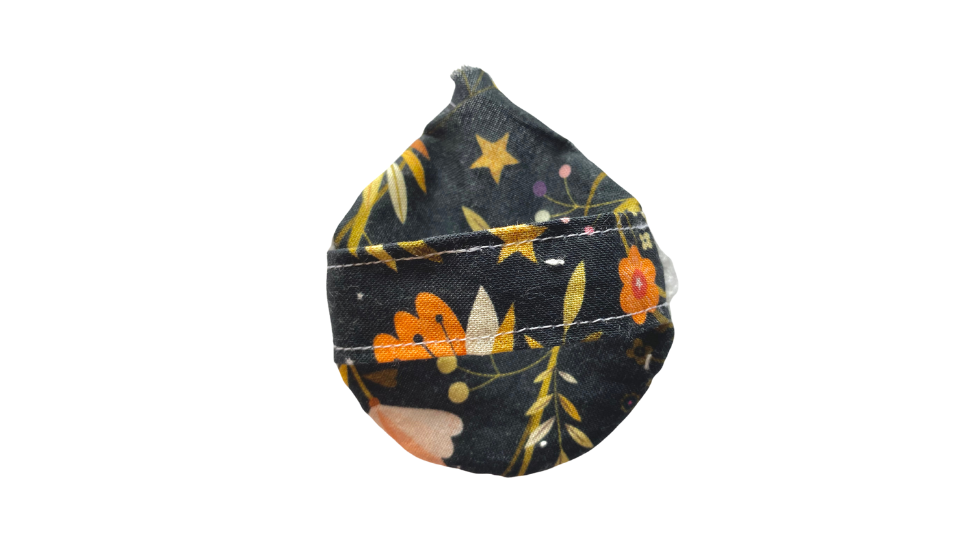
    • Top stitch 3mm / ⅛” around the edge of the circle to finish and close the opening.
    Making the makeup rounds step 9
    Making the makeup rounds step 10

    And you’re finished, well done!

    We’re nearly there! We hope you’ve enjoyed our Sew A Spa Set Series so far. The very last tutorial is a Round Makeup Bag to store all of your handmade goodies in!

    Follow Us on Instagram