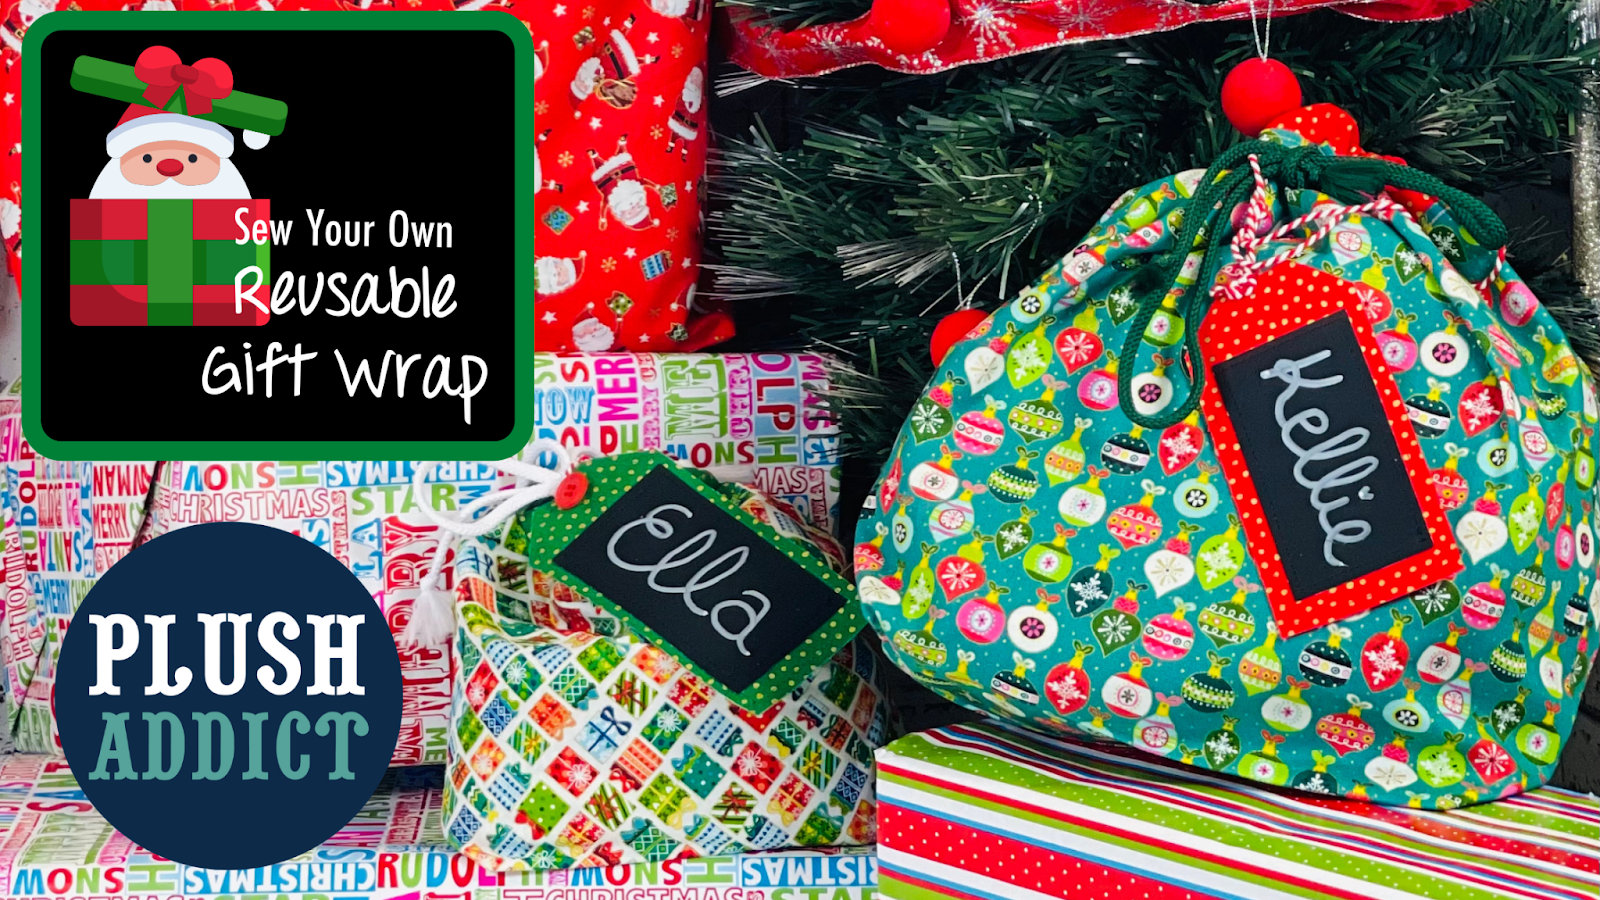
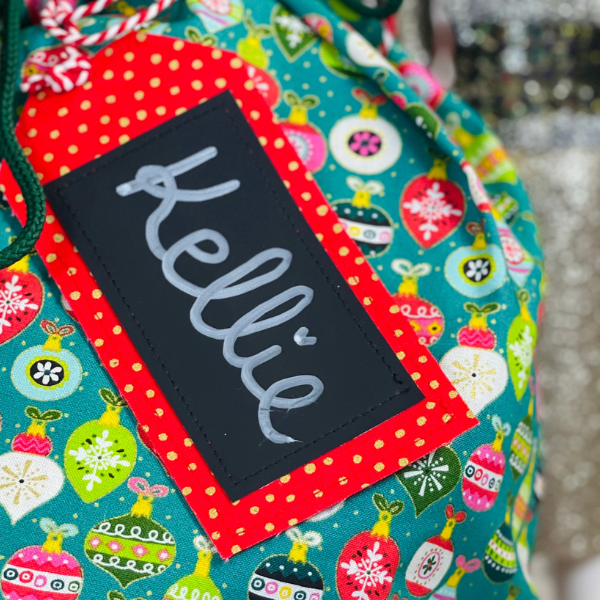
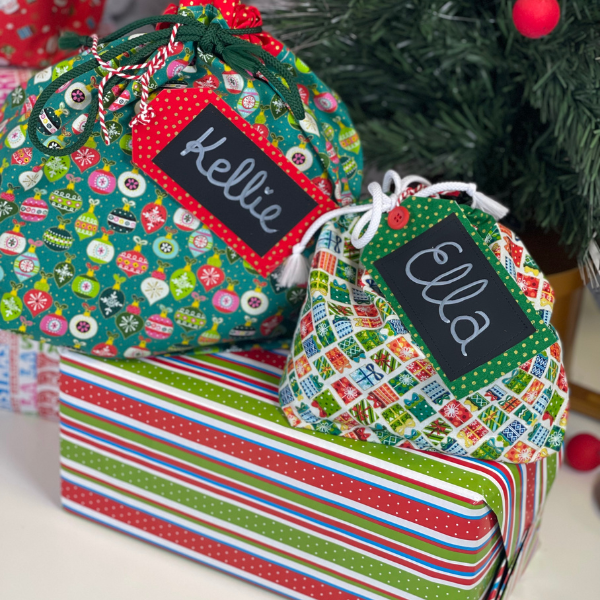
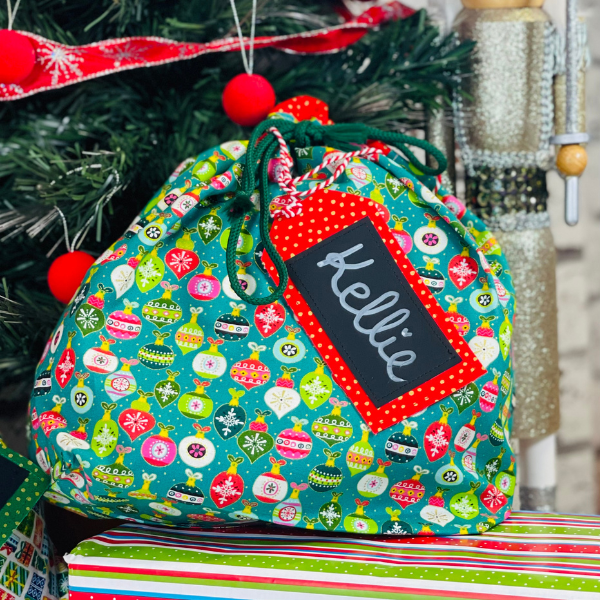
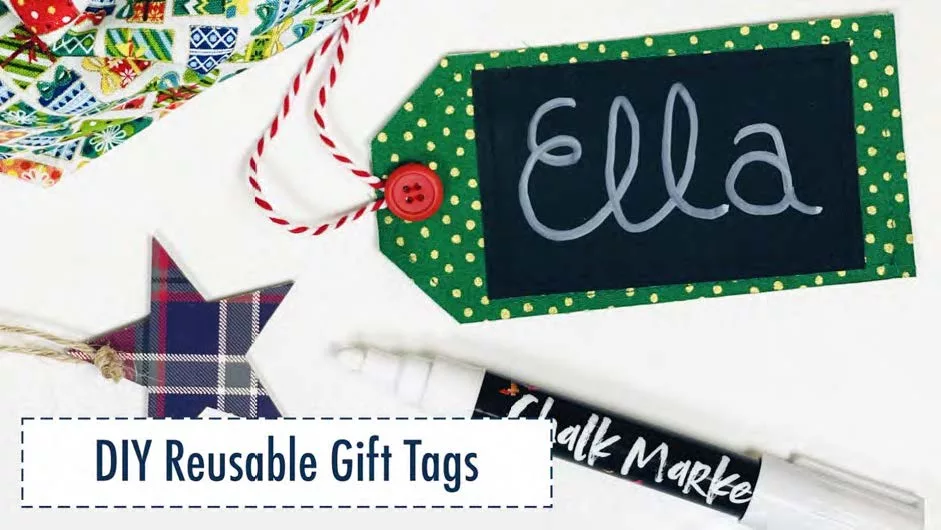
How will you be wrapping your Christmas gifts this year? Will you be on ‘bin bag duty’ again collecting all of the used wrapping paper & throwing a glitter & foil mountain out to landfill? Or will you be getting your Christmas All Wrapped Up with our Sew Your Own Reusable Gift Bag tutorial?
Making beautiful reusable fabric gift bags and tags means you can keep them for years to come!
All the effort you put in making these will come back to you – we promise! Make these and be your future friend next year when your gift wrapping will be complete in a fraction of the time – whoop! No more last-minute wrapping struggling with the sticky tape on Christmas Eve – winning!
Read on for our beginner-friendly Reusable Gift Bag tutorial!
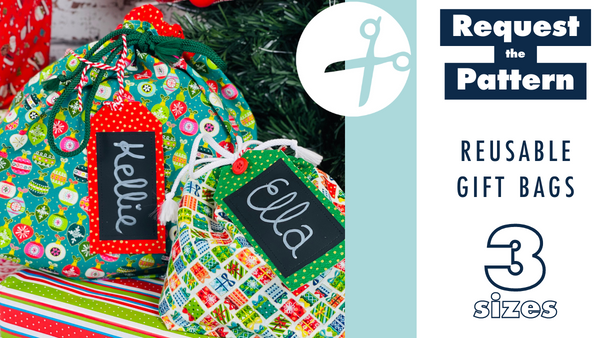
In thisfree tutorialwe have provided 3 different-sized gift bags which you can make out of the huge variety of fabrics we have over on our Christmas shop! All of the supplies to make this are sold onour online sewing superstore!
An absolute beginner can do this, so why not get the kids stuck in too? They will be super proud, gifting family and friends with something they made!
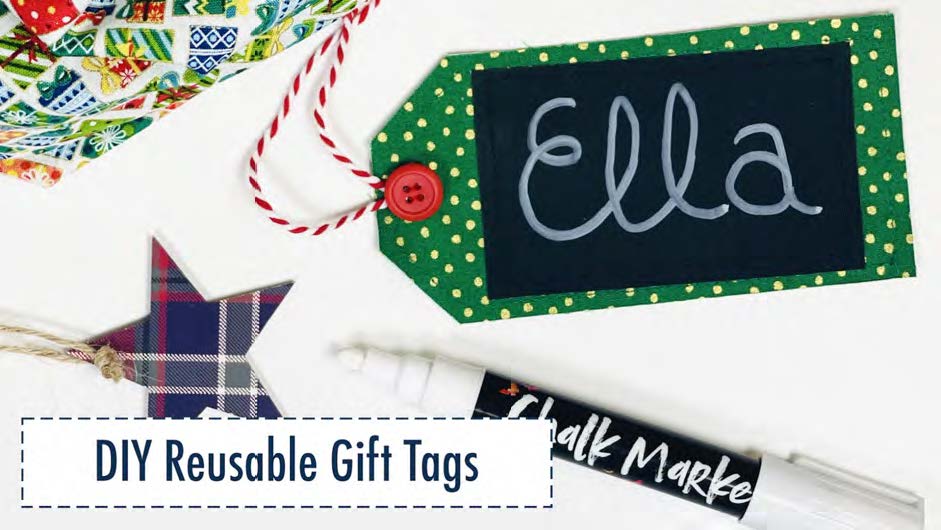
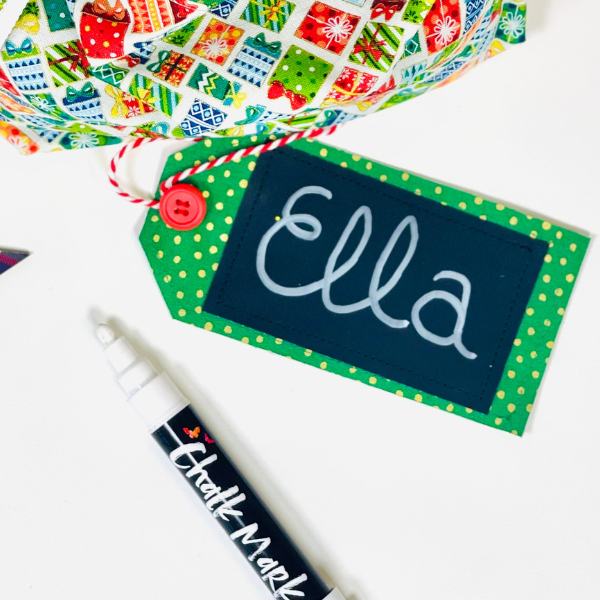
Why not check out the companion project –A Reusable Gift Tagtutorial? It’s availablehere
A sewing project suitable for: Beginner
Important Notes:
1cm seam allowance throughout, unless directed.
For steps using machine sewing, straight stitch, backstitching at the start & end using stitch length 2.5 unless otherwise stated.
Prepare your fabrics as per the manufacturer’s care advice
If you would like a more polished finish to the inside of your bag you could french seam. Check out our tutorialHow To Sew French Seams
Decide which size bag you wish to make. The finished dimensions are listed in the table in theprintable.
Draw your pattern using the measurements supplied in the printable
Cut 2 of the main bag pattern out of your Main Fabric A and 1 x drawstring channel out of Accent Fabric B
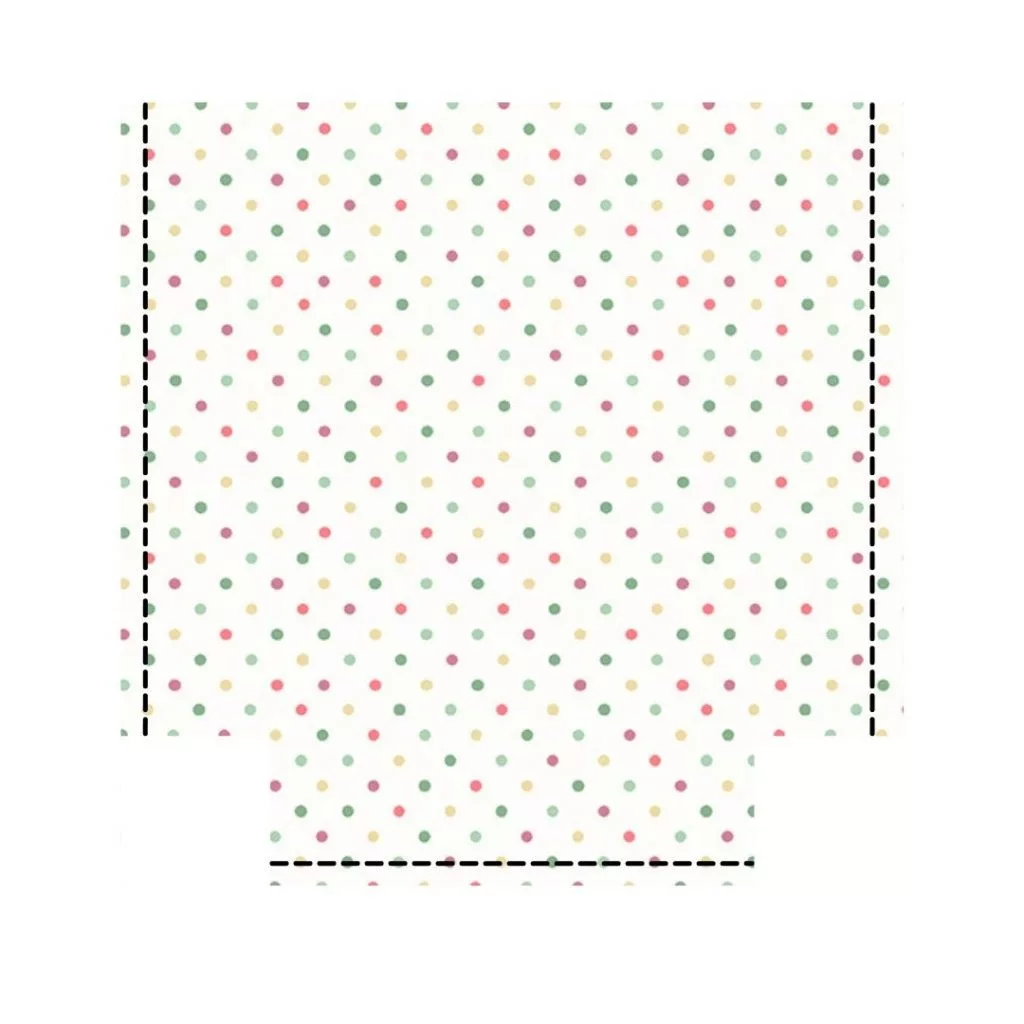
With right sides together pin your main fabric bag pieces & sew down both sides of and the bottom seam only, leaving the corners unsewn
Finish the raw edges of each seam with a zig zag stitch (stitch length 1, width 4mm), taking care that the right hand stitches fall just off the edge of the fabric. Watch the videohere
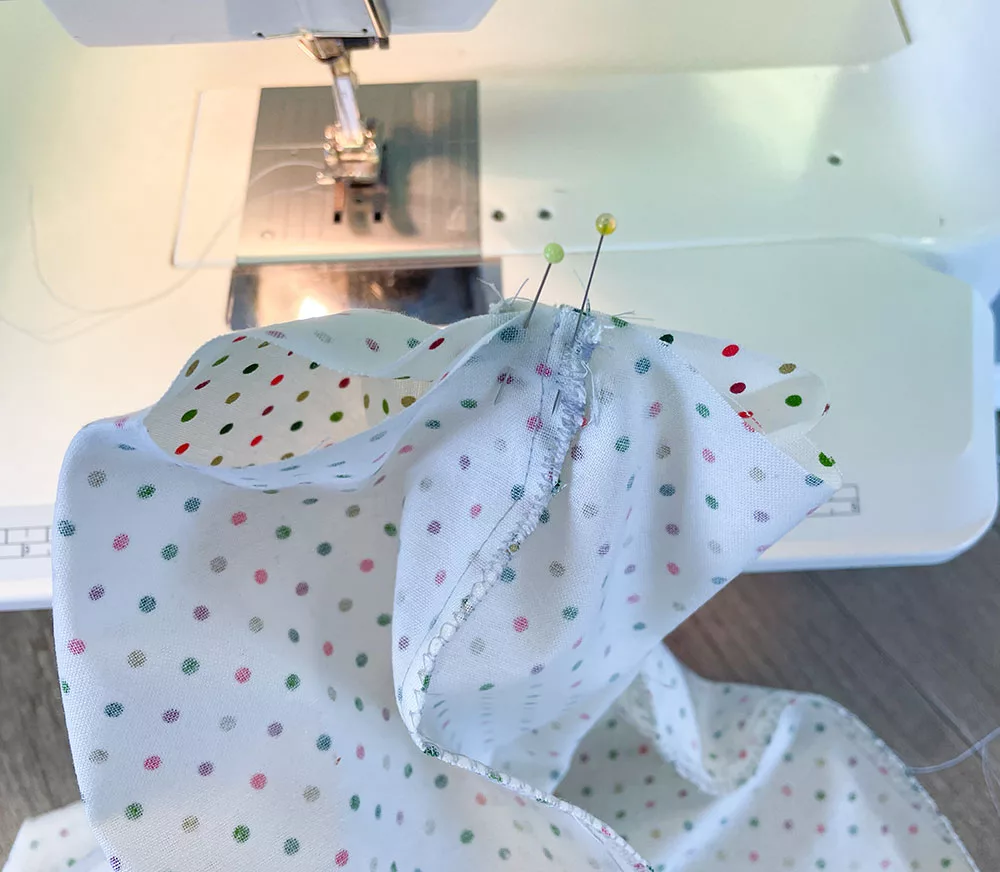
Sew the corners : On the bottom corners match the two side seams in the centre. Pin sew together with 1 cm seam allowance. Trim any stray threads and finish the seams as in step 5
Repeat for the other corner
Prepare the drawstring channel
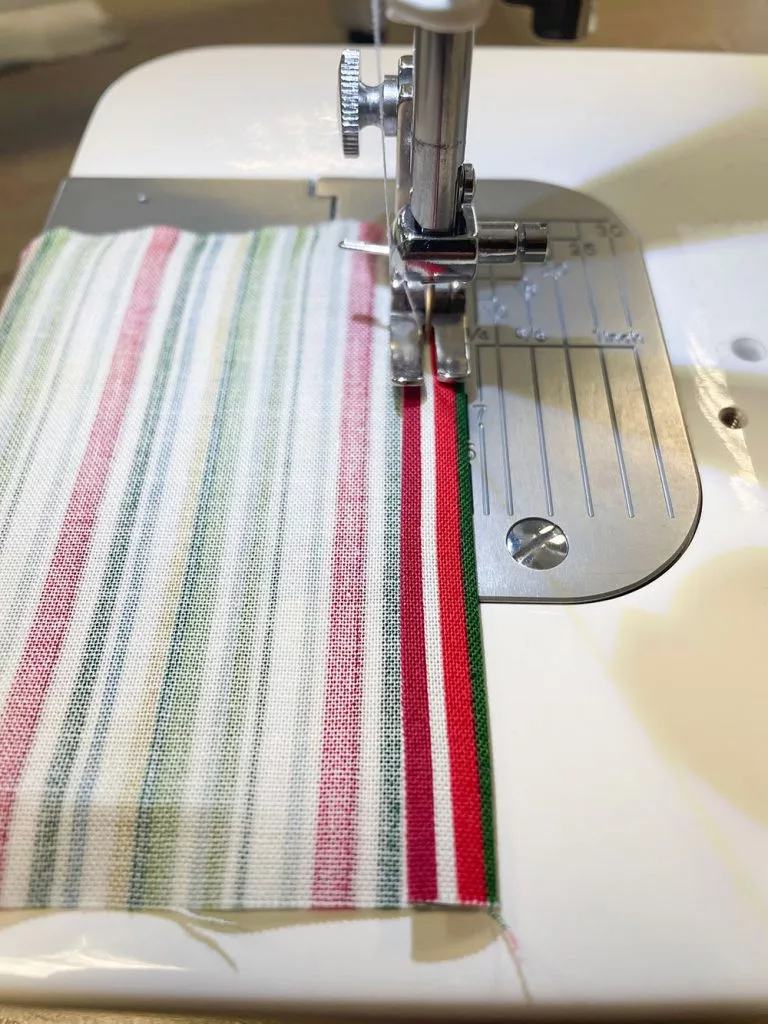
On the drawstring channel fold one of the short ends in 5mm then another 5mm and press. Repeat for the other short end. Stitch both double fold hems in place
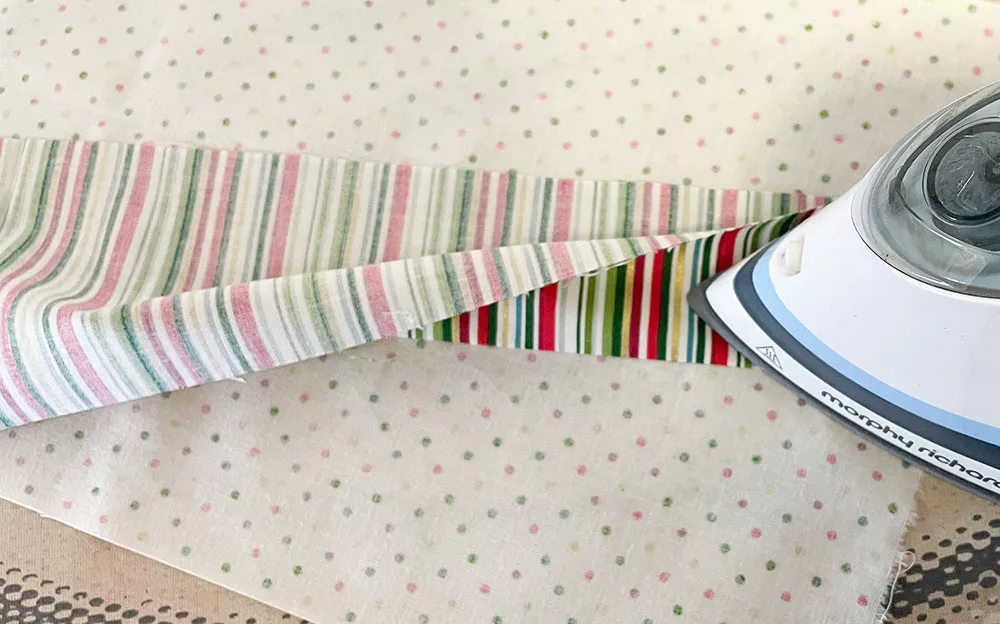
Press the drawstring channel in half wrong sides together along the longest edge
Starting at a side seam of the main bag match one of the hemmed edges of your drawstring channel to a side seam on the main bag and pin all the way around, matching the raw edges
Sew all the way around attaching the drawstring channel to the main bag
Trim any stray threads and finish the seams as in step 5
Press your finish seam towards the bag and top stitch the seam to the bag body
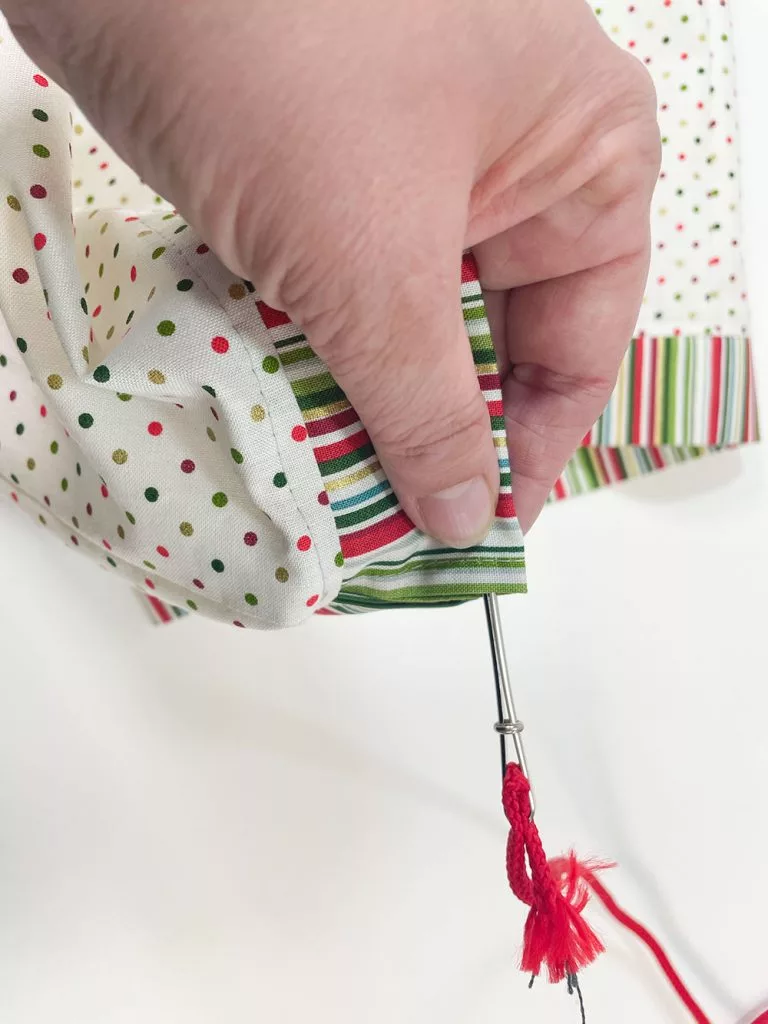
Using a bodkin or safety pin thread the cord/ ribbon through the drawstring channel
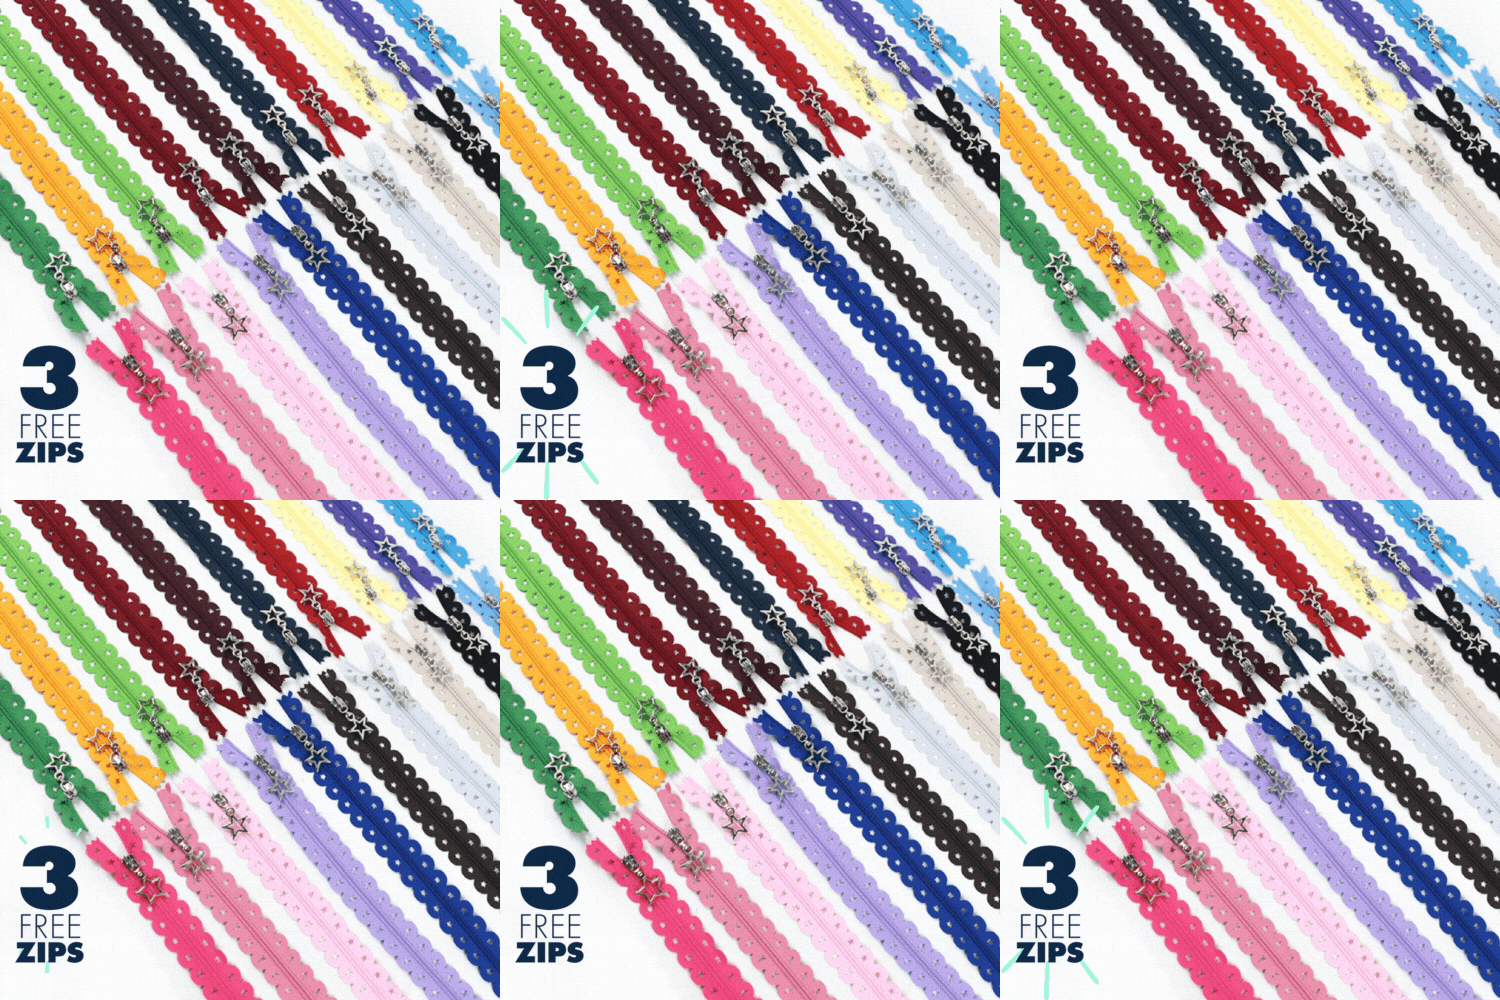
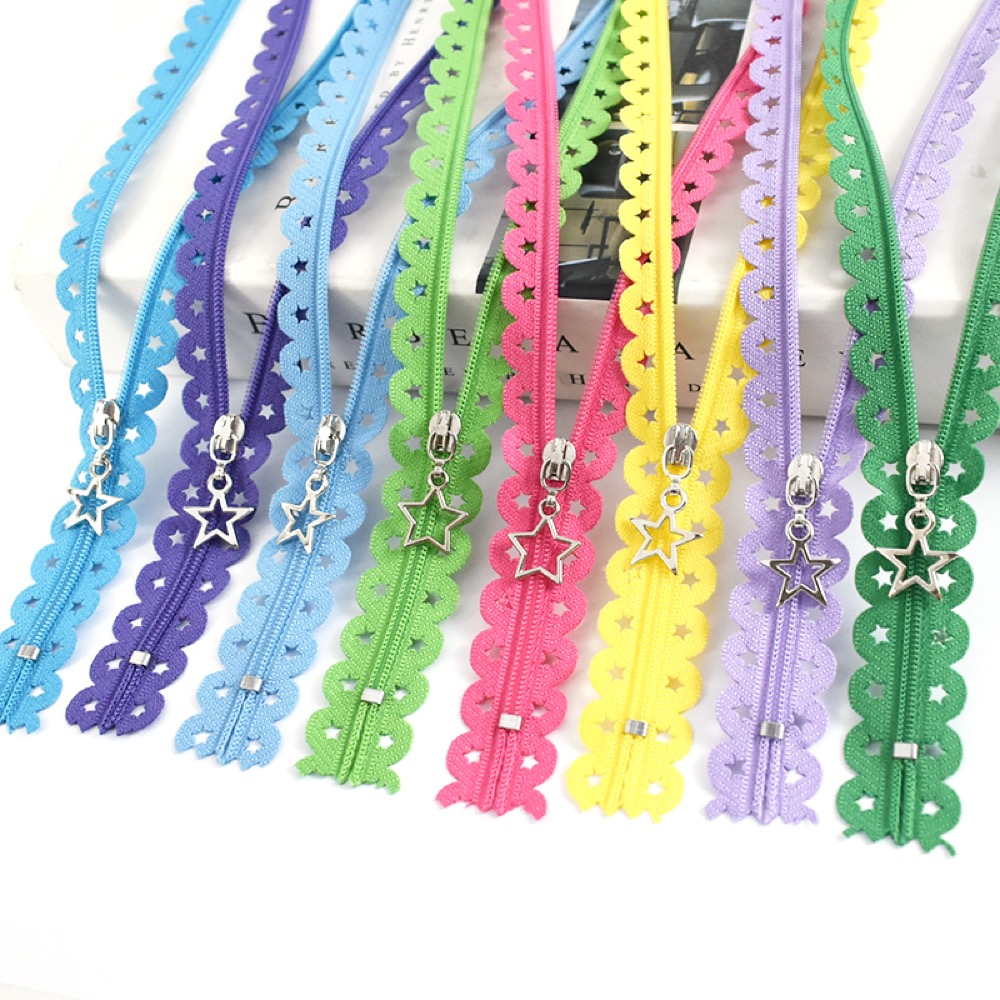
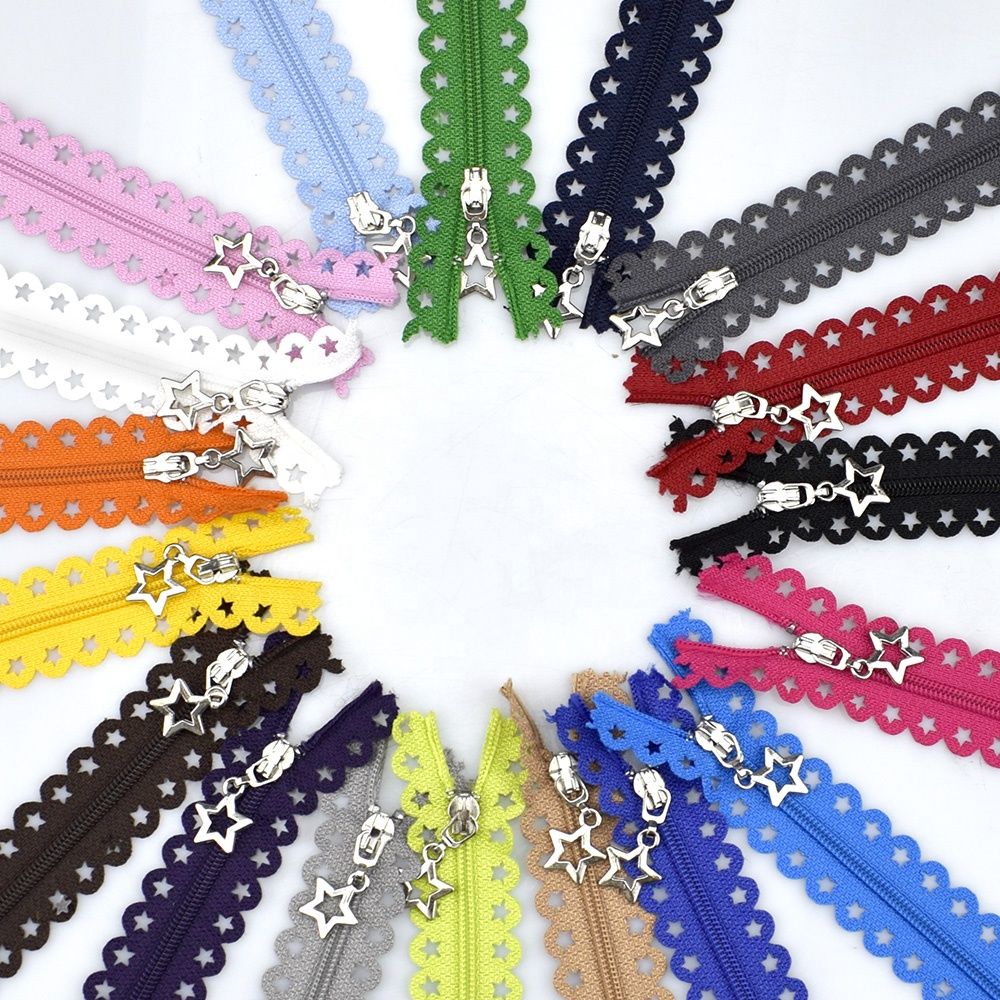
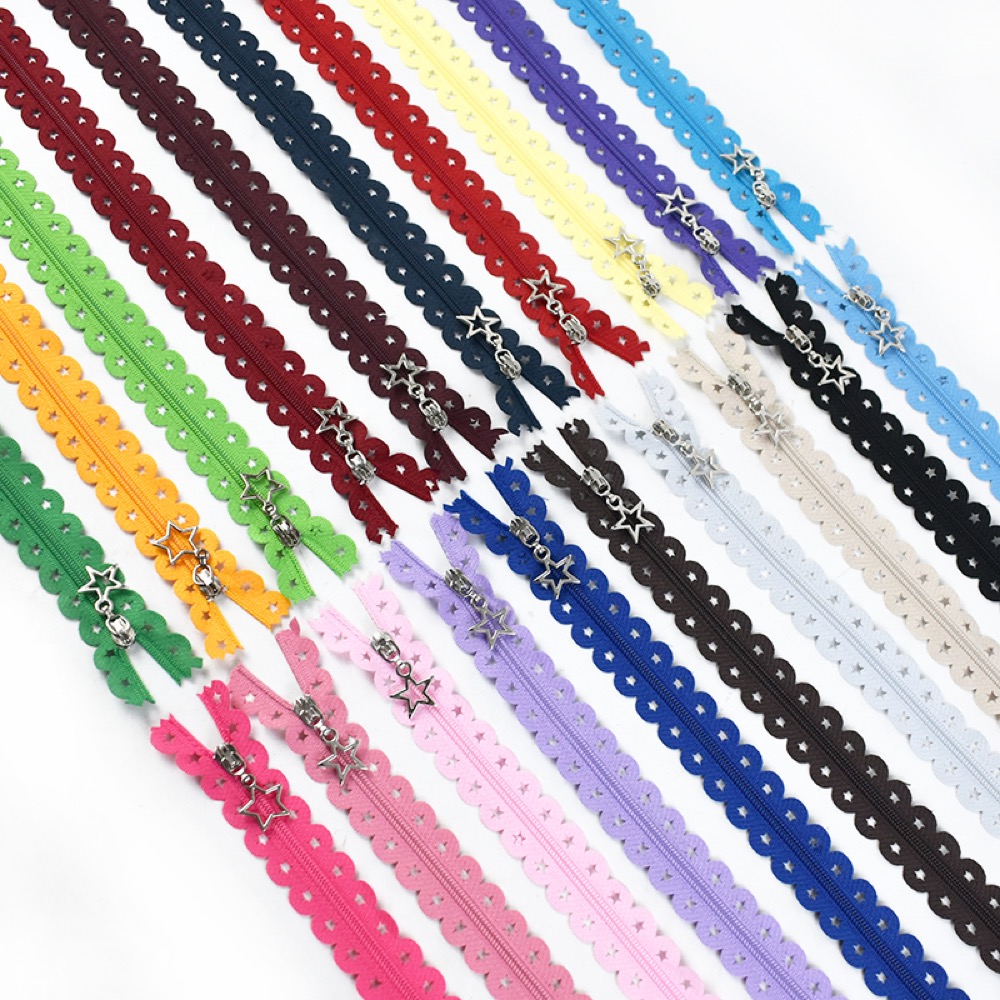
Offer Terms & Conditions: The code HAPPYBIRTHDAY10 cannot be used in conjunction with any other discount code. Offer is valid for online orders placed with www.plushaddict.co.uk on 20th-25th September 2022 when the code HAPPYBIRTHDAY10 is used. Discount & free gifts cannot be applied retrospectively. Our Quilters Guild discount is suspended throughout the duration of this promotion. Gift Vouchers are not included in the discount. The free gift of 3 x Star Lace Edge Decorative Zips can be claimed when at least £10 is spent (excluding postage) One free gift per person whilst stock last. We will make best efforts to honour your chosen zip colours but reserve the right to swap for an alternative if the chosen colour(s) is no longer available. No cash alternative is available. No free gift product swaps are available. Orders placed during this promotion may take longer to dispatch than our usual stated dispatch times.
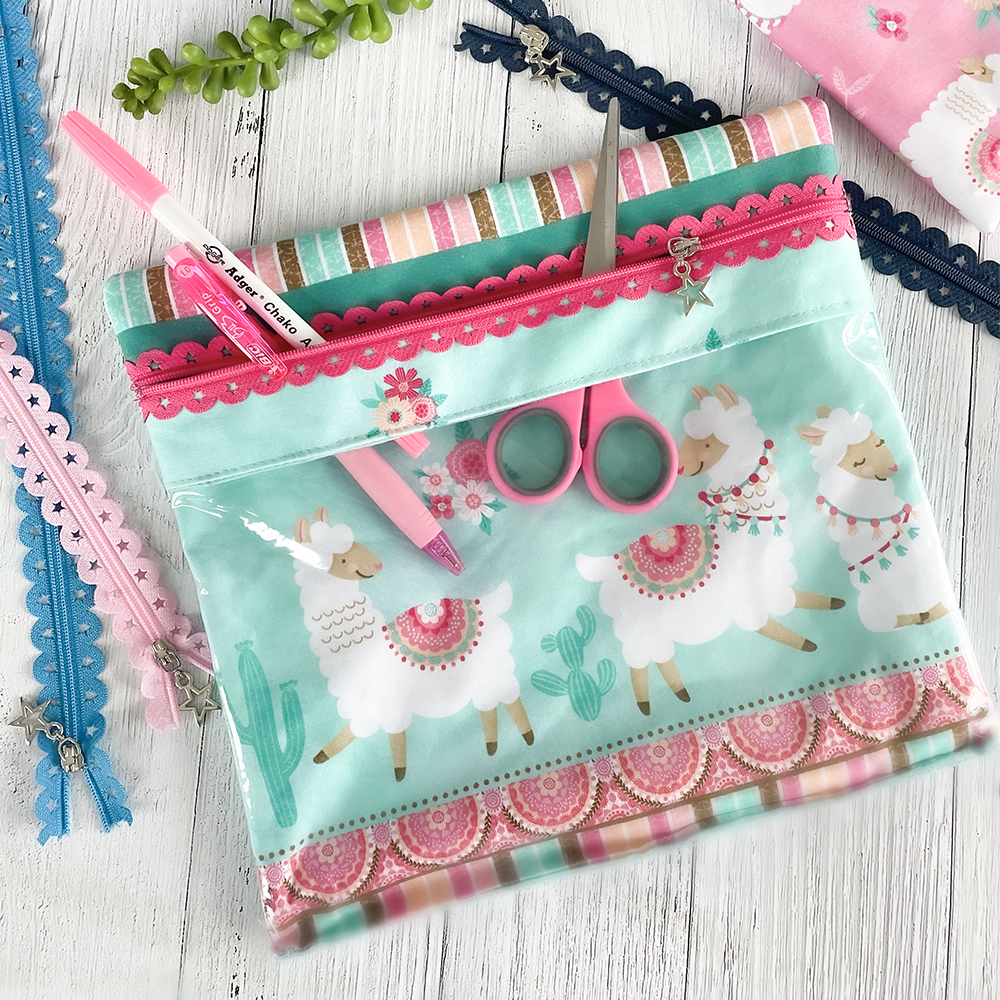
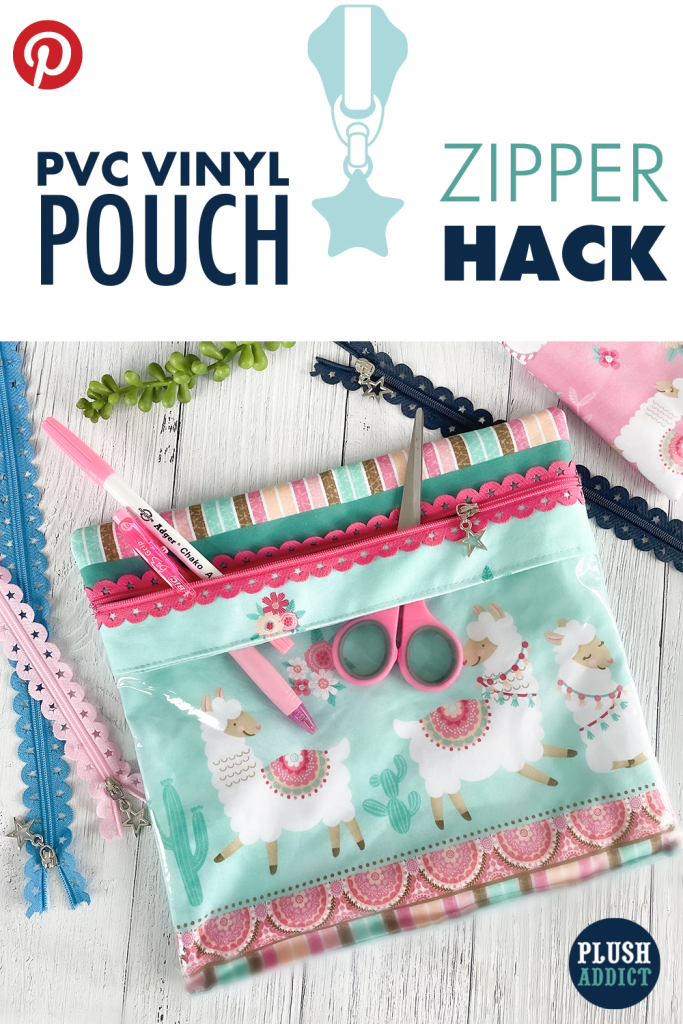
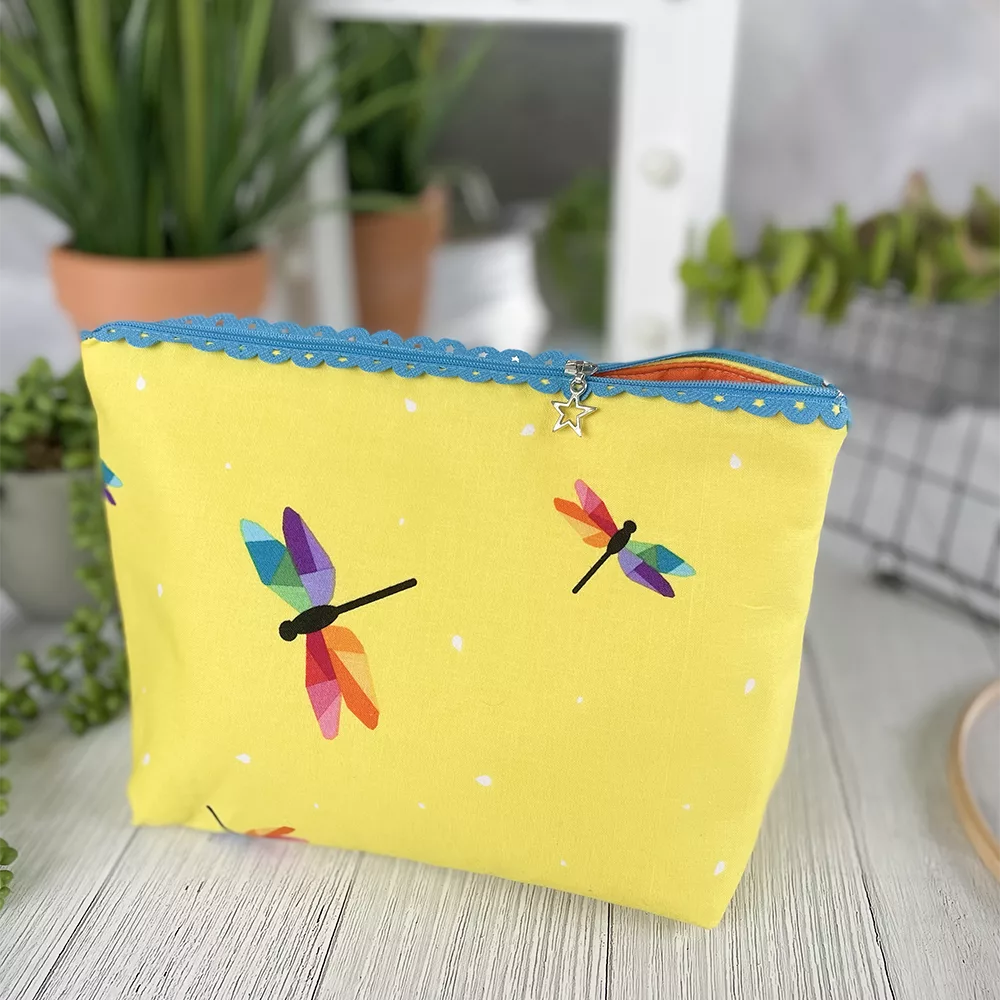
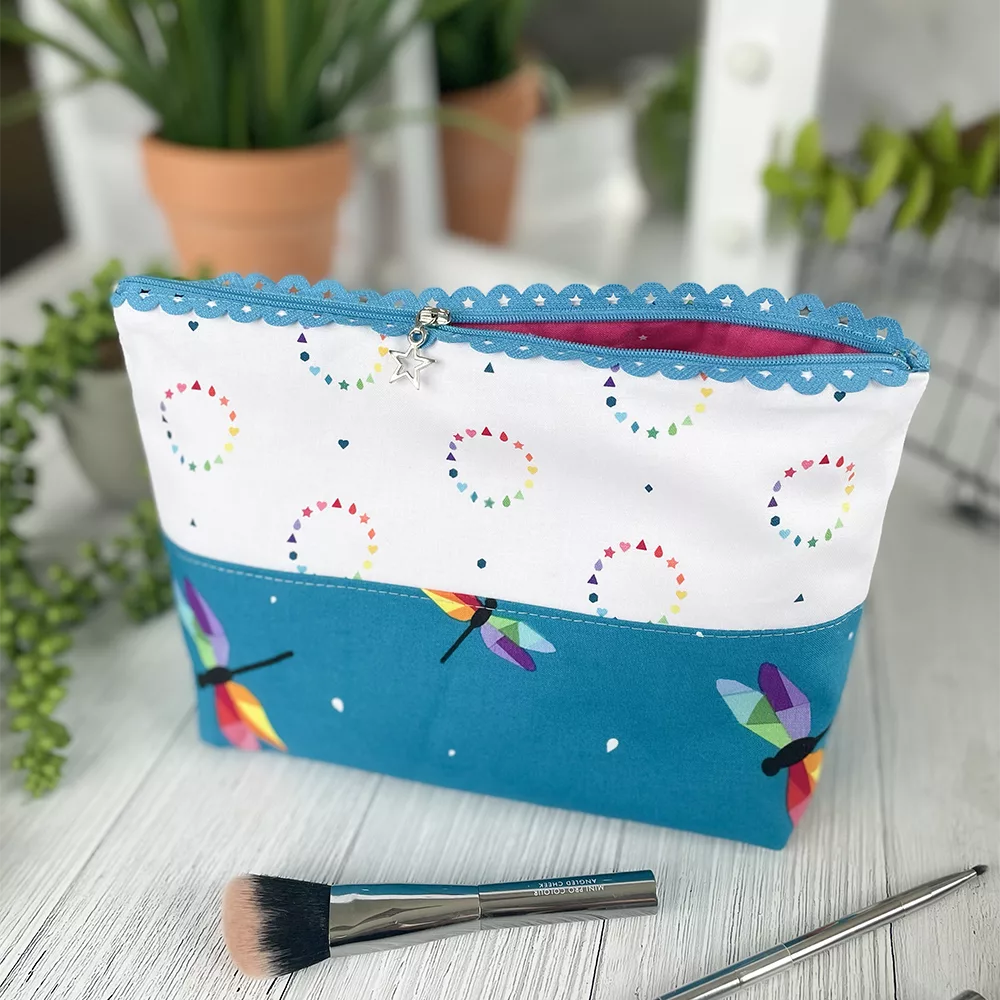
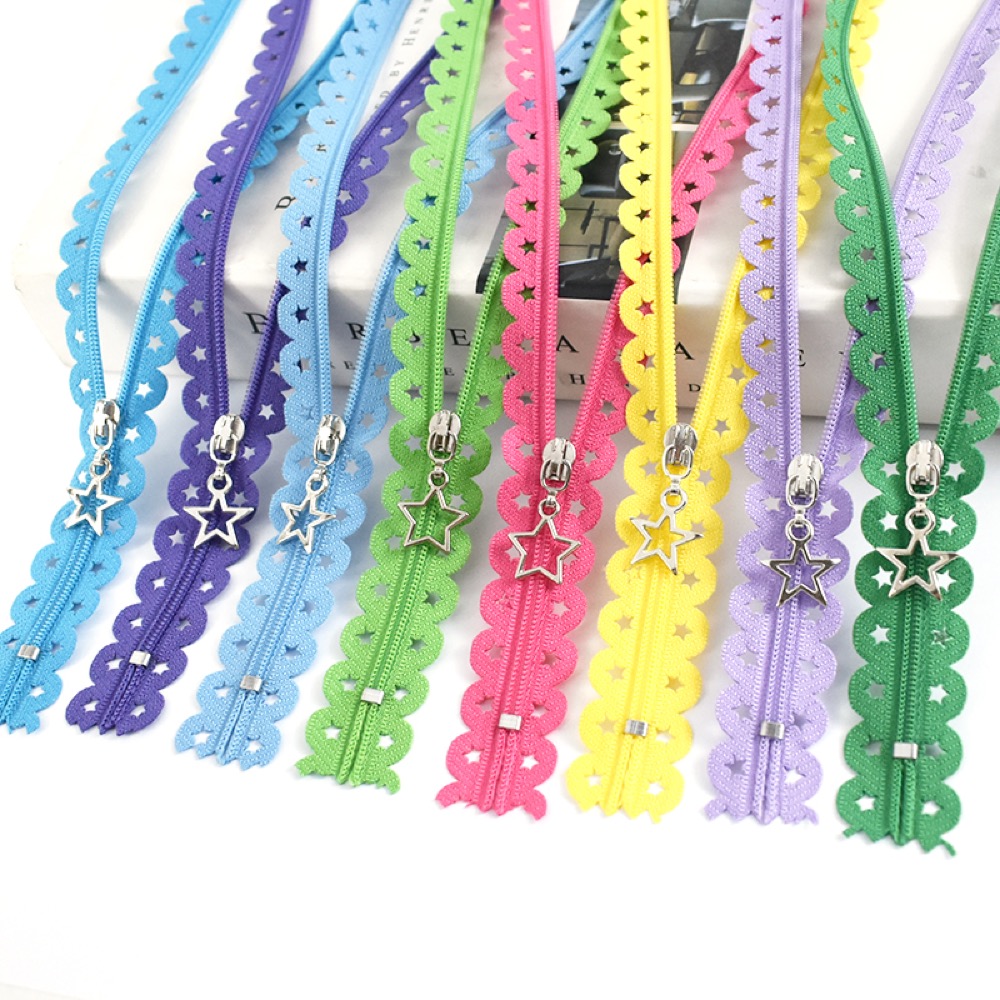
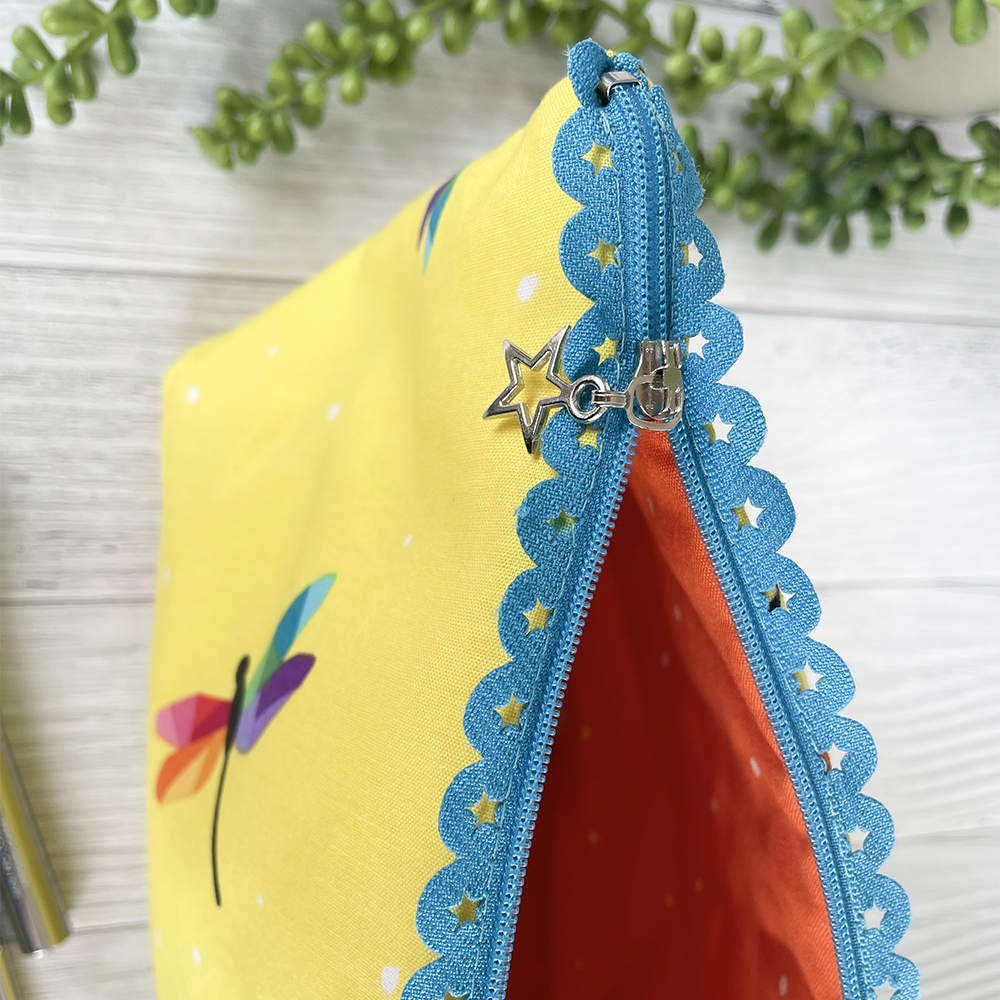
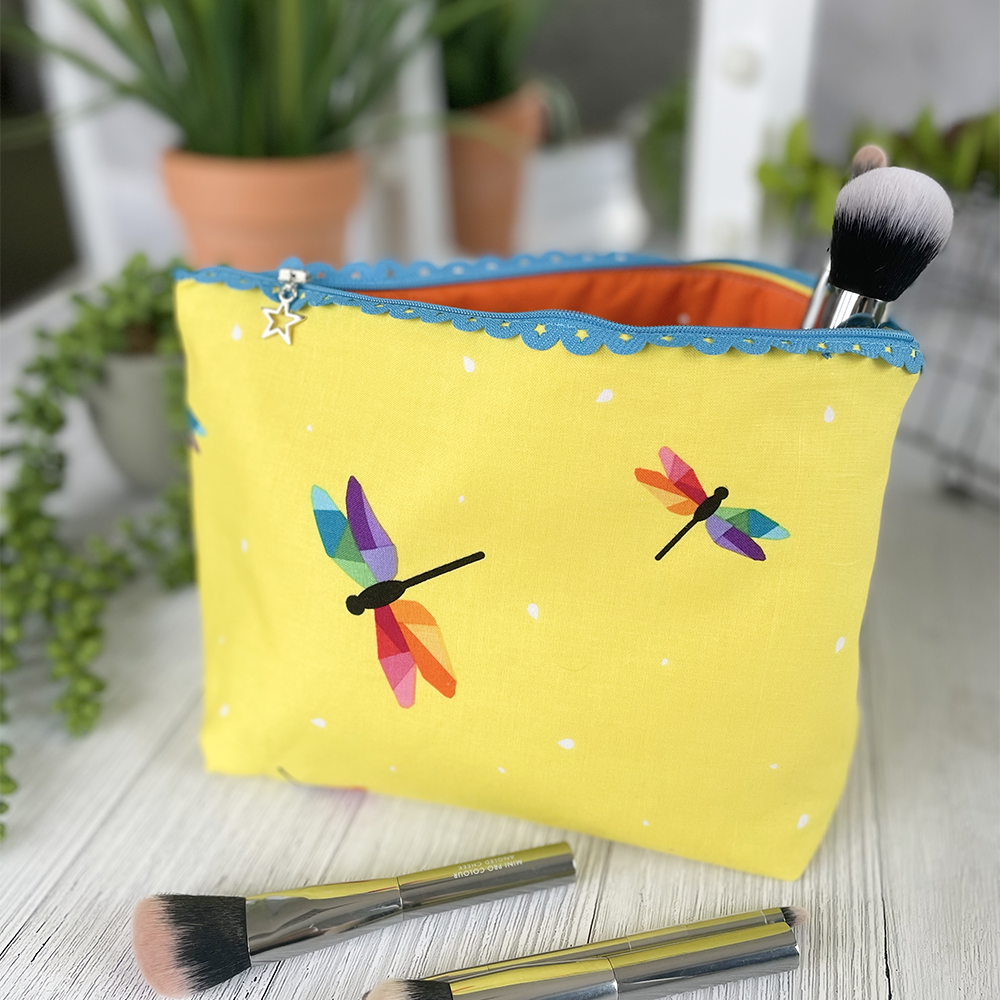
Our love affair with these decorative star zippers continues… We’re not sure if we love the zip star pull more or the star cut-outs on the tape! Inserting these decorative exposed zips has a different construction method to regular zips so we’ve hacked our original Clear Vinyl Zipper Pouch Tutorial and replaced the continuous zipper tape with these fabulously fancy exposed zips.
The clear window on this pouch makes it super useful for storing craft supplies, stationery, toiletries for the aeroplane. The kids will love being able to play “I-Spy” and it’s a brilliant way to show off your fave fabrics. We adore how the Llama Nirvana double border print worked out! Look at those cuties!
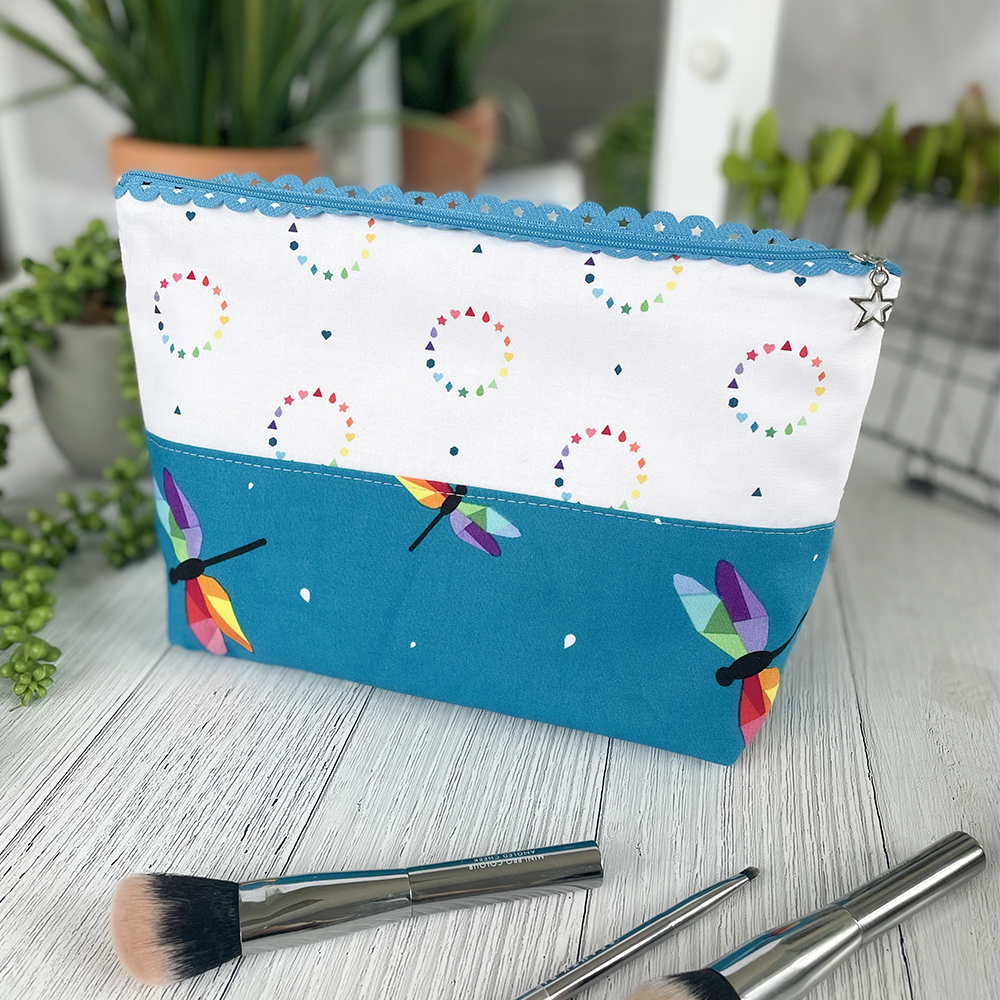
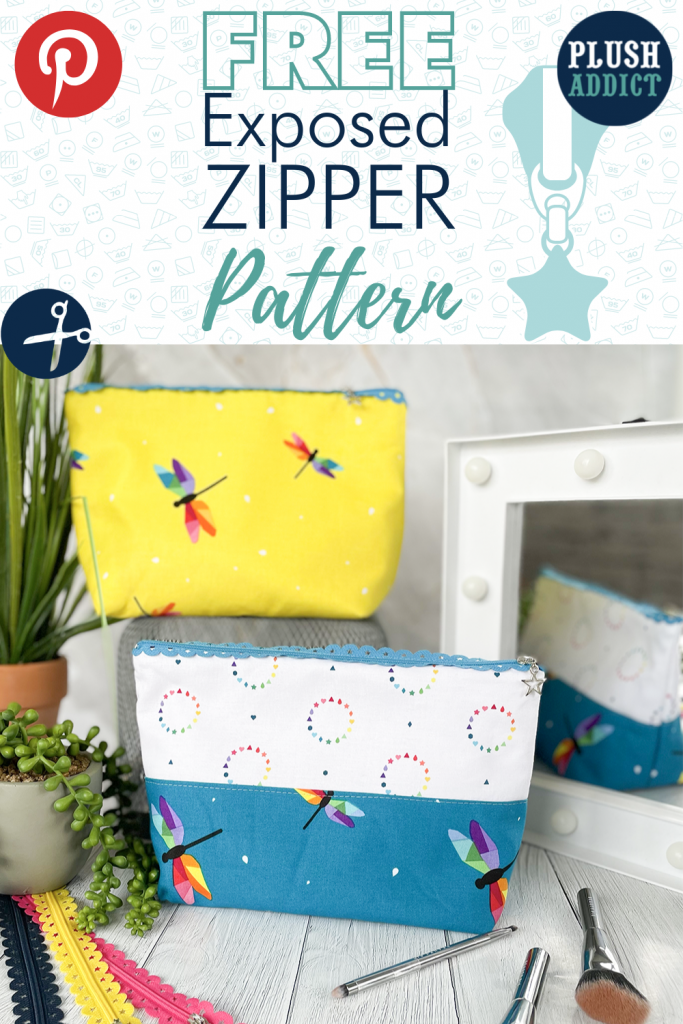
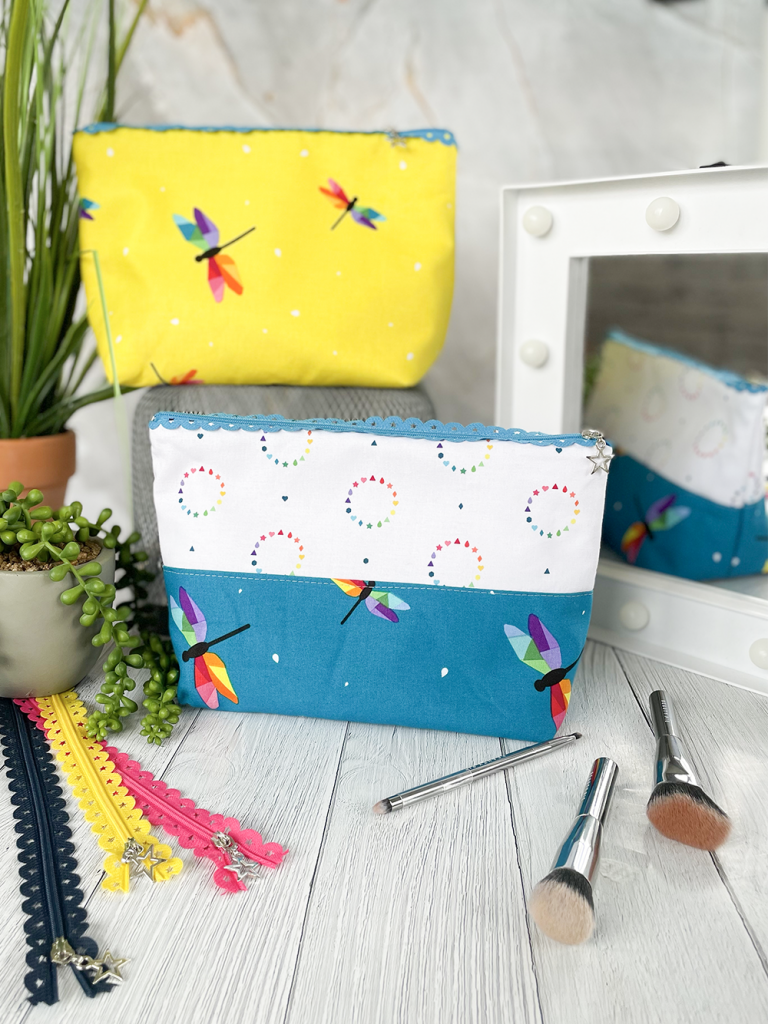
For the love of cute! We are totally smitten with these decorative star zippers… Not only is there a cute star zip pull, but there are cut-out stars along the zipper tape! Inserting these decorative exposed zips has a slightly different construction method to regular zips so we just HAD to put together a tutorial for you to show off their star splendour. Read on for our Exposed Zipper Pouch free pattern & tutorial.
This free pattern has been sized and designed to fit these 25cm Star Lace Edge Decorative Zips. If you have smaller 20cm Lace edge Zips to hand then go check out this post as the pattern there fits a smaller length zip
In the free pattern there are 2 options available for you to sew.
Option 1: uses 1 fabric for the outer panel. This is ideal for a border print fabric, larger print fabrics or if you want a quicker sew
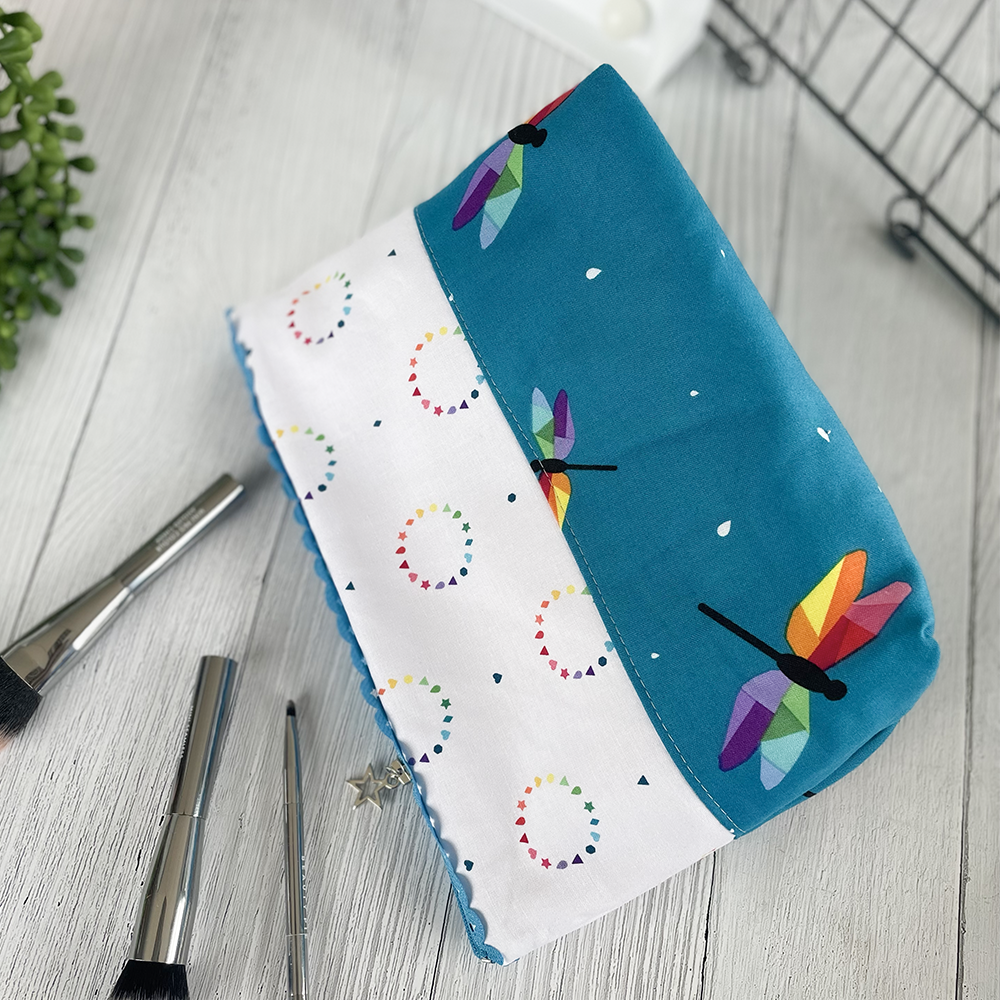
Option 2: uses 2 fabrics on the outer panel. Perfect to add a little more interest to your design and show off complementary fabrics
For steps using machine sewing, straight stitch, backstitching at the start & end using stitch length 2.5 unless otherwise stated.
When top stitching – use a 3-3.5mm length & stitch approx 3mm from the seam
Prepare your fabrics as per the manufacturer’s care advice
WST = Wrong Sides Together
RST = Right Sides Together
Read through the instructions fully before starting
We use fusible fleece in this project which can add bulk to your seams. We trim these out but you may prefer to cut the fleece without the seam allowance
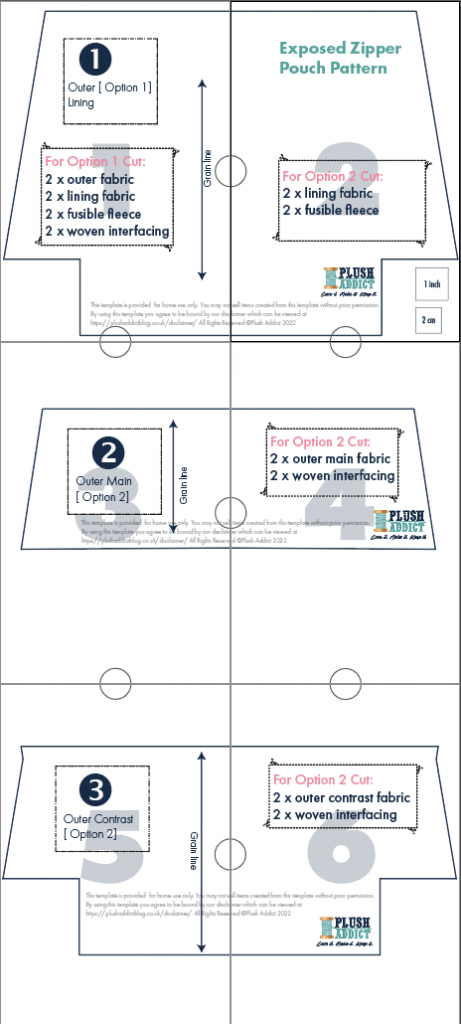
Print & Assemble your pattern pieces. You can request the pattern here. This pattern has been sized to print on A4 paper.
IMPORTANT: Use the 1” / 2cm test square to check the sizing. If the sizing is incorrect check print settings. Depending on the device used, select ‘actual size’ or deselect the ‘fit to page’ option.
Step 2
Cut out your fabrics and interfacings according to the pouch option you are making
For Option 1
From Pattern Piece 1 :
2 x outer
2 x lining
2 x fusible fleece
2 x woven interfacing
For Option 2
From Pattern Piece 1 :
2 x lining
2 x fusible fleece
From Pattern Piece 2 :
2 x outer main
2 x woven interfacing
From Pattern Piece 3 :
2 x outer contrast
2 x woven interfacing
Step 3: Apply the interfacings
Iron the woven interfacing to the wrong side of your outer fabrics For full instructions on how to apply woven interfacing please check out this post
Iron on fusible fleece to the lining following the manufacturer’s instructions.
Step 4: (Option 2 only) Sew the outer panel
Take 1 x outer main and 1 x outer contrast & place RST & sew along the longest edge. Repeat for the other 1 outer panel.
4. Press seams open, and then towards the darker fabric. Topstitch close to the seam line, if desired.
Step 5: Prepare the panels
On the top edge of your pouch mark 1cm in from each edge on all the outer & lining pieces
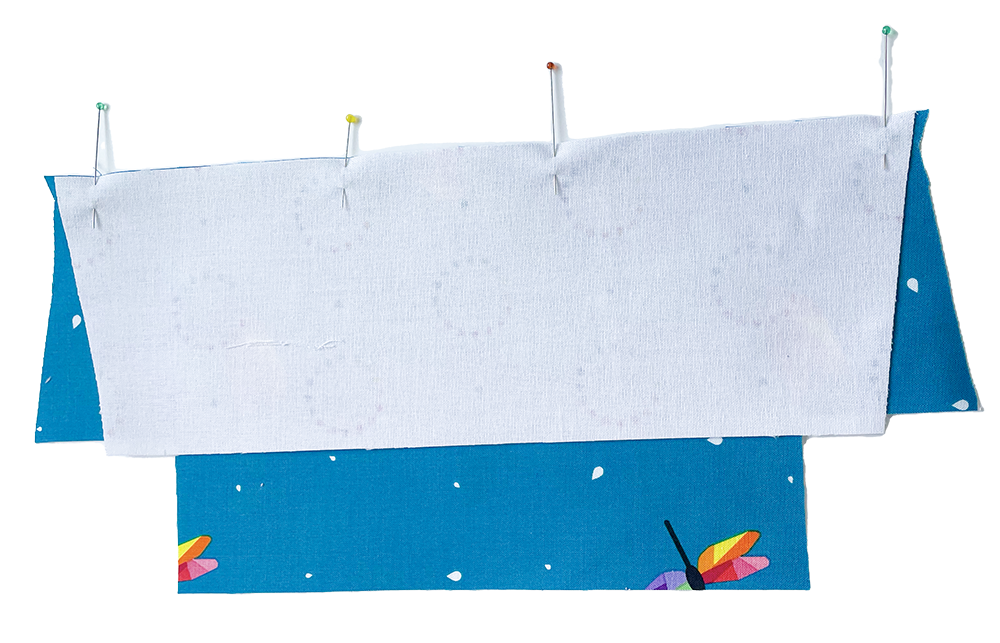
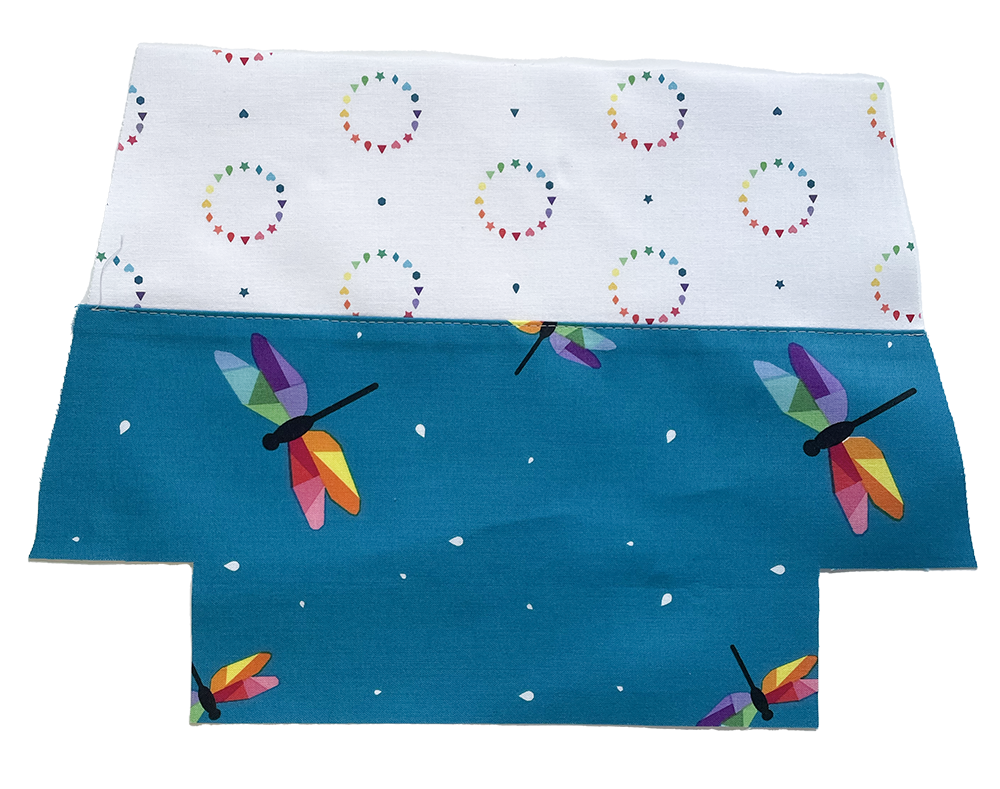
With outer panel & lining RST sew along the top edge between the marks you’ve just made
Repeat for the remaining outer & lining panels
Cut away the fusible fleece from the seam allowance taking care not to snip through your stitching or fabric. Applique scissors are a great tool for this job.
Using a pressing cloth, carefully press the seams open ensuring the iron doesn’t touch the fusible fleece. Then press the seam allowance towards the lining. You should have a crisp seam line.
Understitch: open out the panel and make sure the seam allowance is pressed to the lining side. Sew the seam allowance to the lining side, sewing approx. 2mm from the seamline between the marks. This will ensure your lining is not vising and the panels “roll away” from the zip. Your lining will now look like this
Fold the panel along the seamline with WST, then cover with a pressing cloth and press.
Repeat steps 5-11 for the other outer & lining panel.
Step 6: How to insert a lace edge exposed zip
Check the zip works.
Open one panel out flat and position the zipper teeth so they are on the lining side of the seam, close to the seamline.
Tape the zip in place with the Scotch Magic Tape.
Sew the zip with co-ordinating thread using your zipper foot between the marks
Repeat steps 14 – 16. for the other panel ensuring the 2 panels line up. Folding the lining of the first panel under it’s outer.
Step 7: Assemble the zipper pouch
Check the zip then leave the pull halfway
Open out the panels to bring the 2 x outer and 2 x lining fabrics right sides together and pin/ clip the bottom edges together.
Sew both bottom edges, leaving a 10cm turning gap in the lining.
Align the zip tape ends and pin/ clip them together.
Pin/ Clip and sew the 2 sides.
[Optional but recommended] Trim out the fusible fleece from the seam allowances
One at a time open out the corners and align the side and base seam lines with the seam allowances open.
Align the edges, then pin then sew them together.
26. Turn the pouch out the right way
27. Sew the gap in the lining closed using either machine or hand sew with ladder stitch
♻️ Line drying your laundry rather than tumble drying is going to save both energy & money (and goodness knows we need all the help we can get right now!) The planet thanks you for pegging! ♻️
Our original 20-minute peg bag tutorial still is one of the most viewed tutorials on the blog and it was one of the earliest I did… Call me vain, but it makes me cringe every time I look at it – I definitely didn’t have the Photoshop skills I do now! At least it’s a reminder of how far I’ve come 🙂
So…. in honour of the sunshine arriving & the popularity of that early post, I’ve revamped the peg bag tutorial and made the whole project a little more polished with a peg bag pattern to boot which you can access further down the post…
It’s still important to me to have a peg bag that has some water protection – it can’t just me that leaves the peg bag on the line and gets rusty pegs when it rains?! In the original tutorial, I lined the bag with waterproof PUL, but in this one, I’m choosing to use ODIF Odicoat Gel to provide some water protection.
You could definitely still use PUL with this pattern – just switch out the lining and/ or the interfacing for Waterproof PUL.
This peg bag is still based around a child’s coat hanger AND it’s still a really quick make. This one will take you a little longer than 20 minutes – but I reckon you’ll still make this in well under an hour (excluding the Odicoat gel that is)
I hope you enjoy my rather more polished project and make one to pimp up your laundry routine!
Peg Bag Pattern: A Sewing Project for a Confident Beginner
Approximate sewing time: Around an hour
Finished Dimensions: 30cm x 30cm (excluding the coat hanger)
Important Notes:
1cm seam allowance throughout, unless directed.
For steps using machine sewing, straight stitch, backstitching at the start & end using stitch length 2.5 unless otherwise stated.
When topstitching – use a 3-3.5mm length & stitch approx 3mm from the seam
Prepare your fabrics as per the manufacturer’s care advice
If you use Odicoat then ensure you use greaseproof paper as a barrier when you dry press
RST = Right Sides Together
WST = Wrong Sides Together
Read through the instructions fully before starting
You Will Need:
40cm Cotton Fabric A for peg bag exterior
40cm Cotton Fabric B for peg bag exterior
1m 25mm Bias Binding
40cm Light- Medium weight interfacing (I recommend Vlieseline / Vilene Cotton Woven Interlining Light G710)
*Optional* ODIF ODICOAT Fabric Coating Gel for water resistance
A note on optional water-resistant coating for your peg bag
This is completely optional, but by applying a water-resistant coat of ODIF Odicoat gel to your peg bag it will help your project last longer, as well as helping to protect your pegs from rusting if your peg bag gets rained on.
Free Peg Bag Pattern Sewing Tutorial
1. *Optional: Odicoat the exterior fabric
If you plan to apply an Odicoat water-resistant coating to your peg bag now is the optimal time to apply it. If (like me!) you didn’t apply the gel to the fabrics ahead of time you can always apply the gel to your finished peg bag but it’s not as easy to get an even finish with the gel. Follow our Odicoat tutorial here.
2. Download & print the free peg bag pattern
Download a copy of the peg bag pattern here Please note, this pattern has been designed to print on A4 paper
I’d be thrilled to hear that you appreciate my work! I’d love it if you bought me a coffee to support my work if it has helped you ☕️
Print your pattern on A4 paper at 100%. Check the squares on the pattern measure 1in/ 2cm Tape it together in the following layout:
Check your coat hanger fits inside the top front pattern piece, remembering there is a 1cm seam allowance. Our pattern has been sized for these coat hangers[affiliate link]. If the “shoulders” of your coathanger are outside of the pattern, just trace around the coathanger shape, enduring you keep a horizontal line at the top of the pattern.
3. Cut & prepare your fabrics
You can block fuse the interfacing onto your exterior fabric and cut it out at the same time as the exterior fabric if you wish
Exterior Fabric A :
1 x back
1 x front top
1 x front bottom
Lining Fabric B:
1 x back
1 x front top
1 x front bottom
Interfacing
1 x back
1 x front top
1 x front bottom
Apply the interfacing to the wrong side of the exterior pieces following the manufacturer’s instruction if you have not block fused your interfacing.
4. Sew your pattern pieces
With RST sew the back exterior & lining panels at the top edge only with a ¼” seam allowance. Repeat for the front top panel & press seams open (using greaseproof paper as a barrier if you have used Odicoat) and fold along the seam line, fabrics wrong sides together. Press again.
Baste:For each pattern piece, baste the exterior and lining fabrics together with WST
5. Apply bias binding
Starting with the front bottom panel, apply the bias binding to the curved edge, leaving a bias binding overhang on each side. Repeat for the top front panel on the straight edge.
Once you have sewn the first bias stitching line it’s a good idea to back the curved edge close to the seam line with pinking shears to help the bias binding lie flat.
6. Assemble the peg bag
Lay your basted panels in the following order on your work table & pin/ clip around the exterior edge
Back panel exterior side up
Front bottom exterior side down
Front top exterior side down
Sew all the way the round edge of your peg bag ensuring you leave the gap at the top of the bag for your coat hanger to fit though that you stitched earlier. Backstitch over the bias binding ends a few times to reinforce the peg bag opening
Finish your internal seams with your preferred seam finishing method (we choose to overlock) See this post if you need more detailed instructions
Turn to the right side and press
7. Optional Odicoat
It is far better to apply the Odicoat gel before you start sewing, but sometimes life gets in the way of such forward planning! If you haven’t already & want to, apply the Odicoat gel to your finished project. Place a piece of greaseproof paper inside the peg bag to stop the gel going on the lining & between coats check the gel hasn’t pooled on the underside of the bag before letting it to dry, as per our full Odicoat tutorial here.
And you’re finished, well done!
Did this tutorial help you? If it did I’d appreciate it if you’d leave a comment or a ❤️ on this post to help other people find my work! And if you’d like to hear more from me I’d love it if you would subscribe below… thanks so much!
I’d be thrilled to hear that you appreciate my work! I’d love it if you bought me a coffee to support my work if it has helped you ☕️
To provide the best experiences, we use technologies like cookies to store and/or access device information. Consenting to these technologies will allow us to process data such as browsing behavior or unique IDs on this site. Not consenting or withdrawing consent, may adversely affect certain features and functions.
Functional Always active
The technical storage or access is strictly necessary for the legitimate purpose of enabling the use of a specific service explicitly requested by the subscriber or user, or for the sole purpose of carrying out the transmission of a communication over an electronic communications network.
Preferences
The technical storage or access is necessary for the legitimate purpose of storing preferences that are not requested by the subscriber or user.
Statistics
The technical storage or access that is used exclusively for statistical purposes.The technical storage or access that is used exclusively for anonymous statistical purposes. Without a subpoena, voluntary compliance on the part of your Internet Service Provider, or additional records from a third party, information stored or retrieved for this purpose alone cannot usually be used to identify you.
Marketing
The technical storage or access is required to create user profiles to send advertising, or to track the user on a website or across several websites for similar marketing purposes.