Our site is getting a makeover! Please bear with us whilst we make improvements

A Beginner’s Guide To Dressmaking Patterns

A Beginner’s Guide To Dressmaking Patterns

Are you intimidated by patterns? Not sure how to read a sewing pattern?

Confused by the back of the envelope? Not sure what the symbols mean?

We’ve got you covered!

Grab a cuppa, read on & let us demystify how to read a sewing pattern!


How to read a dressmaking pattern

How To Read A Sewing Pattern


To the uninitiated, a first glance at a sewing pattern can be daunting. Have a read through our top tips & feel more confident having a go!


How to read the back of a sewing pattern envelope


The back of the pattern envelope should be your first port of call.

It contains lots of essential information you will need to make your garment.

You’ll find fabric suggestions that will suit the pattern style, the amount of fabric you will need & all the required notions such as zips & buttons.

How to read the back of a pattern envelope

Inside the pattern envelope


Inside you’ll find various sheets of paper – these will you be your pattern pieces, your sewing instructions & also the pattern layout information to help you cut out your pattern pieces correctly.


Tips On Choosing Fabric


Choose a fabric that is mentioned in the “suggested fabrics” section on the outside of the pattern envelope.

If your chosen fabric has a pattern “direction” make sure you place your pattern pieces the correct way up or your fabric motif will appear upside down on your garment!


A Tip For Stripes – Make sure the stripes run the way you want them to in your finished garment when laying out your pattern pieces.

Motif Sizes – Ensure your fabric has appropriately sized motifs for your garment. For example, a child’s dress might look strange in a large statement floral fabric.

ALWAYS Pre-wash Your Fabric – Some fabrics will shrink. It is better to launder your fabrics first to save tears later! Wash your fabric how you intend to wash the finished garment.


Understand Sewing Pattern Symbols


Understanding Fabric Grain


Sewing patterns - The cutting line symbol


Sewing patterns - The fold line symbol

Understanding Sewing Pattern Symbols

Sewing patterns - The notches symbol
Sewing patterns - The Stitch line symbol
Sewing patterns - The Centre Front Line symbol
Sewing patterns - Darts symbol
Sewing patterns - Dots, squares, stars & triangle symbol

Understanding Sewing Pattern Symbols

Sewing patterns - Hip and Bust Point  symbol
Sewing patterns -  Adjustment Line symbol
Sewing patterns -  Button Hole Marking symbol
Sewing patterns -  Zip Marking symbol

Pattern Piece Layout


Your pattern will have a diagram similar to this which is showing you how to lay out your pattern pieces on your fabric.

Following this diagram will usually be the most economical layout when cutting your fabric.


There will usually be two layout guides – one for 44″ wide fabric & another for 60″ wide fabric.

Follow the appropriate layout for your chosen fabric’s width. There may also be a layout guide for your interfacing pieces.

Looking more closely at the diagram above you will see that pattern piece (2) needs to be cut twice as it appears twice on the cutting diagram. Once the pattern piece is cut with the right side facing up, the second time it is cut with the pattern piece facing down.

Can you see where this pattern piece is shaded by the dots? This indicates the pattern piece should be laid face down on your fabric. The unshaded pieces indicates your pattern piece is face up.

Pattern piece (1) is placed on the fabric fold – we will end up with 1 pattern piece double the size of the paper pattern piece.

Pattern piece (4) indicates only one thickness of fabric – can you see how the selvedges aren’t aligned? Again – pattern piece (4) is cut twice – once with the pattern piece is right side up and then once with the pattern piece right side down – remember the dots?

Never miss another tutorial or guide…

Stay up to date with the latest by signing up to our newsletter!

Click to join our mailing list!

https://www.instagram.com/plushaddict/

How To Use Bondaweb

How To Use Bondaweb

Imagine Bondaweb as the superhero of fabric glue, not your average, garden-variety adhesive. This bad boy is like double-sided sticky tape’s cooler, tougher cousin, ready to weld your fabrics together with the finesse of a seasoned blacksmith.

Let’s talk perks of Bondaweb, shall we?

  • This wonder adhesive plays it cool, literally. It won’t get clingy until you bring the heat.
  • Toss it in the wash at up to 60 degrees or give it a spa day with a dry clean. Bondaweb can handle it.
  • Dreaming of flawless appliqué? Bondaweb’s got your back. But hey, if appliqué’s not your jam, we’ve got a Pinwheel project that might just tickle your fancy.
  • Snip and clip those appliqué designs with the precision of a ninja, all thanks to Bondaweb’s stabilizing mojo.
  • That backing paper? It’s not just for show. Sketch your heart out, trace like a pro, and plot your world domination in pencil.

Words of Wisdom Before You Dive In:

  • Do a test run on some fabric scraps. Trust us, it’s better than a “whoops” moment on the real deal.

  • Pay attention, folks. Misuse Bondaweb and you’ll have a sticky mess with your iron and ironing board.

  • Your fabric needs to take the heat. If it can’t handle iron setting 3, it’s not the stage for Bondaweb’s talents.

Gather Your Arsenal:

  • Bondaweb

  • Cotton fabric

  • Thread

  • Pencil

Step-by-Step Instructions

  1. For appliqué: Trace or draw around your design onto the smooth side of the Bondaweb using a pencil.

Important Note: Trace as a mirror image or the finished design will end up the wrong way round.

2. For appliqué: Rough cut around each shape, leaving a small border.

3. Spread a smooth-surfaced tea towel/ spare length of cotton over an ironing board.

4. Lay the fabric wrong side up on the ironing board.

5. Place the Bondaweb on top of the fabric rough side down. For appliqué: align the object with the grain.

6. Lay a smooth-surfaced tea towel/ spare length of cotton over the top and press for roughly 5 seconds, heat setting 2, no steam.

Then wait at least 30 minutes for the Bondaweb to cool and the glue to set.

7. Cut out the shape/ fabric accurately, cutting small details is easier with fine scissors or a small rotary cutter and cutting mat.

8. Peel off the backing paper and position the shape/ fabric onto the mount/ backing fabric.

9. Place right side up on a covered ironing board. Lay a smooth surfaced tea towel/ spare length of cotton over the top.

10. Dampen the cover fabric using the iron’s spray setting and press for roughly 10 seconds, heat setting 3.

Allow at least 30 minutes for the Bondaweb to cool and the glue to set.

11. For Appliqué: Sew around the edge of the shape and around any cut out elements (for example the centre of letters), 2mm from the edge.

(Hand sewn blanket stitch or machine zig zag stitch overlapping the edge of the letter and the surrounding fabric can also be used (length 0.5 to 1, width 3 to 4 depending on the finish required).

Trouble Shooting Tips For Bondaweb

If you find things aren’t going as smoothly as you’d hoped with Bondaweb here are some trouble shooting tips that might help:

  1. The Sticky Situation: If Bondaweb isn’t adhering properly, it’s probably playing hard to get. Solution: Check your iron’s heat setting. Bondaweb likes it hot, but not too hot. Ensure it’s on the correct setting (usually medium or as the Bondaweb instructions specify). Give it a little more time under the iron, but don’t get too steamy; moisture is not our friend here.
  2. Paper Won’t Peel Off: So, the backing paper decided it’s too attached to leave? Solution: Let it cool down more. If it’s still being clingy, gently score the edge with a pin to get the peeling started. Sometimes, all it needs is a little nudge.
  3. Bubbles and Wrinkles: Ended up with a Bondaweb masterpiece that looks more like a prune? Solution: This is usually a sign of too much heat or too much enthusiasm with the iron. Next time, use a gentle touch and ensure even heat. To fix, gently reheat the area and smooth out the wrinkles with the back of a spoon or re-iron with a protective cloth.
  4. It Stuck to the Iron/Ironing Board: Oops, went a bit rogue and missed the protective layer? Solution: Unplug the iron and let it cool. For the iron, use a dedicated iron cleaner or a soft cloth with vinegar (once it’s cool, of course). For the ironing board, gently scrape off what you can and cover the area with a cloth when ironing in the future.
  5. Fabric Discoloration: Your fabric lost its glow-up after Bondawebbing? Solution: This can happen with too much heat or incompatible fabric. Always test on a scrap first. If disaster strikes, consider covering the spot with an appliqué or decorative element. Remember, it’s not a mistake; it’s a creative opportunity.
  6. The Fabric Won’t Stick Together: If your fabrics are social distancing despite the Bondaweb, Solution: Check if you’ve applied it to the correct side and that you’ve used enough heat. Some fabrics are more stubborn than a cat in a bath. If it’s still not sticking, double-check that your Bondaweb isn’t past its prime. Yes, even adhesives have a shelf life.
  7. Changed Your Mind? If you’ve bonded something and then decided it’s all wrong, Solution: Bondaweb is pretty much a ’til death do us part’ situation once it’s set. However, you can sometimes gently reheat and carefully separate the fabrics. Be warned, it’s a delicate operation and might not always work. Consider this a lesson in commitment.

Remember, crafting is about the journey, not just crossing the finish line. Every misstep is a step towards mastering your craft! Embrace the chaos, learn from the Bondaweb battles, and keep on creating…

Did this guide help you? If it did I’d appreciate it if you’d leave a comment or a ❤️ on this post to help other people find my work! And if you’d like to hear more from me I’d love it if you would subscribe below… thanks so much!

3 Project Ideas Using Beguiled by Libs Elliott

3 Project Ideas Using Beguiled by Libs Elliott

Libs Elliott's Beguiled fabric collection offers vibrant and unique designs, perfect for a variety of sewing projects. In this post, we showcase three creative ideas to inspire your next creation: a clear PVC vinyl zipper pouch, an eye mask, and the spacious Ella pouch. Each project includes detailed tutorials to guide you through the process. Dive into these fun and functional projects and add a touch of Beguiled to your handmade collection.

This post will be updated soon, please check back shortly

Learn All About Insul-Bright

Learn All About Insul-Bright

What is Insul-Bright?

Is your next project too hot to handle or too cold to hold? What you need is Insul-Bright! Learn all about Insul-Bright in this tutorial.

Insul-Bright is an insulated wadding that keeps hot things hot and cold things cold. It is made from metalised polyester film, with Polyester fibres needled through it. The polyester film reflects energy, hot or cold. The needled material is breathable and the fibres help resist conduction. You can use it for a variety of simple yet practical projects for the family and the home.

(more…)
11 Tips For Sewing With PVC Vinyl Fabric

11 Tips For Sewing With PVC Vinyl Fabric

Hands up if you knew we stock PVC vinyl… This fabric can be a little sticky to handle… Read on for our top tips on sewing with PVC Vinyl Fabric

PVC vinyl is such a versatile fabric with a variety of finishing options…

There’s often a little touch on a project where a transparent fabric could finish it off to perfection; Little ‘glass’ panes in windows, a clear tab to hold an ID tag, a bag you can glance the contents of, an apron that doesn’t hide your outfit… there are so many uses big and small.

So here you have it, a comprehensive guide to sewing with PVC vinyl.

11 tips for sewing clear vinyl


(more…)

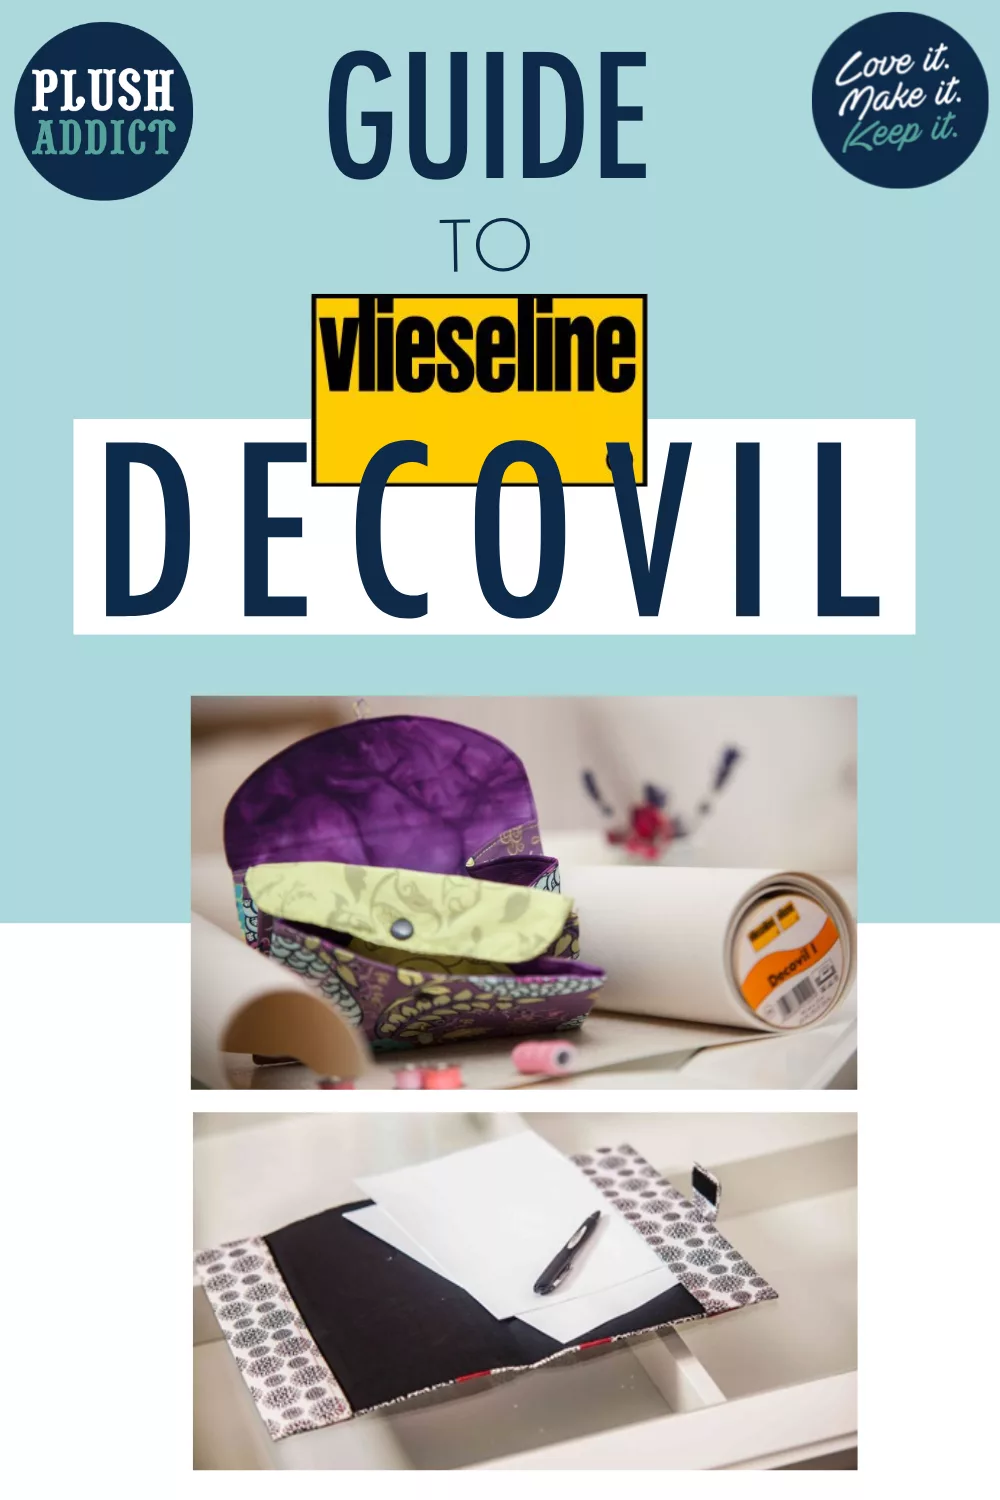
What is Vlieseline Decovil Interlining?

What is Vlieseline Decovil Interlining?

Have you heard of Vlieseline Decovil? Wondering what this interlining can be used for? Our product guide will explain what Decovil Interlining is, how to apply it, and what projects it’s best suited for.

Vlieseline have a HUGE range of interlinings & interfacings that can add structure to your projects (you can explore the full range of Vlieseline products in our online haberdashery here) .

Say hello to Vlieseline Decovil!

Decovil is part of the Vlieseline Creative Range and it’s an interlining which adds amazing structure & strength to projects, whilst keeping your project light, pliable & crisp.

It feels like leather to the touch, but it has the added bonus that it’s easier to sew than leather – happy days!

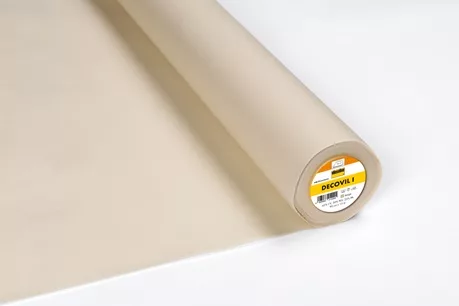
Decovil Interlining

One side of Decovil is shiny and the other side is matt. The shiny side is adhesive and can be adhered onto fabric using an iron & a damp cloth – this is super handy so you don’t have to sew in the Decovil to your fabric.

Decovil is available in 2 weight options

Decovil I is the “original” Decovil interfacing- it’s thicker and heavier. Great for things like bag bottoms, storage boxes, zipper pouches etc…

Decovil Light, as the name suggests, is a lighter weight & thinner version of the original Decovil. It’s also softer.

Which to choose? Depending on your project and desired outcome but if, for example, you were making a bag you might choose to use Decovil I for the main body of your bag but for the bag handles choose Decovil I Light because you have a lot of layers to sew through.

Check out this little video which will hopefully give you an idea about how Decovil handles and moves

Never miss a guide or tutorial

Click to join our mailing list!

The Benefits of Decovil Interlining

We’re a little bit in love with Decovil here at Plush Addict! Here’s some reasons why


  • It’s resistant to tearing and bending
  • Decovil gives structure
  • Gives a smooth, sleek finish
  • It’s Easy to shape
  • Decovil doesn’t crease easily – and if it does, it’s easy to restore
  • Helps reduce fraying
  • Adds durability to your project
  • Decovil can be pierced
  • It sews easily
  • Has a fusible coating on one side
  • It’s washable at 30 degrees

Check out our The Ultimate Vlieseline At-A-Glance Guide for more info on Vliseline’s Interfacings

When To Use Decovil

Decovil is really versatile but to give you an idea, you can use it in projects such as  

  • Placemats
  • Bags
  • Belts
  • Book & Notebook Covers
  • Zipper Pouches
  • Hats
  • Interior decorations
  • Small baskets

Decovil also makes a great alternative to wadding if you’re making placemats and gives a smooth and sleek look to the finished item. Check out our video:

Check out the suggestions on the Vlieseline site below for some free projects using Decovil

How to apply Decovil


It’s a cinch! Applying Decovil will be familiar – it’s very similar to applying other types of interlining and interfacing: 


  1. Spread a smooth surfaced tea towel/ spare length of cotton over an ironing board
  2. Place your outer fabric  right side down
  3. Position the Decovil shiny side down so it is on top of the wrong side of your fabric
  4. Cover with a damp cloth and press for roughly 6 seconds
  5. Allow the adhesive to cool and cure for a minimum of 30 minutes to allow the adhesive to stick properly

Grab a cheeky 10% discount on your next Decovil purchase with DECOVIL10One time use per customer.

Projects Ideas Using Decovil

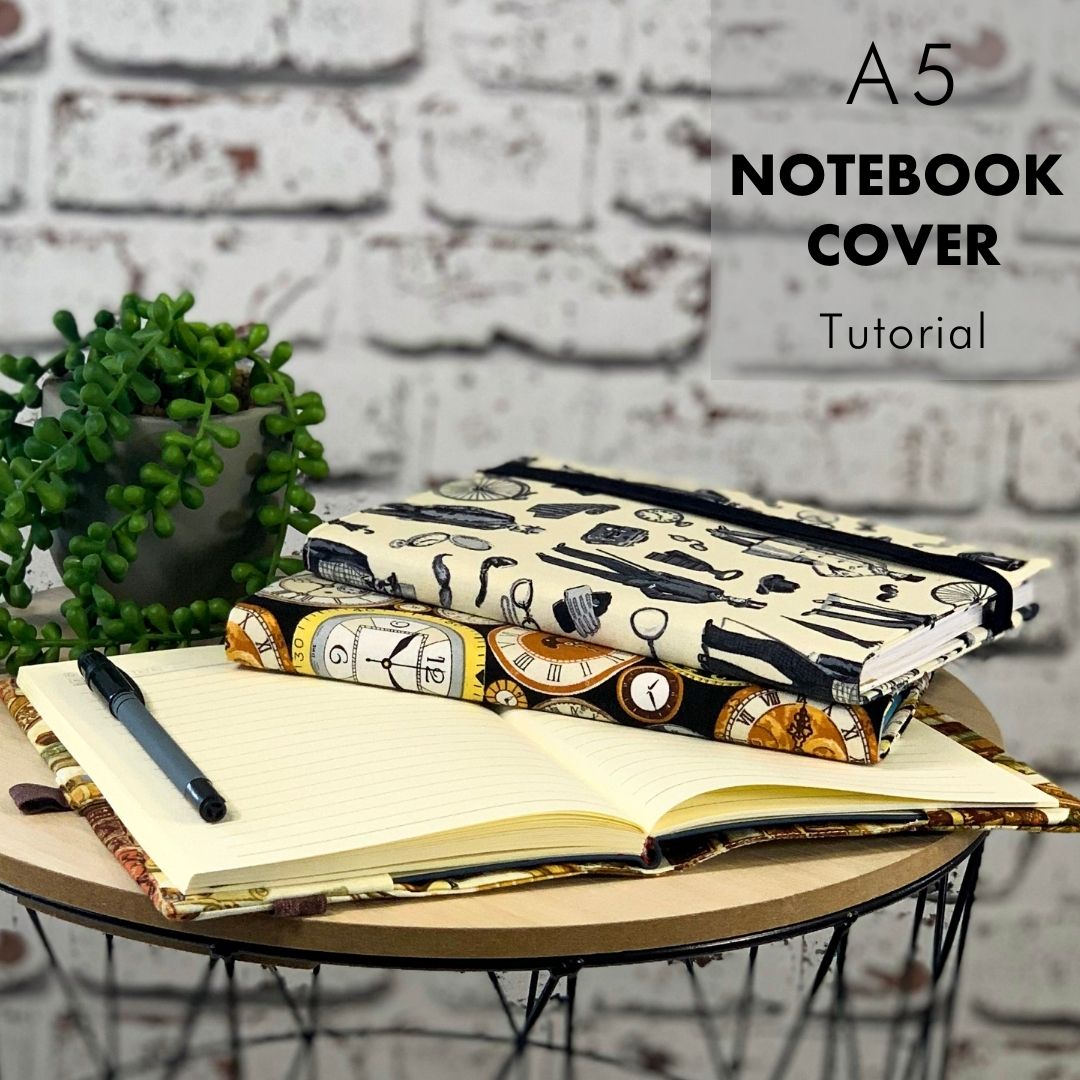
Check out our Free notebook project which uses Decovil here

The Vlieseline Blog has some fab & FREE tutorials using the Decovil range. 

Have a nosy at: 

On The Go Multi Bag free project using Decovil from Vlieseline

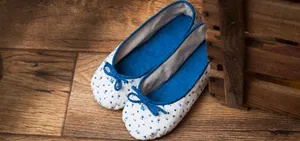
Slippers free project using Decovil from Vlieseline

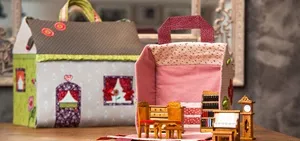
A Doll’s House free project using Decovil from Vlieseline

Clam Shell Wedding Favours free project using Decovil from Vlieseline

Other Useful Info About Vlieseline Decovil

If you’re not planning on laundering your project,  Decovil can be painted! Use watered down acrylic paint and be sure to paint on the matt side

Decovil can also be painted using fabric dye on the adhesive (shiny) side. Watch out here though –  the nature of the fibres may well cause dye to spread from the point where it is applied. Make sure you test before hand… 

Want to try Decovil for the first time?

Grab a cheeky 10% discount on your next Decovil purchase with DECOVIL10. One time use per customer.

PIN ME FOR LATER!