Our site is getting a makeover! Please bear with us whilst we make improvements

What is Manilla Pattern Card?

What is Manilla Pattern Card?

Ever heard of manilla pattern card and wondered what it is, and how it’s used in the sewing industry?

This special card is used extensively by industry professionals, pattern cutters, dressmakers & couture houses alike. It is specifically manufactured for making dressmaking pattern pieces and pattern cutting blocks more durable.

But why leave this amazing product for the professionals to benefit from when the home sewist can find so many uses for it?!

If you have a “Tried & Tested” dressmaking pattern you might want to consider investing in some Manila pattern card to preserve the life of your perfect pattern pieces, as well as making them easier for you to trace around.

If you are pattern cutting at home or tracing standard blocks, using this card means they can your pattern pieces be used over and again as a starting point for all basic garments.

Although we are focussing on dressmaking patterns here, this versatile card can be used for any of your sewing patterns… Think bag patterns, pouch patterns, bib patterns toy patterns… In fact, ANY pattern that you find yourself using time and time again would benefit from being traced on to this card.

In this guide we’ll not only give you the low down about this Pro-Product, but we’ll also walk you through two ways you can trace off and preserve one of your beloved patterns on to this useful card.

What is Manilla Pattern Making Card?

Used in garment making and pattern cutting, this card is thick & weighty enough to lay flat when cutting patterns. No pins are needed and minimal pattern weights are required, so it saves time in the long run.

Even though it’s durable, this card is also thin & lightweight enough to cut, fold, roll and store easily at home.

It is made by gluing 2 sheets of manilla card together once manufactured. This gives the card a smooth, firm and hard wearing surface and a clean tracing edge on pattern pieces & blocks.

What are the benefits of using pattern template card?

    • Tracing patterns on to manilla card will preserve the longevity of your sewing patterns that can get easily damaged through repeated use
    • Save time when tracing or cutting patterns as pins are not required
    • You get a sharp edge on your pattern piece to trace around making it easier with a rotary cutter or fabric pen

    How to preserve a dressmaking pattern

    How to preserve a dressmaking pattern

    Boring Legal Bit: If you follow any tutorial or guidance found in this post, or on this blog, you agree to be bound by our disclaimer which can be viewed here

    You Will Need:

    New to dressmaking? Why not check out our Beginner’s Guide to Reading Dressmaking Patterns Post

    How to Transfer a Pattern On To Pattern Card


    Method 1: Use Pattern Weights

    This method is particularly useful for preserving basic core pattern blocks, that will be traced around many times

    1) Cut out your pattern piece on to pattern tracing paper, including any marks, dots and notches. Swedish Tracing Paper is ideal to use here

    2) Lay the pattern piece flat on top of the card, using pattern weights. It needs to be completely flat so you may want to press it before proceeding.

    3) Trace around all edges and markings of your pattern piece, using a long ruler or french curve to ensure you are creating accurate lines.

    5) Remove the pattern piece, and cut around your new card pattern. Transfer any markings, such as notches and dots, using an awl to create holes for dots or things like dart points, and snips or a pattern notcher for notches. 

    Have you seen our Swedish Tracing Paper Guide? It’s pattern paper you can sew! Check out this post for more info

    6) Your card pattern pieces can now be used with pattern weights and a rotary cutter to directly cut out your fabric.

    Or you can trace around them to quickly create markings for your basic block on paper, which can then be adapted to make a new pattern design.

    Use a hole punch to create a hole in the pattern piece, and you can store them on thread, string or a wire hook to hang them on a rail.

    Method 2: use Glue


    In this method you glue your pattern piece to the card and then cut round the edge. All of your pattern markings will already be visible for the original pattern piece

    1) Using a glue stick (ideally a fairly ‘dry’ glue that isn’t too wet and won’t cause your pattern to wrinkle) or a spray adhesive stick your paper pattern to the pattern card.

    You can either cut out and stick down the entire pattern sheet, or do it piece by piece. You will get a neater result sticking the pattern down as a full sheet. 

    Cut out and stick down the entire pattern sheet

    2) Cut out the pattern pieces from your card and transfer any markings, such as notches and dots. Use an awl to create holes for dots or things like dart points, and snips or a pattern notcher for notches. 

    Cut out the pattern pieces from your card and transfer any markings, such as notches and dots.

    3) Your card pattern pieces can now be used with pattern weights and a rotary cutter to directly cut out your fabric.

    And you’re done!

    We hope your found this product guide and tutorial on how to preserve a pattern on manilla card helpful

    Never miss a guide or tutorial

    Click to join our mailing list!

    What is Swedish Tracing Paper and How Do You Use It?

    What is Swedish Tracing Paper and How Do You Use It?

    Swedish Tracing Paper is a type of dressmaking pattern tracing paper that is fairly translucent, drapeable and best of all – it’s pattern paper that is sewable! This makes it an incredible choice for making muslins or toiles whilst dressmaking.

    In this guide we’re going to talk you through the product, as well as offer a tutorial on how to use this amazing dressmaking pattern paper & how using it can save you both time AND fabric!

    What is Swedish Tracing Paper?


    Unlike conventional pattern drafting paper that can tear or crumple easily, Swedish tracing paper can be used to

    • Trace dressmaking patterns
    • Alter patterns
    • Sew pattern pieces traced on to Swedish Tracing Paper together to make a muslin & get an idea of fit
    • Easily mark pattern alterations on to

    It’s super useful and will save you time and fabric! You could easily skip making a muslin or toile from Calico fabric and use Swedish Tracing Paper instead.

    Just a heads up! Some of the links in this post are affiliate links. That means we may earn a small commission - at no extra cost to you - if you make a purchase through them. It’s a little way you can support us and help keep all this awesome content free. Thanks for supporting us! Please read our full disclaimer here 

    What is Swedish Tracing Paper made from?

    Swedish tracing paper is made from eco-friendly abaca fibres, making it compostable & environmentally friendly. The tightly packed, jumbled fibres make it more tear-resistant than regular pattern paper yet it’s still translucent enough to see through for tracing .

    You can sew Swedish tracing paper in the same way you would sew regular ‘muslin’ fabrics using a universal needle and thread.

    You can baste your traced pattern pieces together with a long stitch on your sewing machine. Once sewn you can easily mark any fit alterations on your pattern pieces in pencil. After that you can unpick the seams to adjust and retrace the pattern pieces!


    Looking to expand your fabric knowledge?

    Check out our Fabric Guides for tips on working with all types of fabric

    How to use Swedish Tracing Paper to trace a pattern

    You Will Need:

    Make it even easier with…

    1. First, lay the pattern pieces you want to trace on a flat surface.

    You may wish to dry iron them first so they lay completely flat for the most accurate trace.

    Place your Swedish Tracing Paper on top.

    You do not need to use a light box or a window to trace through as Swedish Tracing Paper is translucent enough to see even fairly fine lines through.

    2. You can use pattern weights or pins to hold the tracing paper over the pattern pieces as it can have a tendency to curl away slightly.

    If you find your tracing paper gets a little crumpled or creased, iron it on a silk or cool setting and a pressing cloth. 

    3. To trace off a master copy of any pattern simply trace over your desired sizes, markings & labels on your pattern pieces.

    Swedish tracing paper is easy to mark with pencil, pen or even chalk, but pencil is easiest to remark and remove if you make a mistake.

    4. Next, cut around the edge of your pattern with paper scissors and mark with your awl all the markings (eg circle markings for bust points) & a pattern notcher for the notches, if you have one.

    5. Either use your traced pattern straight away, or sew together using a basting stitch.

    Once basted you can then try on your pattern for size!

    Mark any adjustments you need to make & alter the pattern piece as required.

    Retrace the pattern piece to try again.  

    6. You can use the pattern pieces you create from Swedish tracing paper as you would normal paper pattern pieces

    Then, simply pin or use pattern weights when cutting out, but they are much more durable in use. For those of us who find the perfect pattern we want to make a time & time again – no more pin marked and destroyed paper pattern pieces!

    Want More Sewing Know-How?

    Sewing and Handling Tips


    • Needle – Universal machine needles work well for running a simple tacking stitch
    • Thread – A polyester thread works best for creating muslins, as it does not snap easily and is smooth for easy removal.
    • Sewing – Use a long, basting stitch length.

    We hope you found this product guide helpful…. Do let us know what you thought in the comments – I’d love to hear from you!

    What are Continuous Zips? A Product Guide

    What are Continuous Zips? A Product Guide

    Ever wondered what a continuous zip is?

    Does adding a zip pull to zip tape seem daunting?

    We’re here to help!

    Here at Plush Addict we offer a huuuuge selection of zips for sewing to help your projects achieve the look you dreamt of!


    How to use continuous zips?

    Boring Legal Bit: If you follow any tutorial or guidance found in this post, or on this blog, you agree to be bound by our disclaimer which can be viewed here

    With zipper tape choices ranging from rainbow to block colour… flat to flowery zip pulls, we’re sure to have something for your next project.

    Read on for more info about what a continuous zip is, and why you might want to use one instead of a regular zip

    Then… see our tutorial on how to add zip pulls to continuous zip tape… We’ve provided you with a photo tutorial, as well as a video demo at the end…


    Continuous Zips Video Guide

    What is a continuous zip?


    Continuous zips differ from others in that the zipper tape is sold by the metre, without zip pulls. This means you are able cut your zip to ANY size you like. It also means you can add TWO zipper pulls, cos… ya know… you have to love that look.


    Pouch with continuous zips

    What are the benefits of a continuous zip?


    Waste less: As you just use the amount of zip tape you need there is an environmental benefit to continuous zipper tape; with a little planning waste can be kept to a minimum and a length, with enough pulls ordered, can become multiple zips.

    Any length: Cutting zip tape to size means you can have REALLY long zips!

    Multiple zip pulls: It also means you can add TWO zipper pulls to your tape, giving you a funky zip just like this one

    Greater personalisation – you can mix and match the zip tape and zip pulls to your heart’s desire


    Looking for info on other zip types? Then check out our Zip Types Guide Post

    Photo Tutorial: How To Attach Zipper Pulls to Zipper Tape


    How to use continuous zips photo tutorial


    You will need:

    We used:


    Important notes

    • Some zip tape comes with a pull/ slider, check the item description for details.
    • When ordering zip pulls check they correspond with the tape size/ brand being purchased.

    Method

    1. Cut the tape to the required length. Use domestic scissors to cut through the teeth.


    2. Pull the bottom 10cm of the zipper teeth apart.


    3. With the back of the zip pull and back of the tape facing upwards thread 1 end of the tape into the zipper from the top. To make this easier angle the teeth into the pull from the side.


    4. Repeat step 4. on the other side. Both sets of teeth want to sit toward the top of the clasp.

    4. Repeat step 4. on the other side. Both sets of teeth want to sit toward the top of the clasp.

    5. Keeping the 2 sides of teeth level with each other, hold the zip pull between one finger/ thumb then draw the 2 sides of the tape down through the pull with the other hand. The zip pull should then begin to move up the tape.

    Alternatively, you may find it easier to place the zipper pull between the prongs of a fork (check out the video below!)

    draw the 2 sides of the tape down through the pull

    Never miss a guide or tutorial

    Click to join our mailing list!

    6. Slide the pull toward the top of the tape (without coming off the other end) then pull it back down to check the zip works.

    7. If 2 zip pulls are required, repeat steps 1. To 5. from the other end of the tape.

    And you’re done!


    Handy Hint


    If you find yourself struggling using this method try using a fork to hold the zip pull for you: tuck the bar of the zip between the central teeth (not the clasp where the teeth need to go).

    …And if your fork won’t stay still; hold it steady with a blob of blue-tack.

    Video Tutorial: How To Attach Zipper Pulls to Zipper Tape

    Check out our video on how to attach zipper pulls to continuous zipper tape

    Want to learn how to sew a zip in?


    Find our tutorial on the blog where you can learn how to sew a cushion with piping and a zip or why not try making this reading cushion?


    We hope you found this tutorial useful!

    Let us know how you get along in the comments below 🙂

    Never miss a guide or tutorial

    Click to join our mailing list!

    Follow Plush Addict on social media and keep an eye out for more tutorials!
    13 Tips For Sewing With Bamboo Towelling Fabric

    13 Tips For Sewing With Bamboo Towelling Fabric

    Bamboo is one of the most sustainable sources on the planet, but did you know that it can be used to produce a soft, strong and eco-friendly textile that is perfect for keeping cosy, mopping up spills and a variety of re-usable projects?!

    Non? Well!  In this guide we’ll be talking aaalllll about bamboo towelling fabric, sharing how this super-fabric is made and giving you 13 sewing tips for handling this fluffy little fella of a fabric…

    (more…)
    Learn All About Digital Print Fabric

    Learn All About Digital Print Fabric


    Have you ever heard that digital printing on fabric is more eco friendly?!

    Were you curious about Digital Print Fabric & wondered what it even is?

    We’re here to help! Grab a coffee & learn all about digital print fabric and the print industry!

    Digital Print Fabric

    So what’s the explanation for this method being more environmentally friendly…

    It’s all about energy consumption!

    Digitally printed fabrics can be less wasteful than screen printed fabrics because the printing process involves:

      • Minimised ink usage

      • Less water is used due to screens not needing to be washed between colours 

      • Smaller print runs are possible

      • Reduction in unnecessary waste is likely 

    All of this combined means that less energy is used, resulting in a smaller environmental impact.

    It all contributes, every little bit helps!

    digitally printed fabric


    Fabrics that have been printed using a digital fabric printed DO indeed look different from other printing methods in textile manufacturing, that are traditionally seen in the textile industry… the colours ARE brighter… the images ARE sharper and as a matter of fact the print can often look photographic!

    This vibrancy is achieved because the printer and printing inks used are similar to an inkjet printer like you use at home (albeit a LOT bigger!).

    As well as more colours being used to create some visually VIVID fabric!

    Digital fabric is precise & consistent much like screen printing allowing for printing machines to create sharper edges.

    Ink jet is also less likely to bleed – giving you the crisp AND the sharp!

    digital fabric is precise and consistent


    Have you considered trying digital printed fabric before? 

    We’d love to hear your thoughts on this fabric!


    The Ultimate Guide To Hand and Machine Sewing Needles

    The Ultimate Guide To Hand and Machine Sewing Needles

    Tired of confusing needle types and struggling to understand needle size charts? Ringing a bell seam-star?

    Well, the good thing is you’re not the only one! It can be suuuper duper confusing, especially if you’ve recently started sewing.

    But every day is a school day, which is why we’ve put together a comprehensive guide to sewing needles to help you navigate the world of BOTH machine & hand sewing needles.

    Or if you’re a seasoned seam-star this is a great refresher to brush up on your knowledge.

    At Plush Addict we have an incredibly well stocked, extensive range in our online haberdashery and needles are no exception!

    We stock a variety of types, sizes and brands of hand sewing and machine sewing needles.

    We realise that all of this choice can be confusing to the uninitiated Seam-Star so we hope you find this Ultimate Guide To Needles valuable when making the right needle choice for your next sewing project.

    Choosing The Correct Sewing Machine Needle

    Sewing machine needle sizes – let’s demystify those numbers!

    Have you ever wondered why sewing machine needles have two numbers on either side of a slash?

    You might see something like 90/14 or 80/12 on a machine needle and wonder what those numbers mean….

    This part isn’t tricky – these numbers reference the European and American needle size systems. The higher number is European and the smaller number is American.

    Longarm needles tend to have 3 numbers, both European and American as well as the Longarm sizes.

    But what do sewing machine needle numbers mean you may ask?!

    When it comes to sewing machine needles, remember – the bigger the number the bigger the needle

    As a general rule of thumb

    The finer/ lighter your fabric, the lower the needle number you need & vice versa – the thicker & heavier your fabric the higher the number needle you need.

    Here are some example fabrics and the needle size you might consider. Fabric weights can vary extensively so the ideal needle size can vary between the same fabric type. If in doubt – sew a test on some off cuts of your fabric

    • Cotton Lawn – 70/10
    • Quilting cotton – 80/12
    • Denim – 90/12

    Remember the thread on a sewing machine must sit fully in the groove of the needle without any movement on either side. This ensures the thread doesn’t unravel or shred. However, the eye of the needle must be large enough for the thread to pass through with minimal friction. 

    We’ve made a sewing needle size chart below. So remember to come back to it if you ever need a hand choosing needles.

    Sewing Machine Needle Sizes

    European SizesAmerican Sizes
    608
    7010
    7511
    8012
    9014
    10016
    11018
    12020
    13022

    Top Trouble Shooting Tip: When your sewing machine drops or skips stitches, it’s often caused by a damaged needle, or occasionally a mismatch between the size of the thread and the needle. Try changing your needle, this often fixes the problem!

    Different Types Of Sewing Machine Needles

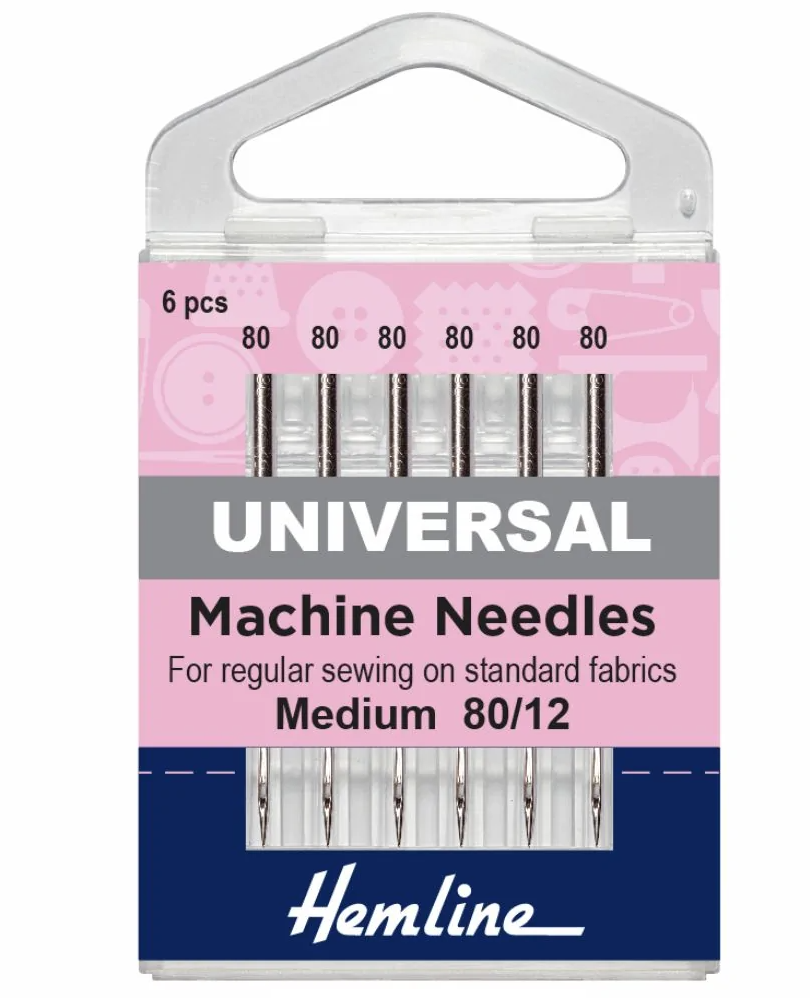
    Universal Needles:

    Universal needles aren’t as sharp as other regular needles. They are tapered allowing them to slide through the fabric without pulling threads on the weave.

    They’re usually suitable for most types of fabric and are a good all-rounder to have on hand in your sewing stash

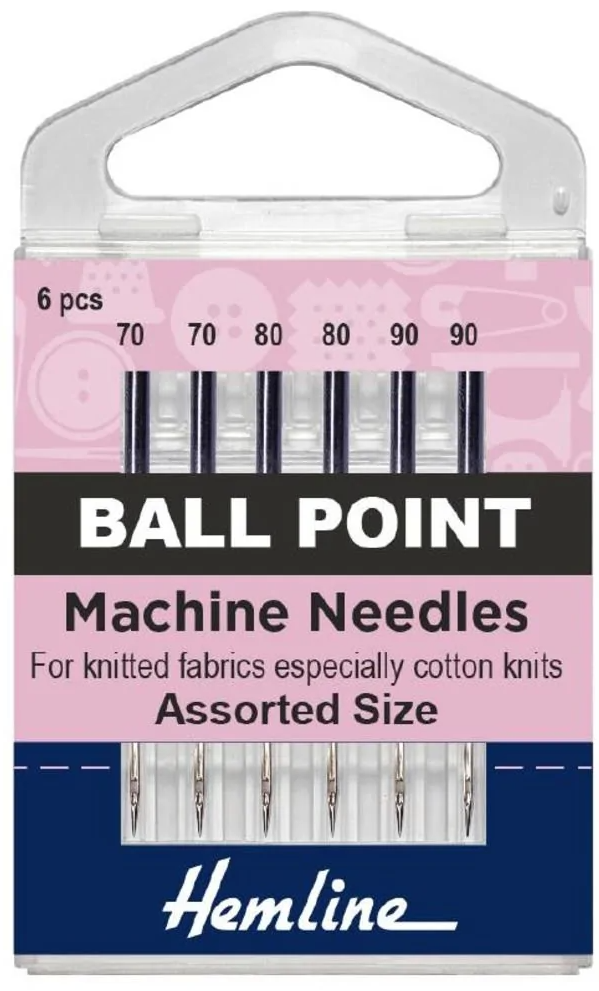
    Ballpoint Needles:

    With a rounded tip, ballpoint needles are designed to be used on jersey & stretch fabrics. The slightly rounded point gives ballpoint needles their name, and means the needle finds its way between the fabric fibres and avoids leaving behind a hole!

    Embroidery Needles:

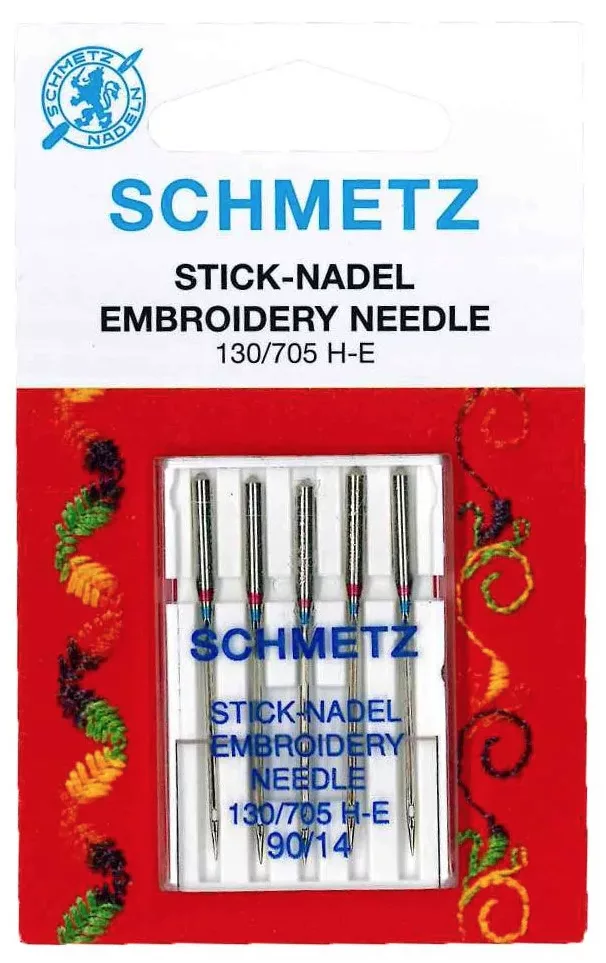
    Embroidery needles are special needles that have a big eye, are polished and are designed for rayon and polyester machine embroidery threads. Have you seen how fast an embroidery machine needle can move in full swing? You want to make sure you’re using the right needle for the right job here…

    Metallic Needles:

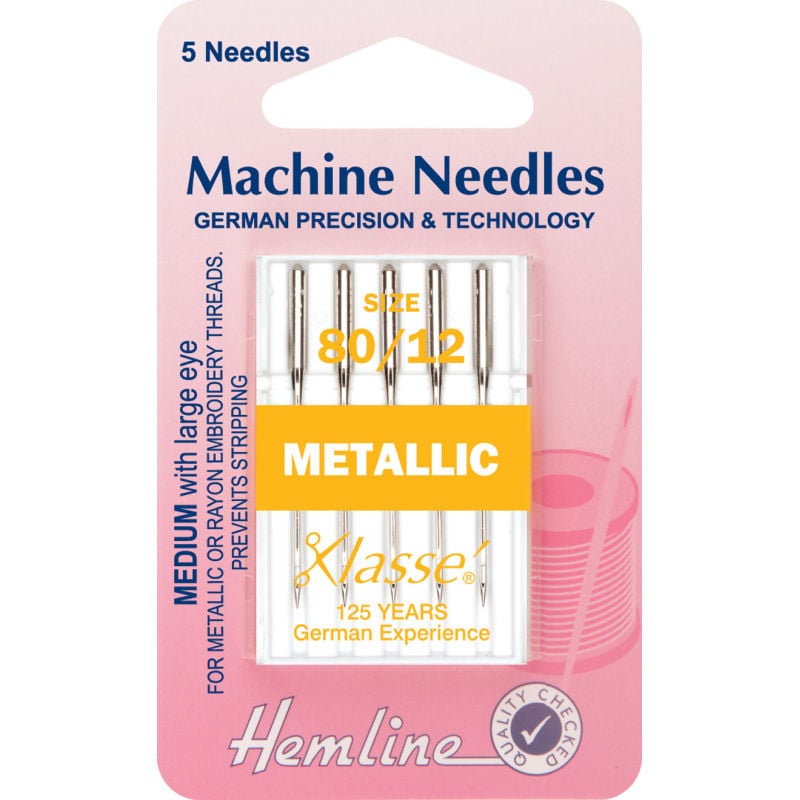
    Using metallic needles are the best choice when sewing metallic thread. Metallic needles have an enlarged, polished eye to prevent shredding and or splitting of this specialist thread.

    Quilting Needles:

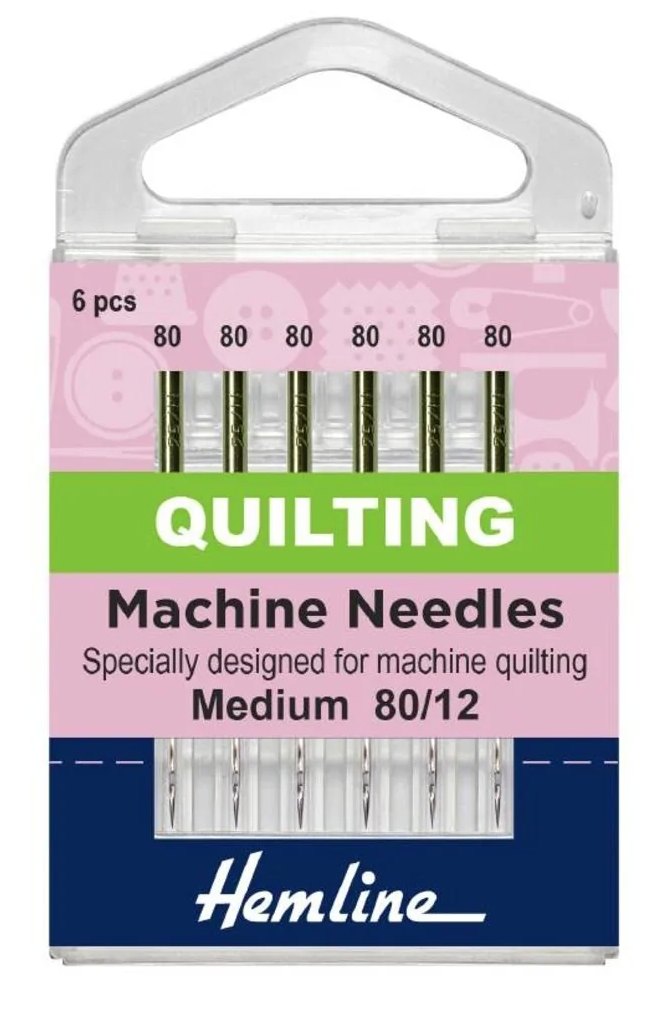
    Quilting needles for….. quilting! Featuring a strong, tapered shaft these needles have the ability to sew through multiple layers without breaking.

    Ideal for those thick quilts and fluffy wadding!

    Topstitch Needles:

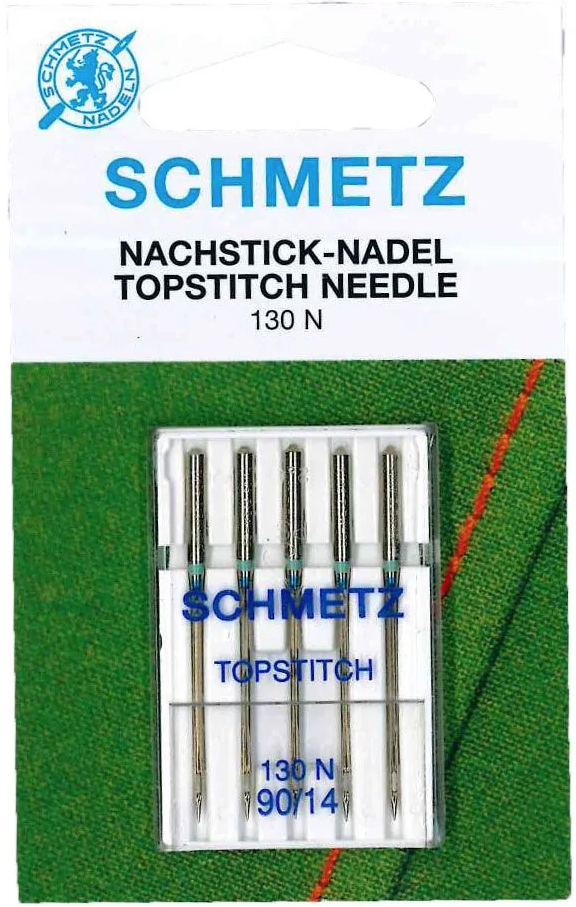
    Topstitch needles tend to have a very sharp point allowing for precise, neat stitches.

    They are ideal for woven fabric and they also have long eyes and grooves for thicker topstitch threads.

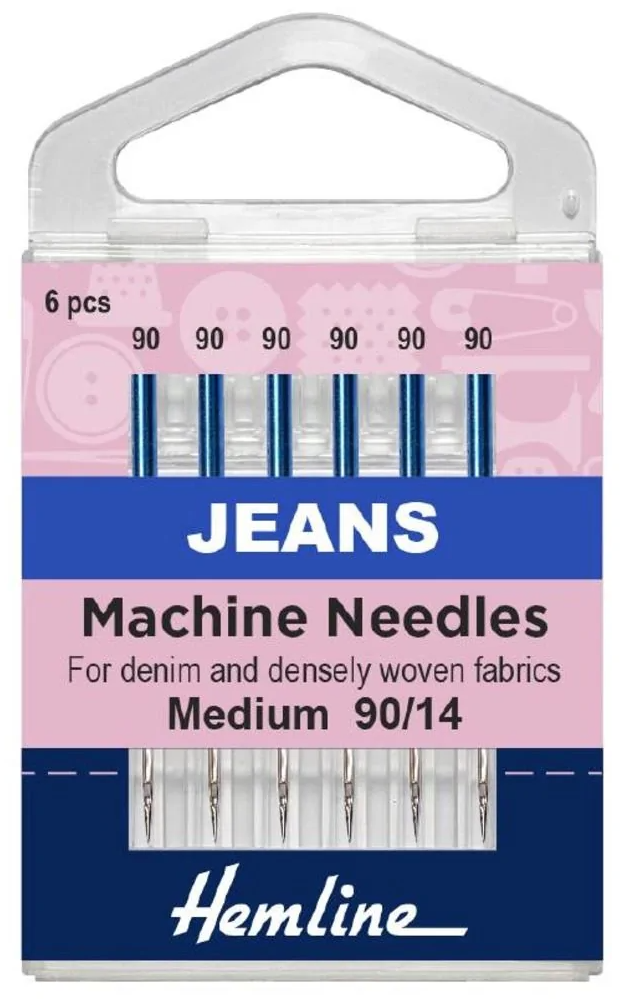
    Denim Needles:

    Denim Needles, also sold as Jeans Needles, are more heavy-duty than many other needles and are designed to be used with denim. These bad boys can cope with multiple layers of heavy denim fabric.

    These needles are also a good choice for other heavy weight fabrics, like canvas.

    Leather Needles:

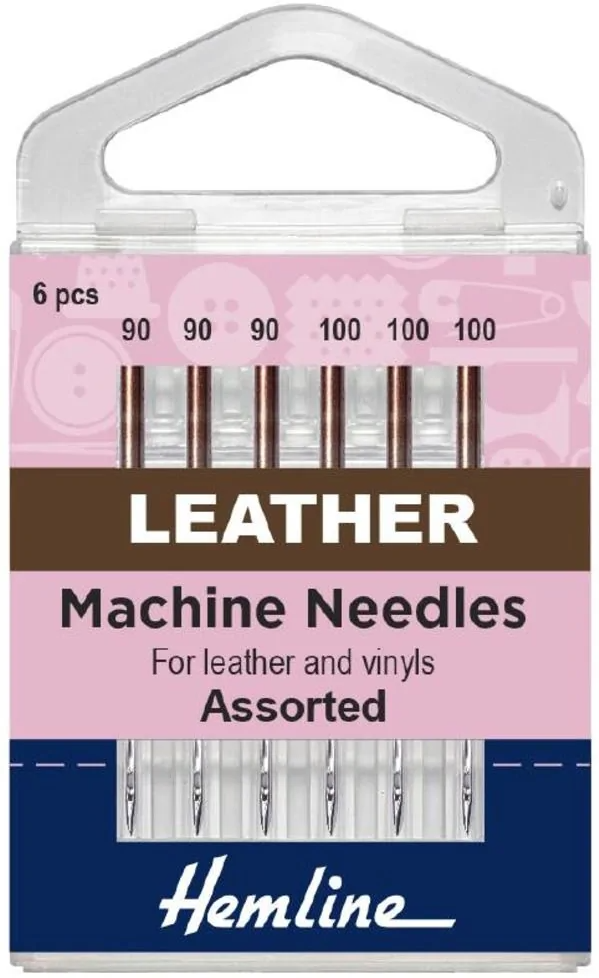
    Leather needles are one of the sharpest cut point needles. These are designed to pierce authentic leather, artificial leather as well as other thick non-wovens.

    Hand Needle Types

    Sharps Needle:

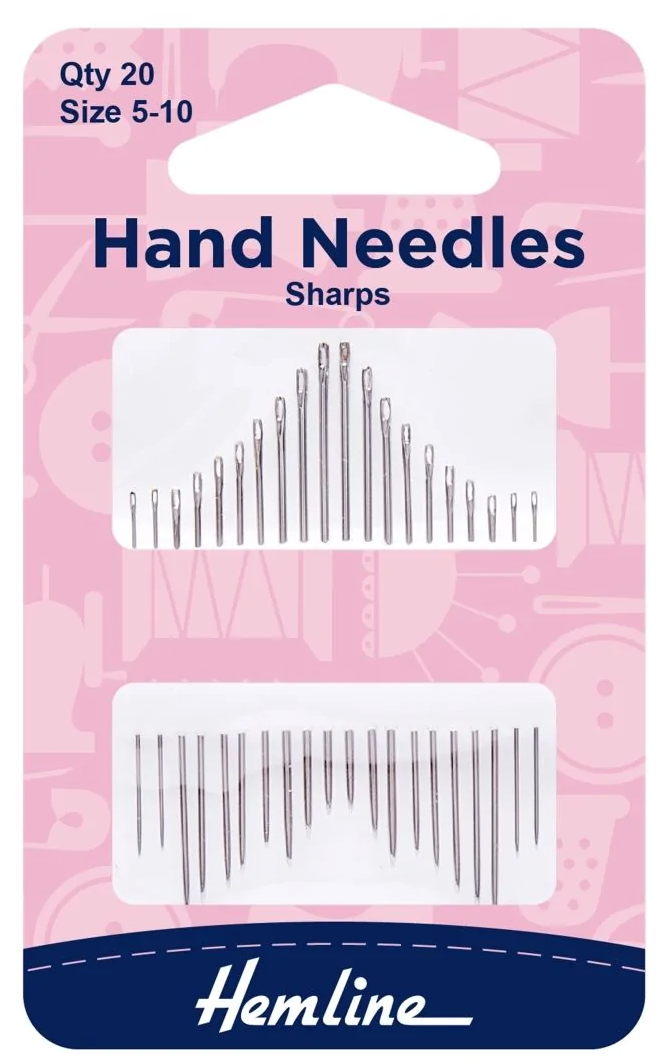
    Sharps handheld needles are often short to medium length with sharp points. Sharps needles are a good all-rounder and are used for a wide range of hand-sewing tasks.

    Betweens Needles:

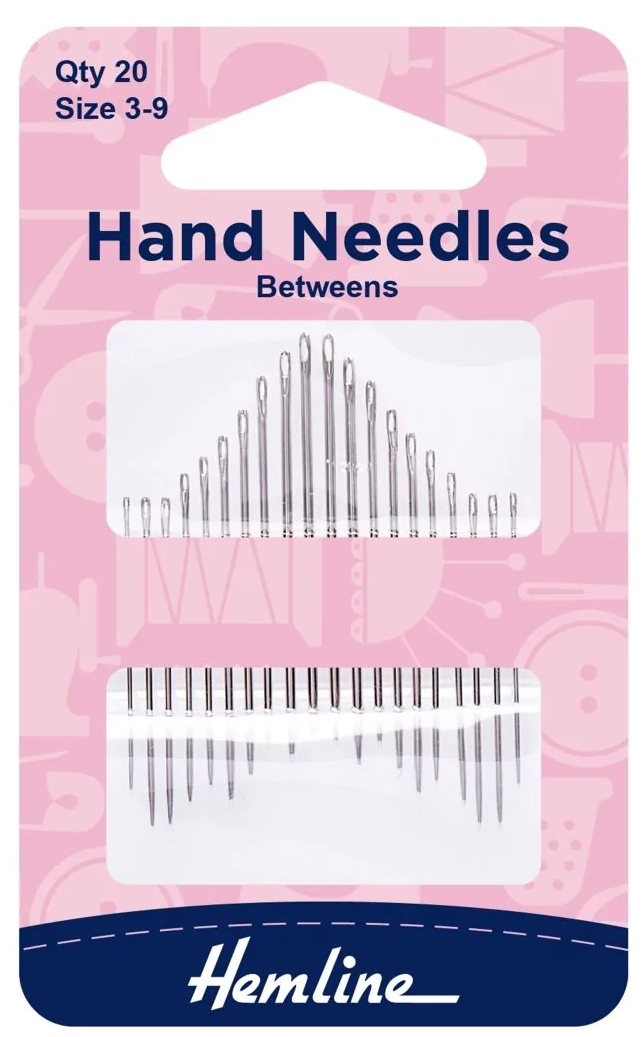
    Betweens needles are usually short, sharp needles used in hand quilting. As well as other sewing makes that require precise accuracy when sewing.

    Hand Embroidery Needles and Crewel Needles

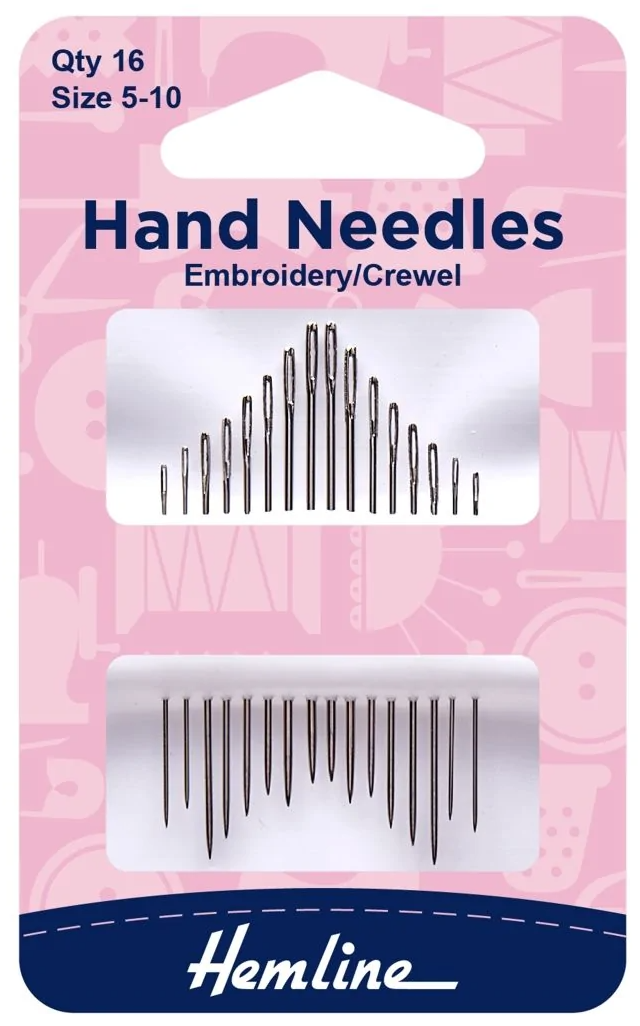
    Hand embroidery have sharp points and eyes that are wider than the shaft of the needle and enable thicker threads to be used.

    Embroidery is the art of sewing intricate, decorative stitches made with floss or thread.

    Crewel refers to the same types of stitches, stitches but sewn with wool thread. The needle is the same in the embroidery & crewel techniques.

    Hand Applique Needles

    Hand applique needles are actually sharps needles and are ideally suited to applique and intricate hand-work.

    Although they are sharps, some brands name them applique needles, to assist sewists that are looking for the best needle for hand applique.

    Often short to medium length with sharp points.The needle eyes are often small and the needles come in several lengths & sizes. Clover needles really are the best quality and a dream to use.

    Chenille Needles:

    Another great embroidery needle is the Chenille needle, they are different to a regular embroidery needle.

    Chenille needles are often referred to as a combination between a tapestry needle and a crewel or embroidery needle. They are sized the same as tapestry needles.

    Usually starting at size 14 and all the way up to size 28 (which is the finest needle you can find).

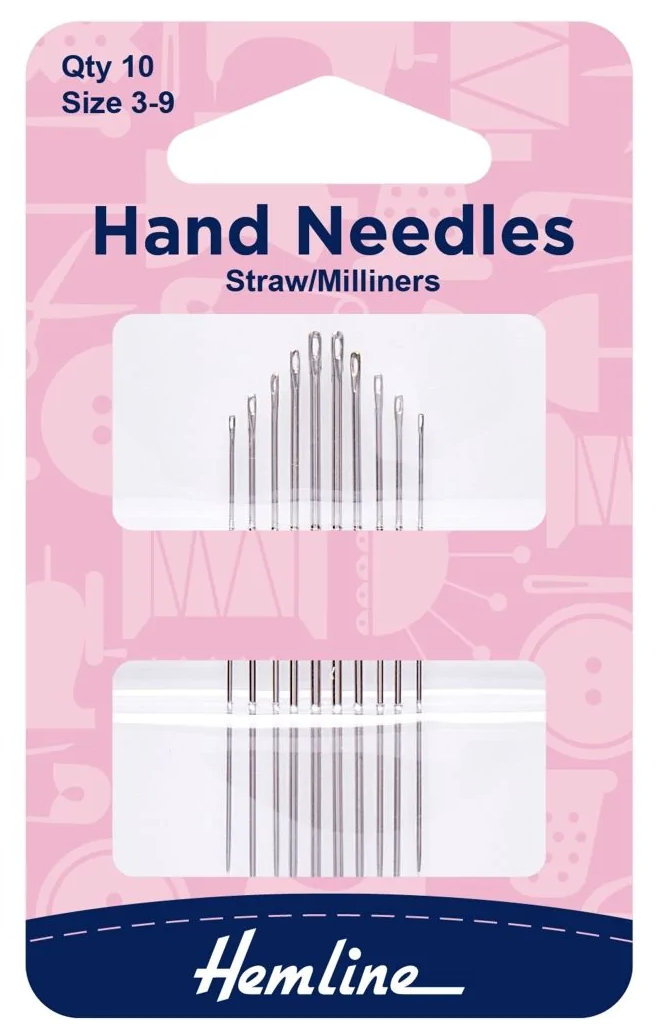
    Straw/Milliners Needles:

    Straw or Milliners needles are looooong needles with round eyes, traditionally used for hat making. However, they can also be used for hand sewing.

    They are often the choice of preference for those who prefer longer needles.

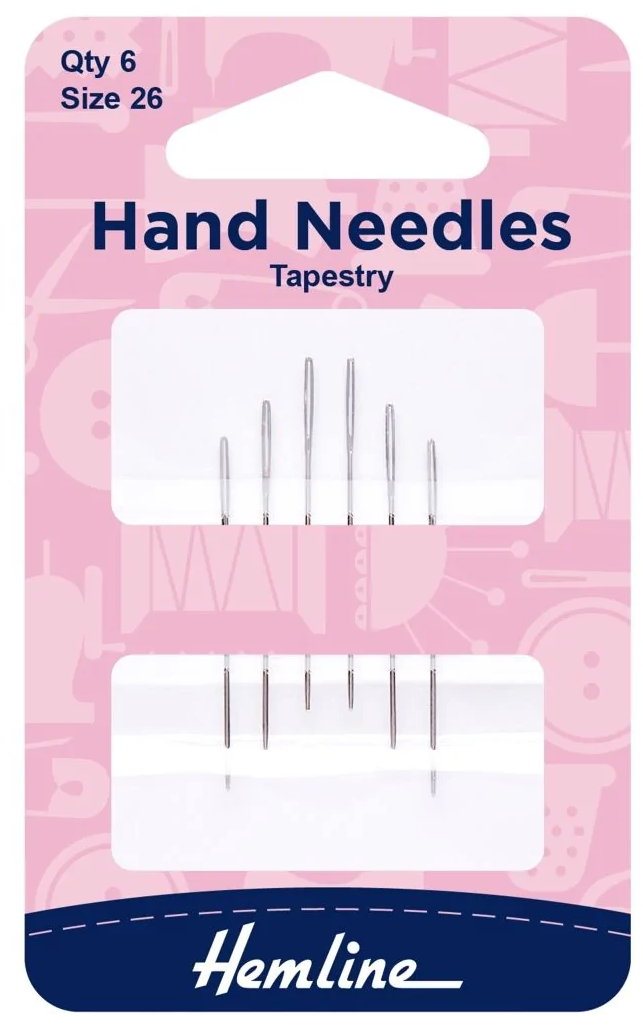
    Tapestry Needles:

    Tapestry needles are often used in needlepoint, petit point, counted cross-stitch and plastic canvas work. They have a large eye with a blunt, round point.

    So that’s our ultimate guide to sewing needles! We hope you’ve brushed up on your knowledge and picked up on a few needle tips along the way.

    Did you find this sewing needle guide helpful?

    Please let us know in the comments below!