Our site is getting a makeover! Please bear with us whilst we make improvements

Make an adjustable bag strap: Free sewing tutorial!

Make an adjustable bag strap: Free sewing tutorial!

I recently found this fab vintage bag in a charity shop but the strap was too short for my liking… I decided to replace the strap so I could wear it cross-body, whilst adding a pop of rainbow at the same time ✂️ So here’s a quick post on how to make an adjustable bag strap!

This is a really easy project – knock one up in less than 30 minutes ⏰

Make your own adjustable bag strap

Knowing how to make an adjustable bag strap is a really useful skill to have in your sewing techniques toolbox… I’ve replaced quite a few of the straps on my daughter’s bags as she’s grown… it’s also a great option if a current bag strap is uncomfortable, or just a bit tatty & worn out.

Replacing the strap can prolong the life of your fave bag, or just give it a new look! You only need a few supplies too!

Scroll down for a written tutorial or catch the vid below…

How to make an adjustable bag strap

A sewing project for: Beginner Friendly

Sewing Time: Under an hour


Boring Legal Bit: If you follow any tutorial or guidance found in this post, or on this blog, you agree to be bound by our disclaimer which can be viewed here

Pin For Later!

Make an adjustable bag strap in less than 30 minutes

Need to know:

  • For steps using machine sewing, straight stitch, backstitching at the start & end using stitch length 3mm unless otherwise stated.
  • Read through the instructions fully before starting

Disclaimer: Strangulation hazard: Children must be supervised at all times.

You will need:

Thank you for supporting our online shop with your sewing shopping… It means the world to us & enables us to keep putting out FREE content like this for you to make & create ❤️

We have an amazing selection of bag hardware and notions… check out our full range of bag-making supplies here

Boring Legal Bit: If you follow any tutorial or guidance found in this post, or on this blog, you agree to be bound by our disclaimer which can be viewed here


Bag Making Supplies


  • 2m of your chosen webbing of strapping
  • 2 x swivel clips (also know as dog hooks) that match the width of your webbing or strapping
  • 1 x slider that match the width of your webbing or strapping
  • 2 x D-Rings (optional – if you’re using an existing bag then you are likely already to have D rings already sewn in)

Sewing Equipment You Will Need:

Make a replacement cross-body bag strap

  1. Cut off the original strap


Make a replacement bag strap - Step 1 - Cut off the original strap
2. Thread 1 end of your webbing/ strapping through from the underside of the strap slider. Bring the end over the central bar then thread back through to the back

3. Sew the end to secure – a zipper foot can make this easier

4. Thread a swivel clip/ dog hook onto the strap. Hook on the opposite side to sewn hem near the slider


Step 4- Make a replacement bag strap - thread a swivel clip onto the strap.

Want to know your #5 from your #3 zip?  Check out our Zip Type Guide

5. Checking the strap isn’t twisted, thread the unsewn end of the strap through the slider

6. Thread the unsewn end through the remaining swivel clip

Make a replacement bag strap - Step 6 - Thread the unsewn end through the remaining swivel clip

7. Sew the strap end down to secure the hook around the final swivel clip

8. Clip and go!


And you’re finished, well done!

Follow us on Instagram!

Free Pattern For A Hot Water Bottle Cover

Free Pattern For A Hot Water Bottle Cover

Discover how to craft a cozy hot water bottle cover with this free pattern from Plush Addict. Ideal for beginners, the tutorial provides step-by-step instructions to create a functional and stylish accessory, perfect for keeping warm during chilly nights. Personalize your cover with your choice of fabrics and designs to add a unique touch to your comfort essentials.

For detailed instructions and to download the free pattern, visit the full tutorial on the Creative Rehab (formerly Plush Addict) Blog

Please join our free sewing community to view this post

Go Super Size with Extra Wide Fabrics!

Go Super Size with Extra Wide Fabrics!

Ever heard the term “wide backs” and wondered what it means? No – it’s not a dressmaking alteration for the broad shouldered!

Some of you beginner seam-stars out there have come across some fabrics on our website which are a huuuuge 106” wide and might think, why on earth would you need a piece of fabric that wide?! Well you’re in luck! In this blog, we’ll be going through why we need extra wide fabrics and inspire you with what they can be used for.

Quilt Backing Fabric

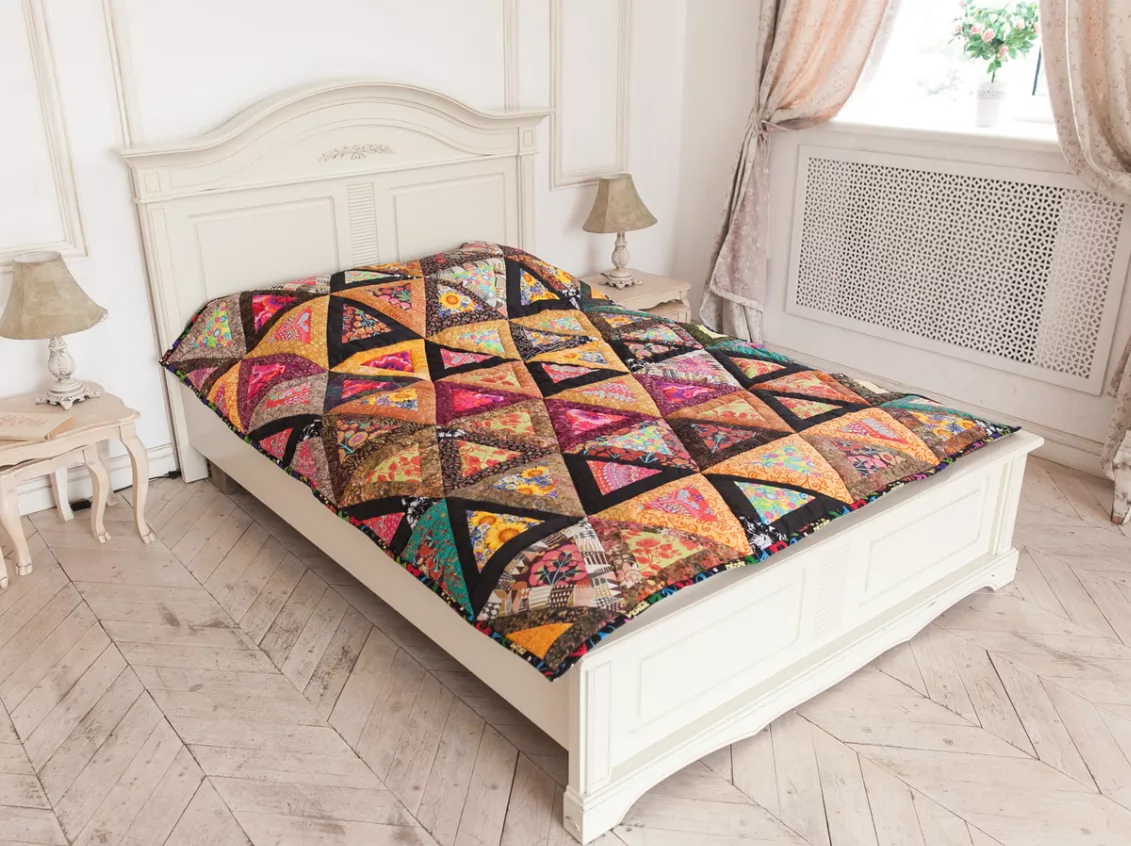
Hey Quilters! What if I told you that you never had to piece the back of a quilt ever again?! You may have started a quilt top and thought, oh no, what will I put on the back? The extra wide fabrics we have to offer on the website are perfect for this. It’ll save you SO much time, seem way less daunting, look really professional and can work out cheaper. Don’t just think about the back either! You can use extra wide fabrics for the front and applique over the top or practice your free motion quilting without hours spent on piecing blocks.

Wide Quilt Backing Fabrics

Pin for later!

Wide Fabrics Curtains And Home Decor

Wide Fabrics for Curtains and Home Decor

Think about those super size projects! Curtains, duvet covers or maybe something you’re upcycling. We have lots of gorgeous designs to choose from to suit any home.

HUGE Fabric Scraps!

Don’t forget when you have finished with your main project, you’ll have some super wide scraps to play with! Why not make some binding for your quilt that matches the back? Maybe you could make a cushion to match? OR start a whole new quilt!

Where can I buy Extra Wide fabric?

We have a huge selection of extra wide fabric to choose from at our sewing superstore, Plush Addict. We’re based in the UK and will ship your order the same day if you order before 3pm, so you can get sewing in no time!

Extra Wide Fabric Guide New Blog

Pin this on Pinterest for later

If you found this blog useful, why not leave us a comment?

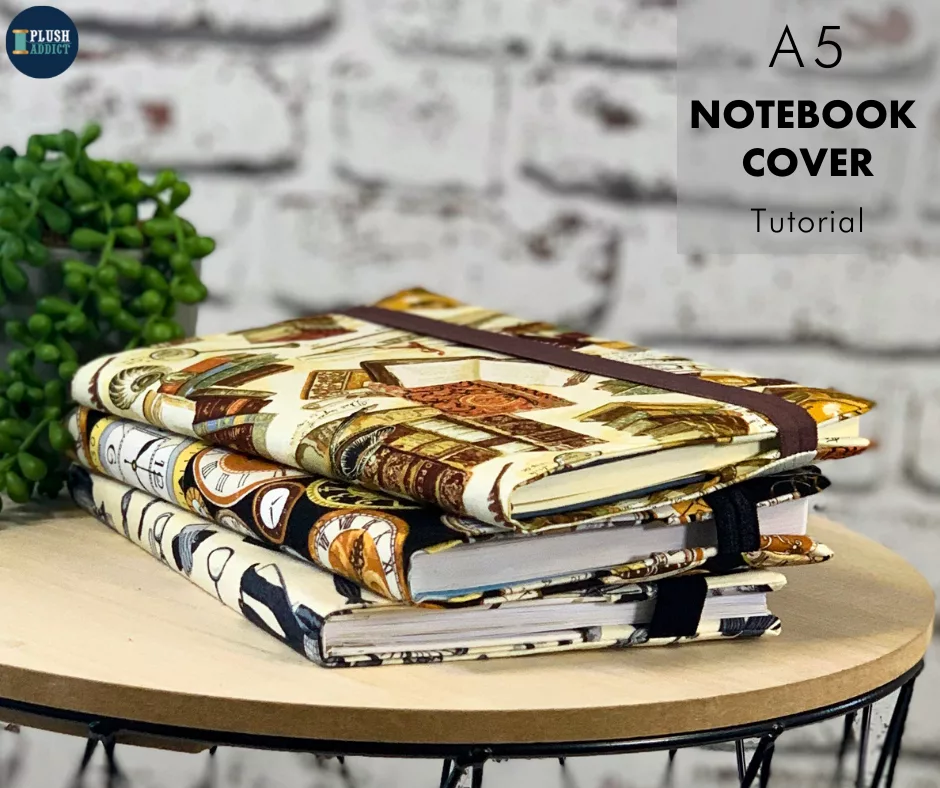
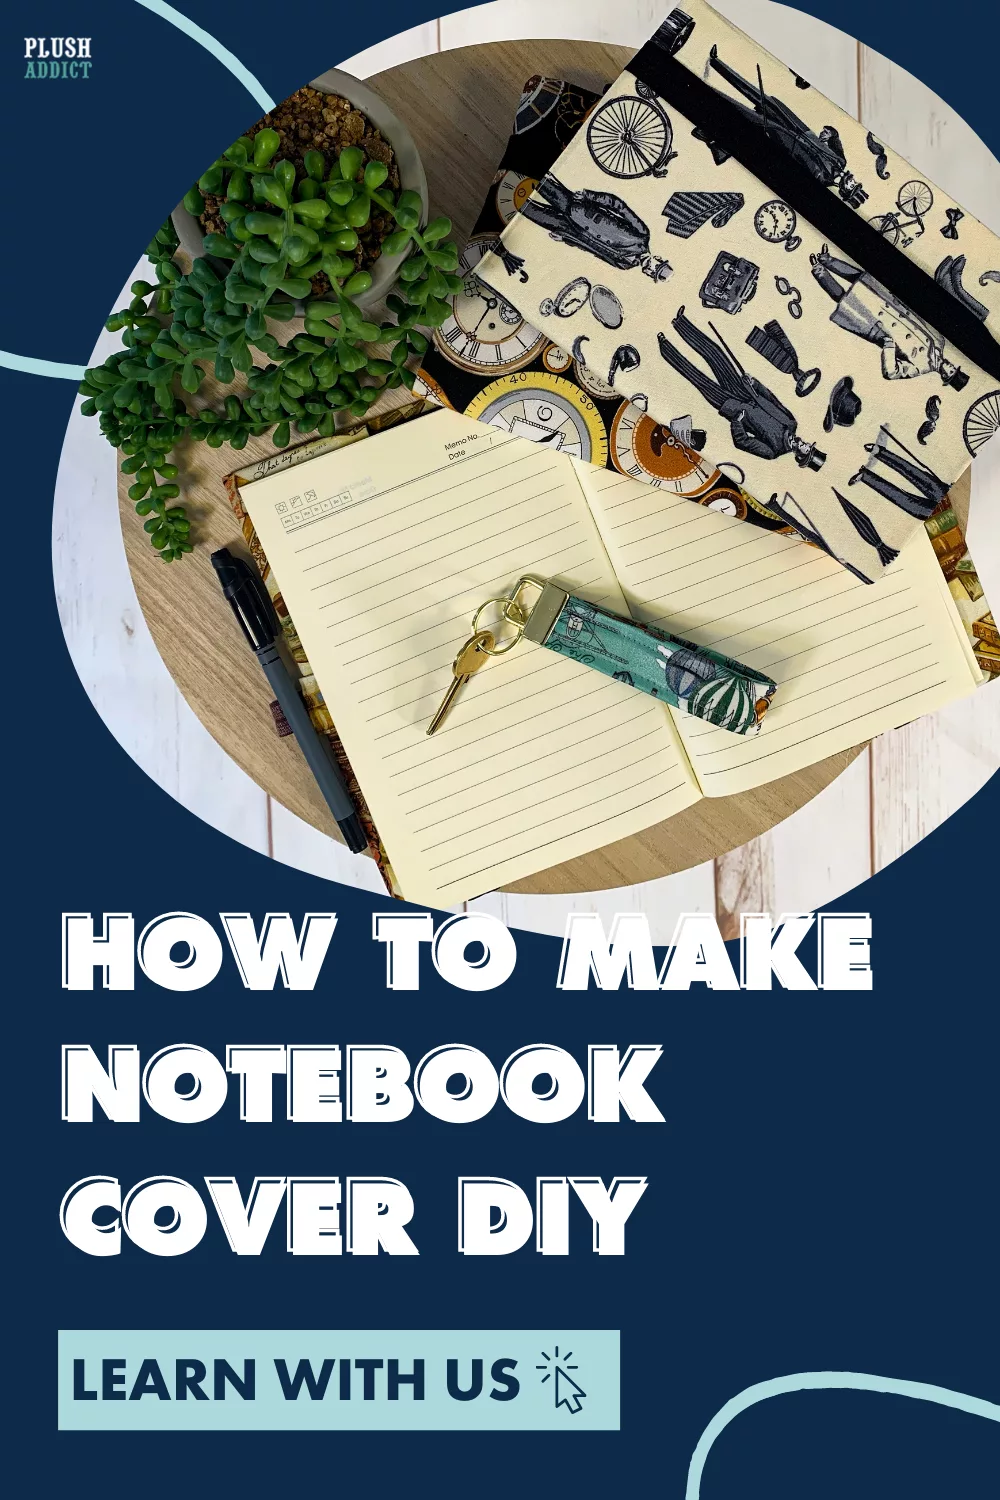
Tutorial: Sew An A5 Notebook Cover In 30 Minutes

Tutorial: Sew An A5 Notebook Cover In 30 Minutes

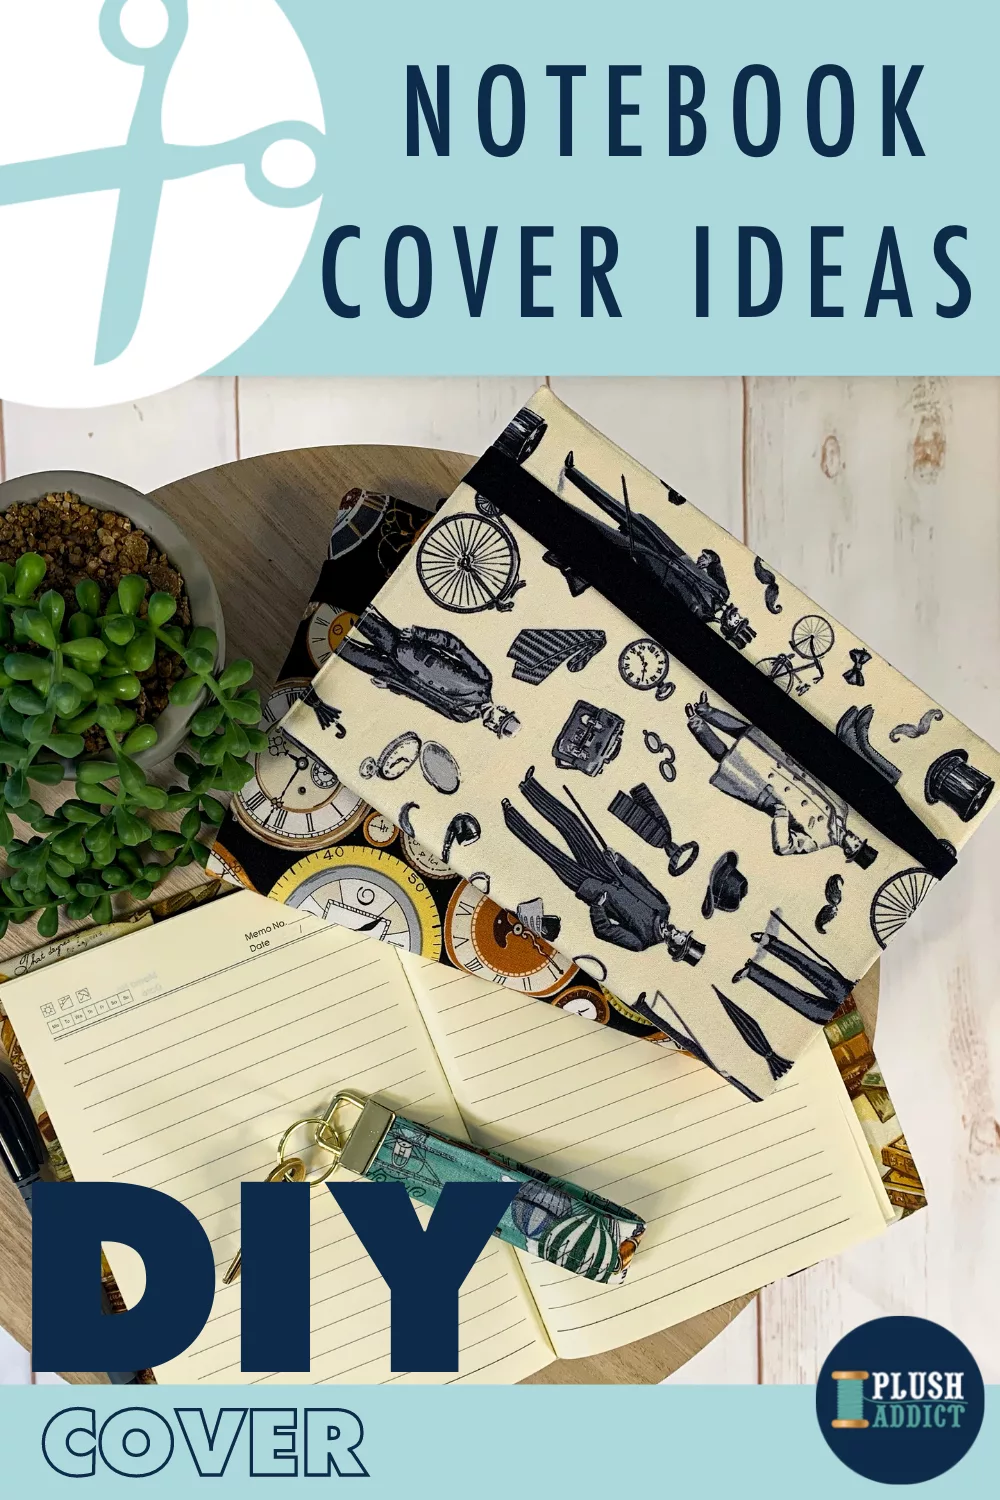
Sew an A5 notebook cover in 30 minutes. Learn how to do it in this step-by-step tutorial.

There is something so appealing about new stationery; even in an ever increasingly digital age, the perfect notebook still holds its own.

With this in mind we thought a makeover was in order; a cover will level up an already essential item for a lucky recipient.

A Sewing Project For Beginners

You Will Learn:

  • How to draft a fabric book covering
  • How to use Decovil

You Will Need:

Note: this should be enough to cover most A5 notebooks, if in doubt, draft the pattern 1st to check the size.

Pin For Later!

How To Draft A Notebook Cover Pattern

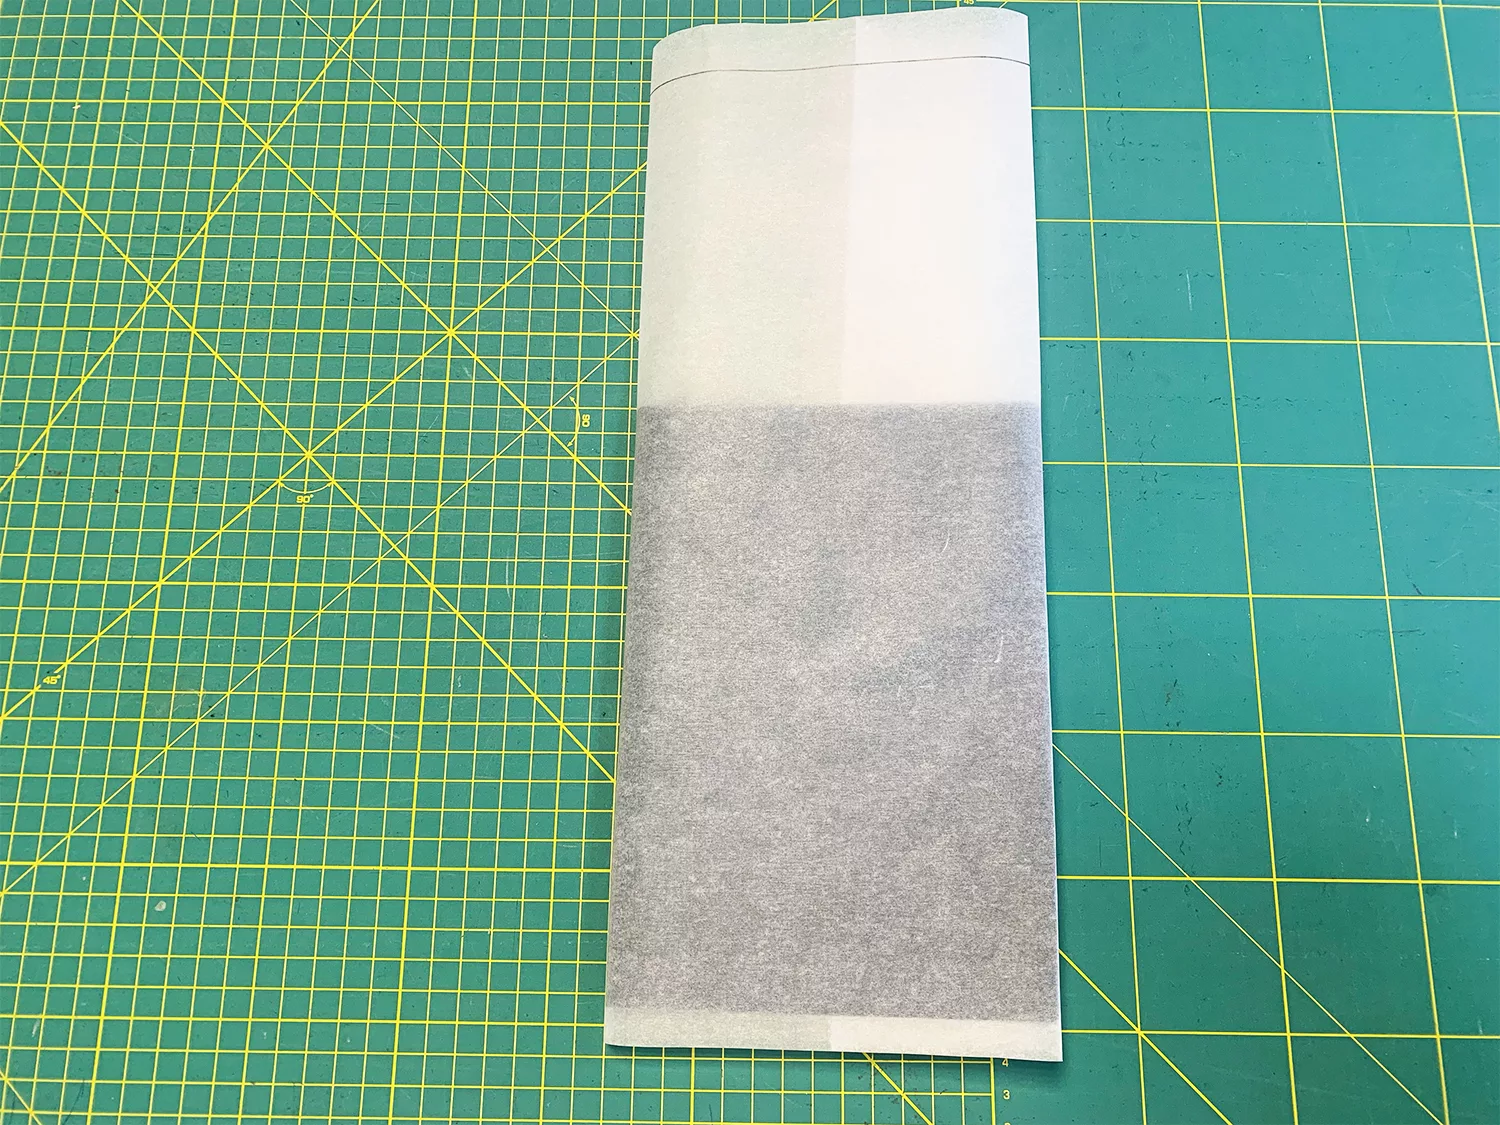
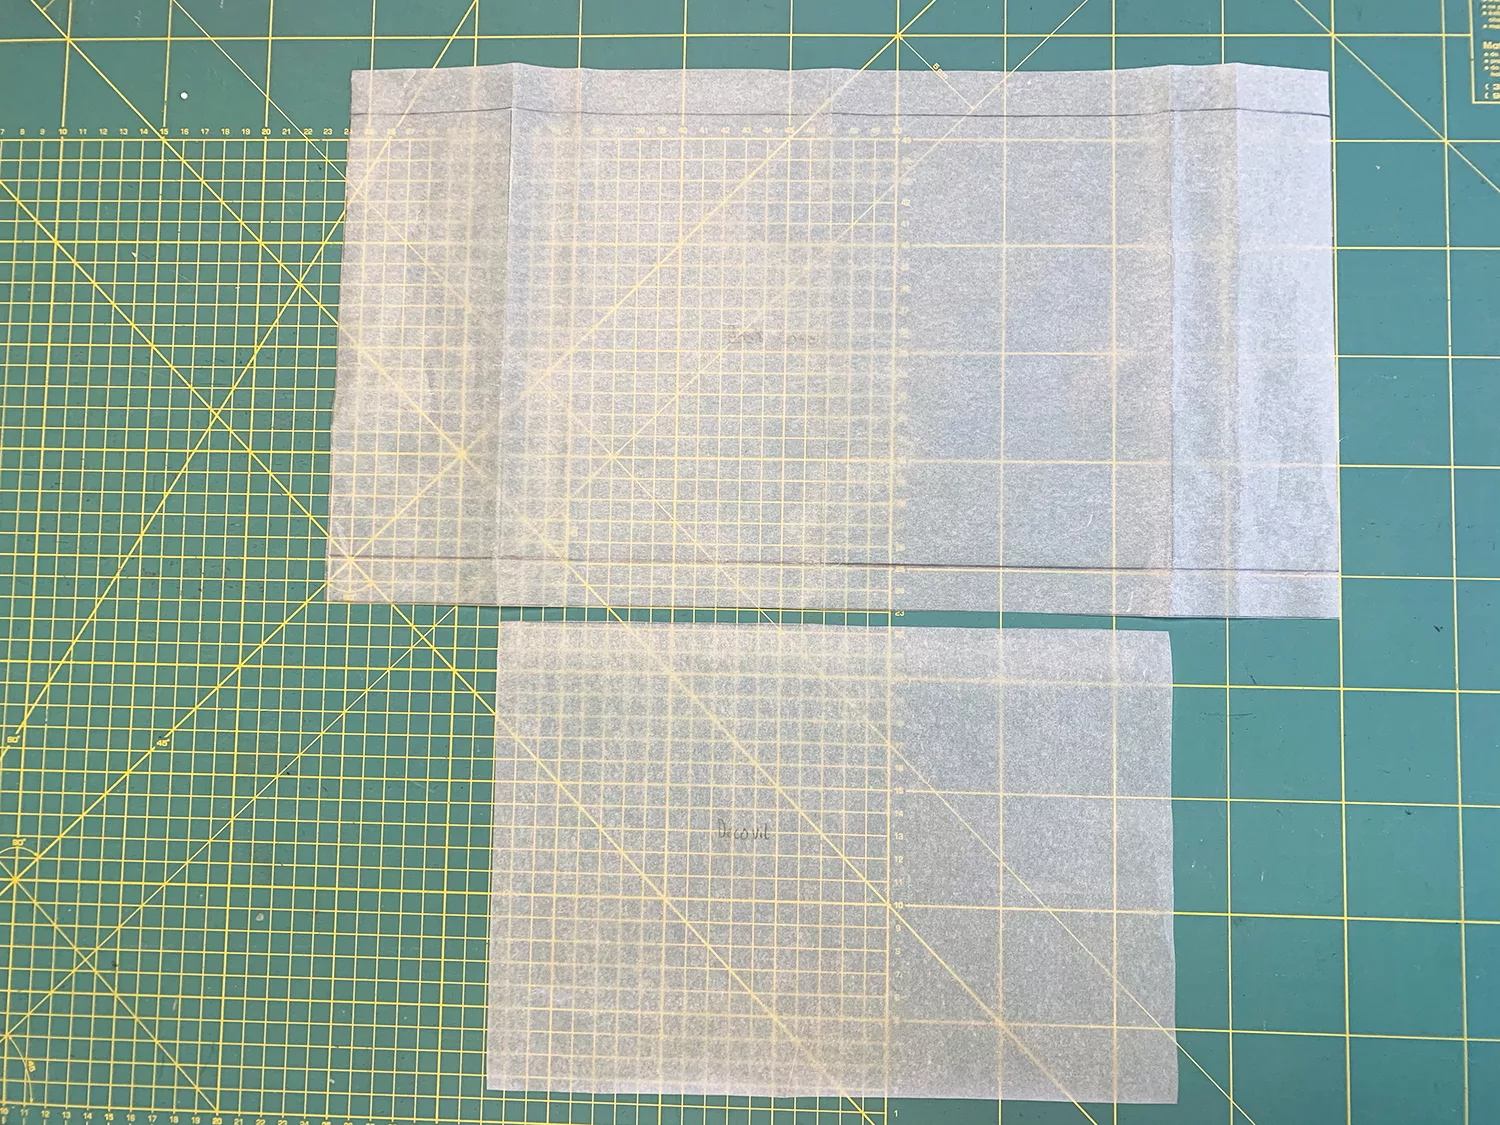
1. Cut a length of paper, greaseproof is ideal, large enough to wrap around the cover of the book and fold in either side of the cover to the halfway point (like a book’s dust cover).

Close the book to check sizing before cutting; the cover of the closed book spans a greater distance than when it is open.

The paper needs to be at least 4cm taller than the notebook too.

2. Open out the paper and draw a line 2cm up from the bottom edge.

3. Fold the paper in half bringing the 2 short sides together to find the centre point.

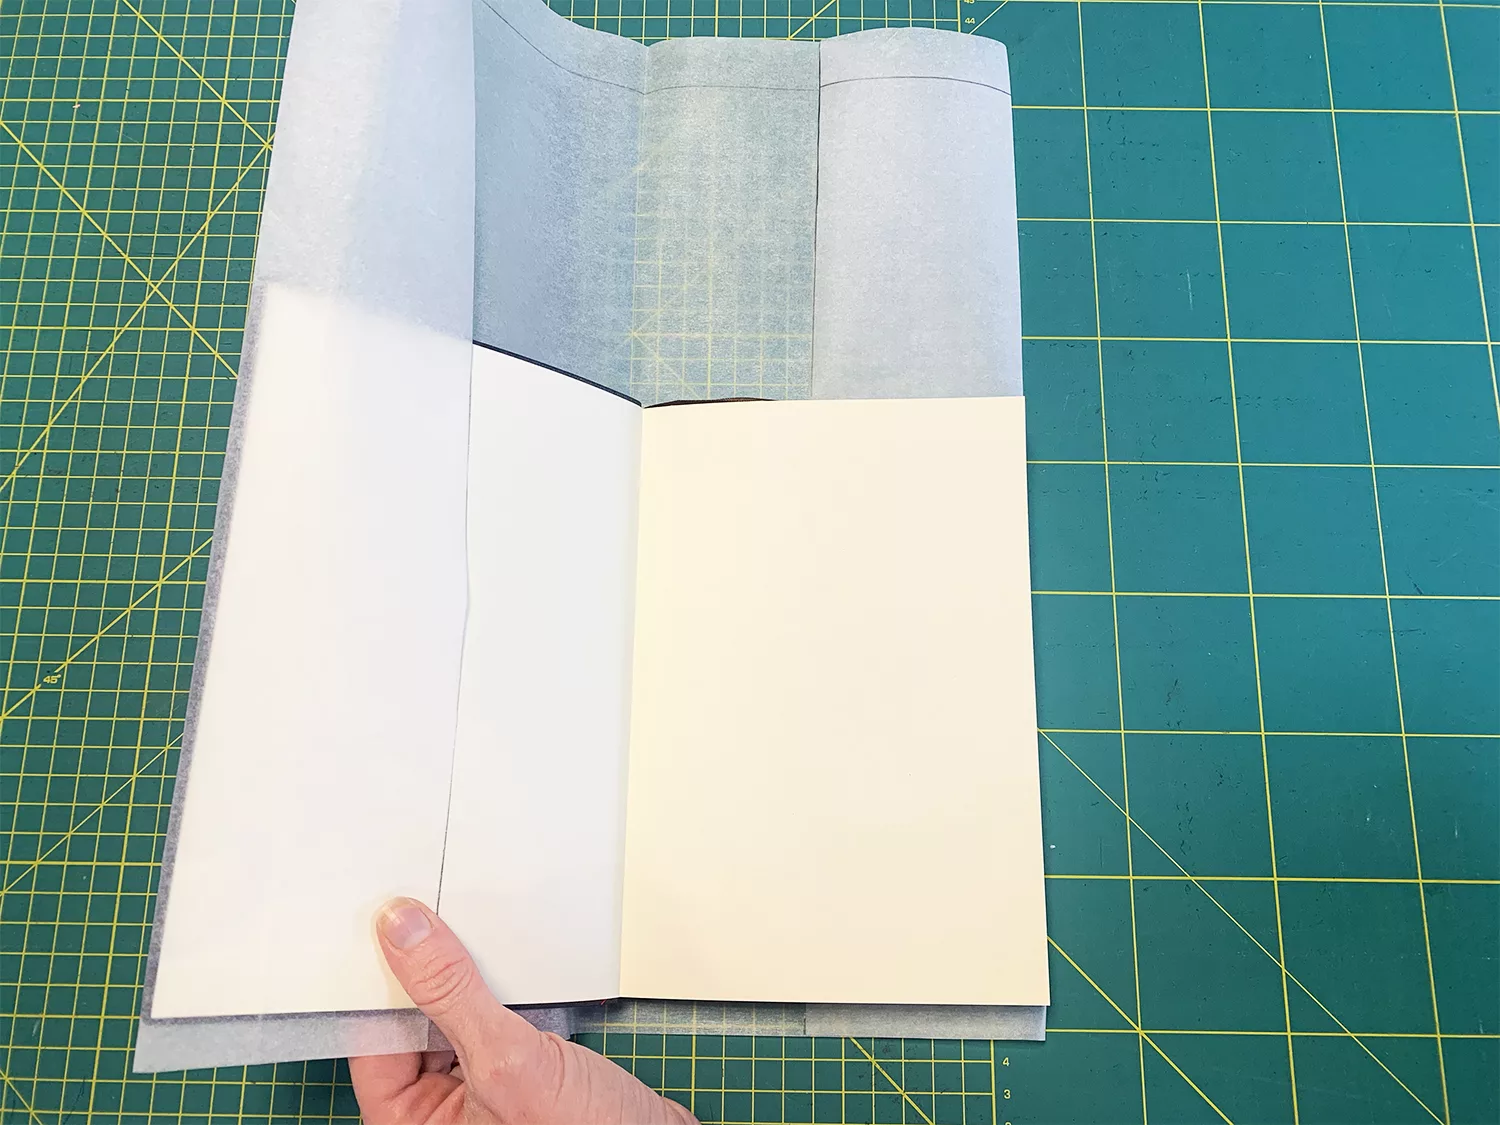
4. Place the spine of the book along the central fold and wrap the paper round the cover.

5. Line up the bottom edge of the notebook along the drawn line.

6. Mark a line on the paper along the top edge of the book and down the 2 edges of the cover.

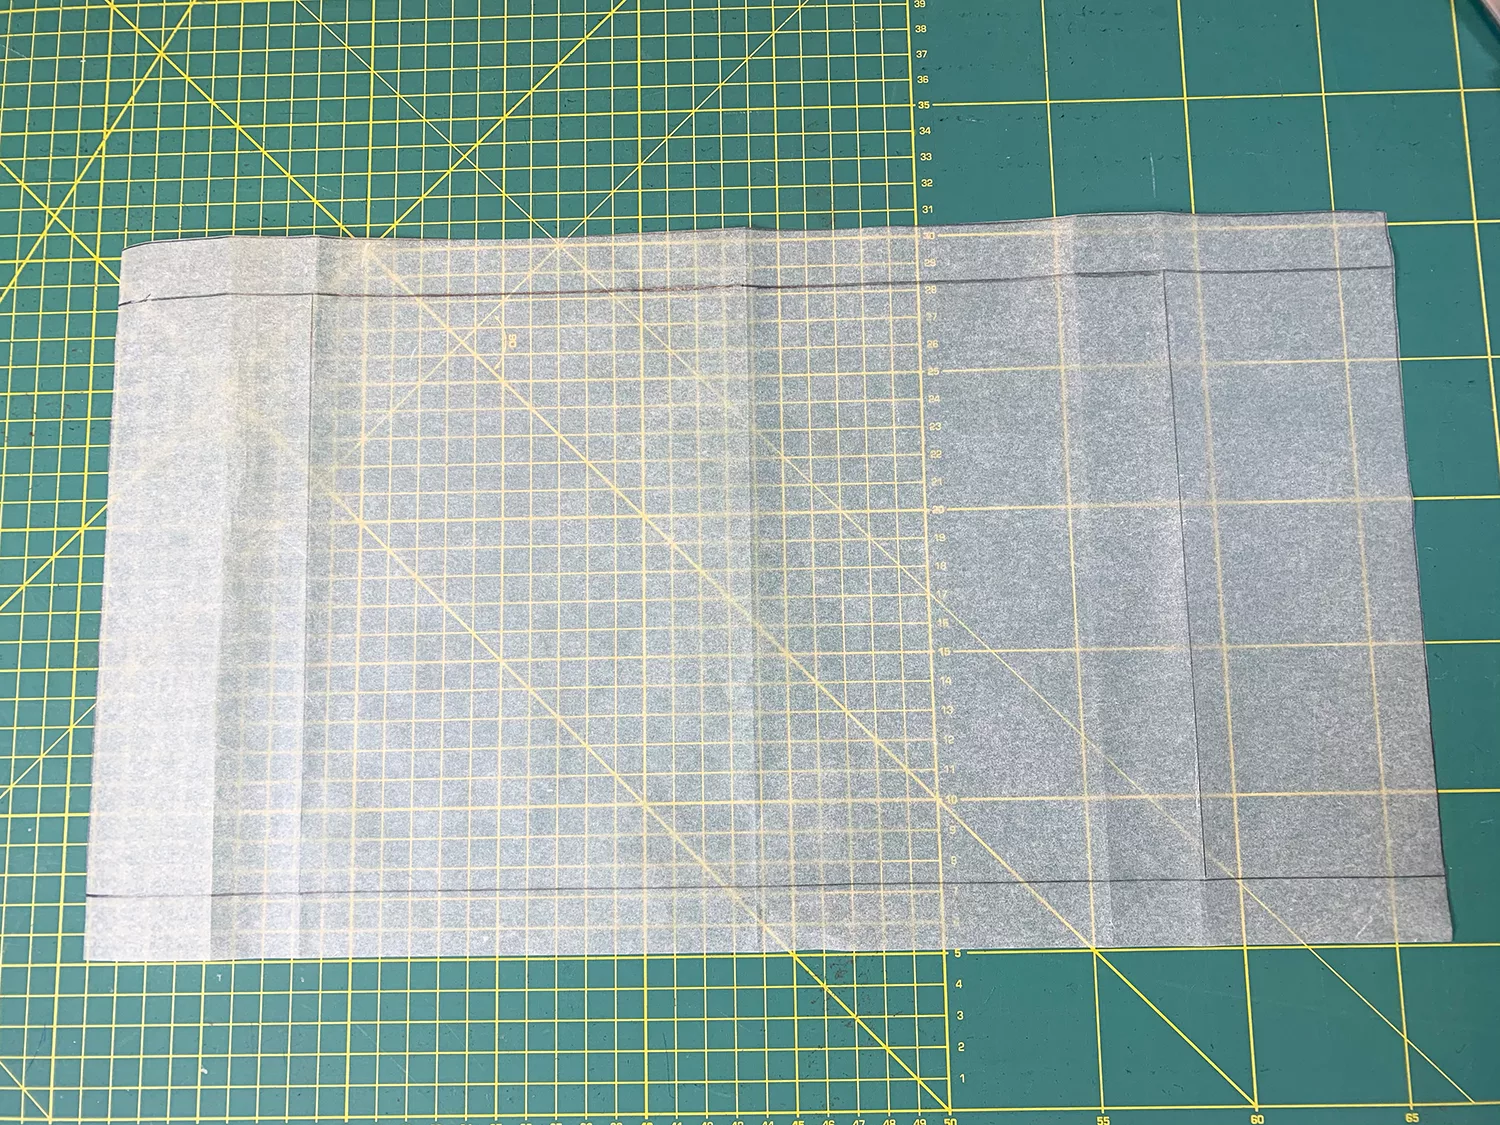
7. Open the paper out and draw a line 2cm above the marked line at the top.

8. Check the pattern has right angled corners and straighten up any uneven lines, cut it out and label it “Cover”.

9. Measure the total height of the pattern and write it on the pattern (for example, 25cm).

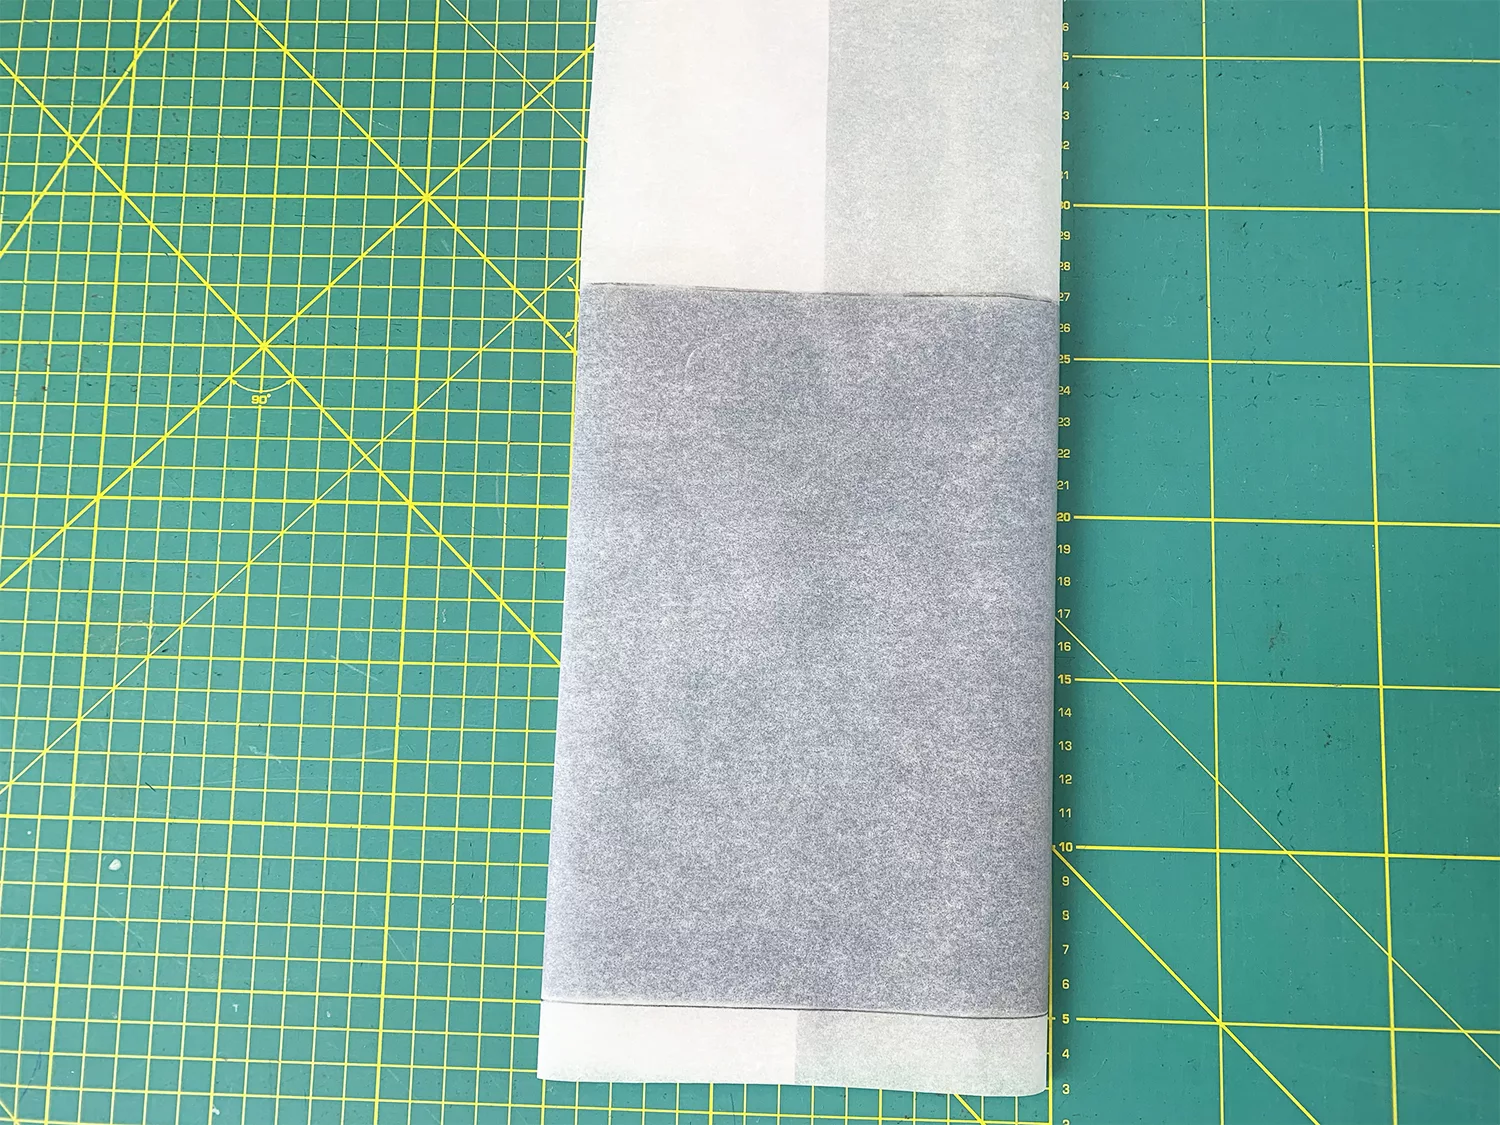
10. Cover the pattern with a second piece of paper and trace out the large rectangle that has formed in the centre, label it “Decovil” and cut it out.

Cut The Fabrics:

11. Cut the following:

  • 1 x outer cover fabric using your “Cover” pattern
  • 1 x lining cover fabric using your “Cover” pattern
  • 1 5x8cm fabric pen tab from your outer fabric
  • 1 x Decovil using your “Decovil” pattern
  • 1 length pattern height elastic (step 9.)
  • 6cm elastic pen loop

How To Apply Decovil

12. Spread a smooth surfaced tea towel/ spare length of cotton over an ironing board.

13. Place the outer fabric right side down.

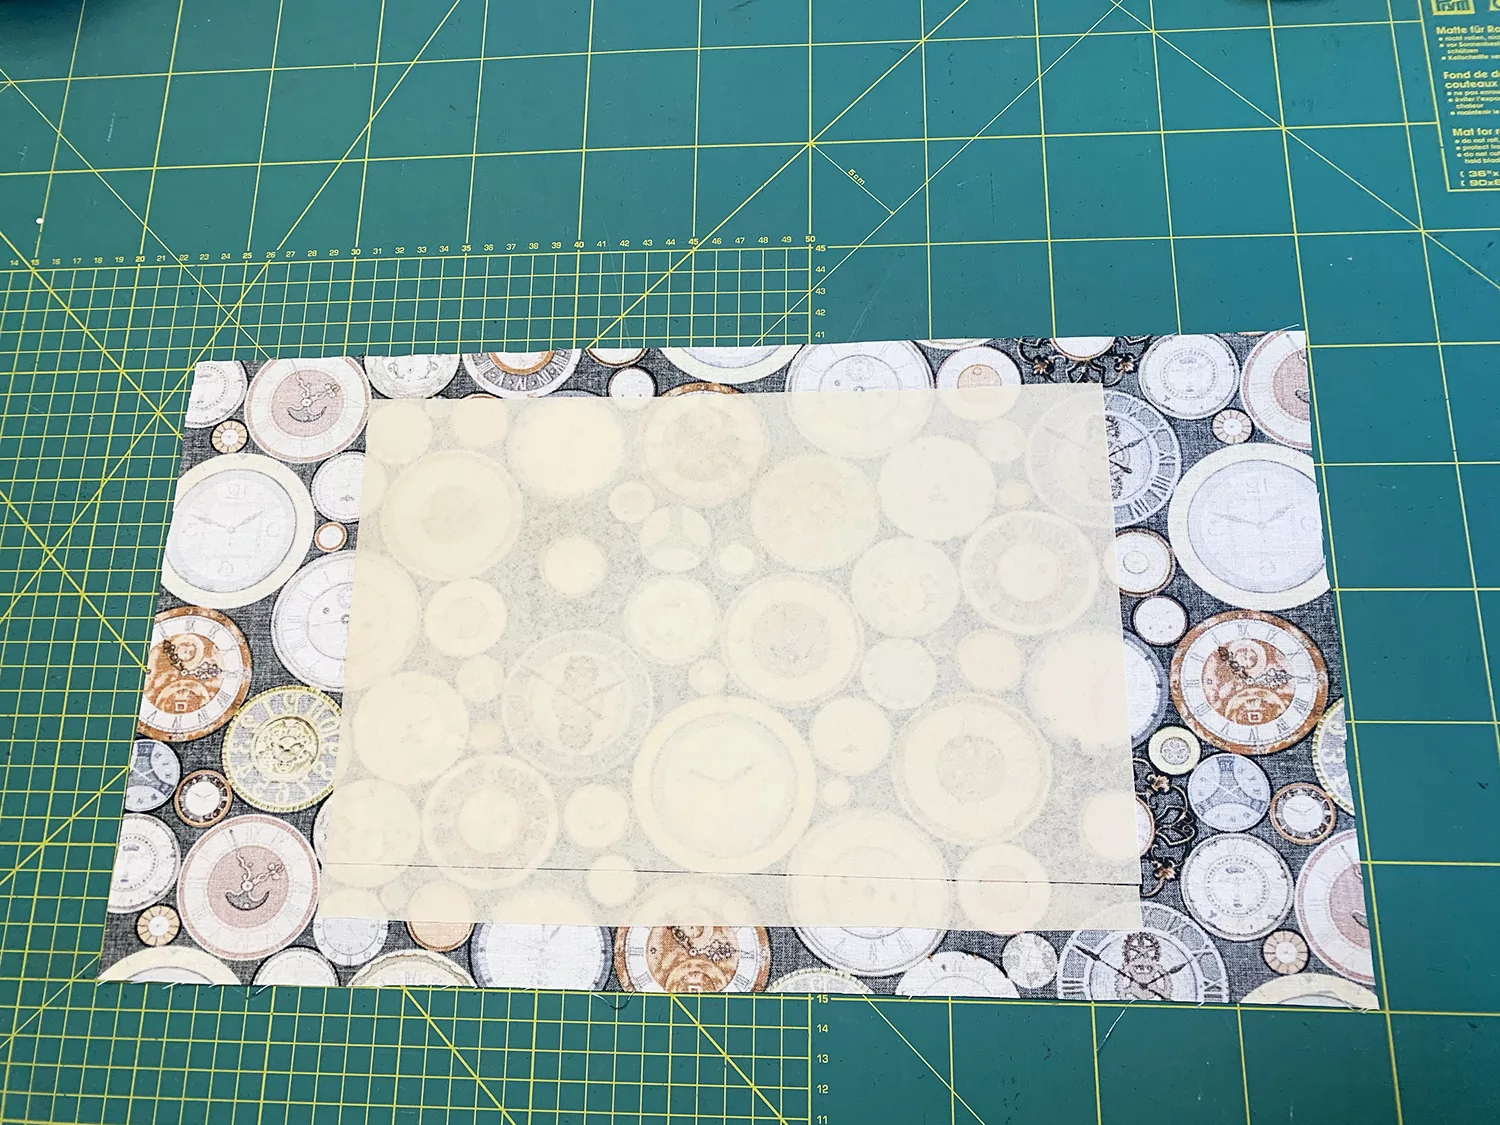
14. Using the markings on the cover pattern piece, position the Decovil shiny side down.

15. Lay a smooth surfaced tea towel/ spare length of cotton over the top.

16. Dampen the cover fabric using the iron’s spray setting and press for roughly 6 seconds, heat setting 2.

17. Allow the adhesive to cool and cure for a minimum of 30 minutes.

Pin For Later!

Assemble The Pen Tab

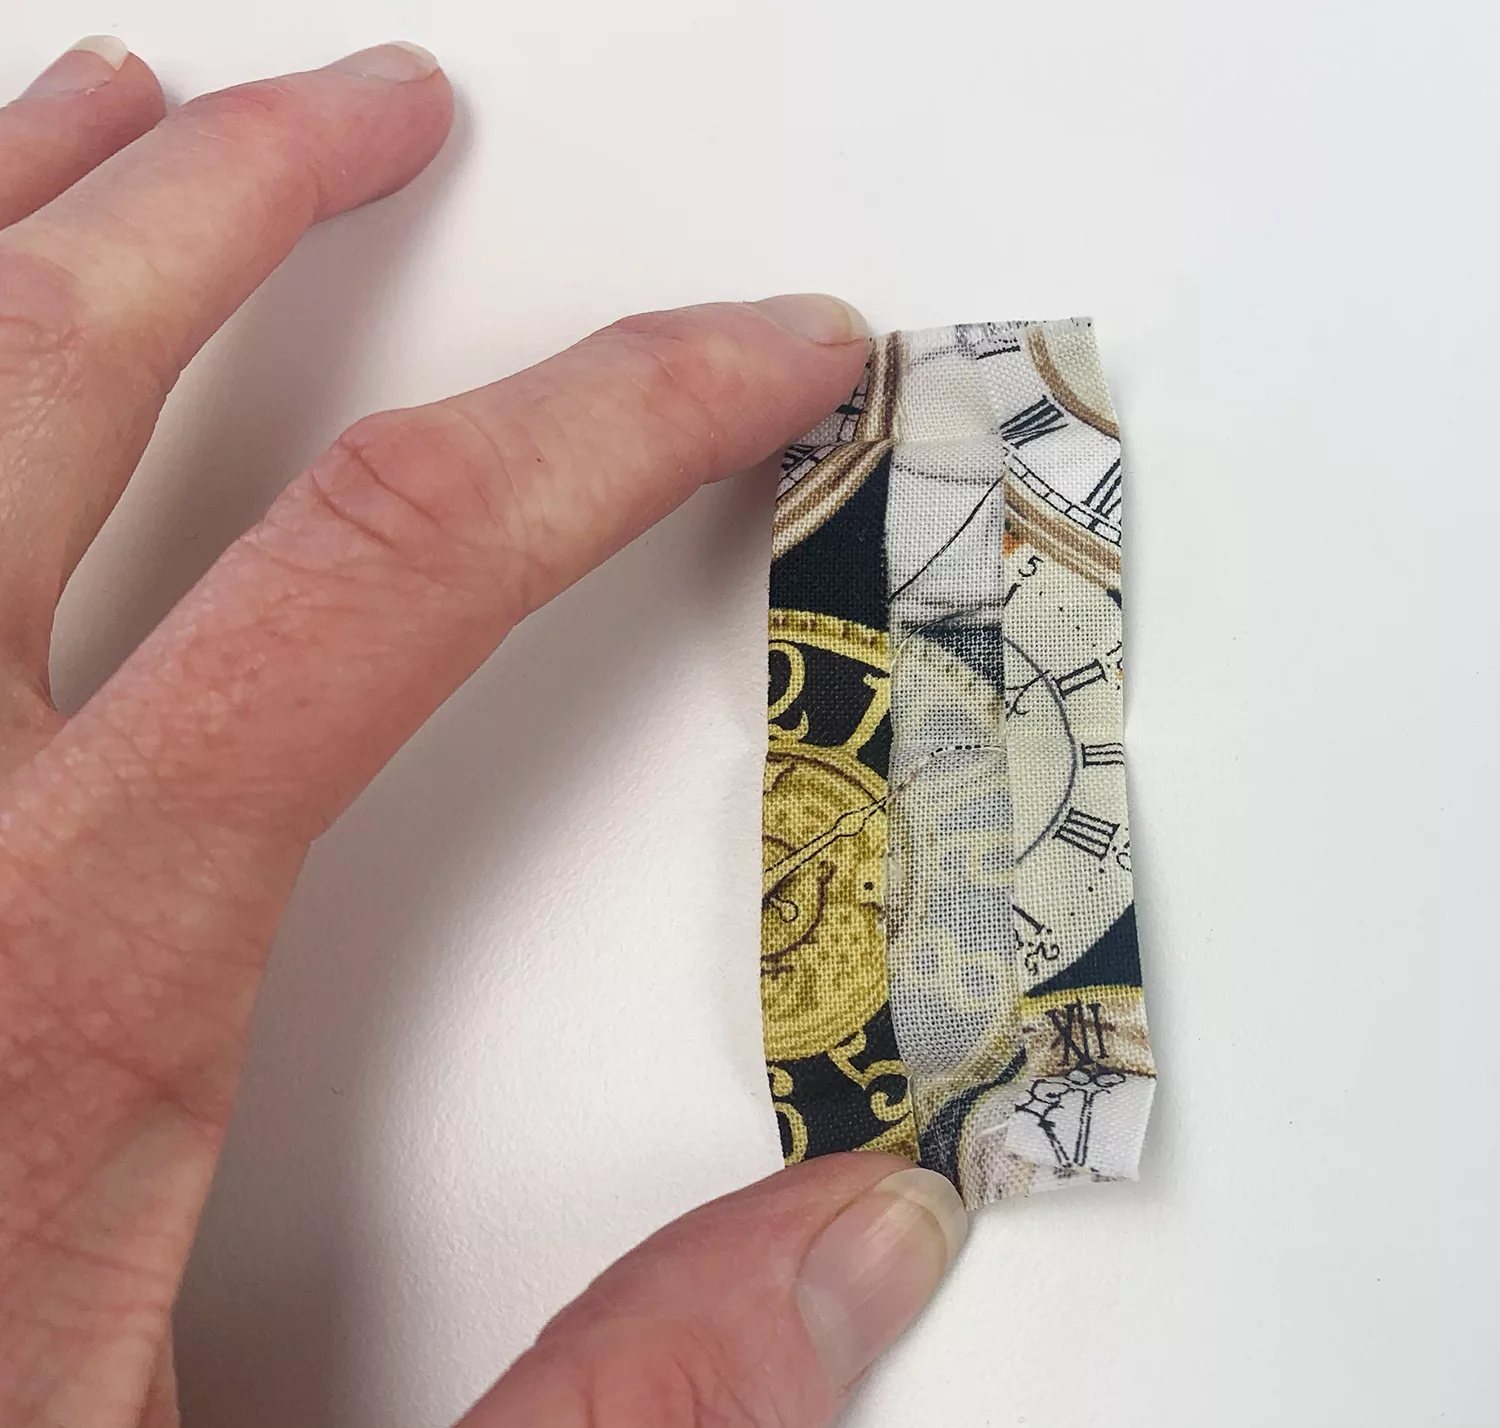
18. Fold in 1cm along the long edges of the pen tab and press.

19. Fold and press 1cm of fabric along the short edges and press.

20. Fold the tab in half, encasing the raw edges and press.

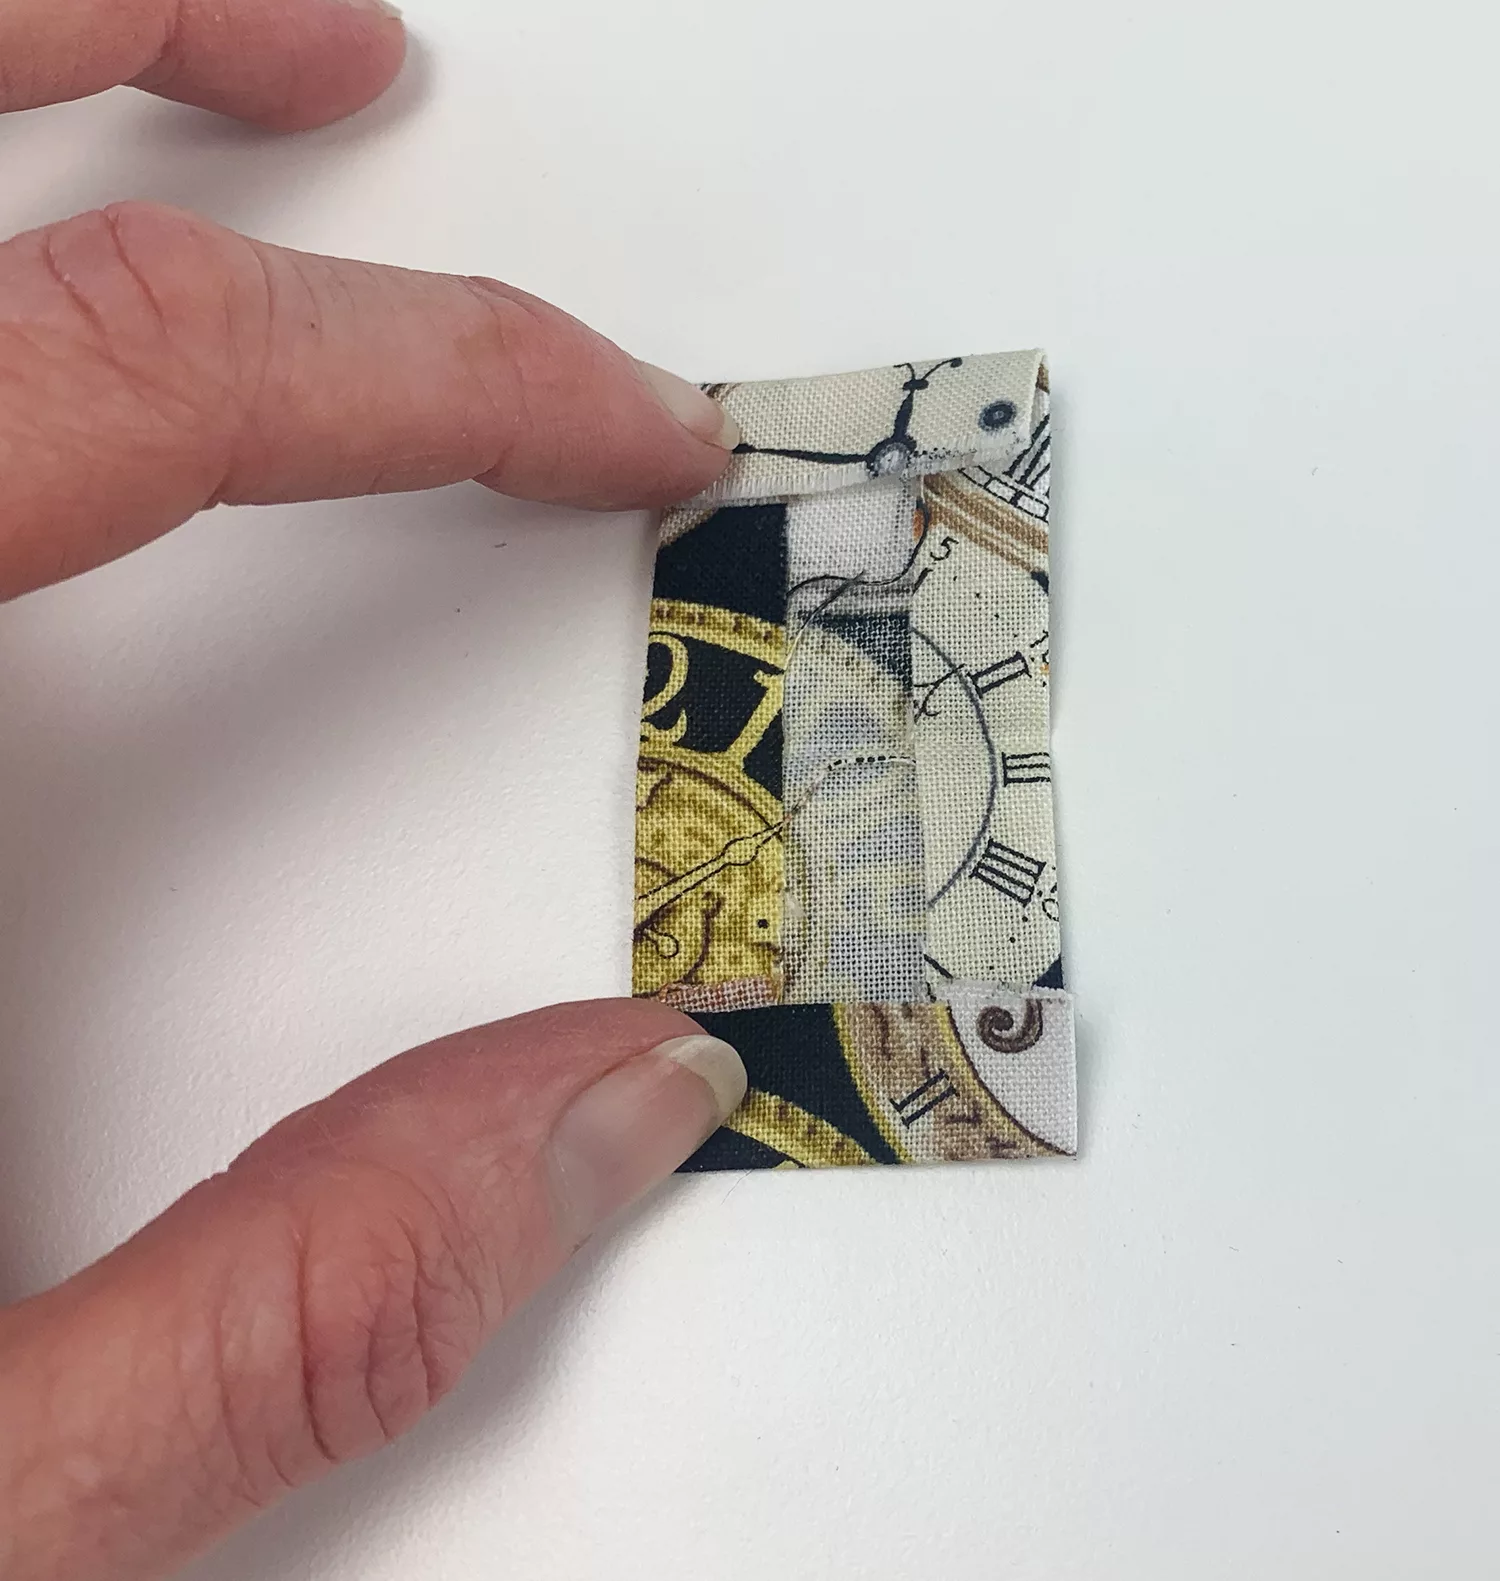
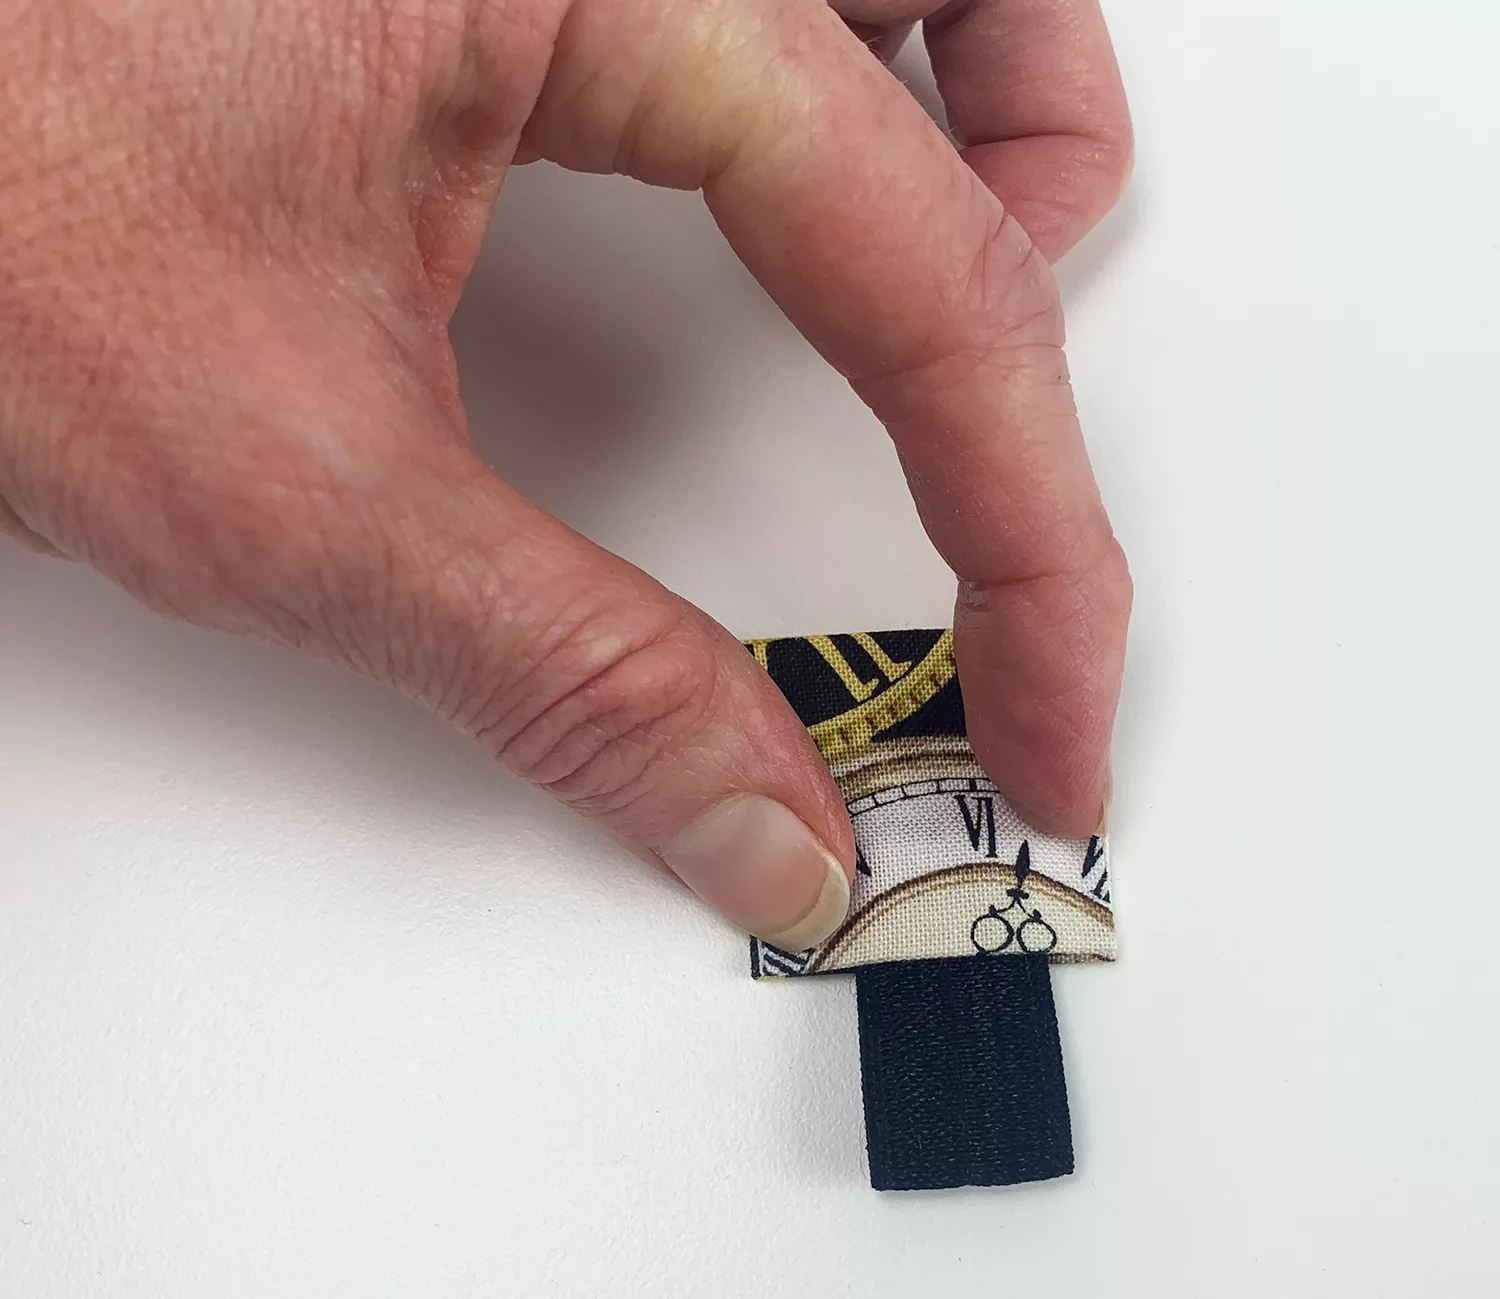
21. Fold the elastic pen loop in half and tuck 1cm of the raw edges into the pen tab. Pin to secure.

22. Turn the outer cover right side up and where the design on your fabric is directional ensure it is right way up.

23.  Find the line where the Decovil stops on the right and make a mark in the centre of that line.

24. Position the pen tab at that mark, with the tab to the right and the elastic loop overlapping the Decovil to the left.

25. Sew around the 4 sides of the pen tab, tight to the edge to secure.


Position The Bookmark

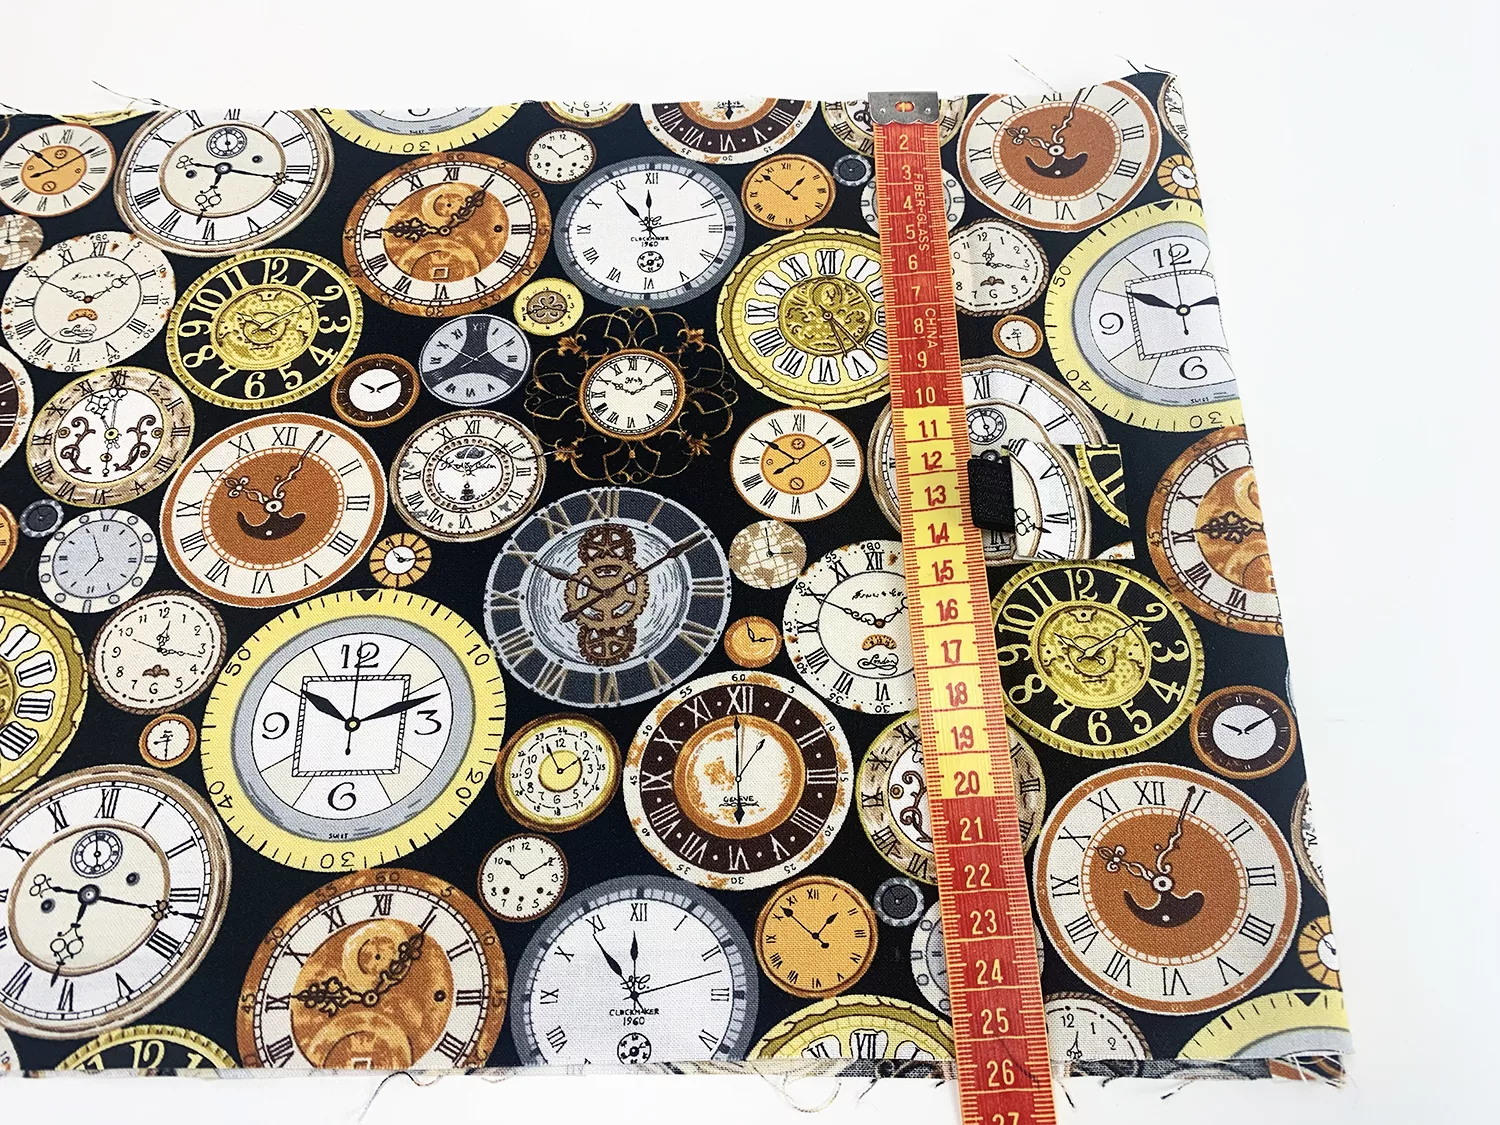
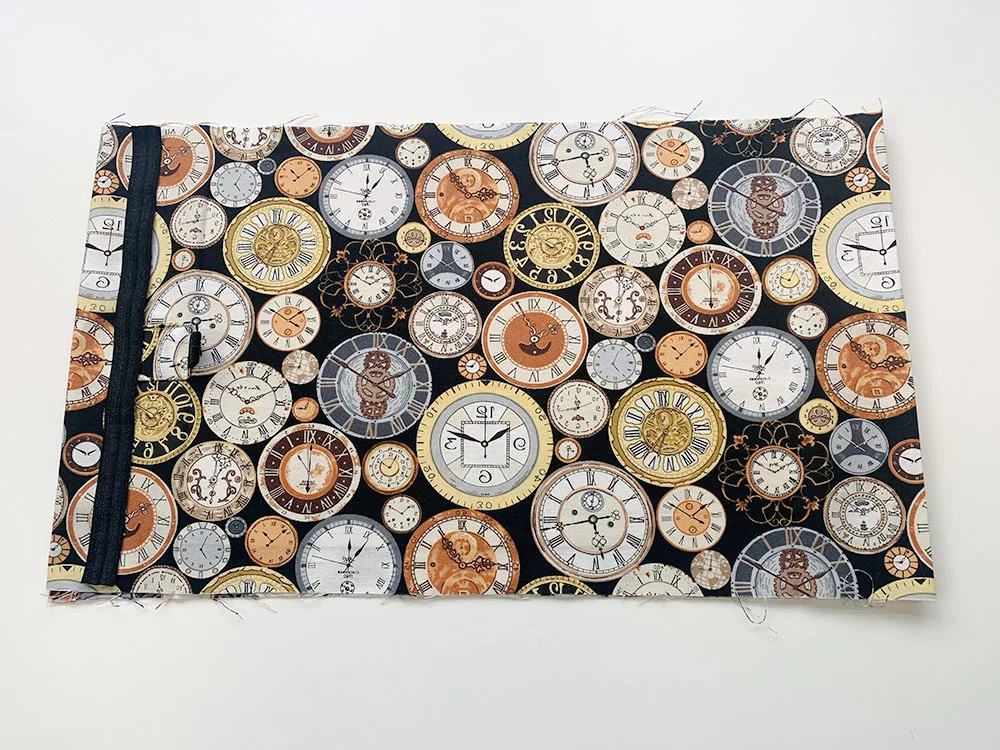
26. On the left hand side of the outer cover, place the bookmark elastic in parallel, 3cm to the left of the line where the Decovil stops and pin

Assemble The Notebook Cover

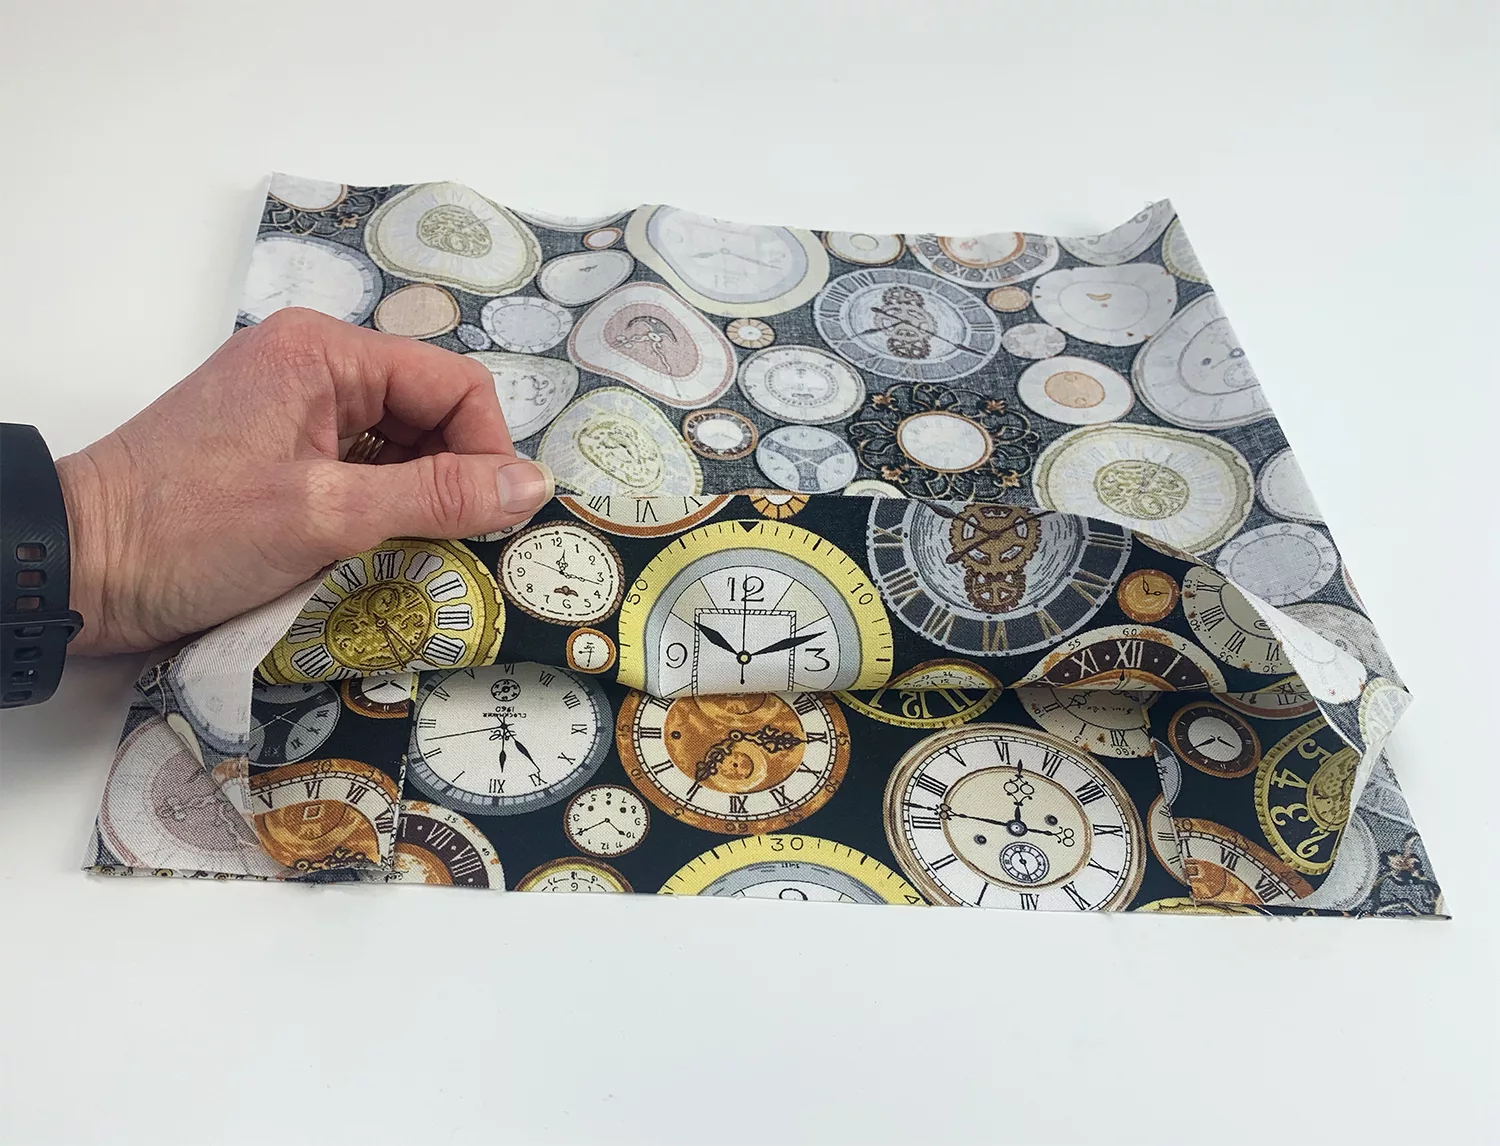
27. Align the outer and lining fabrics right sides together.

28. Pin and sew the short edges together only.

Form The Flap Pleats

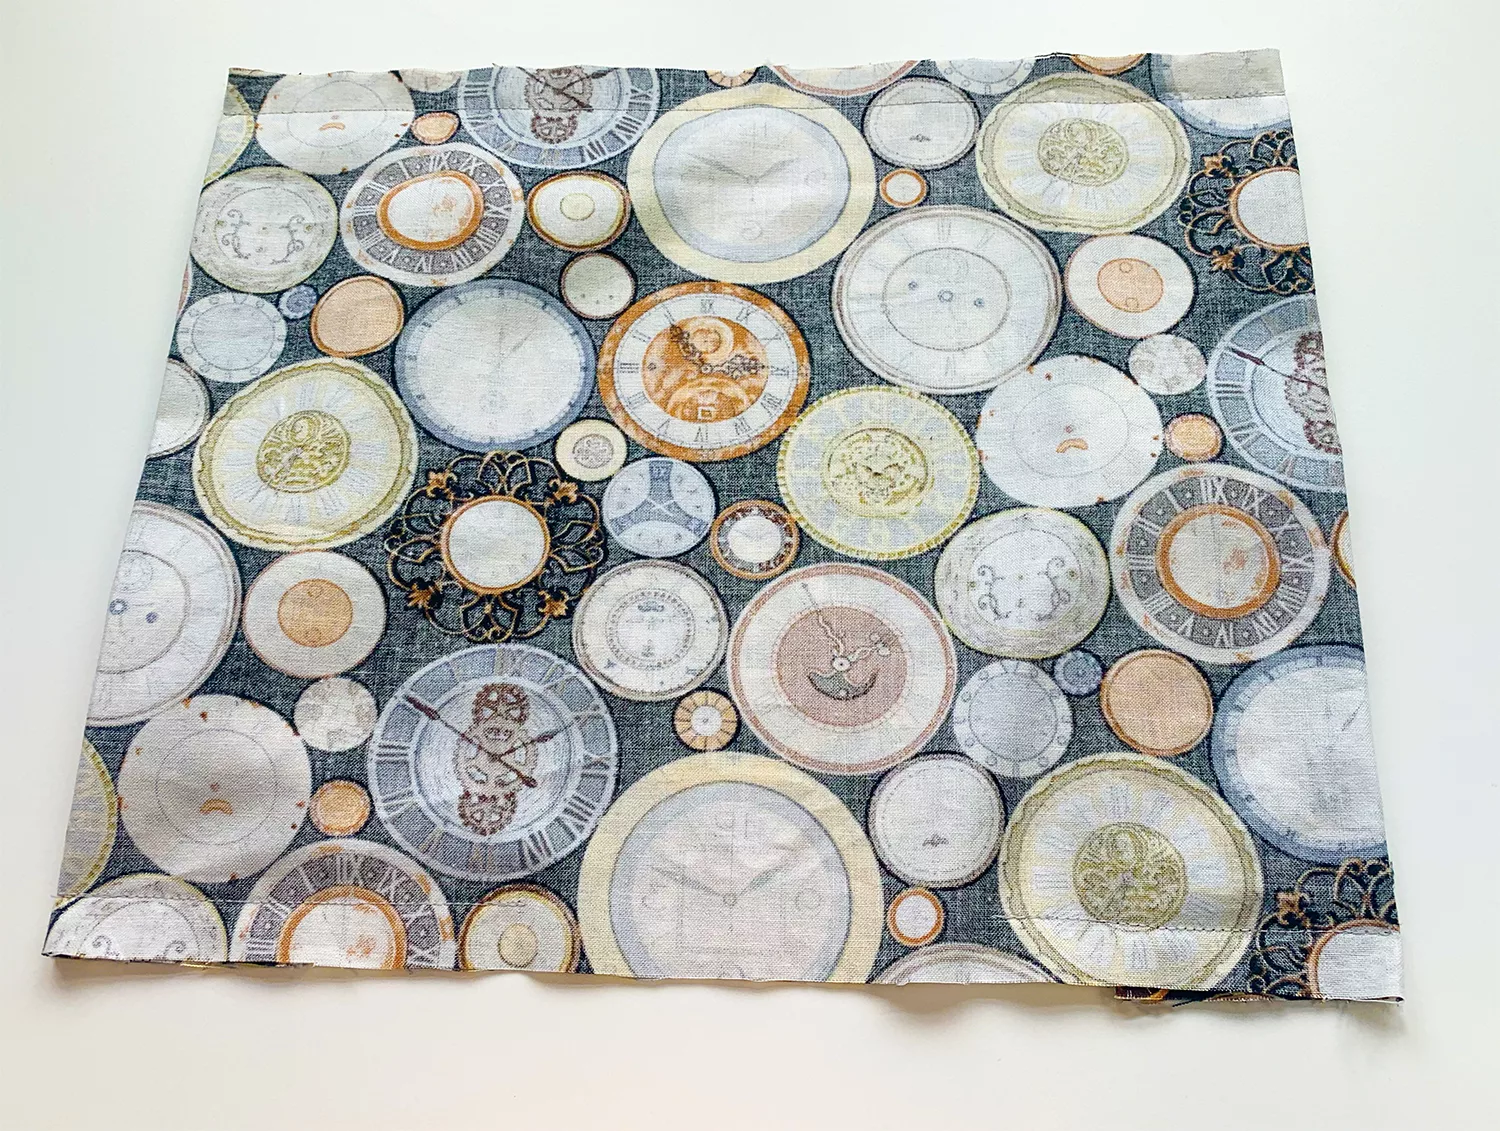
29. Find the edge of the Decovil on each side, then fold over and press the overhanging fabric.

30. On both sides press the fabric along the seam line to concertina back towards the edge of the Decovil.

31. On both sides fold and press the lining fabric in line with the edge of the Decovil, forming the flaps for the cover.

32. Pin and sew along the top and bottom edges of the cover, leaving a 10cm opening in the bottom edge.

33. Turn the cover out the right way, ensuring the flaps overlap the lining.

34. Hand or machine sew the opening closed.

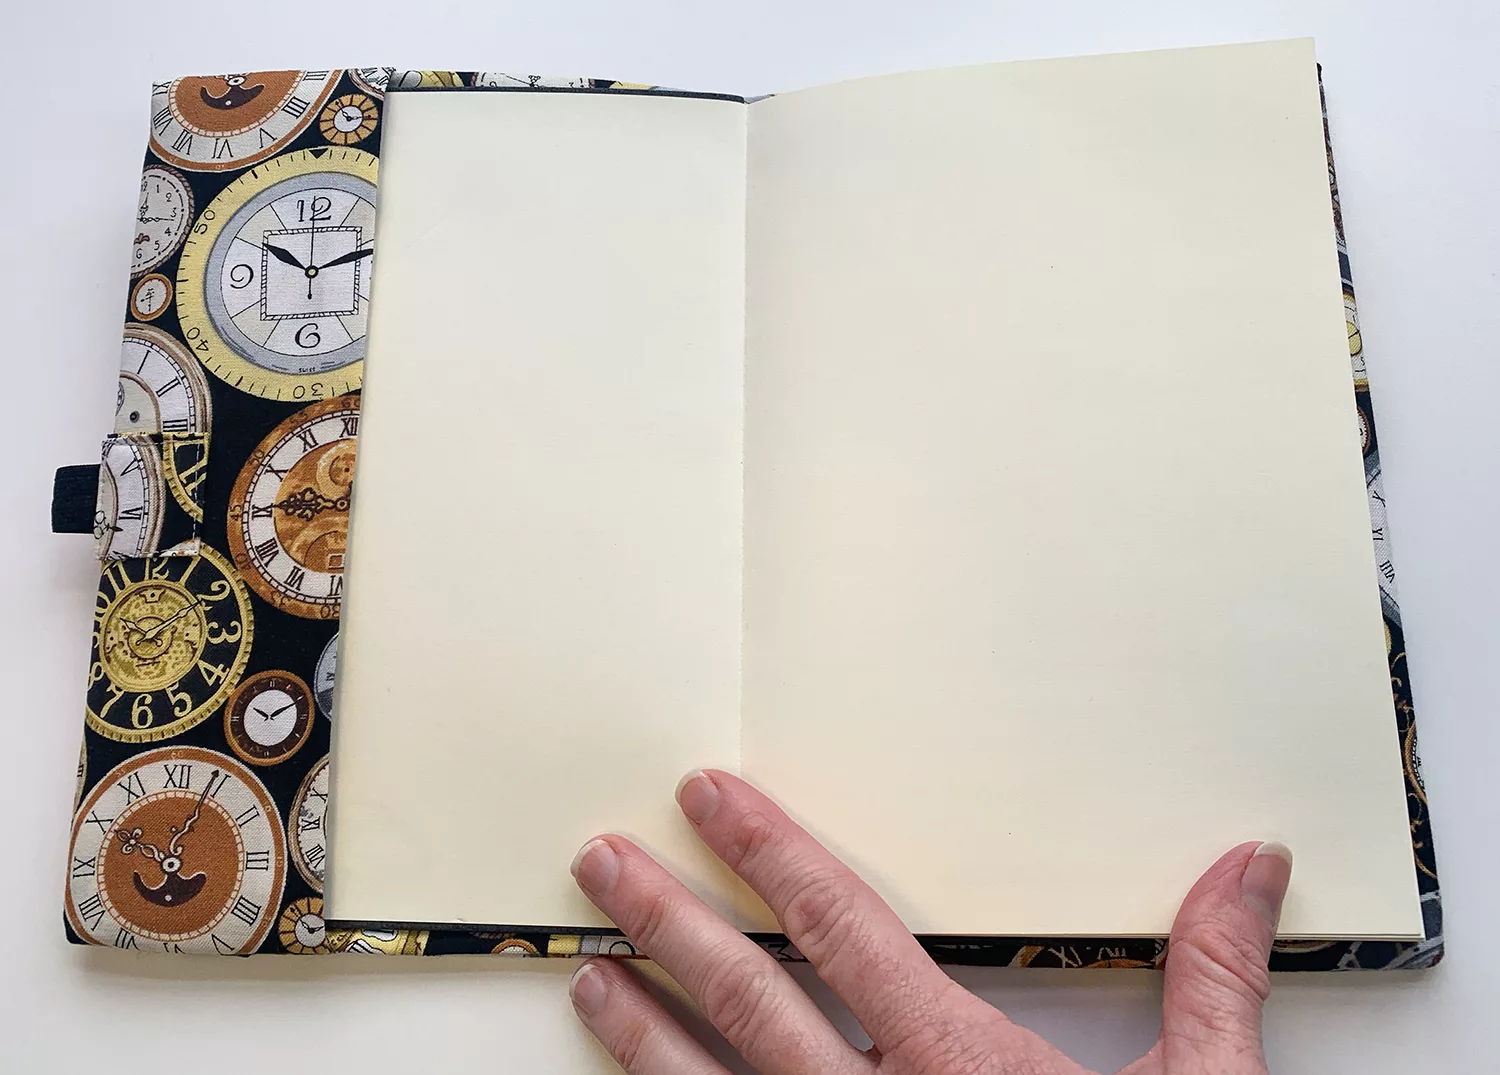
35. To insert the notebook, Open the cover on one side and insert it under the corresponding flap. Repeat on the other side.

And you’re finished, well done!

Never miss another tutorial or guide…

Stay up to date with the latest by signing up to our newsletter!

Click to join our mailing list!

Pin For Later!

We hope you found this tutorial useful! Let us know how you get along in the comments below.