Denim Jean Fabric: A Guide And Sewing Tips
There’s nothing quite like a good pair of denim jeans, is there? It’s such a versatile fabric which only improves with age and wear. We have the French to thank for denim, originally woven in the town of Nîmes for overalls and sailcloth it was known as “serge de Nîmes” which got shortened to “de Nîmes” and the name was born. Denim is a strong and durable twill woven fabric made from 100% cotton. Traditionally the warp yarns are dyed an indigo colour and the weft yarn is left undyed which is why true denim fabric is different colours on either side (for real fabric geeks, if your denim is the same colour on both sides it’s actually jean fabric, not denim!) We have recently started stocking denim, you can see our collection here and we carry a wide range of weights (including fat quarters) and colours. We also have stretch denim which is particularly great for clothing makes. 


Uses for Denim Jean Fabric
Denim is super versatile. As it’s 100% cotton it’s great for casual wear clothing such as jeans, skirts, jackets, shorts, children’s clothes, workwear overalls and protective clothing. As denim is very hardwearing it would also be great for home wear items such as oven gloves, cushions, decorative upholstery and bags.A Guide to Denim Weights
Denim comes in a vast array of weights and one of our most frequently asked questions is whether a denim classes as light, medium or heavy weight.- Lightweight – or under 12 Oz.
- Mid-weight – or from 12 Oz. – 16 Oz.
- Heavyweight – anything above 16 Oz.
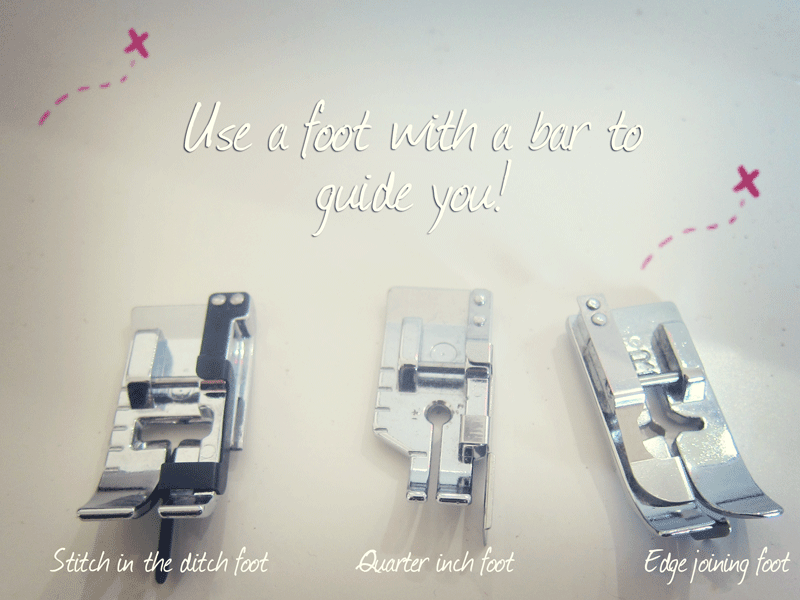
Sewing With Denim
Denim is a rough and tough fabric and the main problem is poses for sewing is the thickness of the fabric, as such you need to right kit for the job to ensure success. 1) Use a denim needle which are stronger than “normal” needles and have a sharper point both of which will help you sew through a heavier fabric. 2) Use denim thread, it’s stronger and especially important on stress seams. 3) Go slowly! Those layers of denim might leave your machine struggling, if that’s the case then slow down and use your hand wheel. 4) Reduce bulk. Some machines will glide through layers of denim with no issues, others might not have the wellie needed to cope. If this is the case then reduce bulk where you can by pressing seams out flat or by using thinner fabrics as facings of linings which is not only practical, but will also add some pretty design features to your work. You can also trim seams right back to your stitching line (being careful not to cut your stitches of course) 5) Use a longer stitch length, about 3-3.5 should do it. Have you made anything lately with denim? I’d love to see photos if you have!