Following on from this post, this is the second part of making a child’s skirt. I’ve not split these up as it’s an arduous task making this skirt, just simply because there are a few techniques I’ve used that are very transferable outside of little girl’s skirts so I figured it’d be an easy way to to take the bits you needed.
1) Use a foot with a bar
I often get comments about how neat my topstitching is and people often wonder how I can get a row of stitching so close to the edge of a garment and it be so straight! Well let me share my secret, I always use a foot to help achieve those dead straight lines. I have several “go to” feet for top stitching depending on where it is on a garment and how close to the edge I want to be. All these feet have the same thing in common – they all have a little bar that your fabric butts up against and you can use as a guide.
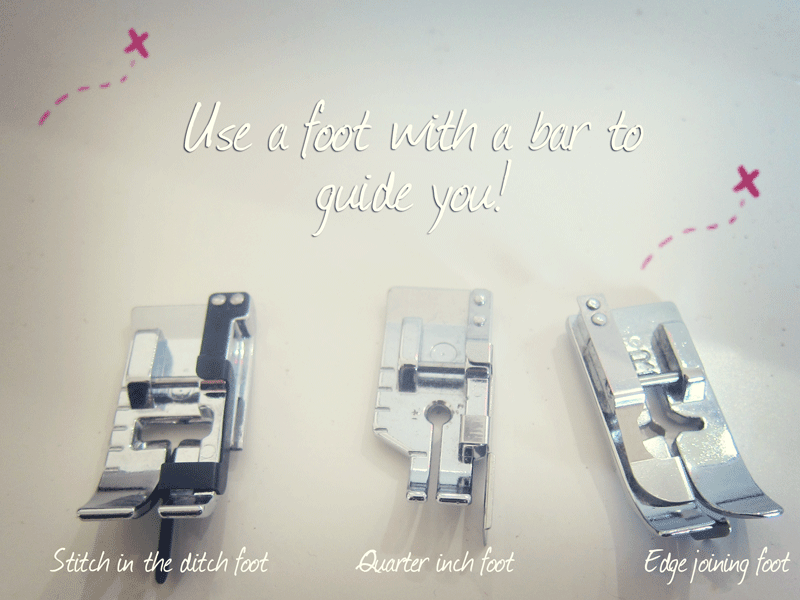
These are the three I use most often but if you have any other type of foot with a bar it will work too. You can achieve different widths by moving your needle position left and right (look carefully where you needle will come down so you don’t hit a bar!). The one that gives the narrowest results is the edge joining foot pictured on the right. I’ve never used this foot for edge joining, I *think* it’s supposed to be for attaching lace to garments but I cant be 100% sure and it was the first one I used to help me top stitch. Then when I started quilting I got a few more feet, and they had bars too – yay! The 1/4 inch foot gives you a wider top stitch and the stitch in the ditch is great when top stitching where 2 fabric meet, like here in between the piping and the skirt.
2) Increase your stitch length
When top stitching you’re often going through several layers of fabric, especially if you consider you’re often sewing through both the seams as well as the fabric. To give your topstitching the best chance of looking neat it’s a good idea to increase your stitch length. I generally increase from 2.5mm to 3mm, sometimes more if fabrics are thick, or there are more layers.
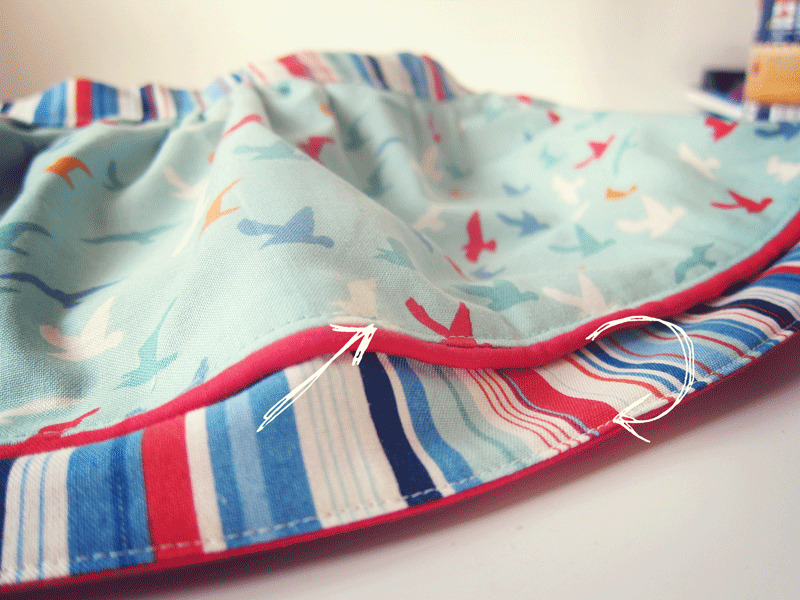
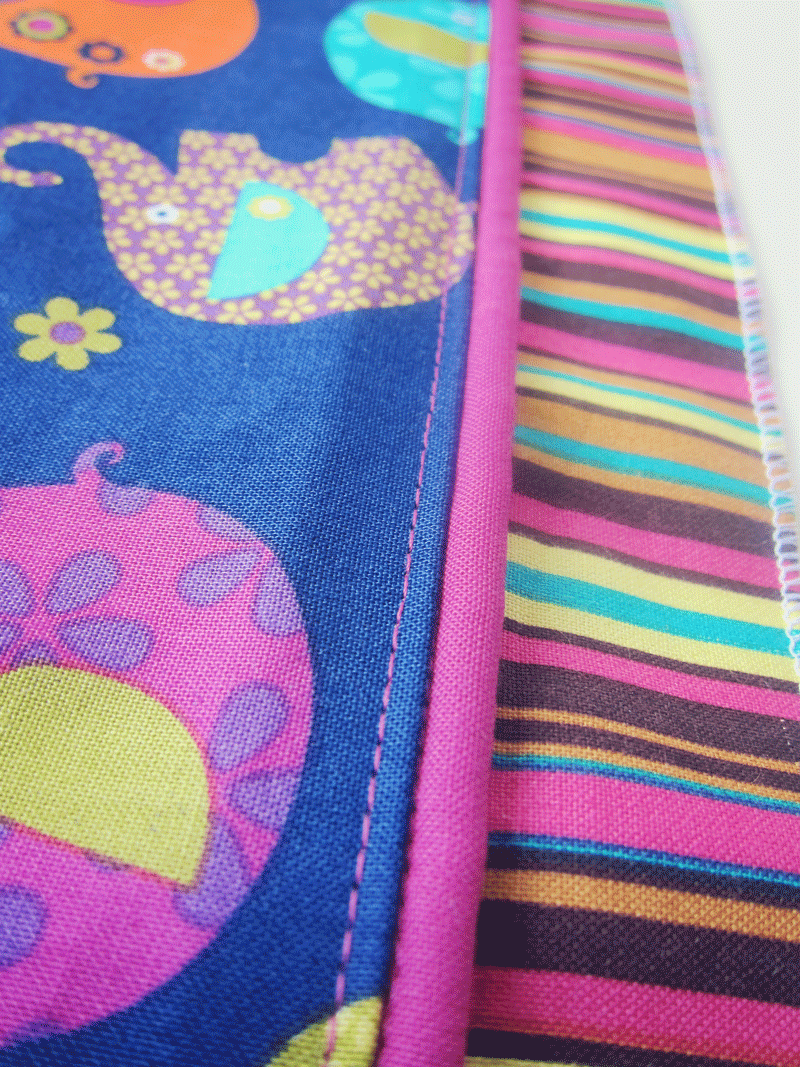
For my skirt I used a stitch in the ditch foot and set my needle position to the left and the guide nestled in the ditch between the two fabrics and left me with a beautiful, even and neat top stitch.
Next post will all be about the lining!
Excellent post. Great explanation and pictures. I’ve just invested in an edge stitch foot and already have a quarter inch foot. The edgde stitch foot is brilliant but I wanted a wider top stitch and I did think about the quarter inch foot but wasn’t sure. So thanks for confirming things. I’ve avoided top stitching but no more! 😉 Pinned 🙂
P.s I think I shall invest in a stitch in a ditch foot too 😉