Our site is getting a makeover! Please bear with us whilst we make improvements

What is Vlieseline Decovil Interlining?

What is Vlieseline Decovil Interlining?

Have you heard of Vlieseline Decovil? Wondering what this interlining can be used for? Our product guide will explain what Decovil Interlining is, how to apply it, and what projects it’s best suited for.

Vlieseline have a HUGE range of interlinings & interfacings that can add structure to your projects (you can explore the full range of Vlieseline products in our online haberdashery here) .
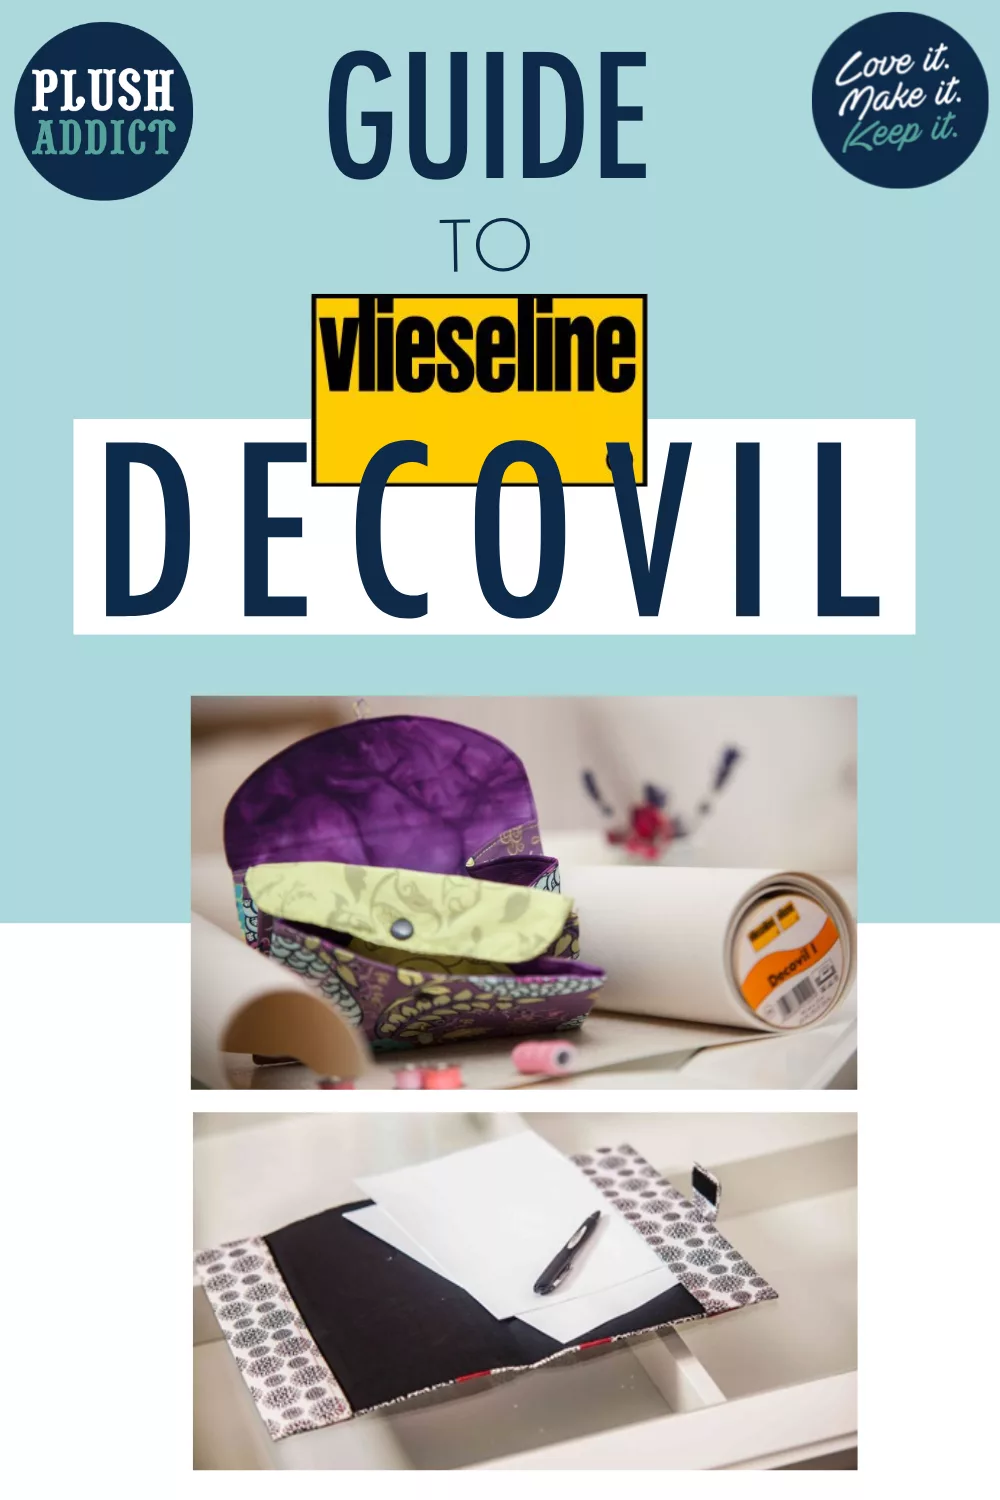
Say hello to Vlieseline Decovil!

Decovil is part of the Vlieseline Creative Range and it’s an interlining which adds amazing structure & strength to projects, whilst keeping your project light, pliable & crisp.

It feels like leather to the touch, but it has the added bonus that it’s easier to sew than leather – happy days!
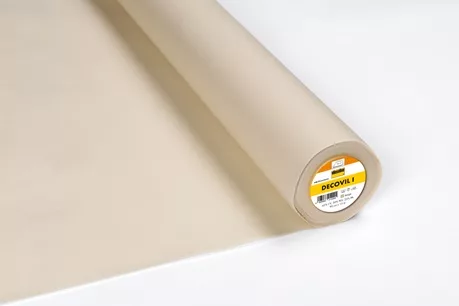
Decovil Interlining

One side of Decovil is shiny and the other side is matt. The shiny side is adhesive and can be adhered onto fabric using an iron & a damp cloth – this is super handy so you don’t have to sew in the Decovil to your fabric.

Decovil is available in 2 weight options

Decovil I is the “original” Decovil interfacing- it’s thicker and heavier. Great for things like bag bottoms, storage boxes, zipper pouches etc…

Decovil Light, as the name suggests, is a lighter weight & thinner version of the original Decovil. It’s also softer.

Which to choose? Depending on your project and desired outcome but if, for example, you were making a bag you might choose to use Decovil I for the main body of your bag but for the bag handles choose Decovil I Light because you have a lot of layers to sew through.

Check out this little video which will hopefully give you an idea about how Decovil handles and moves

Never miss a guide or tutorial

Click to join our mailing list!
The Benefits of Decovil Interlining

We’re a little bit in love with Decovil here at Plush Addict! Here’s some reasons why


  • It’s resistant to tearing and bending
  • Decovil gives structure
  • Gives a smooth, sleek finish
  • It’s Easy to shape
  • Decovil doesn’t crease easily – and if it does, it’s easy to restore
  • Helps reduce fraying
  • Adds durability to your project
  • Decovil can be pierced
  • It sews easily
  • Has a fusible coating on one side
  • It’s washable at 30 degrees

Check out our The Ultimate Vlieseline At-A-Glance Guide for more info on Vliseline’s Interfacings

When To Use Decovil

Decovil is really versatile but to give you an idea, you can use it in projects such as  

  • Placemats
  • Bags
  • Belts
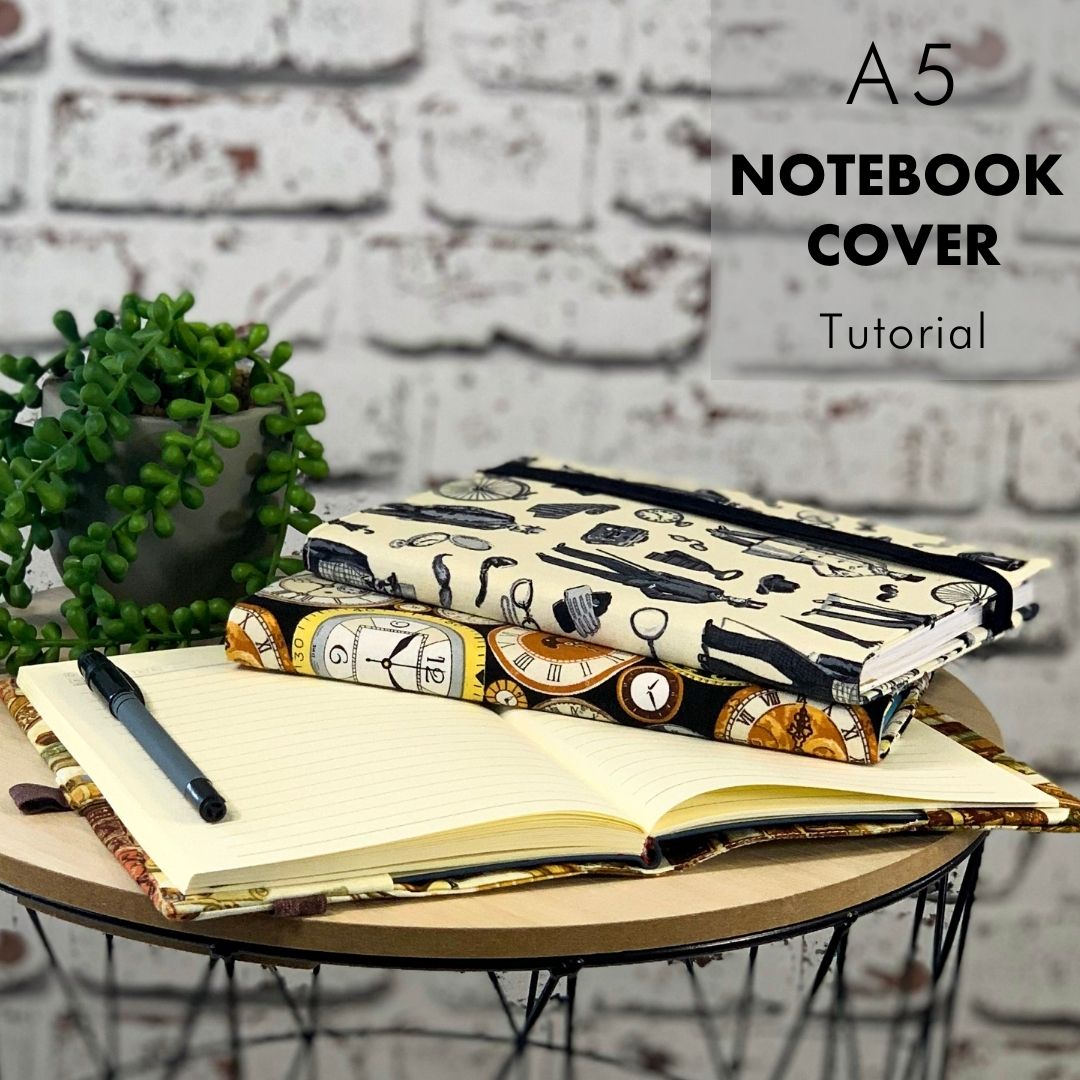
  • Book & Notebook Covers
  • Zipper Pouches
  • Hats
  • Interior decorations
  • Small baskets

Decovil also makes a great alternative to wadding if you’re making placemats and gives a smooth and sleek look to the finished item. Check out our video:

Check out the suggestions on the Vlieseline site below for some free projects using Decovil

How to apply Decovil


It’s a cinch! Applying Decovil will be familiar – it’s very similar to applying other types of interlining and interfacing: 


  1. Spread a smooth surfaced tea towel/ spare length of cotton over an ironing board
  2. Place your outer fabric  right side down
  3. Position the Decovil shiny side down so it is on top of the wrong side of your fabric
  4. Cover with a damp cloth and press for roughly 6 seconds
  5. Allow the adhesive to cool and cure for a minimum of 30 minutes to allow the adhesive to stick properly

Grab a cheeky 10% discount on your next Decovil purchase with DECOVIL10One time use per customer.

Projects Ideas Using Decovil

Check out our Free notebook project which uses Decovil here

The Vlieseline Blog has some fab & FREE tutorials using the Decovil range. 

Have a nosy at: 

On The Go Multi Bag free project using Decovil from Vlieseline

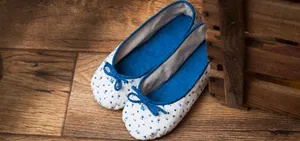
Slippers free project using Decovil from Vlieseline

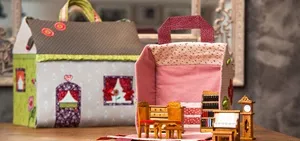
A Doll’s House free project using Decovil from Vlieseline

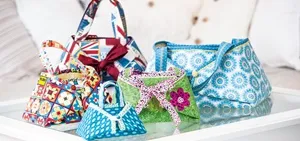
Clam Shell Wedding Favours free project using Decovil from Vlieseline

Other Useful Info About Vlieseline Decovil

If you’re not planning on laundering your project,  Decovil can be painted! Use watered down acrylic paint and be sure to paint on the matt side

Decovil can also be painted using fabric dye on the adhesive (shiny) side. Watch out here though –  the nature of the fibres may well cause dye to spread from the point where it is applied. Make sure you test before hand… 

Want to try Decovil for the first time?

Grab a cheeky 10% discount on your next Decovil purchase with DECOVIL10. One time use per customer.

PIN ME FOR LATER!

A Guide To Fat Quarters

A Guide To Fat Quarters

So you see a new fabric collection and you’re like…

I LOVE IT

…but how much of it do I need? Can I afford them all? I can’t possibly choose!

Oh yeah, we totally get you.

This is why we offer fat quarter bundles so you can love it, make it & keep it!

Watch our video then check out the written guide below for the full fat-quarter lowdown!

What is a fat quarter?

You might have seen FQ on a tutorial and you’re like… what?!

FQ stands for fat quarter, which is a piece of pre-cut fabric that is made by cutting half a metre of the full fabric width from the bolt and then cut in half vertically, hence ‘quarters’. Most quilting fabrics are 44”/110cm wide, which makes fat quarters around 50cm x 55cm.


A fat quarter cut is a square shape which means you’re getting more scope to make wider things out of it, even though it’s technically the same surface area. 


You may find that some fabrics have a wider width, such as our PUL and Bamboo Velour. We sell this by the fat quarter, however the width can be up to 150cm, so you would get a very generous amount of fabric!


You may find that some fabrics have a wider width, such as our PUL and Bamboo Velour. We sell this by the fat quarter, however the width can be up to 150cm, so you would get a very generous amount of fabric!


Boring Legal Bit: If you follow any tutorial or guidance found in this post, or on this blog, you agree to be bound by our disclaimer which can be viewed here

Where can I buy fat quarters?

Right here at Plush Addict! We sell quilting collections in fat quarter bundles and you can buy any of our fabrics as a fat quarter, as they are cut bespoke for you when you order. We even have a colour matching service, just pop in the order notes which fabrics you’d like us to colour match and we’ll check for you.


Did you learn a lot from this blog? We’d love to hear from you in the comments!

Never miss a guide or tutorial

Click to join our mailing list!
Pin this for later!

Never miss a guide or tutorial

Click to join our mailing list!
A Beginners Guide to KAM Snaps

A Beginners Guide to KAM Snaps

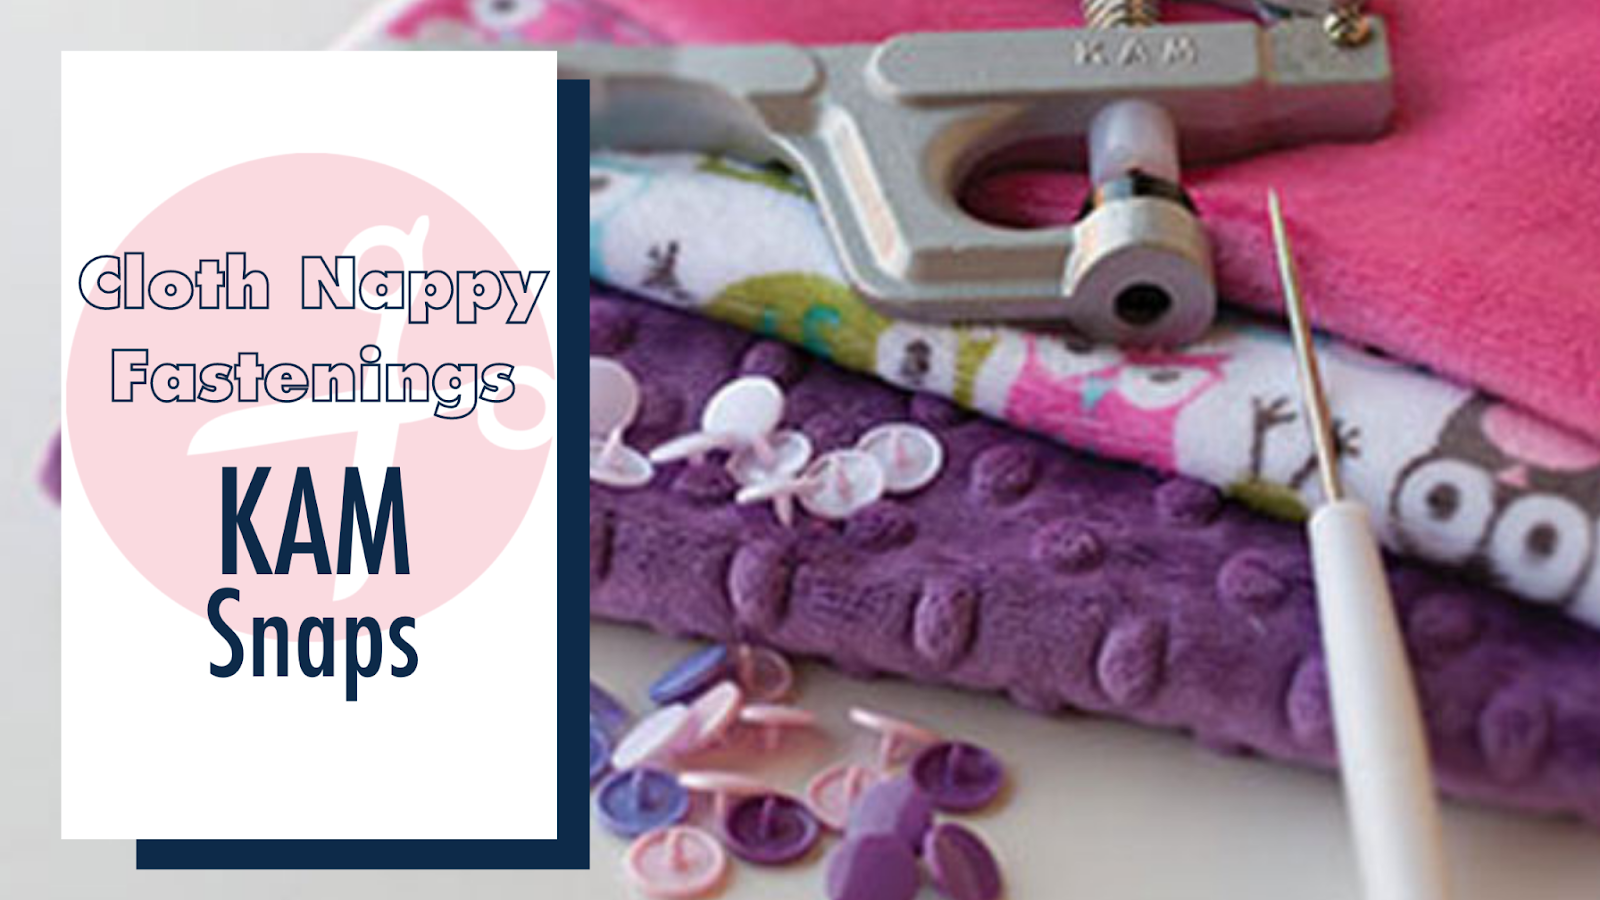
Looking for a quick and easy fastening? We have put together this super handy beginners guide to all things KAM snaps!

What are KAM Snaps?


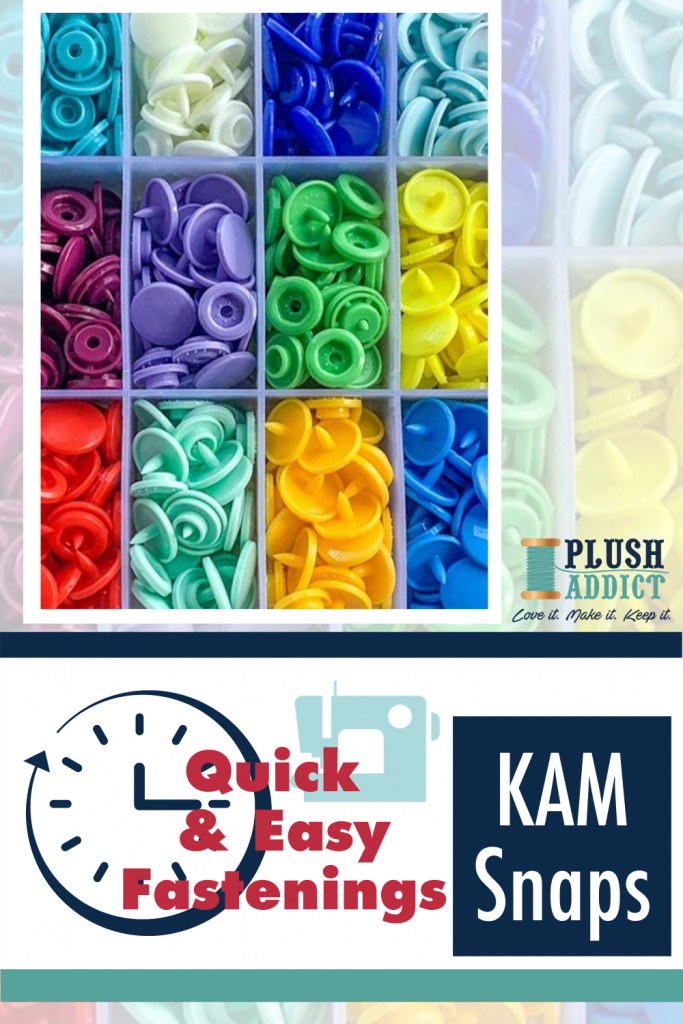
KAM snaps are high quality plastic fasteners, the perfect alternative to sew on buttons and metal snaps. They are made from polyacetal resin which is extremely strong and Oekotex certified, which means they’re safe for children’s clothing. They come in different sizes. In addition, there are lots of different colours to match all kinds of fabrics and projects.

Pin this for later!

Boring Legal Bit: If you follow any tutorial or guidance found in this post, or on this blog, you agree to be bound by our disclaimer which can be viewed here

What do we need to apply KAM snaps?


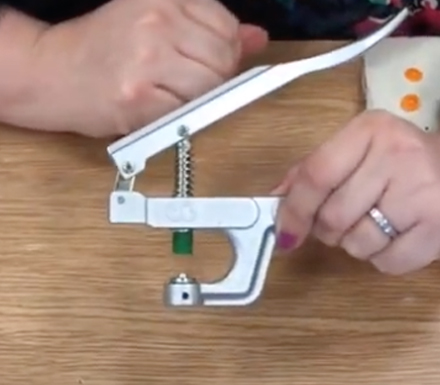
KAM Snaps do not require any sewing and are applied with a snap setting tool. The most popular are the KAM pliers, which come with different die sets to suit all KAM snap sizes, an adjusting screwdriver, a rod for different fitting scenarios and a plastic-handled awl.

The pliers are great for light use. However if you think you’ll get hooked and will be fitting lots of plastic snaps, we’d recommend the KAM press.

What is a KAM press?


A KAM press is a professional snap press, which is compatible with all KAM snap shapes and sizes. It is a small but mighty desktop press and the die sets for the different size KAM snaps can be swapped and changed without any tools. Moreover, if you’re looking to attach lots of KAM snaps with a snug professional finish, this is the one to go for.

How to use KAM snap pliers


Installing KAM snaps is easy and super quick. You will need 2 KAM snap caps, 1 stud (male) and 2 sockets (female).

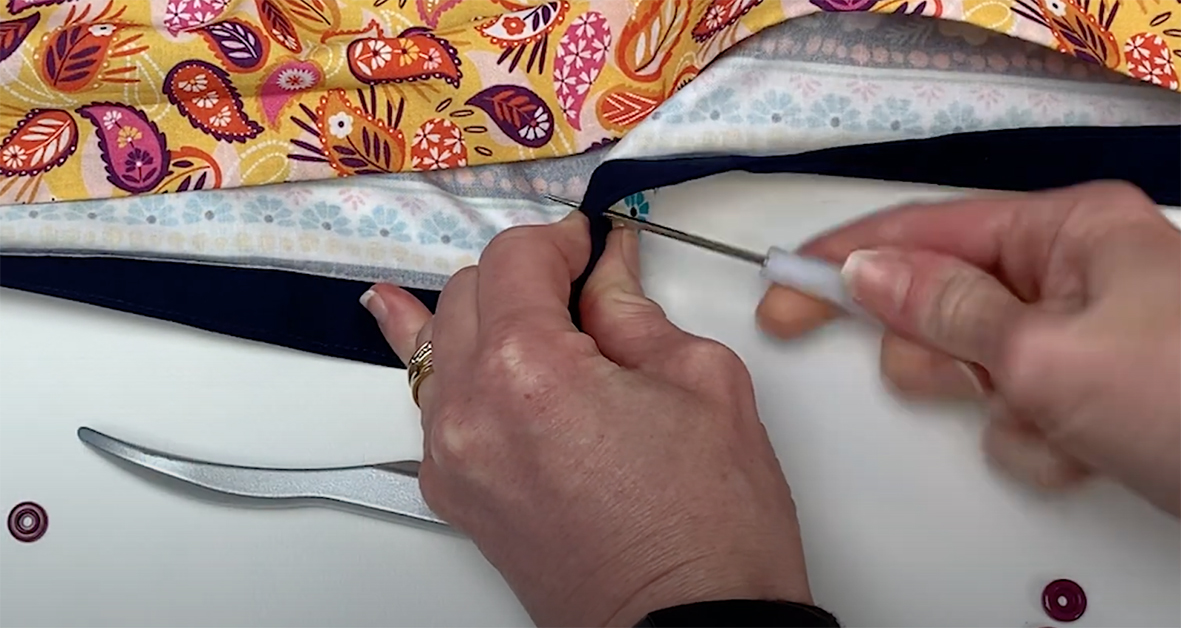
Step 1: Pierce your fabric with an awl (Don’t worry, you get one of these included with your plier kit!)

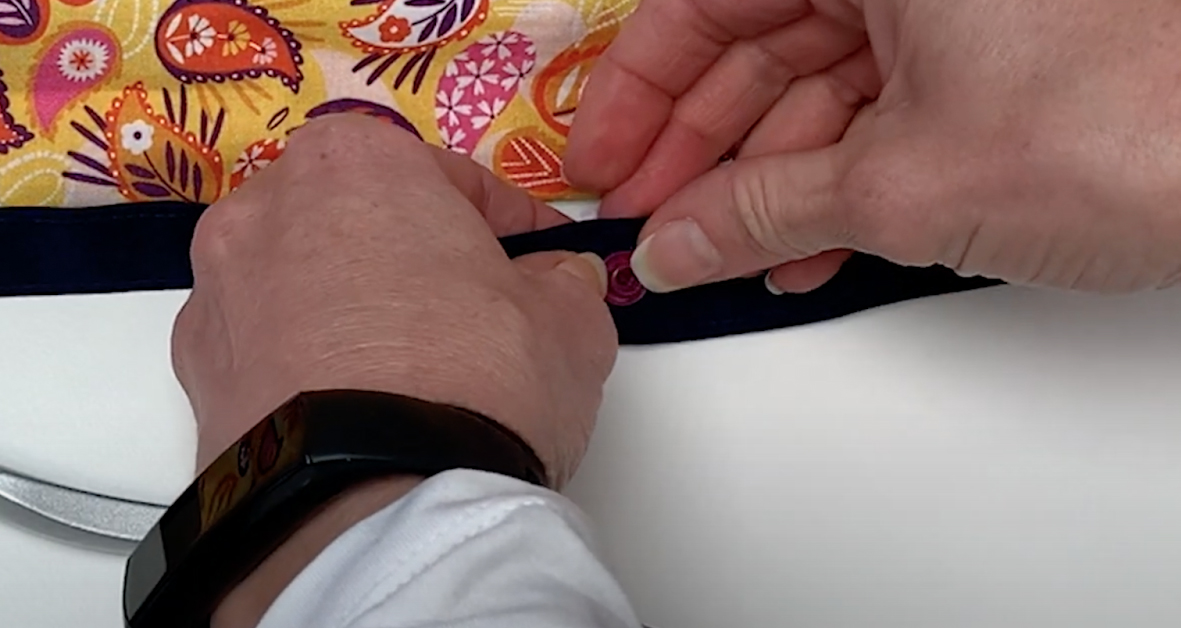
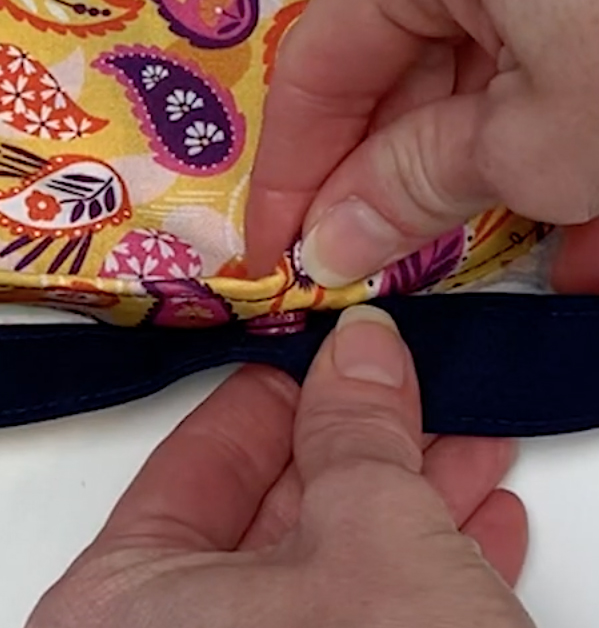
Step 2: Place the point of one of the caps through the hole and place the male stud on top.

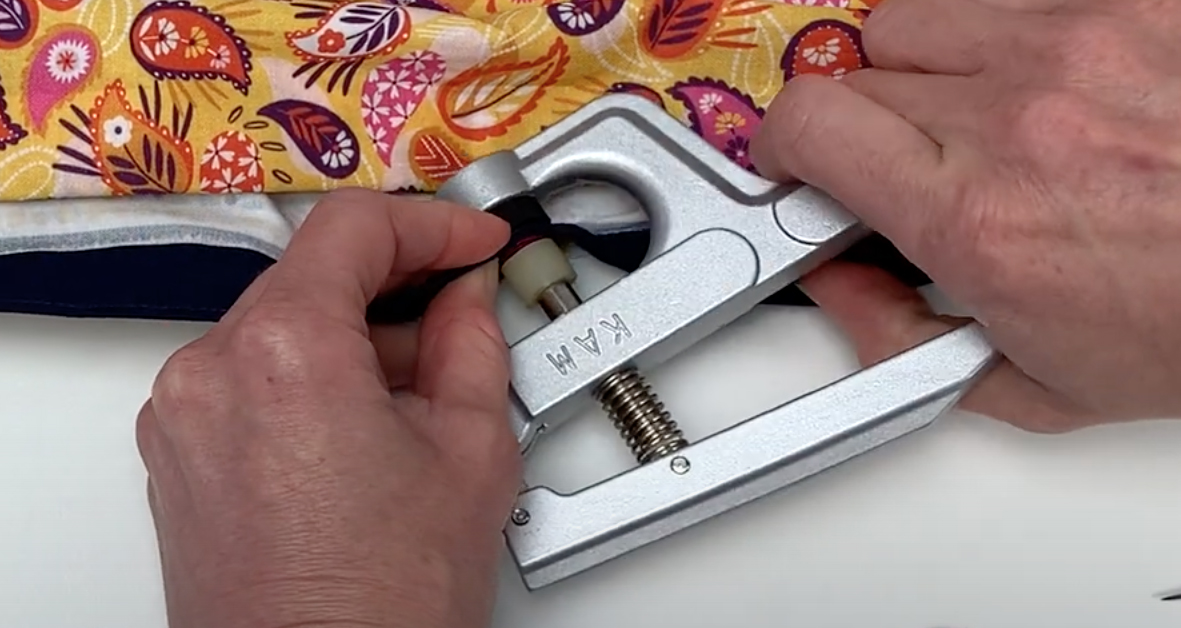
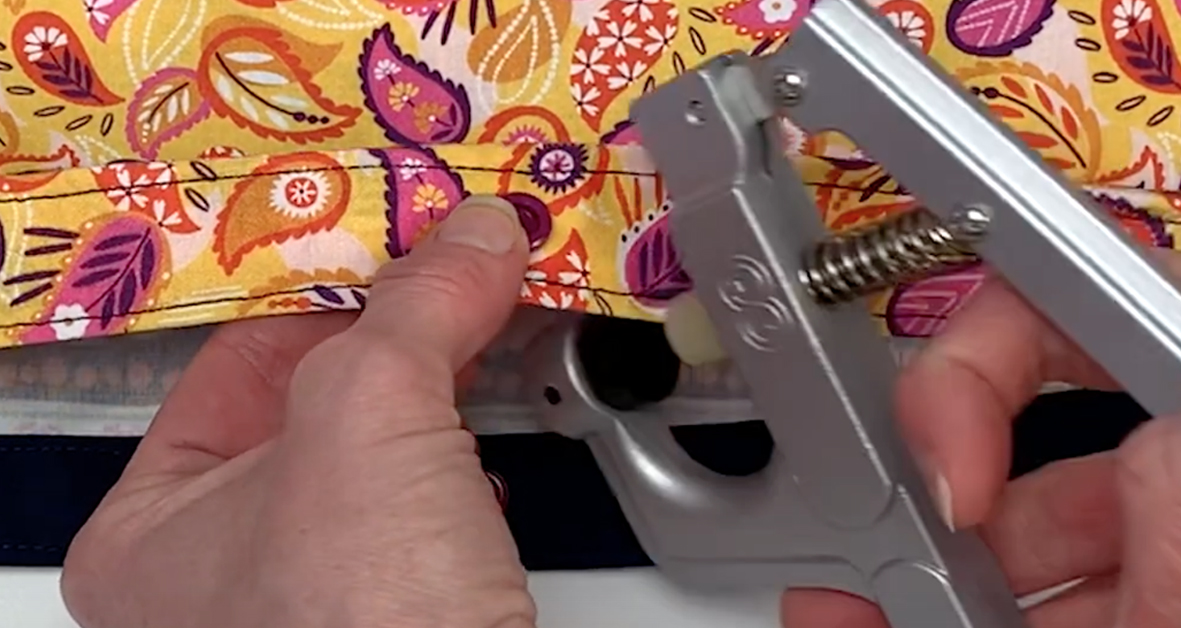
Step 3: Place in the KAM pliers making sure the cap is flush in the black sunken dish and squeeze the pliers well.

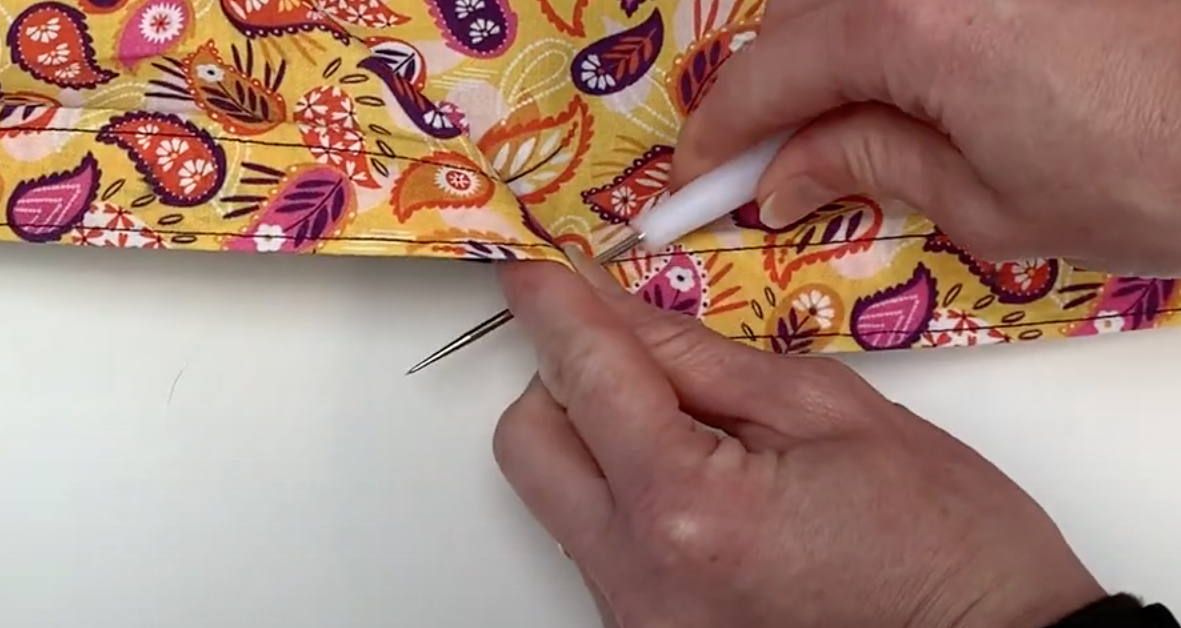
Step 4: Pierce through the other side of the fabric with the awl.

Step 5: Repeat steps 2 and 3 with the female part.

Woohoo! You have an attached KAM snap!

Pin this for later!

Can you remove KAM snaps?


Yes you can! Over on the website we sell KAM snap removal pliers which are designed to cleanly remove KAM snaps from your projects. This is great if you want to reuse the KAM snaps on a project a little one has grown out of or maybe you’re upcycling!

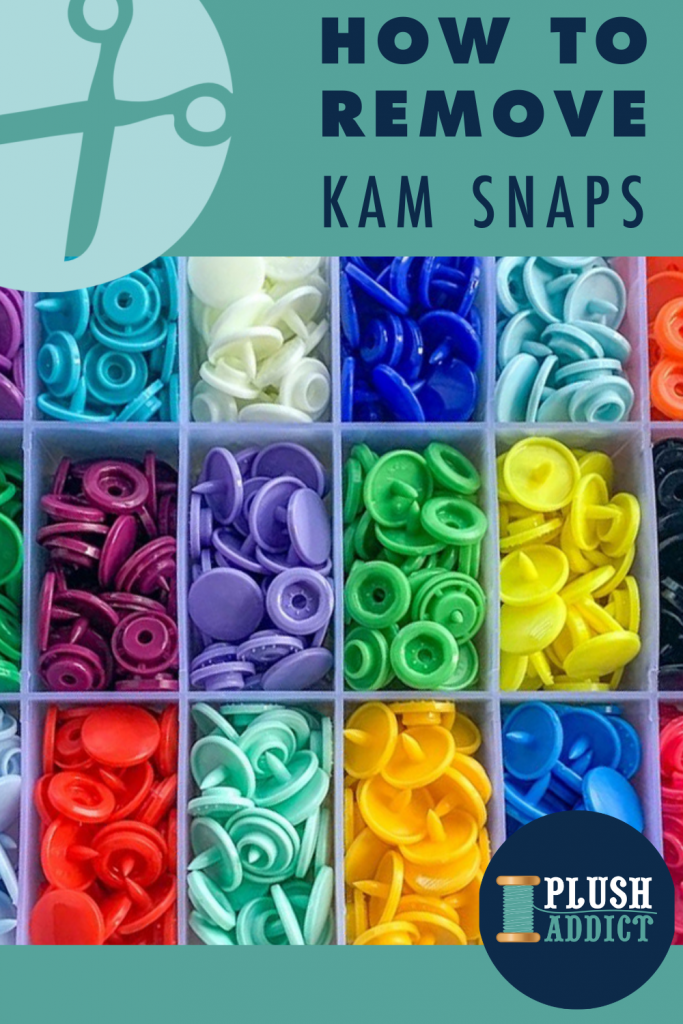
How to remove KAM snaps


Removing KAM snaps is really quick and easy. Furthermore, with the removal pliers you get the die sets to remove both the female and male sides of the snap.

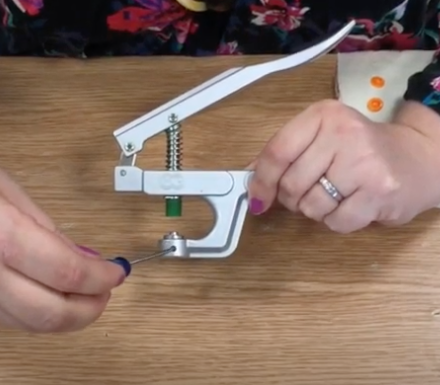
Step 1: Drop into the pliers the female or male die set, depending on which part of the KAM snap you’re removing.

Step 2: Tighten it up with the screwdriver provided in the pliers kit.

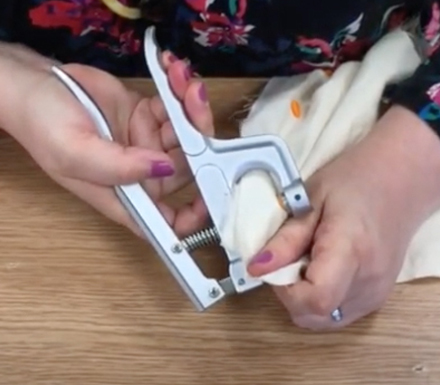
Step 3: Slot the installed KAM snap into the pliers so it is sitting flush in the die set.

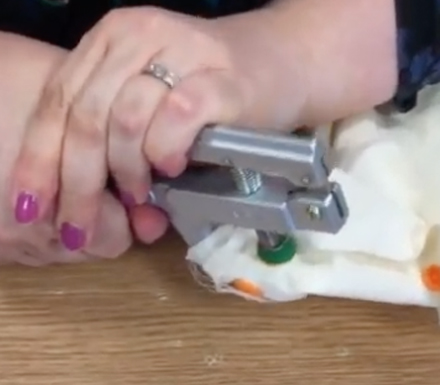
Step 4: Squeeze the pliers until you hear a click, then the KAM snap should fall away from the project.

Pin this for later!

What kinds of projects can I use KAM snaps on?


We have tons of inspiration, tutorials and guides using KAM snaps! Here are some of them:

We hope you found this guide helpful! Let me know in the comments if you have any questions

Tutorial: How To Sew French Seams

Tutorial: How To Sew French Seams

Boring Legal Bit: If you follow any tutorial or guidance found in this post, or on this blog, you agree to be bound by our disclaimer which can be viewed here

A sewing tutorial for Beginners

Once you’ve gained confidence in sewing straight lines, you may want to learn how to sew a French seam. French seam is a great step to add to your sewing projects to get them looking extra special.

French seams are most commonly used for fine fabrics:

  • The seam is sewn twice, making the finished item more durable.
  • Raw edges are enclosed in the finished seam, to give a neat finish.
  • Some fine fabrics are sheer, making seams visible. A French seam is aesthetically pleasing.

If you’re new to sewing French seams the easiest start point is to practice with cotton fabrics; it’s easier to see your progress and they are much more forgiving when unpicked.


Jump To:

  1. Sewing With Cotton Fabrics
  2. Sewing With Fine Fabrics

Never miss another tutorial or guide…

Stay up to date with the latest by signing up to our newsletter!

Click to join our mailing list!

Practicing French Seams With Cotton Fabric

Important notes:

For steps using machine sewing, straight stitch, backstitching at the start & end using stitch length 2.5 unless otherwise stated.

Prepare your fabrics as per manufacturer’s care advice.

You will need:

  • 2 pieces of cotton fabric

Step-by-Step With Cotton Fabric

1. Pin 2 pieces of fabric wrong sides together


pin 2 pieces of fabric wrong sides together

2. Sew with a 5mm seam allowance

Sew with a 5mm seam allowance

3. Press the seam open with the seam allowances to one side, trim any loose threads.

 Press the seam open with the seam allowances to one side, trim any loose threads.

4. Fold along the seam to bring the 2 fabrics right sides together and press.

Bring the 2 fabrics together

5. Pin then sew with a 1cm seam allowance.

Sew with a 1 cm seam allowance

6. Press the seam allowance to one side

Press the seam allowance to one side

On fine fabrics the 1st sewn seam allowance is trimmed and a wider seam allowance is sometimes necessary for this step. 

When using cotton, a 5mm seam can be usually be sewn on a domestic machine without the fabric being ‘chewed’. The seam allowances have not been trimmed in the cottons practice following the 1st sew, unless you wish to. The finished seams here will not be visible as per sheer fabrics, therefore a slightly bulkier finish does not present any aesthetic issues.

The final seam on fine fabrics is narrower.

Once you feel confident sewing a French seam with cotton fabrics, you may wish to practice on some delicate fabric:

Sewing French Seams With Fine Fabrics

Important notes:

For steps using machine sewing, straight stitch, backstitching at the start & end using stitch length 3 unless otherwise stated.

Prepare your fabrics as per manufacturers care advice.

You will need:

  • 2 pieces of cotton fabric

Step-by-Step With Fine Fabrics

Prepare your fabrics as per manufacturers care advice.

1. Pin 2 pieces of fabric wrong sides together

2. Sew with a 1cm seam allowance

3. Press the seam open with the seam allowances to one side, trim the seam allowance to 2 or 3mm

4. Fold along the seam to bring the 2 fabrics right sides together and press.

5. Pin then sew with a 5mm seam allowance.

6. Press the seam allowance to one side

And you’re finished, well done!

Never miss another tutorial or guide…

Stay up to date with the latest by signing up to our newsletter!

Click to join our mailing list!

Pin For Later!

French Seam Sewing

Follow Plush Addict on social media and keep an eye out for more tutorials!