Our site is getting a makeover! Please bear with us whilst we make improvements

3 DIY Gifts For Grandparents

3 DIY Gifts For Grandparents

Looking for meaningful gift ideas for grandparents? This guide offers three DIY sewing projects, including personalized cushions, fabric photo frames, and cozy lap quilts. These handmade gifts are simple to create and perfect for expressing your love and appreciation. Follow our step-by-step tutorials to make something special for your grandparents!

This post will be updated soon, please check back shortly

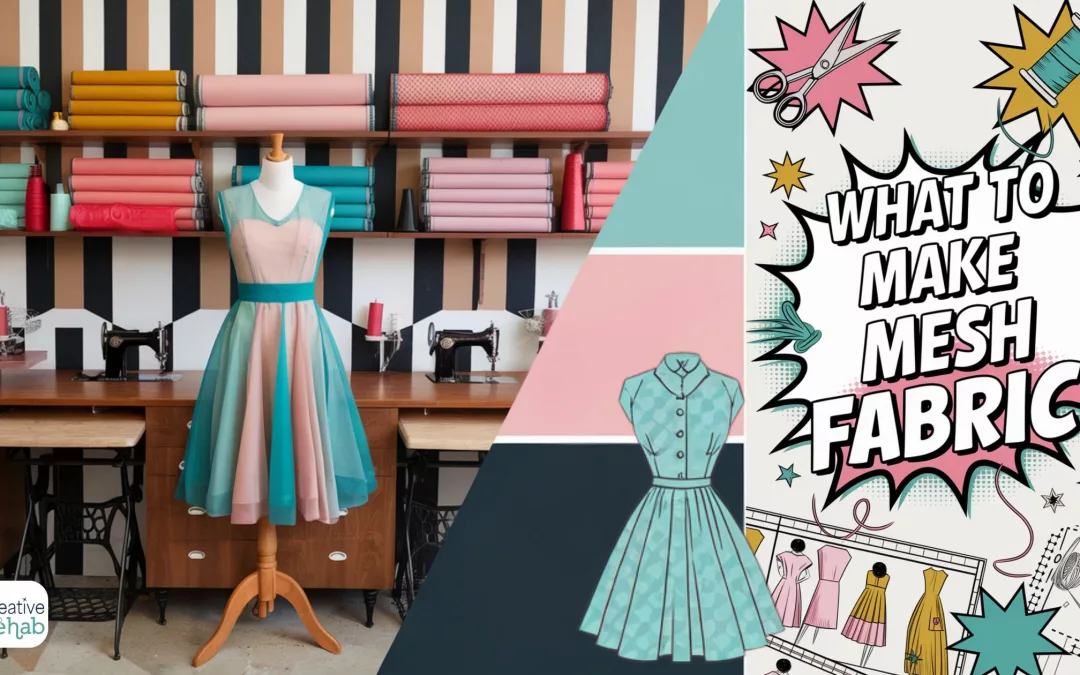
What To Make With Mesh Fabric

What To Make With Mesh Fabric

So, you’ve got some mesh fabric staring at you, daring you to turn it into something fabulous. It’s lightweight, see-through, and just a little bit intimidating. But guess what? That airy, stretchy, and slightly mysterious fabric isn’t as tricky as it seems. It’s like the friend who looks all fancy but is secretly super down-to-earth. Let’s chat about why mesh fabric deserves a prime spot in your sewing stash, and what you can whip up with it.

Why Mesh Fabric Is Worth the Effort

Mesh fabric might seem like the diva of the fabric world, but it’s more like the multitasker who juggles fashion, function, and flair with ease. Need a breathable layer for activewear? Mesh fabric has got your back – literally. Looking to organise your life with lightweight storage solutions? Mesh fabric steps in like a pro. Want a chic overlay for an evening dress? It delivers elegance effortlessly.

Here’s what makes mesh fabric a game-changer:

  • Lightweight and breathable: Ideal for airy garments or storage solutions that won’t weigh you down.
  • Versatile: From tote bags to trendy summer tops, mesh fabric adapts seamlessly to both creative and practical projects.
  • Eco-friendly potential: Turn scraps into reusable produce bags or patchwork panels, reducing waste with style.  
  • Transparency with style: Visibility and sophistication go hand in hand. No more rummaging through opaque bags for your essentials.

Still hesitant? With a few techniques (we’ll cover those soon), you’ll handle mesh fabric like a seasoned sewist.

Common Misconceptions About Sewing with Mesh Fabric

Sewing with mesh fabric isn’t as daunting as it seems. Let’s tackle the myths head-on:

  • “Mesh is too hard for beginners.” Not true. Start with small projects like scrunchies or drawstring bags. It’s like learning to ride a bike – begin with training wheels, and soon you’ll master it.
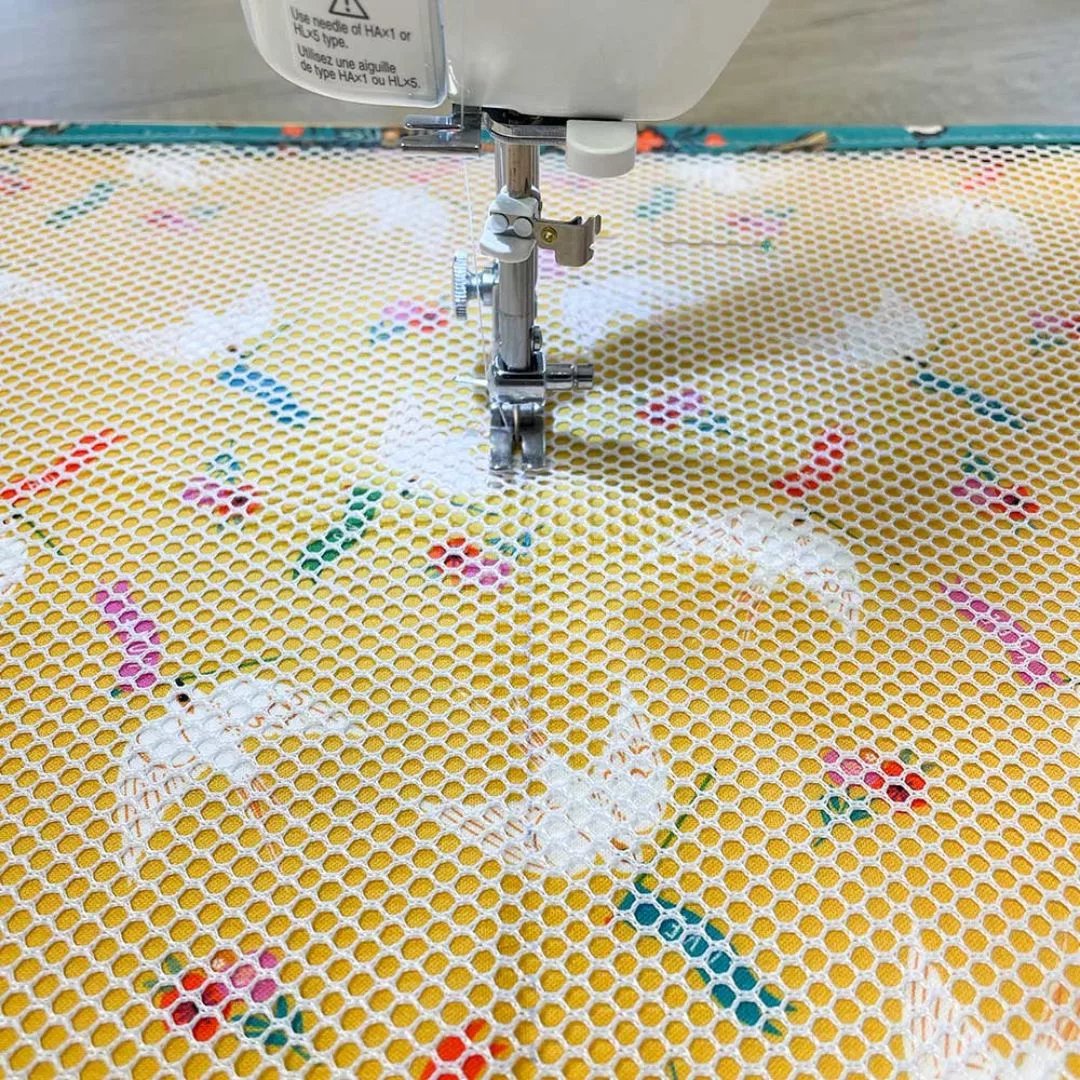
  • “You need expensive, specialised tools.” All you really need is a basic sewing machine, a ballpoint or stretch needle, and a touch of patience.
  • “Mesh fabric is fragile.” While delicate-looking, mesh fabric is surprisingly durable, especially when supported with stabilisers.

Think of mesh fabric as the underdog in a feel-good movie. Everyone underestimates it, but with some care and effort, it becomes the star of the show.

Looking to expand your fabric knowledge?

Check out our Fabric Guides for tips on working with all types of fabric

Essential Tools and Tips for Sewing with Mesh

Sewing with mesh fabric is a bit like baking a soufflé – delicate, but completely manageable with the right prep. Here’s your go-to toolkit:

Tools You’ll Need

Pro Tips

  • Practice first: Use scrap mesh fabric to test stitches and tension. Think of it as your dress rehearsal.
  • Slow and steady: Speed leads to errors; precision wins every time.
  • Edge control: Finish edges with fold-over elastic or bias tape for a polished look.
  • Layer up: Combine mesh fabric with sturdier fabrics for added structure, especially for pockets.

Fun Fact About Mesh

In 1888, British mill owner Lewis Haslam invented mesh fabric after a serendipitous walk with his aunt. While out in cold weather, he noticed her gloves were full of holes but she remained warm. Intrigued by this observation, Haslam began experimenting with loosely-knit fabrics and founded Aertex, the world’s first mesh fabric production company

Beginner-Friendly Projects to Start With

Jump into mesh fabric sewing with these five beginner-friendly projects:

  • DIY Mesh Tote Bags: Create lightweight, stylish alternatives to plastic bags. Perfect for groceries or books, with the added bonus of visibility.
  • Scrunchies: Fun, easy, and ideal for leftover scraps. Mesh fabric adds a unique texture to your hair accessories.
  • Summer Tops or Overlays: Breezy and chic, these are perfect for layering on sunny days.
  • Laundry Bags: Protect your delicates in the wash. Quick to sew and endlessly useful.
  • Home Décor Projects: Add a modern touch with mesh fabric curtains or table runners.

Pattern and Project Highlights

Level up with these standout mesh fabric patterns. Each project brings something unique to the table:

  • Grab Some Grub Lunch Bag: A versatile lunch bag featuring mesh fabric pockets for ice packs or cutlery. Add a chalk border for fun customisation. Pro tip: Line it with Lamifix for easy cleaning.
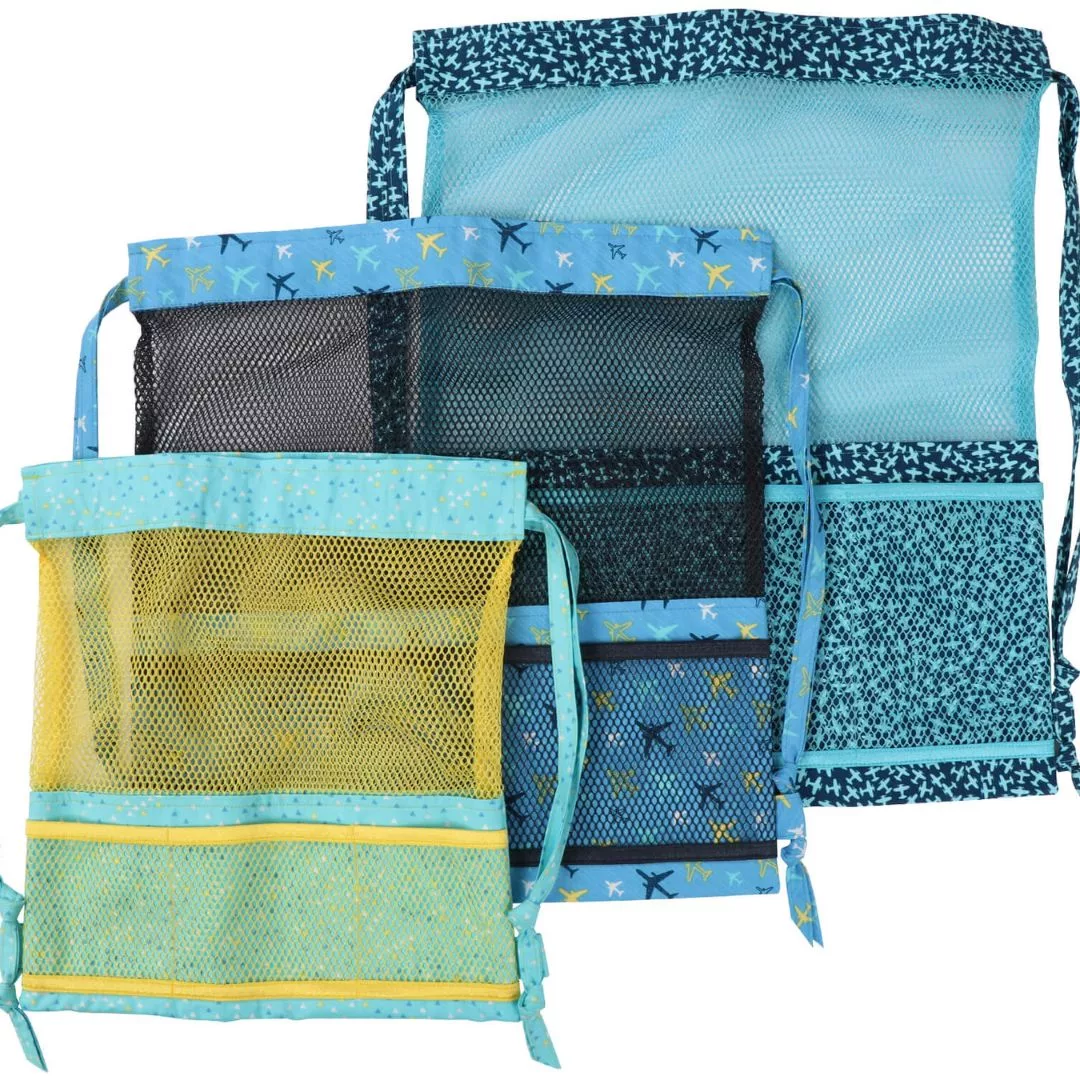
  • Meshing Around Organiser: A drawstring bag ideal for the gym or beach. Its mesh fabric panels provide ventilation and visibility, perfect for damp items.
  • It’s A Cinch Drawstring Bag: A sack-style drawstring bag that’s lightweight and functional for toys, laundry, or sports gear.
  • Close at Hand Supply Bag: Compact and organised, with mesh fabric pockets for visibility. Originally designed for medical supplies, it’s perfect for tools or travel essentials.
  • Hang In There Bedside Pocket Organiser: Never lose your phone or book again. With multiple mesh fabric pockets, it’s a bedside essential.
  • Mad About Mesh Bags: Multipurpose and travel-friendly, these mesh fabric bags make packing and organising a breeze.

Explore our Sewing Tutorials for step-by-step guidance on beginner and advanced projects.

Sustainability and Upcycling Ideas

Mesh fabric shines in sustainability efforts. Here’s how to make the most of your scraps:

  • Upcycled Produce Bags: Lightweight, washable, and a chic replacement for plastic.
  • Patchwork Panels: Combine mesh fabric with other fabrics for textured quilts or garments.
  • Reusable Gift Wrap: Sew mesh fabric into drawstring gift bags for a unique and eco-friendly presentation.

Looking for eco-friendly inspiration?

Explore our Sewing Tutorials for step-by-step guidance on beginner and advanced projects.

Sustainability and Upcycling Ideas

Mesh fabric shines in sustainability efforts. Here’s how to make the most of your scraps:

  • Upcycled Produce Bags: Lightweight, washable, and a chic replacement for plastic.
  • Patchwork Panels: Combine mesh fabric with other fabrics for textured quilts or garments.
  • Reusable Gift Wrap: Sew mesh fabric into drawstring gift bags for a unique and eco-friendly presentation.

Promotional Block: Looking for eco-friendly inspiration? Discover more in our Sustainable Sewing Information section and learn how to sew greener.

Practical Tips

  • Choose durable mesh fabric for long-lasting results.
  • Get creative with scraps to minimise waste.
  • Pair mesh fabric with organic or recycled fabrics to boost sustainability.

Using mesh produce bags help reduce waste, are more durable, and contribute to lowering carbon emissions when used consistently.

Start Your Mesh Journey Today

You’ve got the tools, tips, and inspiration. Now it’s time to create! Whether it’s a chic top or a practical organiser, mesh fabric is your next go-to material.

Mesh fabric is more than a material; it’s an opportunity to innovate and create. From functional bags to stylish overlays, it proves that versatility and beauty can coexist. With the right approach and a touch of courage, there’s nothing you can’t sew with mesh fabric.

So grab your mesh fabric and start stitching. Your next masterpiece is waiting!

Common Questions About Mesh Fabric

What types of mesh fabric are available, and how do I choose the right one for my project?

Choose between sport mesh for activewear, tulle for decorative uses, and power mesh for stretch and support, depending on your project’s needs.

Can mesh fabric be used for structured or supportive projects like bags?

Yes, use stabilisers, interfacing, or layer mesh with sturdier fabrics to add structure and support.

What’s the best way to cut mesh fabric without it fraying or slipping?

Use a rotary cutter on a cutting mat for clean, precise edges and to prevent fabric movement.

How do I sew mesh fabric without it stretching out of shape?

Stabilise the fabric, adjust tension on your sewing machine, and sew slowly with a walking foot.

Can I use mesh fabric for garments? If so, which ones?

Absolutely – mesh works well for overlays, activewear panels, summer tops, and breezy skirts.

What tools or notions do I need for sewing mesh fabric?

Essential tools include a ballpoint needle, polyester thread, walking foot, and temporary spray adhesive.

Are there any tips for finishing the edges of mesh fabric?

Bind edges with bias tape, fold-over elastic, or serge them for a professional, fray-free finish.

Can I combine mesh fabric with other fabrics in one project?

Yes, pairing mesh with fabrics like cotton, denim, or stretch jersey adds texture and functionality to your project.

Can mesh fabric be upcycled or repurposed?

Yes, turn old mesh items into produce bags, organisers, or even decorative accents like window hangings.

What are some common mistakes to avoid when working with mesh fabric?

Avoid using the wrong needle, skipping stabilisers, or sewing at high speed, which can distort the fabric.

No Overlocker? No Problem! Finishing Seams without an Overlocker or Serger

No Overlocker? No Problem! Finishing Seams without an Overlocker or Serger

Do I need an overlocker?

We see this question a lot! Everyone knows that the best way to give your projects a polished & professional finish is to make sure all of your seams are finished neatly – it’s not often we buy items in the shops and they are left with raw seams! As well as being aesthetically pleasing, appropriately finished seams can help your project or garment last longer, stay together better and strengthen the seams, which is ideal if you plan on washing it!

The best way to finish a seam to a professional standard is with an overlocker, however there are plenty of ways to finish seams using a regular sewing machine, or tools you already have too – meaning you can have a clean finish whether you are a beginner or advanced in your sewing, and have not yet made the leap to purchase an overlocker or serger.

So here are just a few techniques on how to finish your seams without an overlocker or serger…


Finishing Seam Without an Overlocker or Serger


Edges with Pinking Shears

A pinked edge is best used on stable, tightly woven fabrics that don’t fray easily, or on something that won’t be washed or worn a lot, such as a cushion. It works well on a curved edge, or seams on awkward angles that require turning out as it limits the amount of bulk when turned. This is a simple method that requires no sewing, just a pair of pinking shears.

You will need:

1. Cut close to the edge of the seam with pinking shears – that’s it! 


Cut close the edge of the seam with pinking shears

How to Zig Zag raw edges

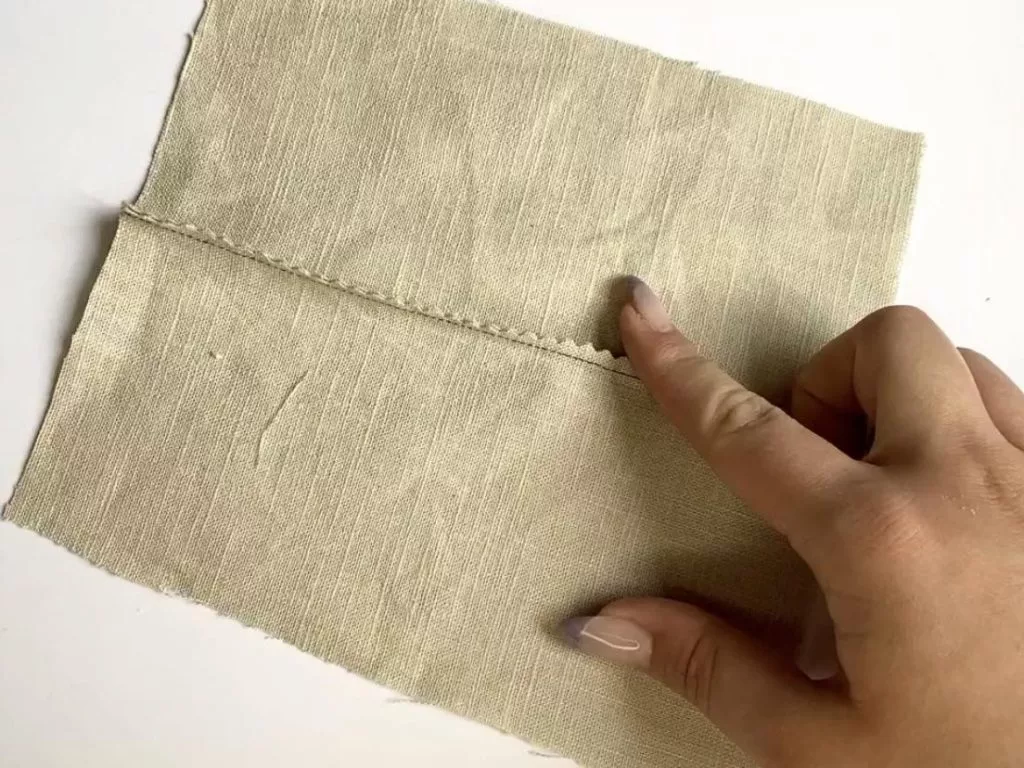
A zigzag edge is perfect for anything but very lightweight/delicate fabrics, and sheers. It emulates the look of an overlocked edge, but can be done on most domestic sewing machines. If the fabric is too lightweight, the machine will often create an undesirable ‘chewed up’ look. For lighter fabrics, use a smaller stitch length, for heavier fabrics use a longer stitch length. We don’t recommend using this method on anything lighter than a Cotton Poplin.

You will need:

    • Sewing machine with zig zag stitch
    • Iron
      1. Use the zig zag stitch on your machine to sew along the edge of the seam allowance, sewing the two sides together. 
      2. Press to one side.


      How To Zigzag Raw Edges

      How to sew a Clean Finish Edge Seam

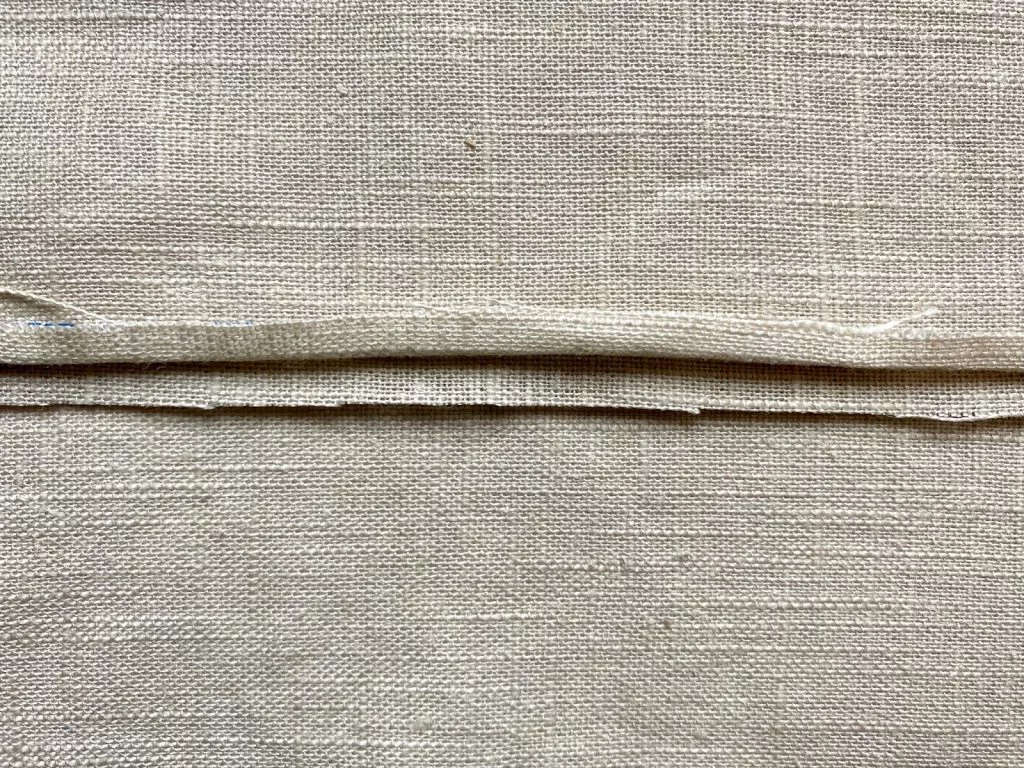
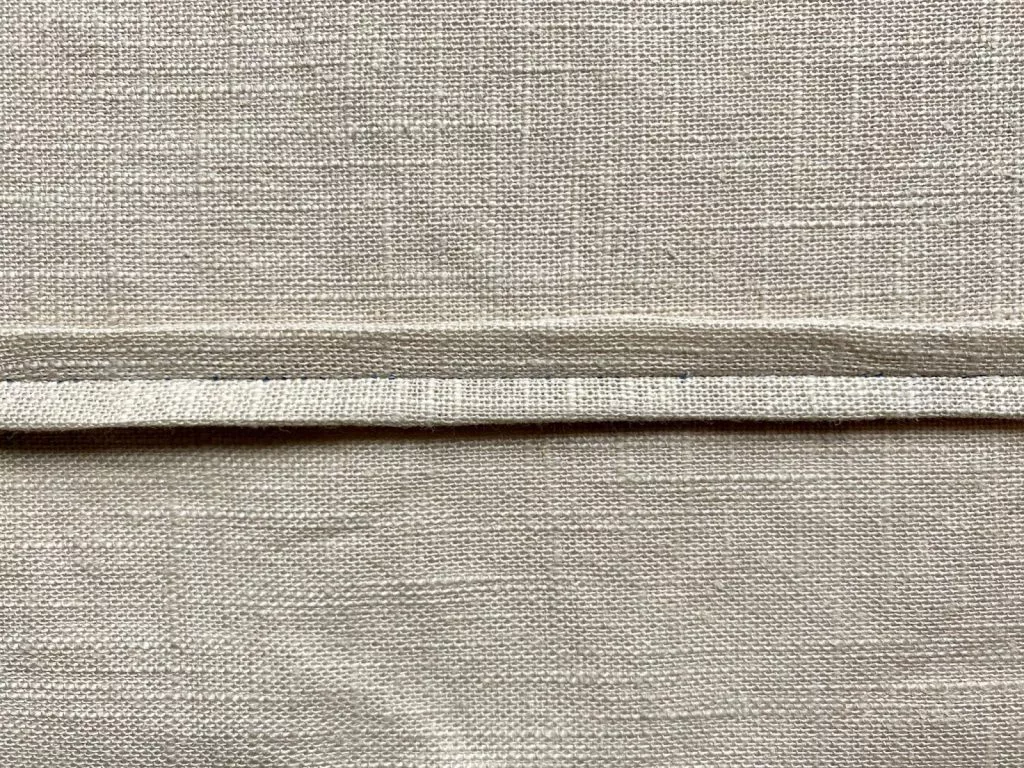
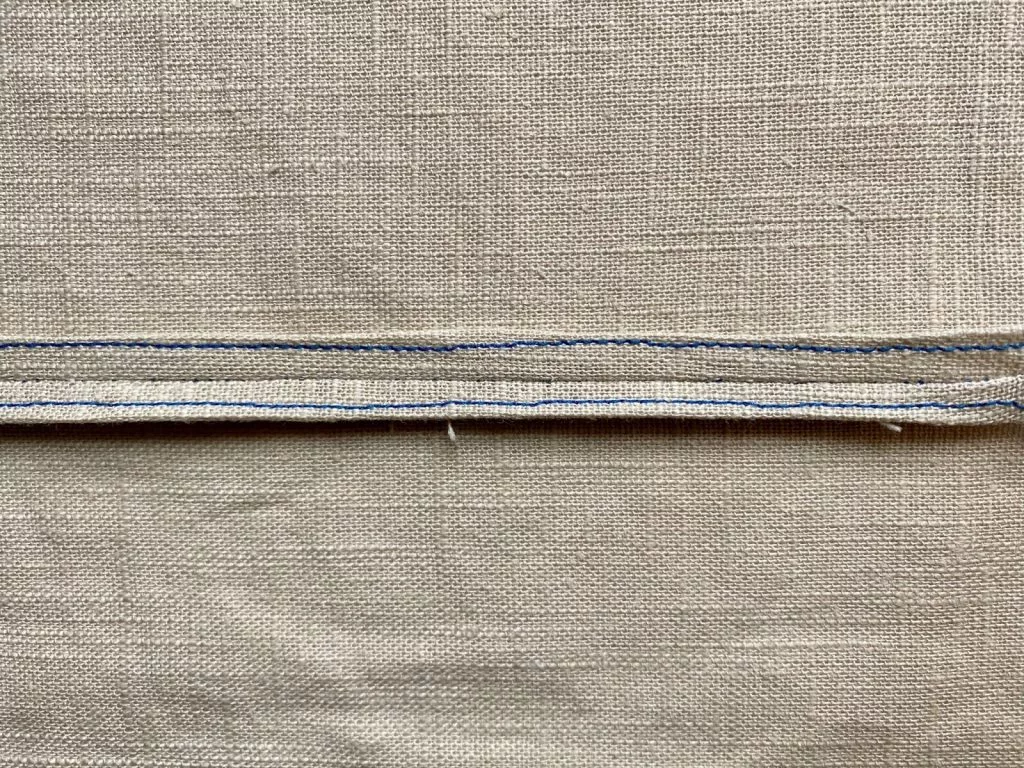
      A ‘clean finish’ edge provides a folded over edge along the seam which conceals the raw edge. It works best on light to medium weight fabrics, but not for very lightweight or very heavyweight fabrics. 

      You will need:

        • Sewing machine
        • Iron
          1. With the right sides together, sew the seam as usual and press open.
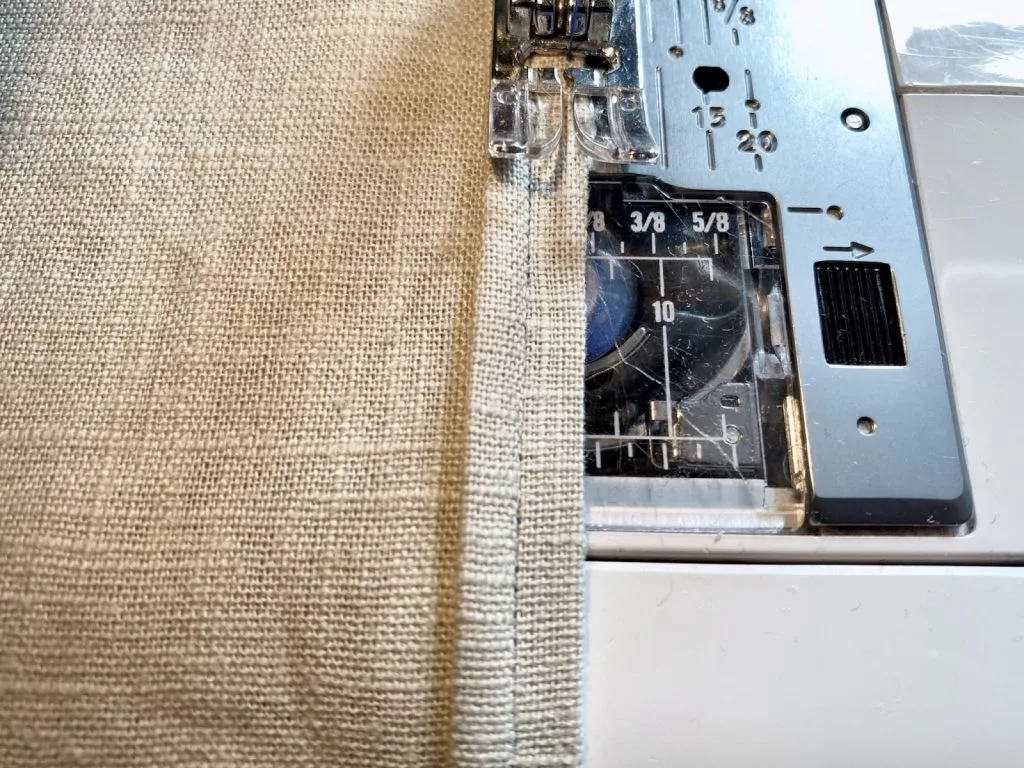
          2. For each side of the seam allowance, turn the raw edge under 0.5cm / ¼” or less and press.
            1. Sew close to the edge of the seam allowance, do not sew this to the garment itself.

          How to French Seam

          A French seam is perfect for lightweight and delicate fabrics that fray easily, as it encases the raw edges of the seam, and provides a clean and professional finish. Although the seams would be visible through a sheer fabric, it fully encases them so they look like bound seams.

          You will need:

            1. The general rule for creating a french seam is to take away 0.5cm / ¼” from the seam allowance that your pattern recommends. For example; if your pattern says to use a standard 1.5cm /  ⅝” seam allowance, sew your first seam with a 0.8cm / ⅜” seam allowance, then trim it down to 0.3cm /  ⅛”. For this example we are using a standard 1.5cm / ⅝” seam allowance. 
            2. With the wrong sides (WS) of your fabric pieces together, sew 0.8cm / ⅜” from the raw edge. 
            3. Press the seam, then fold your fabric along the seam line, so the right sides (RS) of the fabric are together and the stitching is along the edge of the fold. Press again. You may want to clip/pin the fabric in place. 
                1. With the RS of the fabric still together, sew another seam 0.5cm /  ¼” in from the folded edge you created. Make sure that the seam completely encloses the other seam, as otherwise the raw edge will poke through and create a messy finish on the right side of the garment.
                2. Press. Turn your project the right way out and press the seam to one side from the outside.


              How To French Seam Step 5

              What is a flat felled seam?

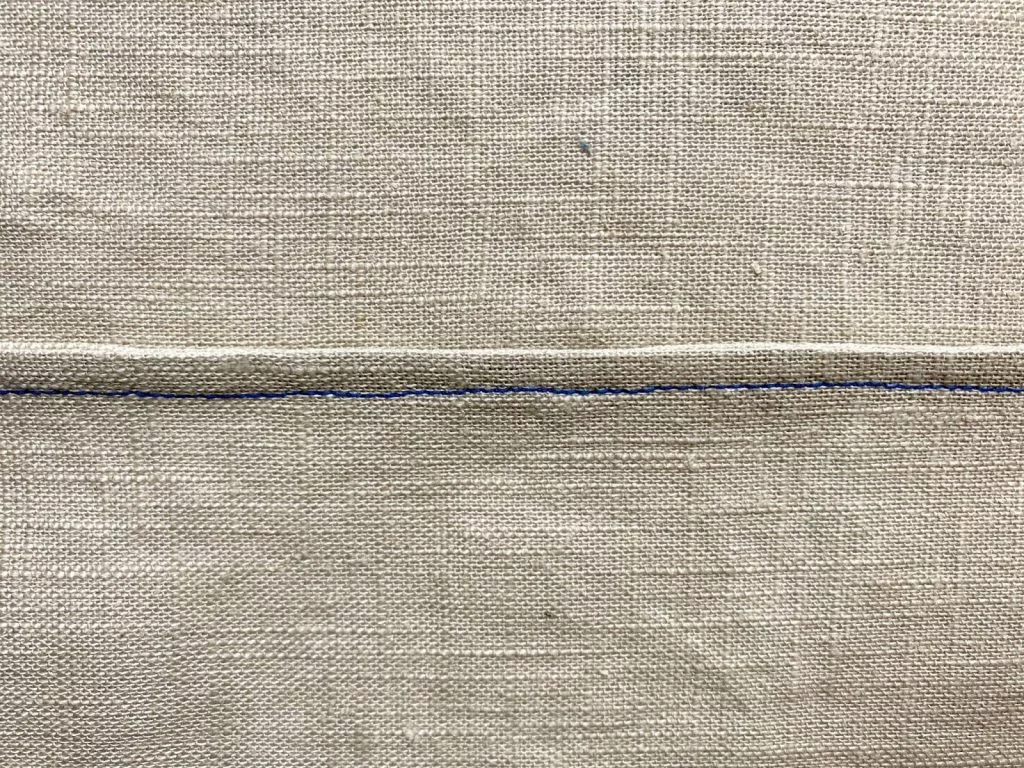
              A flat felled seam works best for garments that experience a lot of stress, such as trousers, work clothes and jackets. The process creates a sturdy and durable seam that is much harder to split. This finish is visible from the outside of the garment, and is often done with a contrasting colour thread to create a feature.

              You will need:

                1. With right sides (RS) together, sew 1.5cm /  ⅝” seam from your raw edge.
                2. Press the seam open, and trim one side of the raw seam edge down to 0.5cm / ¼”


              Flat felled seam step 2
              1. With the other side of the seam, fold inwards in half, so the raw edge meets the seam. Press.


              Flat felled seam step 3
              1. Fold this side over the top of the trimmed side, so that it completely covers and conceals the raw edge.


              Flat felled seam step 4
                1. Stitch close to your folded edge to finish. 


              Flat felled seam step 5


              Flat Felled Seam

              How to sew Hong Kong seams

              A Hong Kong Seam encases the raw edges of a seam using bias binding. This is best used on lightweight fabrics. We would not recommend using this method on heavy fabrics,  or curves and edges, especially those that need turning out as it creates too much bulk. You can use regular ready made bias tape, and this produces no visible stitching when finished. Hong Kong seams are easy to sew, but require you to be precise with your stitching, perfect for taking your sewing skills to the next level.

              You will need:


                1. Make or purchase a length of continuous length of bias tape, 2.5cm – 3cm / 1-1¼” wide (wider tape is easier to sew, as it gives you more room on the wrong side of the seam to sew in place)
                2. Press your seam open.  Cut a length of your prepared bias tape to the same length of the seam you are finishing plus about a 2.5cm or 3cm / an inch or two. Line up the edge of the bias tape with the seam, on the side of the project that will be visible when it is complete. With right sides (RS) together, pin in place. 


              How to Sew Hong Kong Seams


              How to Sew Hong Kong Seams 2
                1. Sew the bias to your seam using a 0.5cm / ¼” seam allowance.


              How to Sew Hong Kong Seams 3


              Sew the bias to your seam


              Press the bias away from the seam allowance
                1. Press the bias away from the seam allowance.
                2. Wrap the binding around the edge of the seam allowance to the wrong side and press again.
                3. From the RS of the seam, stitch in the ditch along the bias seam, or along the edge of the bias binding. If you stitch in the ditch the stitches will not show – we have stitched along the edge which is a simpler method.
              stitch along the edge


                1. Trim away the excess bias if required behind.
              Trim away the excess bias if required


              Finishing Seams without an overlocker

              How to use Bias Tape to finish seams

              A bias-bound seam is a quick way to create a ‘faux’ Hong Kong seam. They use double fold bias tape around the seam to conceal the raw edge. We wouldn’t recommend using this method on very heavyweight fabrics, or using a bias tape that is very different in composition to your project’s main fabric. Shop bought bias tape with a similar composition to the main fabric of your project is easier to sew using this method, as it is made more precisely. If you are making your own bias tape, try to use longer strips of fabric to avoid bulky seams. Using an edge-stitching foot also helps keep your stitch lines neater.

              You will need:

              Version 1

                  1. Wrap the bias tape around the seam, pinning/clipping in place.


                Wrap the bias tape around the seam
                  1. If you are using ready-made tape, there will be one edge that is slightly narrower than the other. Make sure the narrow edge goes on the right side (RS) of the seam edge. This will ensure that you catch the bottom layer of the bias tape when sewing them together.
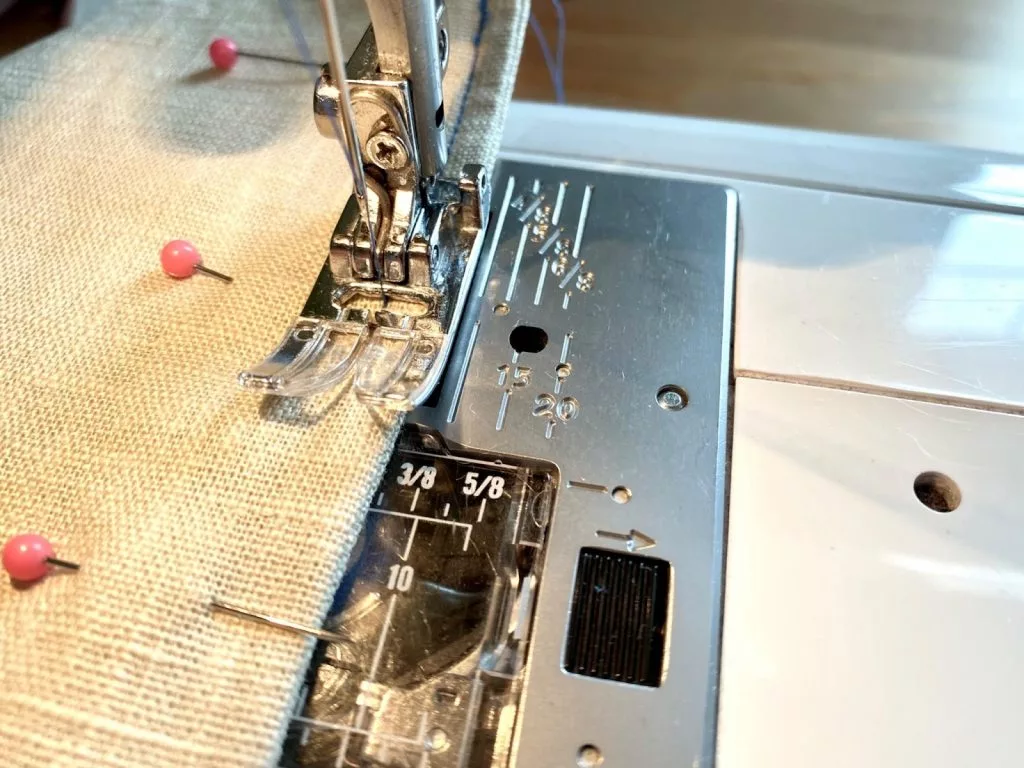
                  2. On the RS of the seam, sew along the length of the tape, about 1/16” from the edge, ensuring that the folded edge of the bias tape is lying close to and hugging the raw edge of the fabric. 


                Sew along the length of the tape


                Version 2:

                    1. Press your seam open.
                    2. Unfold your double edge bias tape, align the edge with the wrong side (WS) of the seam. Pin/clip into place.
                    3. Sew the bias tape to the seam, along the first folded line of the tape.
                    4. Fold the bias tape over so that the centre crease of the tape is hugging the raw seam edge, pressing into place.
                    5. Sew along the right side (RS) of the seam 0.2cm / 1/16”  from the edge.

                  You can shop for all of the products mentioned in our online Haberdashery, Plush Addict. We are a one stop shop for all things fabric, sewing and haberdashery. Not sure what Haberdashery is? Check out our online guide here.

                  We hope you found this seam finishing guide helpful, don’t forget to sign up to our newsletter for more tips, tricks and tutorials!

                  Get Set for Back To School and Sew a Fabric Notebook Cover in 30 minutes!

                  Get Set for Back To School and Sew a Fabric Notebook Cover in 30 minutes!

                  Are you ready to get the kids back to school? Sew a fabric notebook cover in no time. With the first school run of the year just around the corner, we thought this tutorial would be handy to get you and the kids prepared for the lessons to come.

                  Pin for later!

                  sew fabric notebook cover

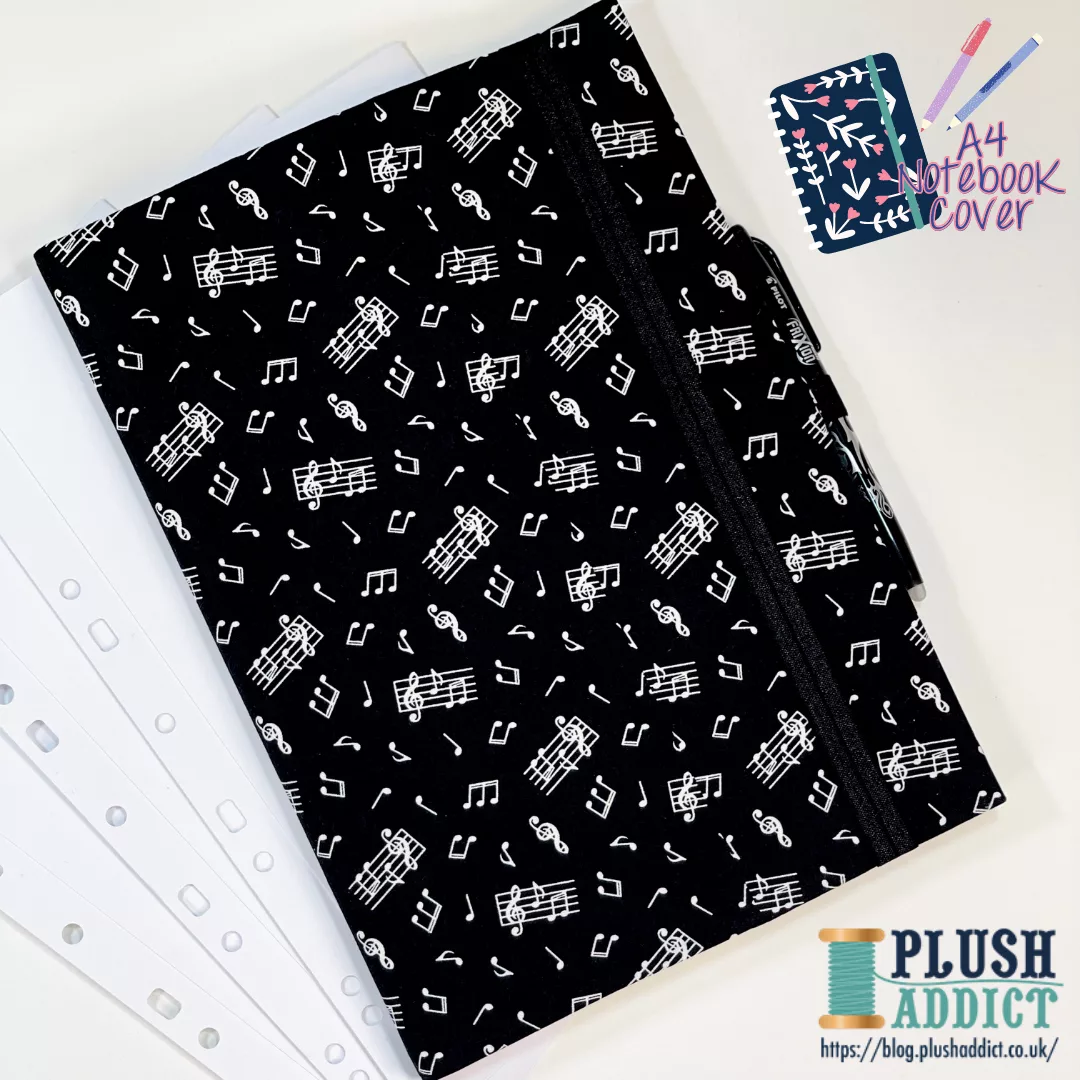
                  You may have seen our Father’s Day notebook covers earlier in the year, but this time we have super sized them into A4 ready for all those school books. How impressed will the kids be with a cool fabric notebook to show off in September? Not only will they protect the covers, but they’ll also look super stylish and make a perfect gift, personalised to their taste.


                  A4 notebook cover

                  Never miss another tutorial or guide…

                  Stay up to date with the latest by signing up to our newsletter!

                  Why not use a fabric that relates to the subject the notebook is for? We have some fabulous music themed fabrics from Nutex and the Venom Black fabric from the Beguiled collection would be perfect for an art journal!


                  A4 notebook cover venom black fabric

                  For this project you will need…

                  1 FQ Cotton Fabric

                  1 FQ Decovil Light

                  1m Fold Over Elastic (We used Black Fold Over Elastic)

                  Thread (We used Gutermann 38)

                  To access the tutorial just check out our blog! All you have to change is the size when drafting the pattern.

                  We can’t wait to see your finished notebooks!