Our site is getting a makeover! Please bear with us whilst we make improvements

Reusable Christmas Cracker Sewing Tutorial

Reusable Christmas Cracker Sewing Tutorial

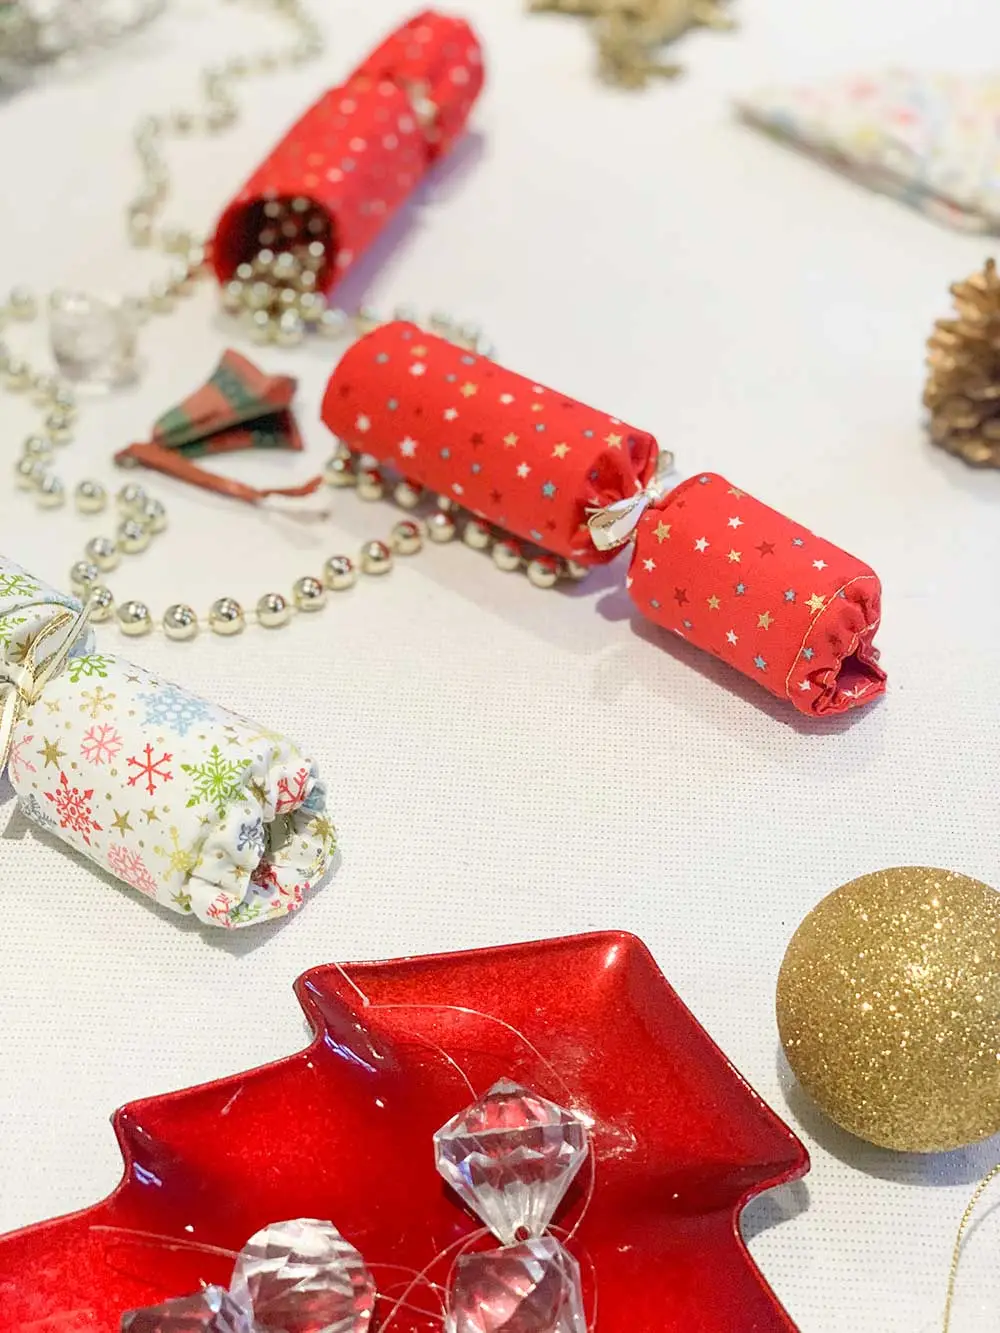
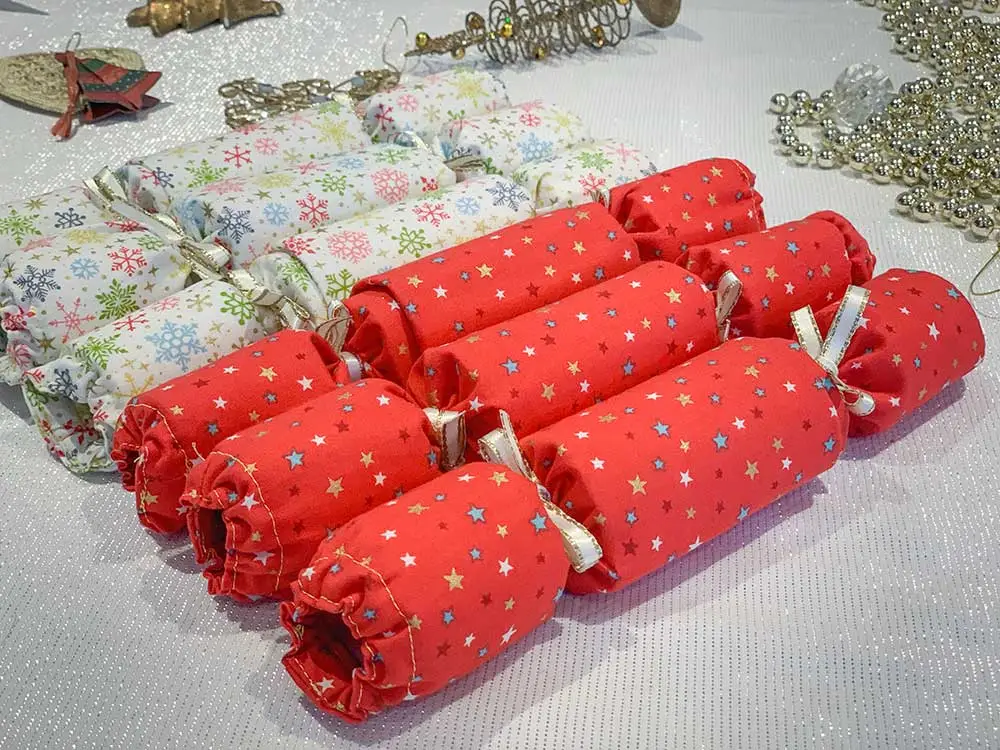
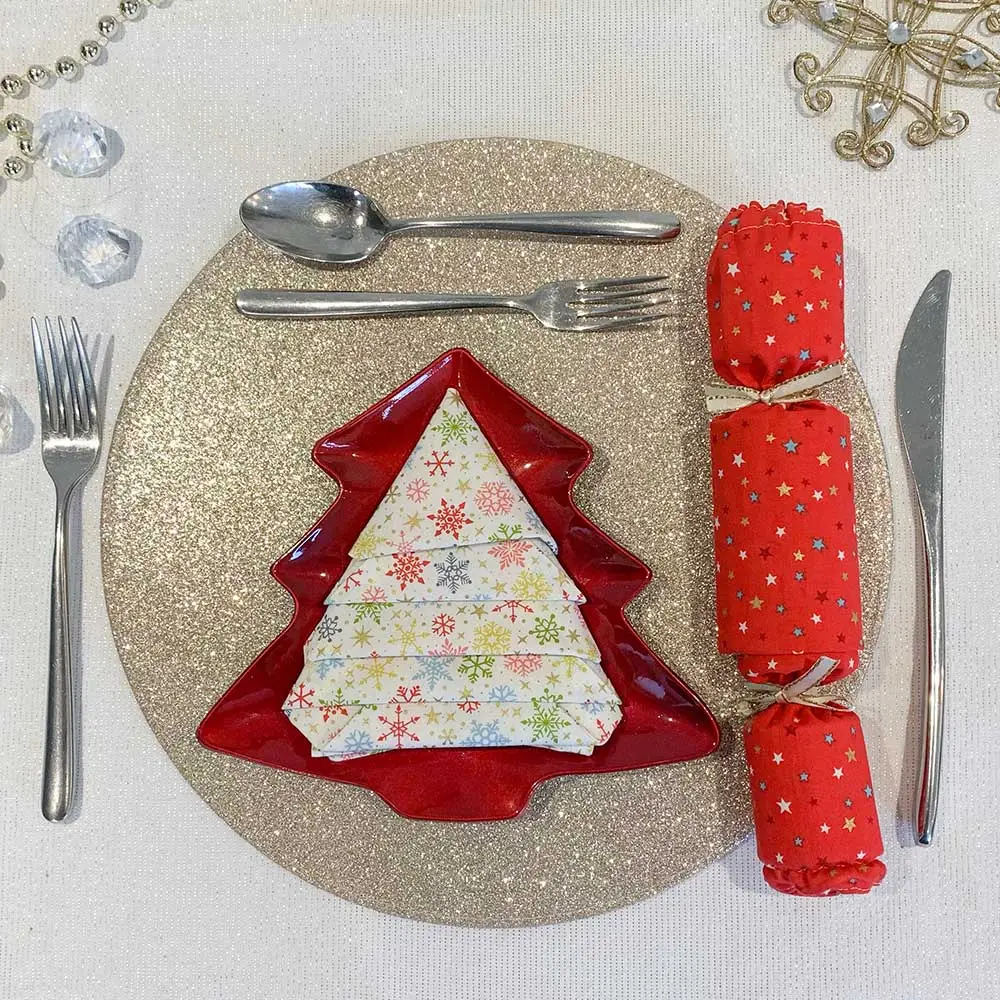
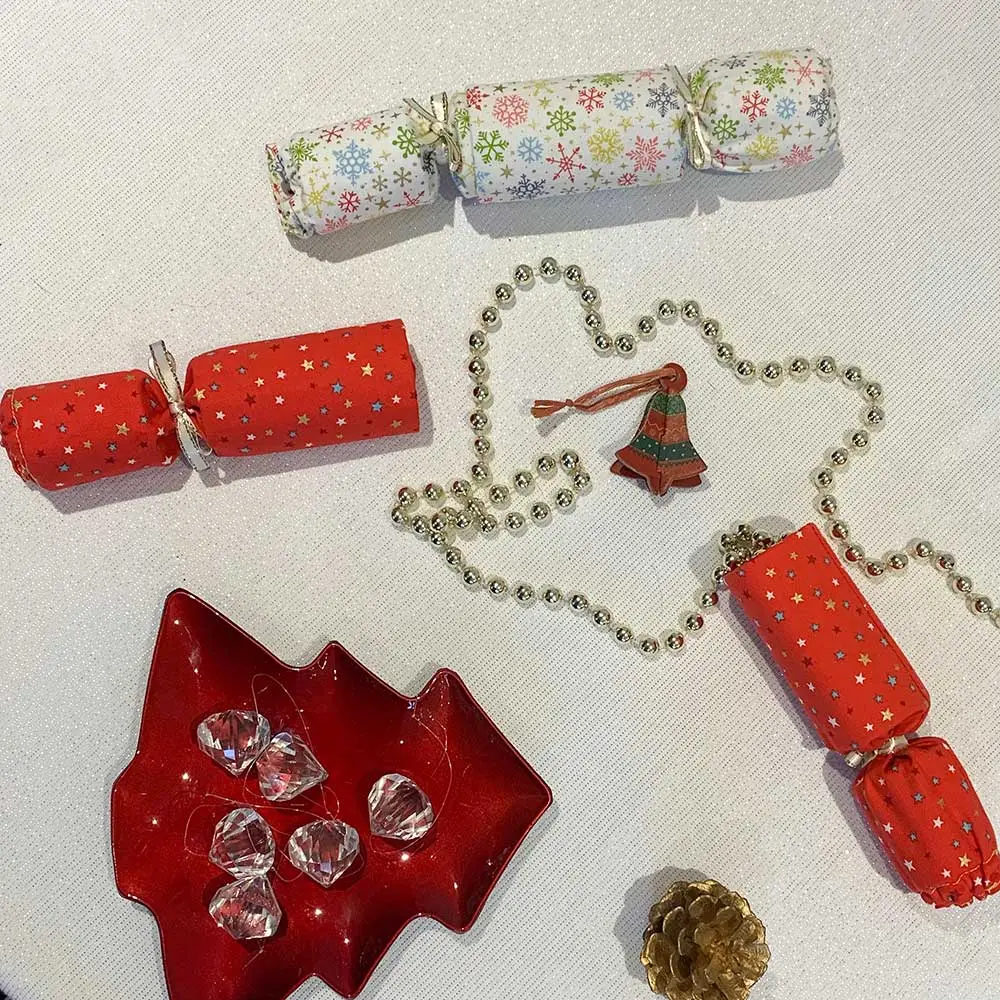
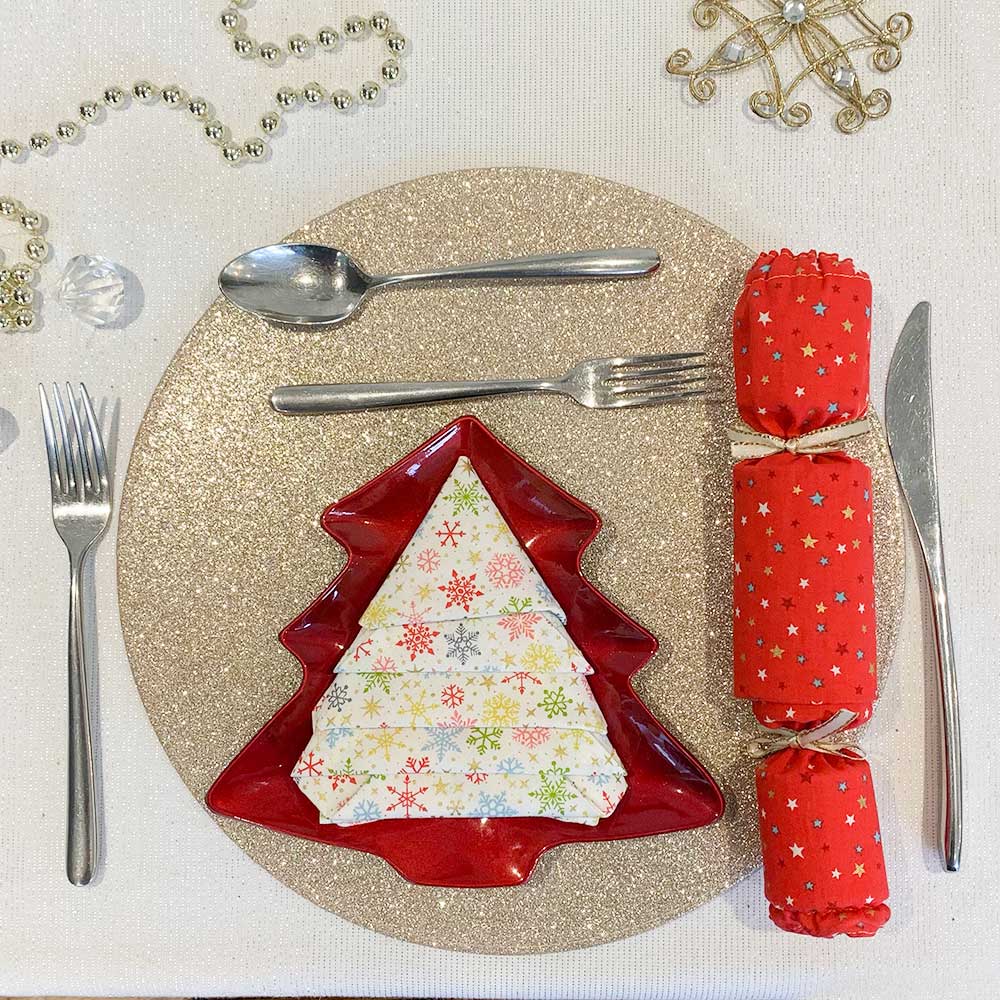
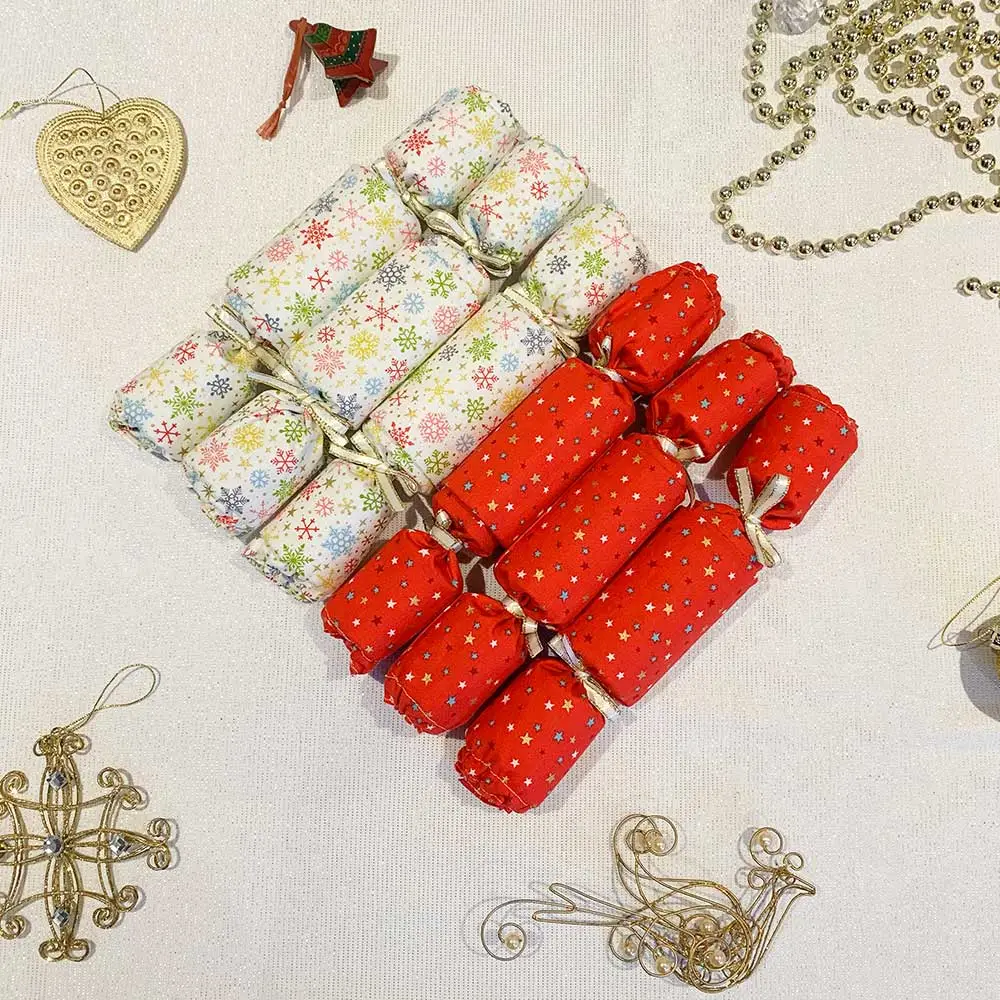
Fancy a more sustainable snap at your festive table this year? This reusable Christmas cracker tutorial (oh yes they did!) will have you repurposing your recycling, reducing your rubbish & reusing resources!

These christmas crackers can be refilled time & time again & stored away for the following year without fear of the snap losing it’s spark!

The core of these reusable crackers is a plastic milk carton & the snap sound comes from a knotted elastic band that pings on a milk bottle top & makes a satisfying SNAP sound! A fantastic re-purpose of your old rubbish… Don’t you agree?
Want a printable copy of this tutorial? No problem! Request it below & a copy will be sent direct to your in-box

Boring Legal Bit: If you follow any tutorial or guidance found in this post, or on this blog, you agree to be bound by our disclaimer which can be viewed here

Reusable Christmas Cracker Tutorial

Skill Level: Beginner


To make ONE reusable Christmas cracker you will need:

1 fat quarter of quilting cotton (Check out our Christmas Fabric here)

1m Ribbon (we used Berisfords Festive Gold Edge Satin Ribbon)

40cm 3mm elastic

1 4pt milk bottle (label removed, bottle washed & dried)

2 milk bottle lids (washed & dried)

2 small elastic bands

Additional resources:

Glue gun & glue sticks

Domestic scissors

Important notes:

1.5 cm seam allowance throughout, unless directed.

For steps using machine sewing, always backstitch at the start & end unless otherwise stated.

Pre-wash your fabrics

1. Cut your materials

From fabric:

Outer cracker barrel 44×18.5cm

Inner cracker barrel 44×16.5cm

For directional pattern fabrics; the shorter measurement spans the circumference of the cracker & the larger spans the length.

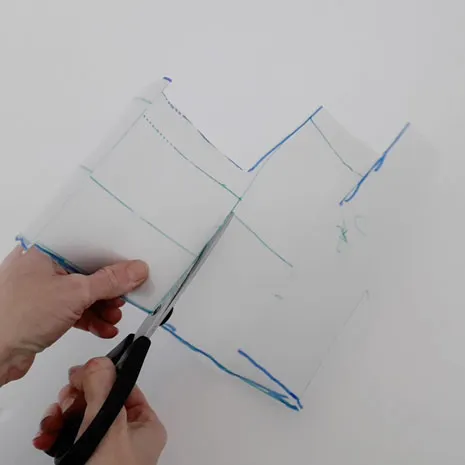
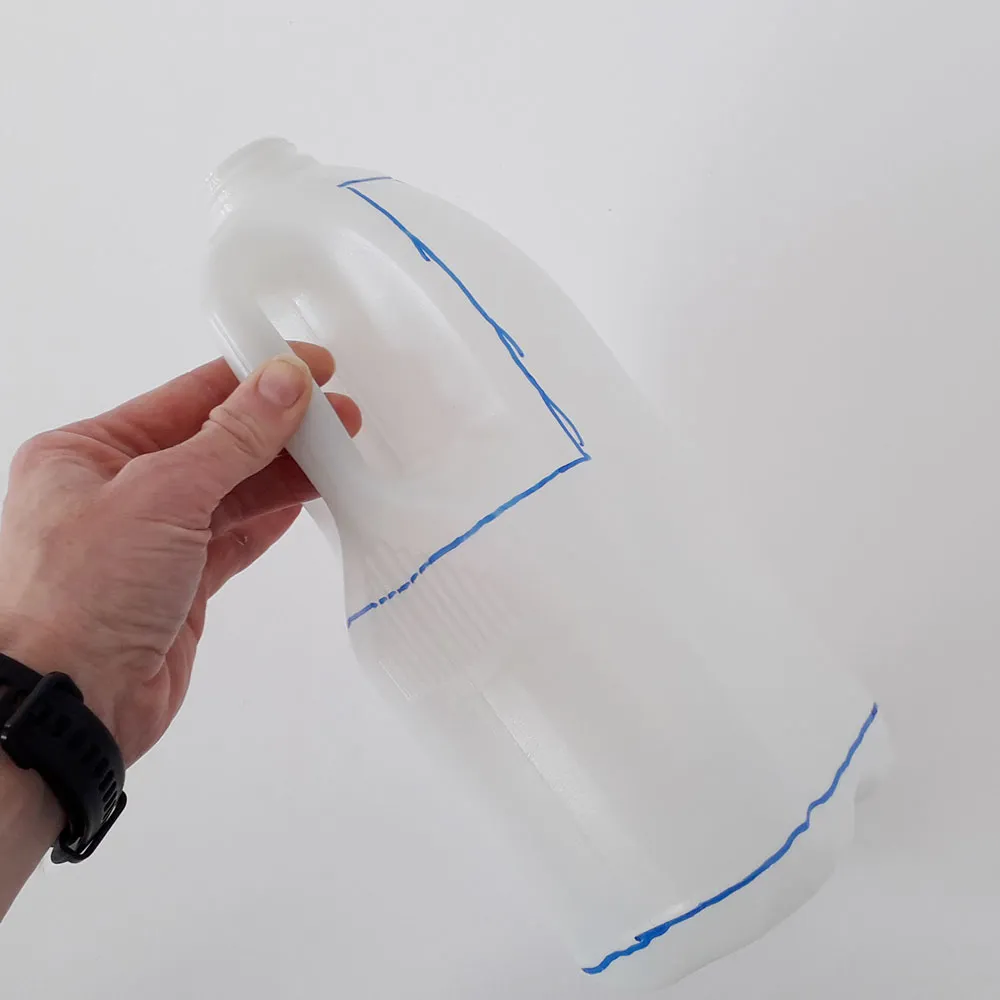
From the milk bottle:

1 Outer cracker barrel 9×16.5cm

1 Inner cracker barrel 9×14.5cm

2 Cracker ends 5 x 15.5cm
2. Make the snap
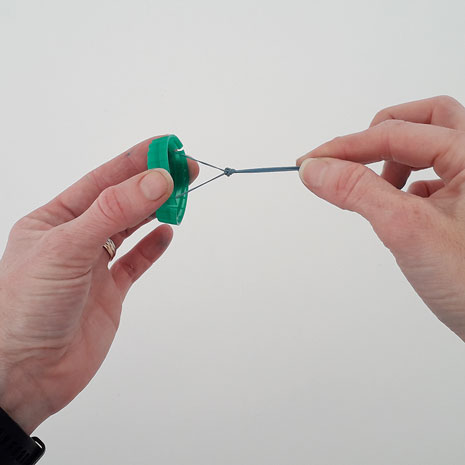
Cut a slit through the rim in each side of a milk bottle lid.

Slot an elastic band into the slits & tie a knot close to the underside of the lid. Repeat with the other lid.

3. Form the barrels
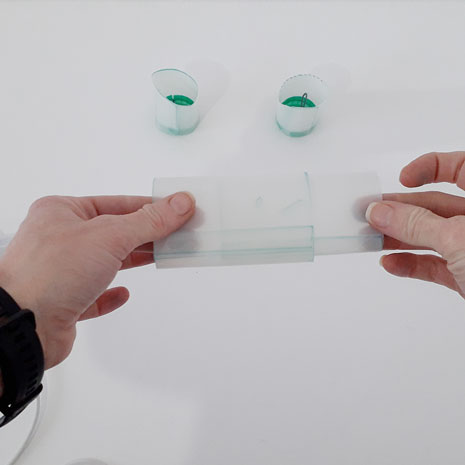
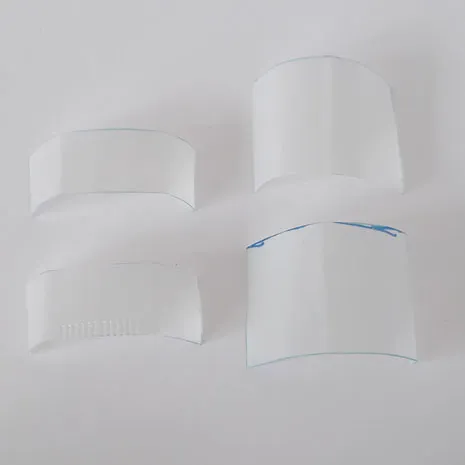
Using a glue gun form 4 cylinders from the cut plastic. All should be curved along the long edge.

The outer & inner barrels should be glued with a 1cm overlap.

The end barrels need to be formed with the snap at one end, the underside of the lid facing into the cylinder

4. Prepare the fabric

Fold over the short edges 1.5cm & press.

Open out the pressed edges then pin & sew the long edges right sides together.

5. Form the cracker
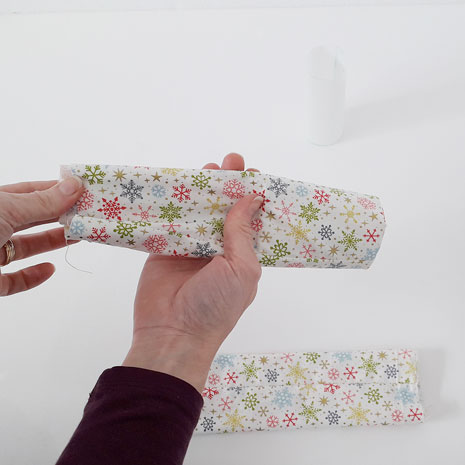
Turn half of the outer cracker barrel fabric out the right way to form 2 layers of fabric.

Insert the corresponding plastic cylinder between the 2 fabric layers & guide it down to the fold line.

Insert a snap section, lid end 1st, inside both layers of fabric. Position it just above the barrel section.

6. Elastic casing
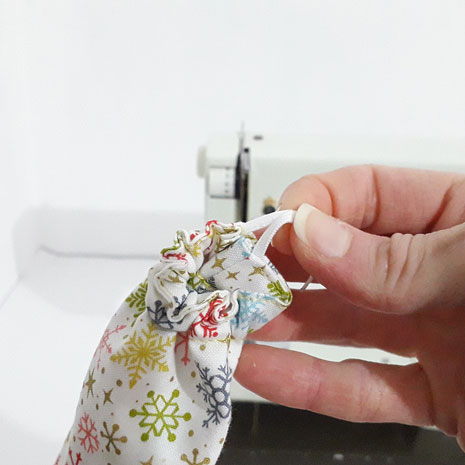
Tuck in the pressed seam allowances. Pin & sew around the top of the cracker.

Sew around the top edge of the cracker leaving a 2cm opening for threading.

Thread the elastic through the casing twice to form 2 loops. Tie off the ends of the elastic.

Sew the opening closed.

7. Finishing touches
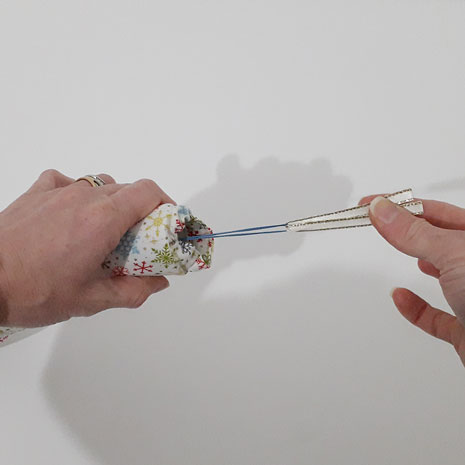
Guide the cracker snap up to meet the elastic casing.

Tie a bow each and with 30cm of ribbon between the barrel & the snap.

Thread 15cm of ribbon through the loop in the snap elastic and secure in place with a knot.

To set up your cracker, pop your chosen treat/ joke/ quiz question inside the thinner central barrel. Insert the thin barrel into the wider one and your cracker is ready. To activate the snap, each person pulls the ribbon inside the end of the cracker then releases as the cracker is pulled apart.

Want a printable copy of this tutorial? No problem! Request it below & a copy will be sent direct to your in-box

Boring Legal Bit: If you follow any tutorial or guidance found in this post, or on this blog, you agree to be bound by our disclaimer which can be viewed here

We hope you enjoyed that tutorial and have fun making it. If you make your own version please tag us @PlushAddict #PAReusableChristmasCracker

We would love to see your creations!
How to Measure and Cut Fabric Perfectly for Sewing

How to Measure and Cut Fabric Perfectly for Sewing

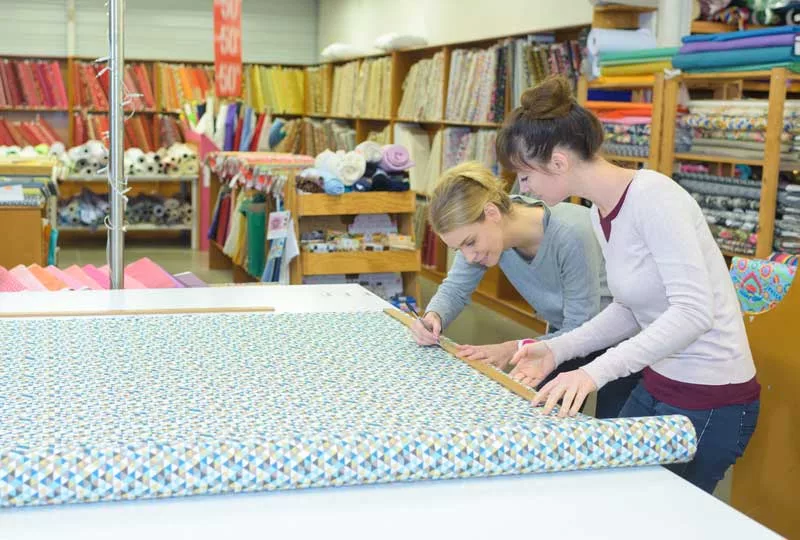
Let’s face it, working with beautiful fabric is one of the best bits about sewing your own, isn’t it? I’m sure I’m not alone when I say I’ve made a few mistakes along the way and messed up a project because I’ve not given enough care or attention when prepping my fabric. Today I am delighted to welcome Annabelle from  Wunder Label who is sharing some invaluable tips about how to measure and cut your fabric perfectly to ensure you don’t end up getting yourself in to a pickle…. 

Even a seasoned seamstress will be faced with difficulty if they are working with fabric if they are using incorrectly measured or cut fabric. If you are struggling with your patterns and designs but are following the instructions step by step, the problem might be in your prep rather than your main body of work.

Don’t worry, though, because there are some tips that you can keep in mind to make sure you cut and measure your fabric perfectly.

Know What You Need

On the topic of measuring fabric, make sure you know your measurements before you begin to work with fabric. If you are working with a sewing pattern, this is usually pretty cut and dry. This is because most patterns detail how much fabric you’ll need.

For those who work to create garments, this can be a little more complicated, though. When you are taking measurements from who you are making the garment for, make sure to check those measurements multiple times.

If you are making a garment for yourself, getting measurements can be a little tricky. Your best bet is to ask a friend for help so the measurements are right. Taking these few extra moments will be worth it when your garment is the perfect fit.

Take a Second and Measure Again

All of us make mistakes while we’re sewing. Sometimes we even make mistakes before we start sewing.

Because of this, make sure to do all of your prep work twice. Check the measurements you need twice and make sure you know what they are. Even further, measure your fabric twice before you even think about cutting!

Don’t Be Afraid to Leave a Bit Extra

While you’re measuring and cutting your fabric, don’t feel compelled to cut your measurements exactly. To expand on that, don’t cut your fabric short but don’t be afraid to leave a little extra on your measurements.

Look at it this way: you can take away from your fabric but you can’t really seamlessly replace fabric you’ve already cut off. So, your better bet is to leave an inch or so more than you need on your fabric. Once you’re finished with your project, you can clean it up by trimming the excess at the end of your project.

Mark Your Fabric

If you want to cut a straight line, you need a straight line to cut. To ensure that you have this, don’t be afraid to mark your fabric. Tailor’s chalk is a popular choice for a non-permanent solution.

Find a Straight Edge

When you measure and cut, it’s absolutely crucial that you are working with a straight edge. To make sure they have a straight edge, many choose to use a long straight edge such as a yardstick when they are measuring their fabric.

It’s also important to make sure the pattern of the fabric matches up with your straight edge. For this, start by locating the selvage – the pre-finished edge of the fabric. Then, make sure to run your straight edge parallel to this line.

On the topic of selvage, sometimes you’ll run into a fabric whose pattern doesn’t perfectly line up with the selvage. This is usually caused by distortion created when the fabric during rolling, handling, and transportation. In other words, mismatched patterns and selvage can appear off grain but they actually aren’t.

To solve this problem, stretch the fabric on the bias in each direction. This helps to reset the weave and solve the mismatched appearance without any fuss!

Make Sure to Wash and Iron

When you are measuring your fabric, you might not always remember to leave allowances for fabrics that shrink. Without doing this, your finished product might not live up to your expectations after its first wash. To avoid this, take the time to wash, dry, and iron your fabric before measuring and cutting.

Only Work on Flat Surfaces

Have you ever tried to cut wrapping paper on a bed? If you have, you probably know its infuriating to try and get a straight cut.

This same principle stands when working with fabric. When trying to get a straight cut and proper measurements, take the time to spread your work out on a desk or table. Even a hardwood floor is better than trying to work on top of a carpeted one.

Make Sure It’s Sharp

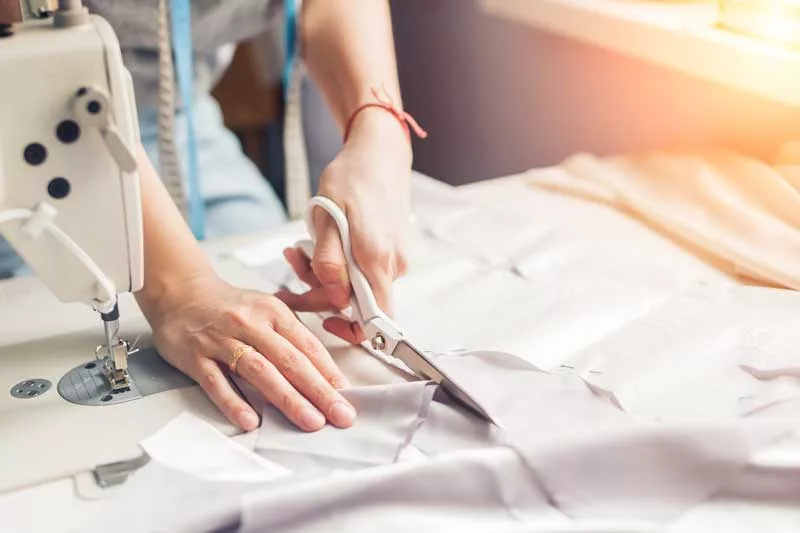
Another wise idea is to make sure the cutting utensils you use are sharp. With a dull cutting instrument, you’ll find that the usual snap of your scissors quickly becomes a struggle of trying to chop through your fabric. Of course, this sawing or chopping motion can throw off your straight line.

Thanks Annabelle! Do be sure to check out more of Annabelle’s top tips over on her blog and why not check out her online shop where she sells the most amazing custom labels, ribbons and more which will give your sewing projects an oh-so professional look and feel.

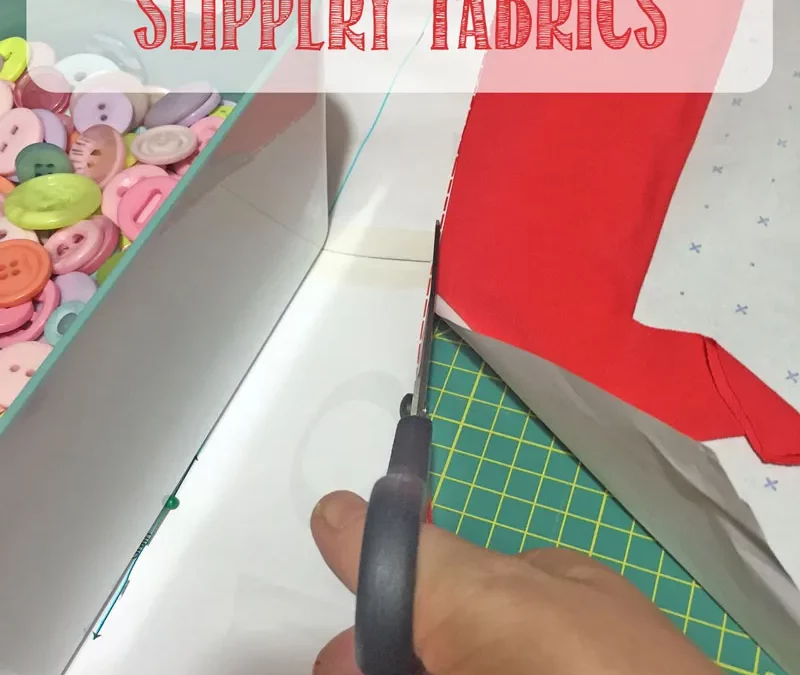
A Quick Tip For Cutting Out Slippery Fabrics

A Quick Tip For Cutting Out Slippery Fabrics

Despairing this morning when I realised Little Plush had zero leggings that fitted properly (how do they grow sooo fast?!) I decided it would be quicker to sew some up than actually get to the shops. If you’ve not tried sewing leggings – don’t be scared – they are SO easy and are super quick to boot – win win. (more…)

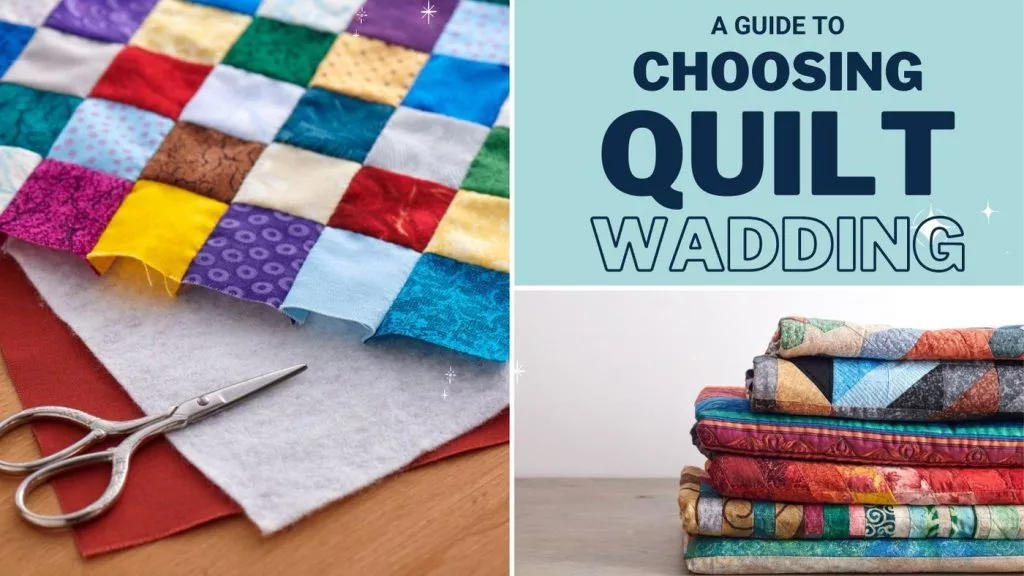
A Plush Addict Guide To: Quilt Wadding (Batting)

A Plush Addict Guide To: Quilt Wadding (Batting)

This Guide Has Moved & Been Improved.

See the Updated Guide Here

Whether you’re new to quilting or a dab hand in that area, choosing which wadding you’ll need for your quilt can be a tricky business.

Not only are there loads to choose from, but there are so many words and phrases associated with wadding that just go straight over your head, am I correct?

Well we’re here to help answer all the questions you’ve never had answered, teach you the basic lingo and hopefully put your mind at ease for the next time you need to purchase wadding or attach wadding to your quilt project.

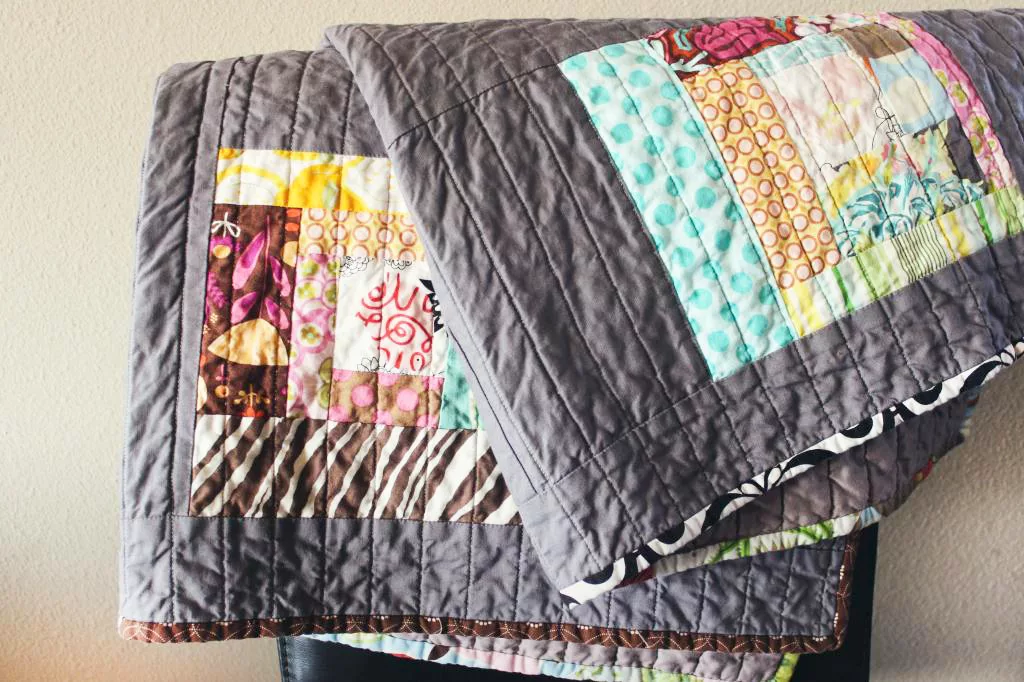
Wadding, or ‘batting’ as it is known in the US, is the layer of material in between your quilt top and backing fabric, and the type of wadding you choose will determine the way your sewed quilt will look and feel.

The first thing you need to consider is how thick you want your finished quilt to look. This is where the ‘high loft’ and ‘low loft’ come into play.

Loft

A high loft means the wadding is thick with more apparent quilting lines and will ‘puff out’ more, whereas a low loft is thin and better for a flatter finish and for showing off your piecing rather than the actual quilt lines.

Most quilters prefer to use a low loft as it’s easier to machine or hand quilt and a high loft can be difficult in this area due to too much bulk.

The good news is that low loft waddings are just as warm and cosy!

Composition

The composition is the next factor you need to bear in mind when choosing your wadding.

There are various benefits for all types of wadding, whether it be their great quality, durability or economical value.

Take a look at a few examples of wadding compositions along with their pros and cons and how you can better understand them.

Cotton

Cotton is a soft, breathable, natural fibre and a popular choice for many quilters. Cotton wadding tends to shrink if not pre-shrunk, creating a classic, wrinkly ‘lived in’ look, and whilst it’s usually a low loft, this can vary, so there are more options when choosing a wadding suitable for your project.

Some cotton waddings are needle-punched, giving them extra stability, making them a good choice for wall hangings or items that will be heavily machine stitched. For those who prefer hand quilting, you’d be better off looking for a cotton wadding without needlepunching or scrim. It is one of the more expensive waddings available, but with the price does come quality.

Polyester

Polyester is a popular choice which of wadding which has been used by quilters for years as it comes in a variety of lofts, is very durable and is less costly than all other commercial waddings.  

It is light, doesn’t shrink and maintains its shape, but it isn’t as breathable and doesn’t drape (how it feels after being quilted) as well as cotton or bamboo waddings.

As it is one of the cheaper waddings available, it can have a tendency to beard after a while, which is more evident if your fabrics are dark coloured.

Bamboo

Bamboo is an increasingly popular choice because it’s a more sustainable plant than cotton.

This wadding benefits from being environmentally friendly and its naturally low lofts gives it a good drape. Plus, it’s soft, cosy and great quality!

It’s suitable for both machine and hand quilting.

You can find out more about bamboo by taking a peek here at our Absorbent Fabrics Guide.

Blends (poly-cotton/bamboo-cotton)

These combine the ‘best of both worlds’, and are designed to make quilts loftier and lighter while still providing the benefits of natural fibres.

Blends are easy to work with, a good choice for quilters who are unsure which wadding would be best for their quilt and also benefit from being cheaper than pure bamboo or cotton.

Colour

It might not seem like a big thing to bear in mind when choosing your wadding, but the colour you pick can affect your finished quilt.

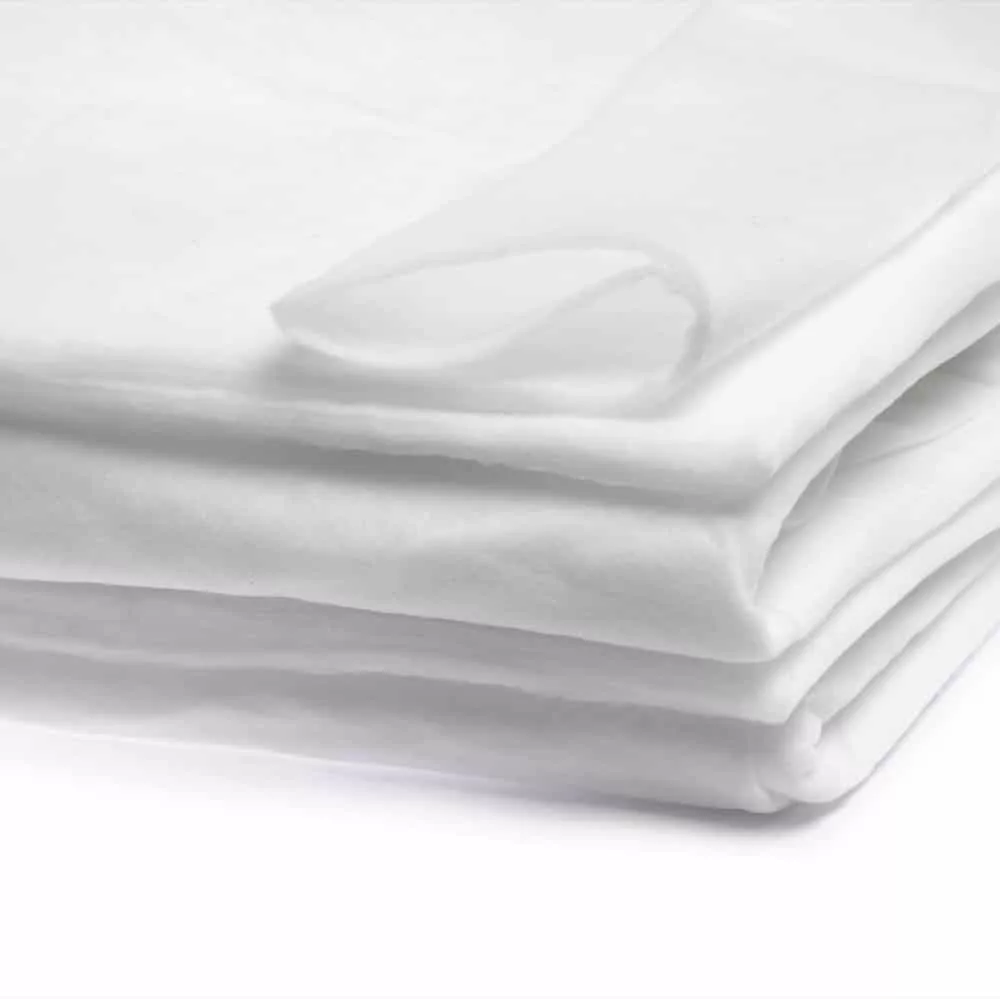
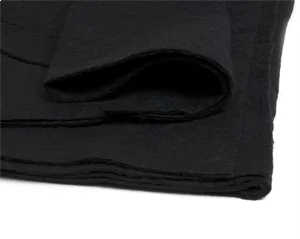
Waddings generally come in three colours: white, natural and black.

Whilst white is the most commercially available and arguably the most popular, black wadding is a much better choice for quilting projects using darker fabrics as it won’t show through.

So before you buy, make sure you think about which fabrics you’ll be using for your quilt and which colour wadding would be most beneficial to you.

Should I pre-wash wadding?

We are constantly being asked whether you should wash your wadding and whilst many wadding brands will state that pre-washing is recommended – we don’t think it’s necessary.

Pre-washing your wadding DOES help to reduce shrinkage as well as take out any oils & resins, but as most wadding has already been washed during the manufacturing process we don’t see this as an issue.

But what about shrinkage?

There might be a small amount of shrinkage, but usually it’s not very much at at all – maybe 3%? And personally, we LOVE the slightly wrinkled effect on a washed quilt – it feels kinda vintage!

However, if you don’t like this look and want to pre-wash then it’s best to do it in the bath! Just pop your wadding in a bathtub full of hot water and leave it for a bit. Be warned – your wadding will be pretty darn sopping when you get it out, so it’ll be very heavy. Watch your back !

As you lift it, you’re probably going to stretch the wadding which may make it thinner in some places – this isn’t ideal.

You might try a delicates cycle or handwash in your washing machine but you run also the risk of it distorting your wadding.

If you do pre-wash then dry your wadding as flat as possible to avoid further stretching.

How much will I need?

It all depends on the size of your quilt.

Simply measure up the size of your quilt and buy as much as you need for your sewing project!

Most waddings are available by the cut half metre and they can also come pre-packaged in standard sizes for crib, twin, double and king, so you’ll be ready for the project that you wish to make from the get go.

And that should be most things covered!

If you’re still unsure about some of the words or phrases used throughout the guide, take a look below at the handy glossary.

Wadding Glossary

Batting: general term used for wadding in various countries including the USA

Drape: How a quilt feels after being quilted. Good quality wadding will allow your quilt to drape around you comfortably without being too stiff.

Loft: the weight and thickness of wadding. A high loft means it’s thick, a low loft means it’s thin.

Bearding: When fibres separate and push through the top layer of the quilt. Often happens with cheaper wadding

Needle-punched: mechanically felted together by punching them with hundreds of needles, causing the fibres to intertwine and bond together, making it denser

Scrim: a thin grid of polyester/synthetic stabiliser which is needle punched into the wadding to stabilise the cotton fibres and prevent them from bearding. Also adds strength and stops the wadding from distorting and stretching.

No scrim: With no scrim, the stitches must be quilted closer together to keep the fibres separating. Waddings with no scrim are a good choice for hand quiltin

We stock a variety of different wadding for all your quilting needs! Hop on over to the website and browse the world of wadding!

I hope that you’ve found this guide useful and that when you next need to buy wadding it will cause you less of a headache!

Happy quilting!

Never miss a tutorial or fabric guide…

Stay up to date with the latest by signing up to our newsletter!

Click to join our mailing list!

Follow @plushaddict on social media and keep an eye out for more tutorials.

Cuddle Puzzle Quilt: Pieces By Polly

Cuddle Puzzle Quilt: Pieces By Polly

In this tutorial, we guide you through creating a colorful and cozy puzzle quilt using plush fabrics. Inspired by Polly's design, this project combines the softness of cuddle fabric with the playful elements of a jigsaw puzzle. The process involves appliquéing "knobbies" onto adjacent squares, simplifying the construction of curved pieces. With two packs of Shannon Cuddle Cakes and our detailed instructions, you'll craft a quilt that's both visually appealing and delightfully soft.

This post will be updated soon, please check back shortly