Our site is getting a makeover! Please bear with us whilst we make improvements

Tutorial: How To Sew French Seams

Tutorial: How To Sew French Seams

Boring Legal Bit: If you follow any tutorial or guidance found in this post, or on this blog, you agree to be bound by our disclaimer which can be viewed here

A sewing tutorial for Beginners

Once you’ve gained confidence in sewing straight lines, you may want to learn how to sew a French seam. French seam is a great step to add to your sewing projects to get them looking extra special.

French seams are most commonly used for fine fabrics:

  • The seam is sewn twice, making the finished item more durable.
  • Raw edges are enclosed in the finished seam, to give a neat finish.
  • Some fine fabrics are sheer, making seams visible. A French seam is aesthetically pleasing.

If you’re new to sewing French seams the easiest start point is to practice with cotton fabrics; it’s easier to see your progress and they are much more forgiving when unpicked.


Jump To:

  1. Sewing With Cotton Fabrics
  2. Sewing With Fine Fabrics

Never miss another tutorial or guide…

Stay up to date with the latest by signing up to our newsletter!

Click to join our mailing list!

Practicing French Seams With Cotton Fabric

Important notes:

For steps using machine sewing, straight stitch, backstitching at the start & end using stitch length 2.5 unless otherwise stated.

Prepare your fabrics as per manufacturer’s care advice.

You will need:

  • 2 pieces of cotton fabric

Step-by-Step With Cotton Fabric

1. Pin 2 pieces of fabric wrong sides together


pin 2 pieces of fabric wrong sides together

2. Sew with a 5mm seam allowance

Sew with a 5mm seam allowance

3. Press the seam open with the seam allowances to one side, trim any loose threads.

 Press the seam open with the seam allowances to one side, trim any loose threads.

4. Fold along the seam to bring the 2 fabrics right sides together and press.

Bring the 2 fabrics together

5. Pin then sew with a 1cm seam allowance.

Sew with a 1 cm seam allowance

6. Press the seam allowance to one side

Press the seam allowance to one side

On fine fabrics the 1st sewn seam allowance is trimmed and a wider seam allowance is sometimes necessary for this step. 

When using cotton, a 5mm seam can be usually be sewn on a domestic machine without the fabric being ‘chewed’. The seam allowances have not been trimmed in the cottons practice following the 1st sew, unless you wish to. The finished seams here will not be visible as per sheer fabrics, therefore a slightly bulkier finish does not present any aesthetic issues.

The final seam on fine fabrics is narrower.

Once you feel confident sewing a French seam with cotton fabrics, you may wish to practice on some delicate fabric:

Sewing French Seams With Fine Fabrics

Important notes:

For steps using machine sewing, straight stitch, backstitching at the start & end using stitch length 3 unless otherwise stated.

Prepare your fabrics as per manufacturers care advice.

You will need:

  • 2 pieces of cotton fabric

Step-by-Step With Fine Fabrics

Prepare your fabrics as per manufacturers care advice.

1. Pin 2 pieces of fabric wrong sides together

2. Sew with a 1cm seam allowance

3. Press the seam open with the seam allowances to one side, trim the seam allowance to 2 or 3mm

4. Fold along the seam to bring the 2 fabrics right sides together and press.

5. Pin then sew with a 5mm seam allowance.

6. Press the seam allowance to one side

And you’re finished, well done!

Never miss another tutorial or guide…

Stay up to date with the latest by signing up to our newsletter!

Click to join our mailing list!

Pin For Later!

French Seam Sewing

Follow Plush Addict on social media and keep an eye out for more tutorials!

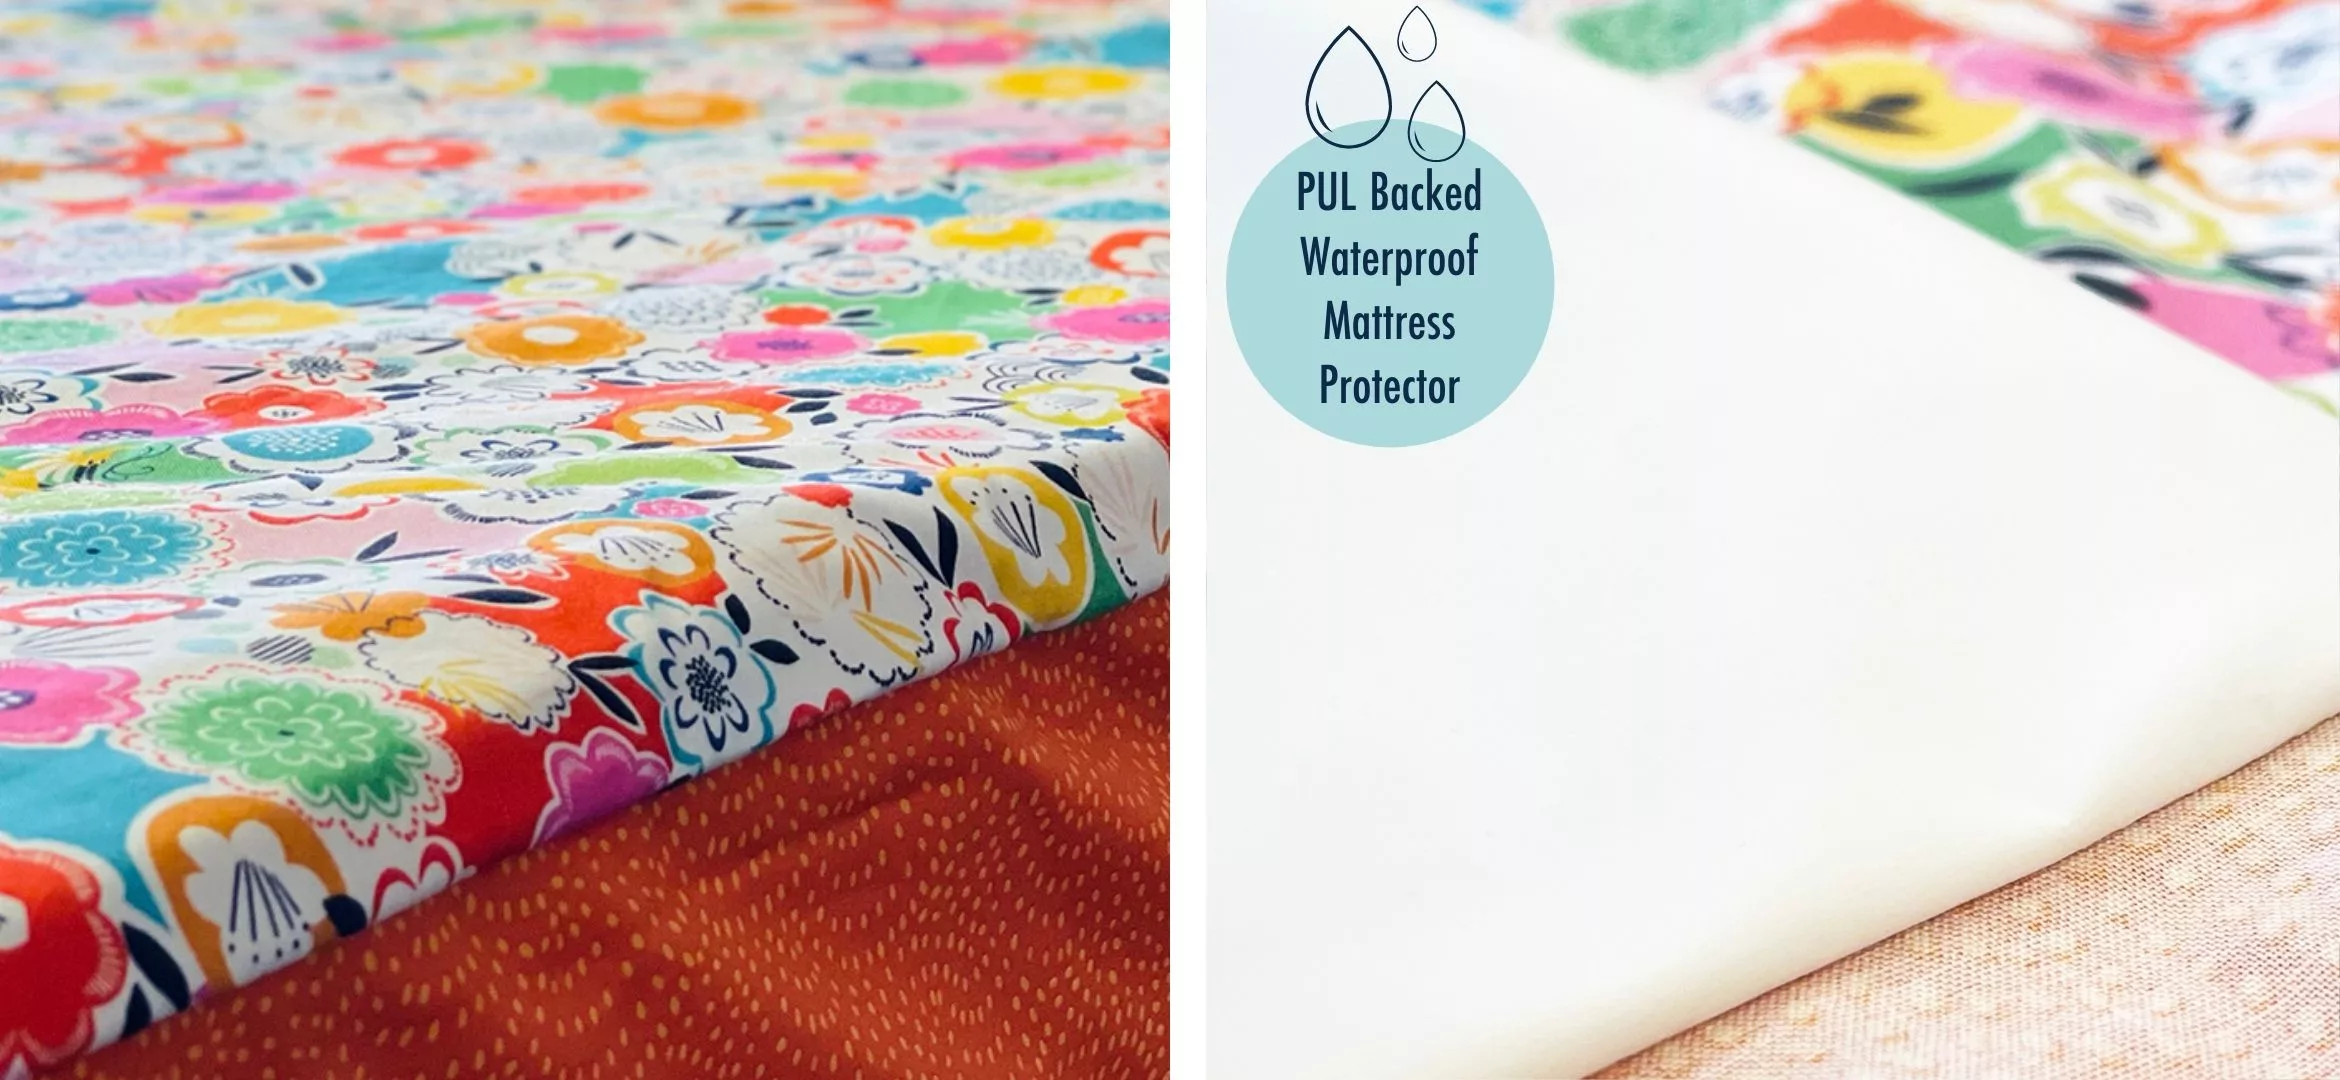
How To Sew A Waterproof Mattress Protector

How To Sew A Waterproof Mattress Protector

You never quite realise how much your child moves around in their sleep until you reach the toilet training stage. Once that plastic protector is on their bed every movement is exaggerated with the crunchy rustle of plastic! And if that isn’t enough, the poor lamb suddenly finds themselves overheating from the added insulation.

A mattress protector like this is designed to fit on top your main sheet to help you change your child’s bed quickly and easily in the middle of the night. Your child will sleep with cool cotton against their skin and when soiled just whip this protector off and replace with another OR if have a separate bed sized waterproof protector under the main sheet of the bed you can literally just whip this off and get back to sleep!

The finished mattress protector is machine washable; make 2 or more and there will always be a spare on hand for those blurry eyed bed changes. The top and sides are cotton, giving a huge number of styling options, and it fits over a bed sheet instead of under, for speedy switching in the middle of the night.

Another advantage if using this protector is that it will reduce the size of your laundry load as these are around half the size of a full sheet.

This tutorial runs you through how to make a mattress protector of any size. It combines absorbent bamboo velour, non-rustling and breathable waterproof PUL fabrics for a quieter, cooler night’s sleep along with some pretty quilting cotton to make it super pretty!


Boring Legal Bit: If you follow any tutorial or guidance found in this post, or on this blog, you agree to be bound by our disclaimer which can be viewed here

A Sewing Project for Confident Beginners

You will learn:

  • How to sew bamboo velour fabric
  • How to sew Waterproof fabric

You will need:

Measure the length, width and depth of the mattress in cms:

We used*

*The single mattress being covered was 190cm long, 90cm wide and 20cm deep


Never miss a guide or tutorial

Click to join our mailing list!


Important notes

1.5cm seam allowance throughout, unless directed.

For steps using machine sewing, straight stitch, backstitching at the start & end using stitch length 3.5 unless otherwise stated.

Prepare your fabrics as per manufacturers care advice – Bamboo velour should be prewashed without fabric softener.

DO NOT iron waterproof fabric.

Disclaimer: PUL and waterproof fabrics are a suffocation hazard, always check the sheet is firmly fitted before every use.

Tips on how to sew waterproof fabric:

  • Use clips or pin within the seam allowance – pin holes will remain visible.
  • Waterproof fabrics can slip; we recommend a walking foot is used for this project. Otherwise try a Teflon or roller foot, or a strip of Scotch ‘magic tape’ stuck to the bottom of a standard foot.
  • Sew with tissue paper over the side that is slipping, and tear it away after.
  • Use an 80/12 needle

How to make a Waterproof Mattress Protector

1. Cut out the following using the measurements calculated above:

  • Topper
  • Absorbent layer
  • PUL
  • Side panels

Prepare the hem

2. Hem the 2 short sides of the side panels and 1 long side: With the fabric facing wrong side up, turn over 2cm of fabric along each side and press.

3. Fold the raw edges under to the crease and press forming a 1cm border.

Mitre the corners

Never mitred corners before? Check out this video to help.

4. Mitre the 2 hem corners on each side panel: Starting at one corner, open out the 2cm hem on both sides with 1cm of fabric still folded.

5. Fold over the corner, the creases will have formed a small square. Align the 2 sides of the small square with the two 2cm creases on the underside of the panel.

6. Finger press along the crease.

7. Unfold the corner and mark out the fold line.

8. Fold the corner in half, bringing the 2 right sides together.

9. Pin and sew along the marked line.

10. Trim the seam allowance to 3mm and clip the end.

11. Turn out the corner, use a turner to shape the point

12. Press then sew around the inner edge of the hems to secure.


Never miss a guide or tutorial

Click to join our mailing list!


Assemble the Mattress Topper

13. Align the fabrics in the following order:

  • Waterproof fabric: Shiny side up
  • Topper: Right side down
  • Absorbent fabric: right side down

Please note: the waterproof layer is longer to create a lip at the edges of the finished mat.

14. Align and clip the short edges of the 3 fabrics together, guiding the excess waterproof fabric toward the centre.

15. Sew the 3 layers of fabric together on each side.

16.  Understitch the seam allowances 2mm from the seamline, seam allowances overlapping the waterproof fabric side.

17. Add the side panels: Working under the waterproof layer, align the raw edges of the side panel with the side seams of the topper, right sides facing.

18.  Clip the side panel, topper and absorbent layers together.

19. Baste with a 1cm seam allowance then press the seam allowances toward the topper fabric. Take care to avoid ironing the waterproof fabric.

20. Repeat steps 17. To 19. on the other side panel.

21. Clip the waterproof fabric to the topper fabrics. 1.5cm of waterproof fabric should extend past each end of the topper.

22. Sew the 2 sides leaving a 30cm turning gap in the centre of one.

23. Turn the mattress protector out the right way.

24. Sew the opening closed.

And you’re finished, well done!

Would you love a duvet cover and pillow to match? Check out the tutorial here.

Pin this for later!

Don’t forget to sign up to the newsletter so you don’t miss any of our free tutorials and follow us on all the socials below.

Tutorial: Sew a Cot Bed Duvet Cover

Tutorial: Sew a Cot Bed Duvet Cover

Free DIY Toddler/Cot Bed Duvet Cover Tutorial

Moving up into a ‘big bed’ is a significant milestone for many a toddler, getting them to stay there and sleep can be a different matter… Maybe their very own special bedding set will give them the incentive to stay put, allowing them (and you!) to have a good nights’ sleep! Therefore, we have prepared this Sew a Cot Bed Duvet Cover tutorial to help you get started.

Pin me for later!

Boring Legal Bit: If you follow any tutorial or guidance found in this post, or on this blog, you agree to be bound by our disclaimer which can be viewed here

This cot bed duvet cover tutorial has been designed to make the very best use of the Silk Road Border Print fabric. If you’re not use what a border print is then check out our guide here

You will learn:

·        How to form a grown on placket

·        How to add a sewn on placket

·        How to sew a button hole

·        How to use Kam pliers

·        How to sew a French seam

These measurements will fit a cot bed duvet size 150 x 120cm and a toddler pillow size 60 x 40cm

You will need:

Here we used*

 *Toddler duvet size 150 x 120cm, Toddler pillow size 60 x 40cm

A Note On Sewing French Seams

French seams are most commonly used for fine fabrics, we are using them here for a few reasons:

  • The seam is sewn twice, making the finished item more durable.
  • Raw edges are enclosed in the finished seam, to give a neat finish.
  • This gives an opportunity to practice French seams with more forgiving fabrics.

Please note: On fine fabrics the 1st seam sewn allowance is trimmed as a wider seam allowance is sometimes necessary for this step.  As cotton is being used here, a 5mm seam can be normally be sewn on a domestic machine without the fabric being ‘chewed’. The finished seams here will not be visible as per sheer fabrics, therefore a slightly bulkier finish does not present any aesthetic issues. The final seam on fine fabrics would be narrower, but in the interest of gaining insight into the technique, the seam allowances are not being trimmed following the 1st sew, unless you wish to. 

Important notes:

1.5cm seam allowance throughout, unless directed

For steps using machine sewing, straight stitch, backstitching at the start & end using stitch length 2.5 unless otherwise stated

Prepare your fabrics as per manufacturers care advice

How to sew a DIY Toddler duvet cover

In this part of the cot bed duvet cover tutorial, let us go through the steps in sewing a duvet cover for your toddler.

 1. Cut out the fabrics out as follows:

Border print Fabric A:

  • 110 x 123cm Duvet front piece
  • 78.5 x 43cm Pillow front
  • 63.5 x 43cm Pillow back

Contrast print Fabric B:

  • 43 x 123cm Duvet front piece
  • 66.5 x 123cm Duvet back piece

 Block colour fabric Fabric C:

  • 93 x 123cm Duvet back piece
  • 8 x 123cm placket

 Interfacing:

  • 8 x 123cm Sewn on placket
  • 5 x 123cm Grown on placket

Make the plackets

1.How to sew a grown on placket

How to sew a grown on placket

2. Apply the 5cm wide strip of woven interlining to the back of the bottom edge on the contrast back duvet piece

Make the plackets step 2

3. Fold over and press the bottom 5cm of the back duvet piece

4. Tuck the raw edge under to meet the crease and press again to form the placket

5. Measure and mark 20cm from each end of the placket

6. Starting at one mark top stitch along each edge of the placket, 3m from the crease and stop when the other mark is reached

How to sew a sewn on placket

7. Apply the 8cm wide interlining to the placket

8. Fold the placket in half and press

9. On one side of the placket only fold over 1.5cm and press

10. Pin the right side of the unfolded edge of the placket to the wrong side of the bottom edge of the border print duvet front piece and sew

11. Press the seam open with the seam allowance pressed toward the placket

12. Pin along the placket on the right side of the duvet front piece

13. Measure and mark 20cm from each end of the placket

14. Starting at one mark top stitch along each edge of the placket, 3m from the crease and stop when the other mark is reached

Assemble the front panel sewing French seams

15. Pin the wrong side top edge of the border print duvet front piece to the wrong side bottom edge of the contrast duvet front piece

16. Sew with a 5mm seam allowance

17. Press the seam open with the seam allowances to one side, trim any loose threads

18. Fold along the seam to bring the 2 fabrics right sides together and press 

19. Pin then sew with a 1cm seam allowance

20. Press the seam allowance toward the border print fabric

Assemble the back panel sewing French seams

21. Pin the wrong side top edge of the contrast duvet back piece to the wrong side bottom edge of the solid colour duvet back piece

22. As per steps 16. To 19; Begin the French seam and sew with a 5mm seam allowance

23. Press the seam open with the seam allowances to one side, trim any loose threads

24. Fold along the seam to bring the 2 fabrics right sides together and press

25. Pin then sew with a 1cm seam allowance

26. Press the seam allowance toward the contrast fabric

Join the Placket ends

27. Align the front and back duvet panels right sides together

28. Clip the 2 plackets together

29. One end at a time, sew along one side of the plackets 3mm from the edge, along the marked line (from step 5 & 11), then back along the other edge of the plackets. To reinforce the marked line, backstitch along it before continuing

30. Fold the front and back duvet panels along the inner edge of the placket to bring the wrong sides together with the placket tucked in along the bottom edge. Press along the placket edges

Assemble the duvet cover using French seams

31. Smooth out the duvet front and back panels wrong sides together and pin along the top edge

32. Sew a French seam as per steps 16. to 19

33. Turn the duvet cover right side out and smooth out the front and back fabrics

34. Pin the sides together, wrong sides facing.

35. Sew French seams in the 2 sides as per steps 16. To 19.

Please note: After sewing and pressing the first part of the seam turn the 2 corners of the top seam allowance to overlap the same side at each end and sew over the ends with the 1cm seam. For the placket end; trim the placket seam allowance as close to the seamline as possible and turn the plackets to the same side each end, then sew over the ends with the 1cm seam.

Prepare to add the fastenings

36. Make 7 marks at the following points on the inside of the front and back plackets:

  • The centre of the placket
  • 3 marks at 10cm intervals to each side of the centre

37. Follow either the KAM snap or button hole directions to add the placket fastenings:

How to attach KAM snaps

38. Add the Kam snaps at the marked positions: Use female snaps on one side of the opening and male snaps on the other with the smooth sides on the inside of the placket.

a) At the centre of the mark use an awl to make a hole through the placket only.

b)    Thread the snap backing piece through from the underside of the placket.

c)    Clip the applicable snap piece onto the top side.

d)    Line the snap back piece up in the plier base.

e)    Position the pliers on a solid surface and press firmly (lean into the pliers for added force) until the snap is fixed in place.

f)     Repeat for all snaps, if you’d like to see a video on KAM snaps, click here.

39. Sew the buttonholes and attach the buttons, for a handy guide on this check out our ‘How to Sew a Buttonhole’ blog here or our video guide here.

How to sew an envelope pillow

Prepare the pillow front

40. With the pillow front right side down fold over and press 2cm of the short edge on the left

41. Tuck under the raw edges to meet the crease and press again to form a hem

42. Sew along the innermost crease, 2mm from the crease edge

Prepare the pillow back

43. With the pillow back right side down fold over and press 2cm of the short edge on the right.

44. Tuck under the raw edges to meet the crease and press again to form a hem

45. Sew along the innermost crease, 2mm from the crease edge

Form the envelope

46. Line up the short raw edges of the pillow front and pillow back wrong sides together and pin

47. Sew a French seam as per steps 16. to 19.

48. Fold the pillow along the sewn seam bringing the wrong sides together

49. Pin along the 2 sides of the pillow stopping 2 thirds of the way up

50. Fold the excess fabric down in between the 2 fabric layers and smooth it out. The fold needs to align with the top of the pillow back hemline

51. Finish pinning the 2 sides of the pillow

52. Sew along each side with a 5mm seam allowance.

53. Press the seams open with the seam allowances to one side, trim any loose threads.

54. Turn the pillow case, then turn the envelope flap right side down.

55. Turn 2 ends of the sewn seam allowance to the same side

56. Pin then sew each side with a 1cm seam allowance

57. Turn the pillow out the right way and press.

And you’re finished, well done!

Would you love a mattress protector to match? Check out this tutorial!

Pin this for later!

Let us know how you get along in the comments below!

Follow Plush Addict on social media and keep an eye out for more tutorials. Please tag us @PlushAddict on your fave social media channel… we love to see your makes!

A Quick Guide To PUL Fabric

A Quick Guide To PUL Fabric

What Is PUL Fabric?

So, what is PUL fabric? Or  polyurethane laminate – apart from being a mouthful!?

Polyurethane laminate can be abbreviated to PUL fabric.

PUL is special… It’s a waterproof AND breathable fabric!

Why is this important?

Well, it means if you make waterproof items of clothing your body heat has a better chance of escaping into the atmosphere!

Heat escapes THROUGH the fabric – so you “glow” less.

It’s pretty brilliant!


Composition of PUL Fabric

PUL has 2 sides.

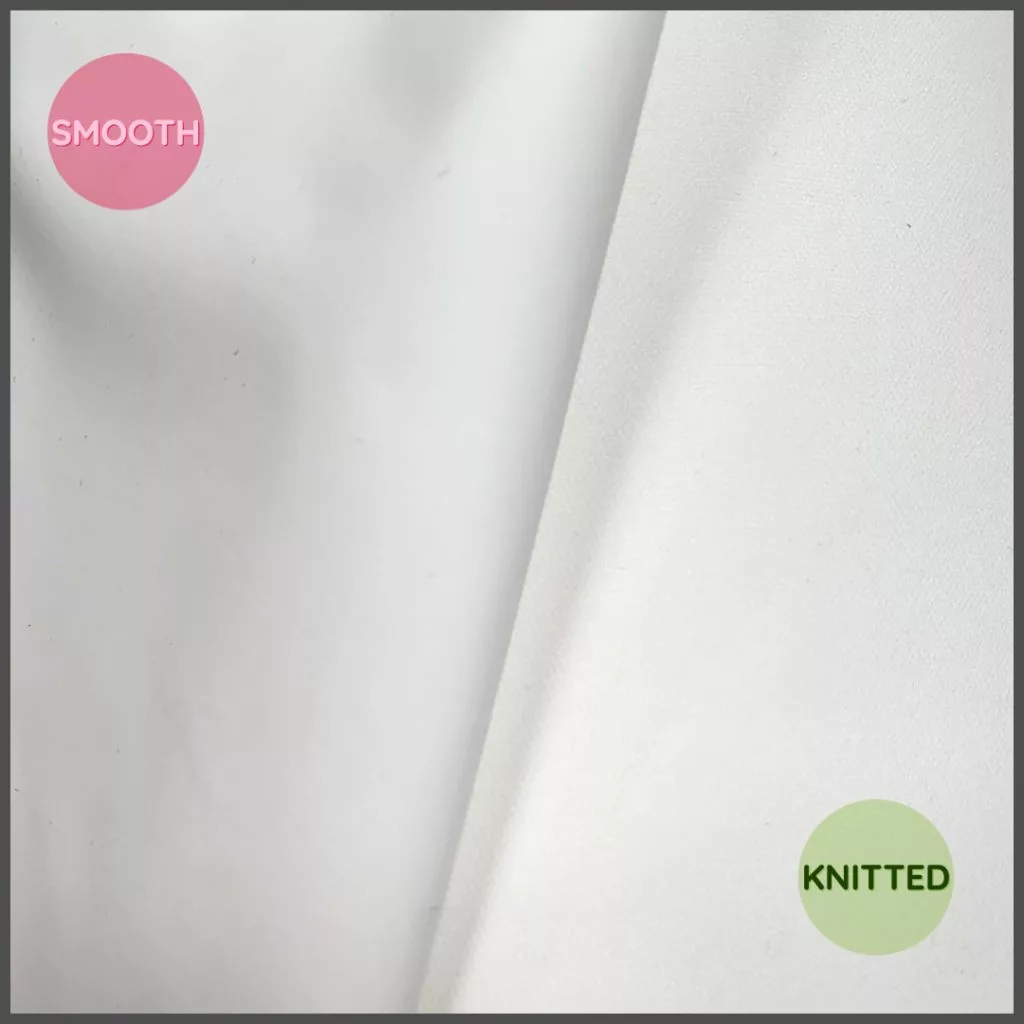
One side is a polyester knit, so has a slight stretch which is great for clothing.

The other side has a laminate coating applied.

It’s slippery and shiny – this is the waterproof bit.

  • PUL is soft & flexible
  • It doesn’t really crease
  • It air dries in super quick time
  • It’s safe – there’s no lead, phthalates or BPA

Never miss a tutorial or fabric guide…

Stay up to date with the latest by signing up to our newsletter!

Click to join our mailing list!

What is Sandwich PUL

As well as single layer PUL we also stock sandwich PUL which works in the same way but instead of being composed of 2 layers of fabric there are 3 layers. The layer of laminate is sandwiched in between 2 layers knit fabric. This is especially helpful if you don’t want to have the shiny laminate side against the skin as it’s hidden away between the knit layers. It’s also stronger so if you are applying a kind of fastener such as KAM snaps, extra reinforcement isn’t required around the fastenings.

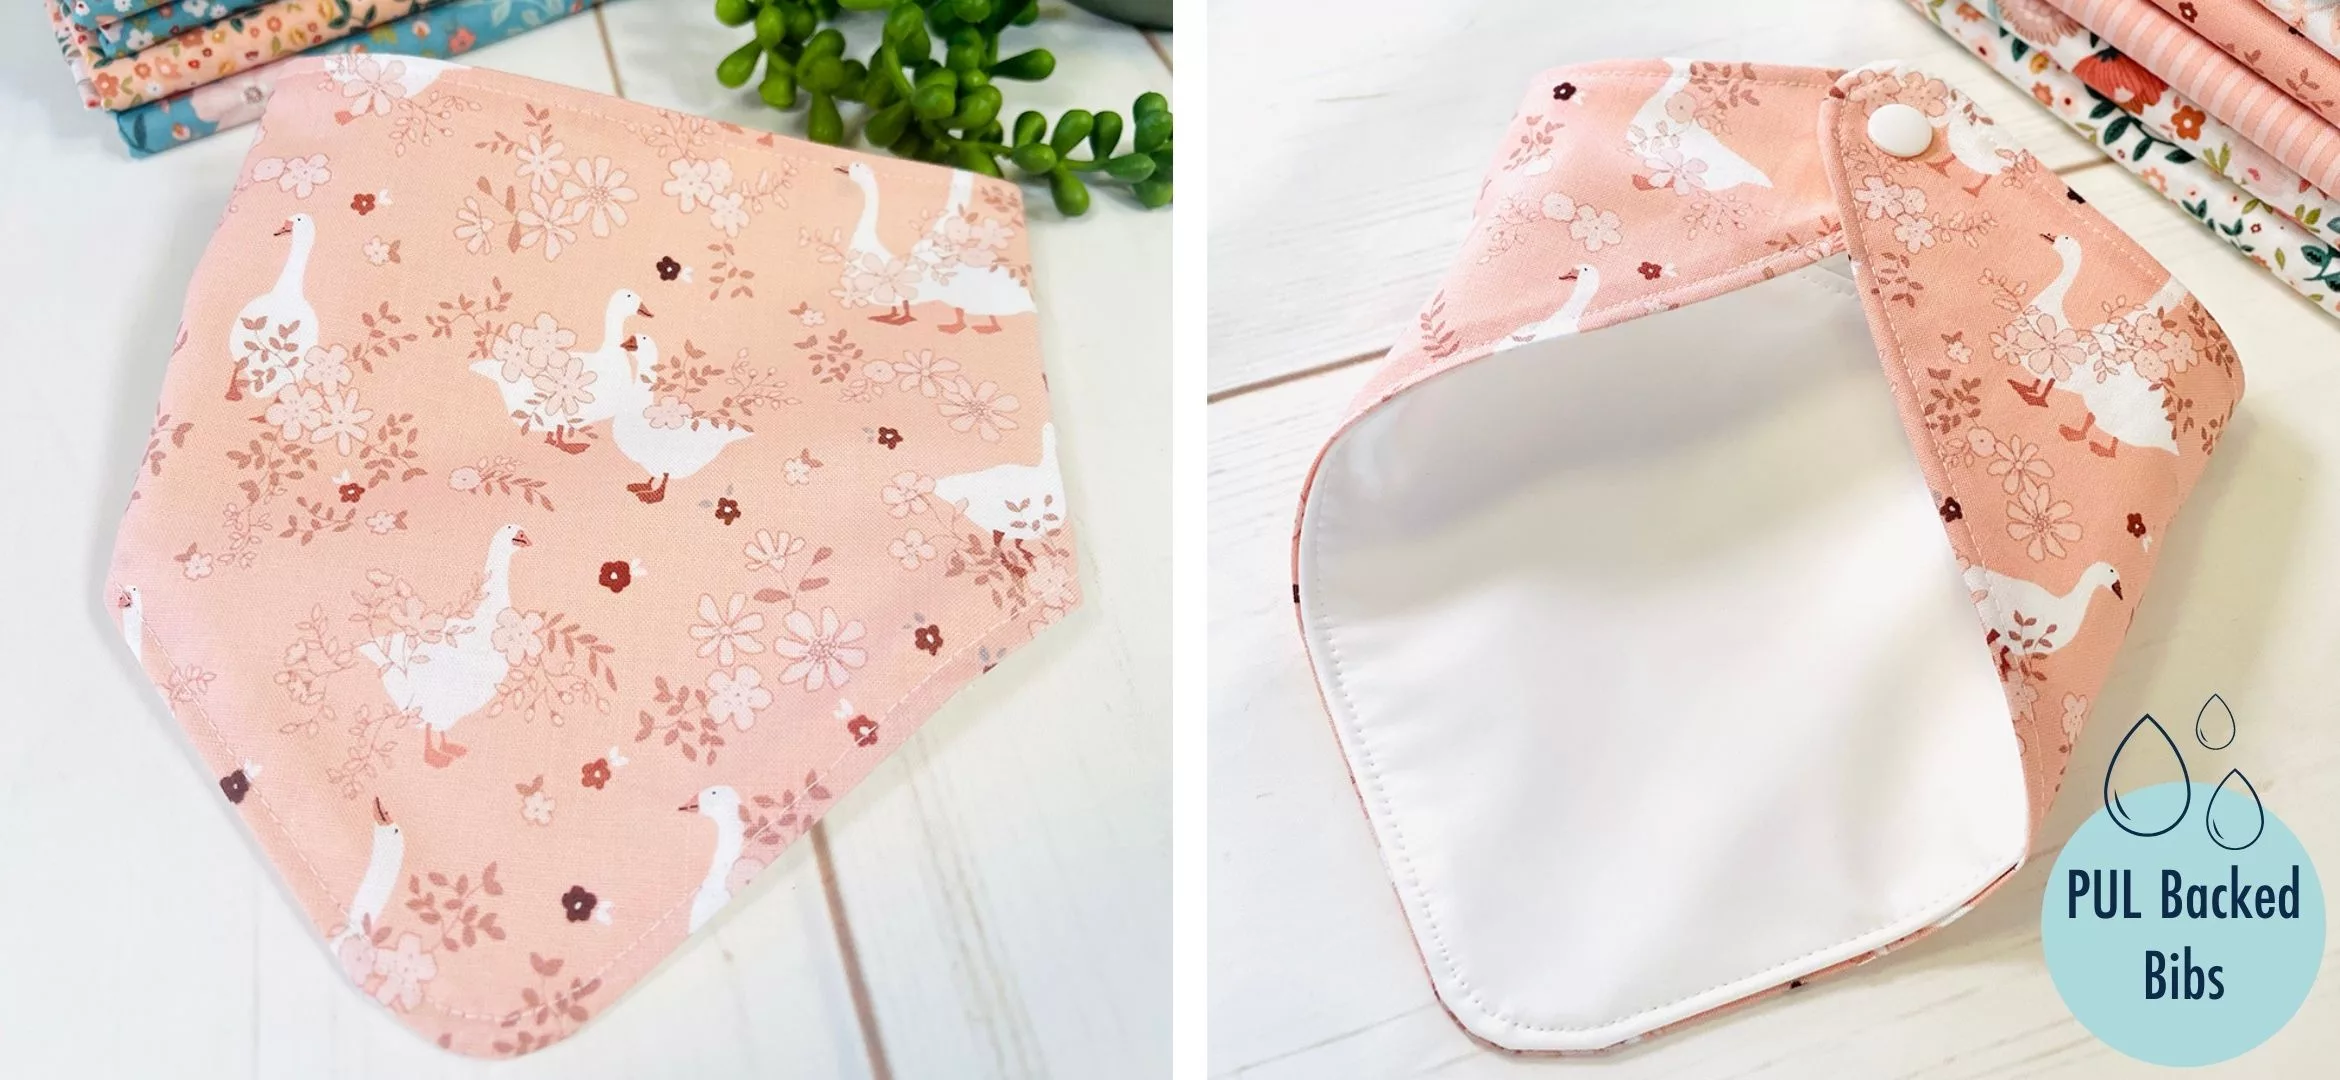
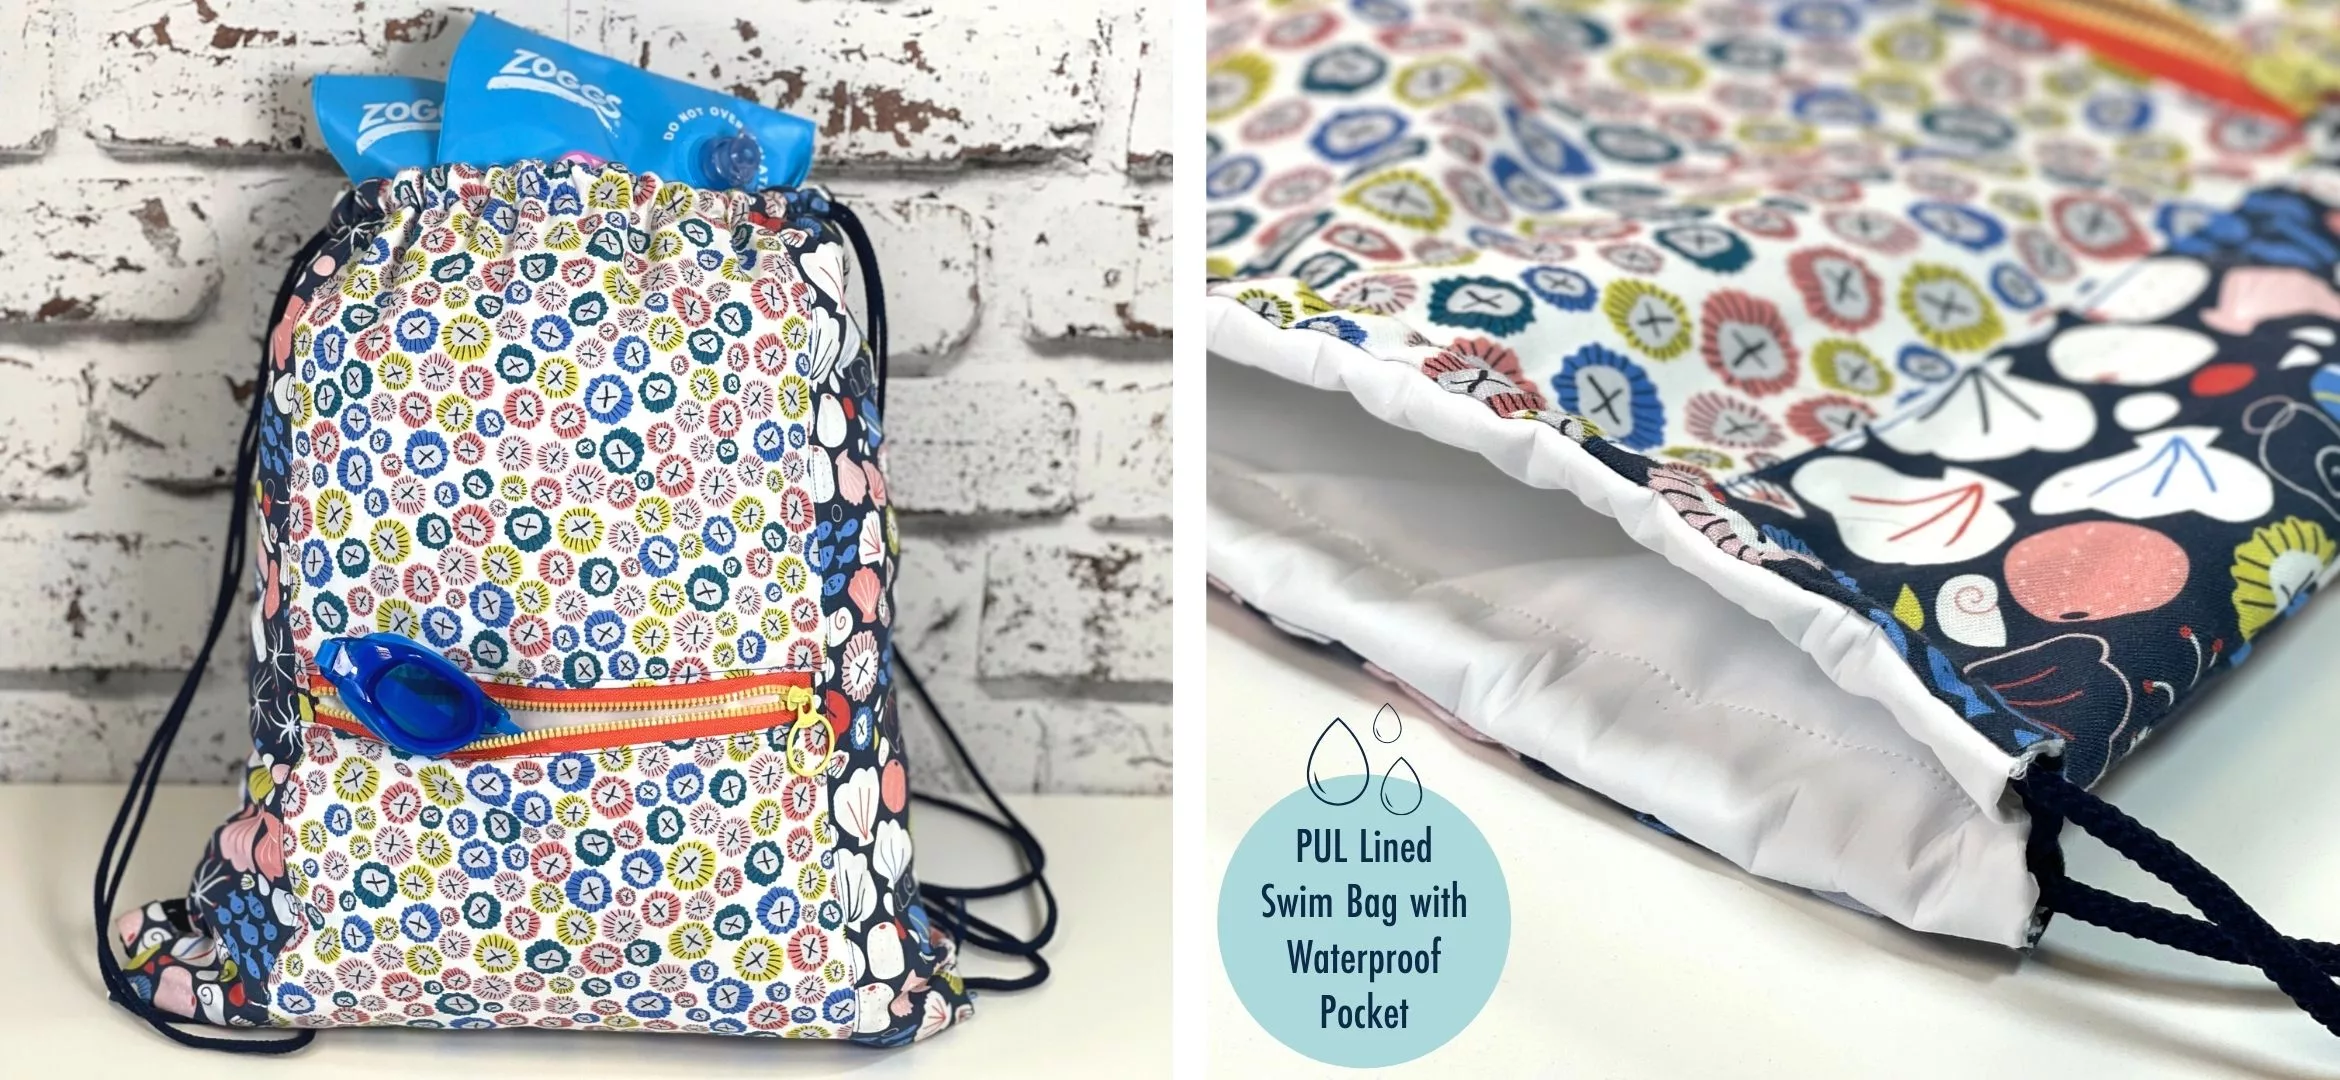
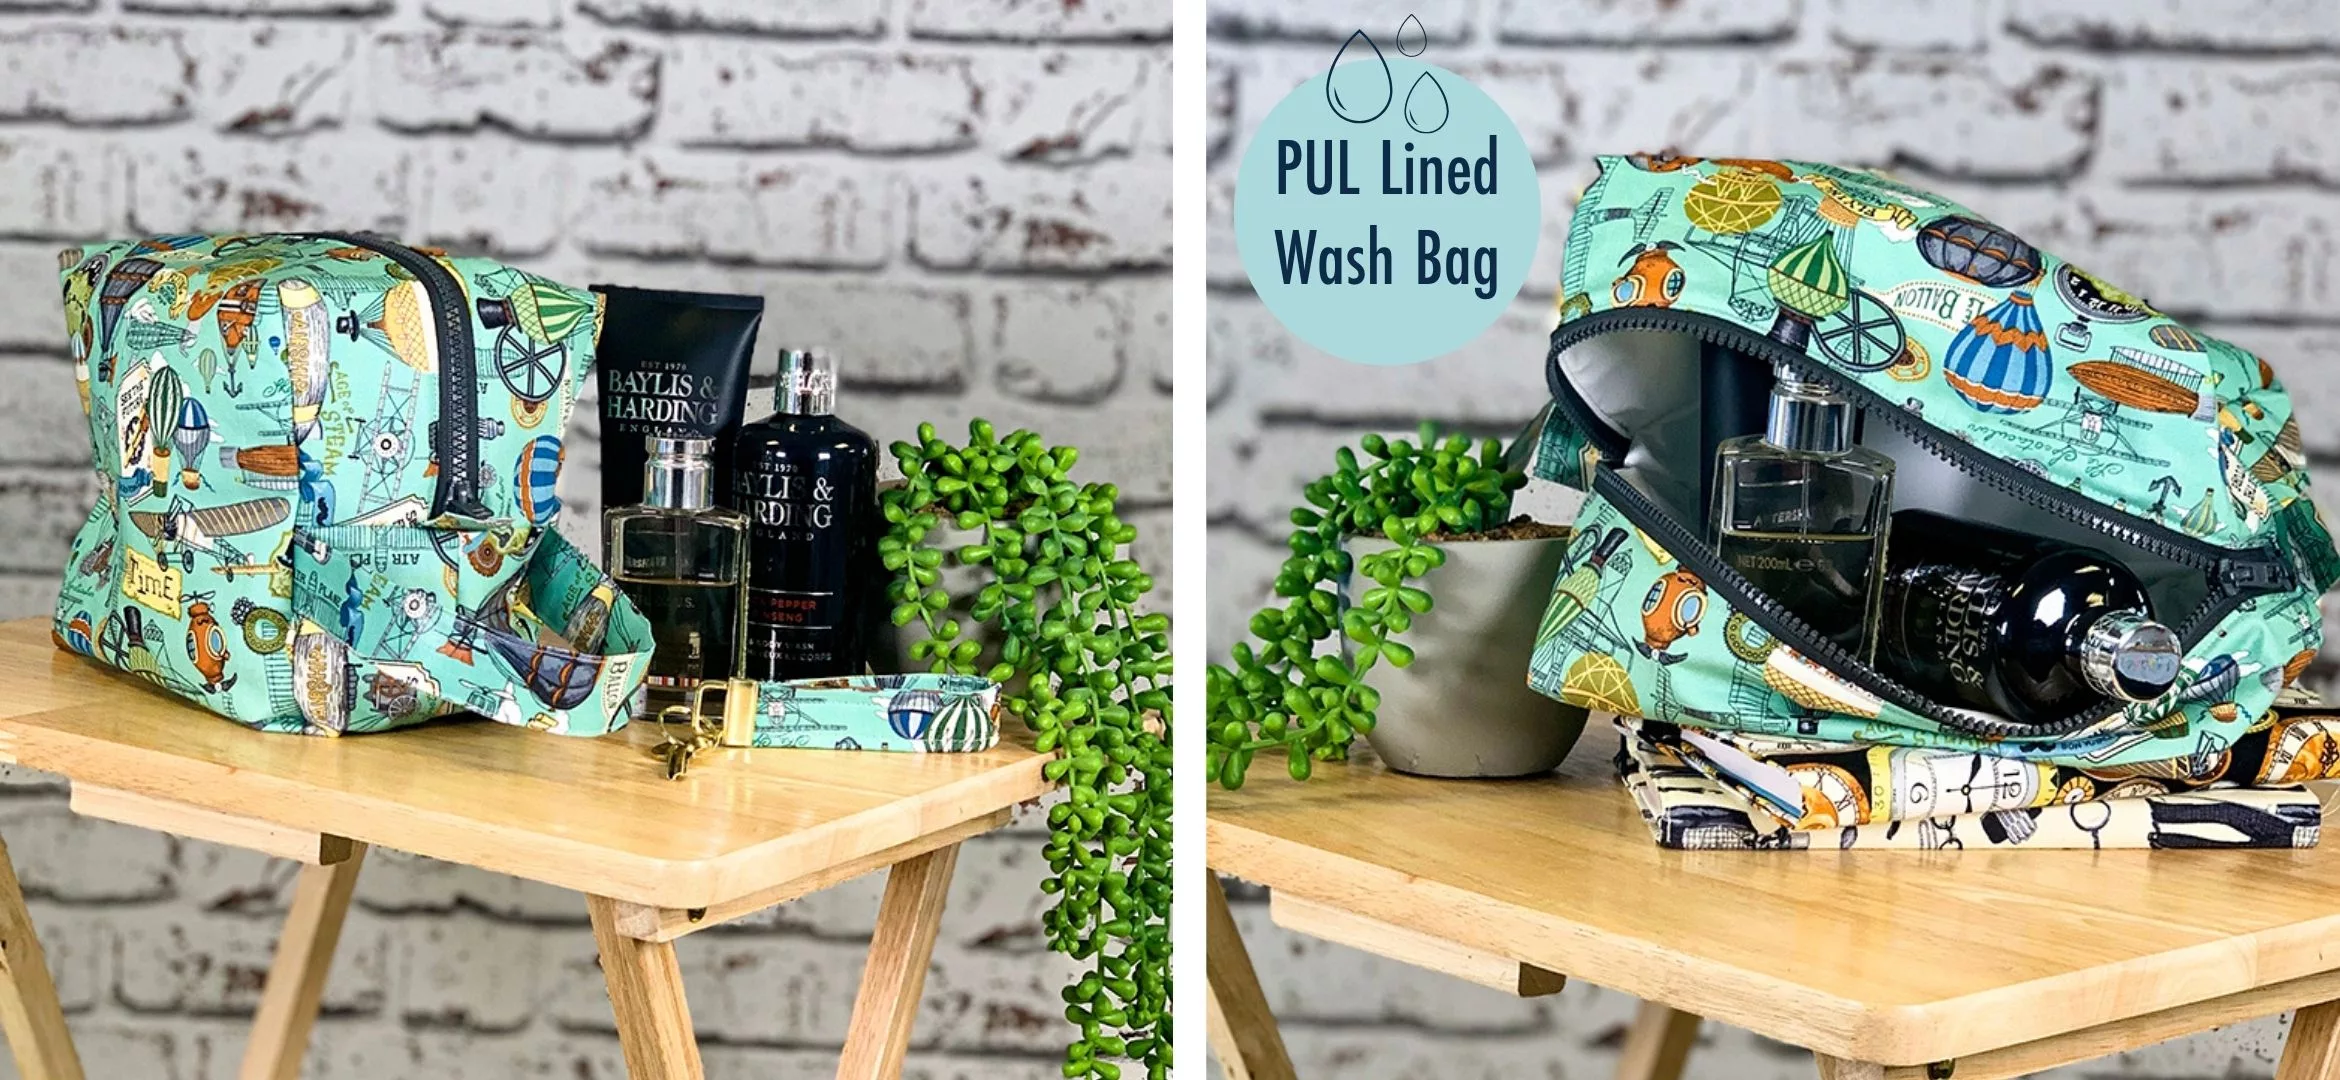
Uses: Cloth nappies and wraps, anoraks, waterproof trousers, wet bags, swim bags, changing mats, changing bags, mattress protectors, pillow protectors, baby bibs, picnic blankets, incontinence products, anywhere you need a waterproof, breathable layer.

Is there a right or wrong side?

We ALWAYS get asked this.

Is there a right side to ensure “waterproof-ness”?

There isn’t really, it’s a personal preference.

The fabric will be waterproof no matter which side you choose, so go with the look that pleases you most!

That said, for aesthetic & comfort reasons I usually use the knit side as the “right” side most often.

It’s more comfy if your project will be close to the skin.

Tips for sewing with PUL fabric

✂️  Needle: Use a stretch needle

✂️  Stitch Length: Use 3mm stitch length

✂️  Machine Foot: A walking foot is helpful. If your machine foot is sticking then you can apply a bit of Scotch Magic Tape to the base of your normal machine foot

✂️  Thread Type: Polyester thread is recommended to match the fabric composition

✂️  Sealing sewing holes: When you sew your needle will leave tiny holes behind in the laminate layer which MAY affect the waterproof effectiveness of your garment.

These holes are easily resealed … either:

✂️ Pop your garment in the tumble dryer on low for 20 minutes

✂️ Or if you’re using our White PUL it’s weldable so just iron it (using a pressing cloth!) and the holes will seal!

❤️  A special note regarding our own brand of white PUL … we get this manufactured ourselves here in the UK & it has some very special properties:

☔ Its waterproof YET breathable

☔ Its medical grade

☔ Its weldable giving you a completely sealed seam (Look! No leaks!)

☔ Its fungistatic which – apart from being a brilliant word – means it inhibits the growth of fungi & bacteria ?

☔ Its double laminated – whaaaat’s that?! It means it lasts longer & is less likely to delaminate over time as it’s washed loads

☔ Its fire retardant

Uses For PUL Fabric

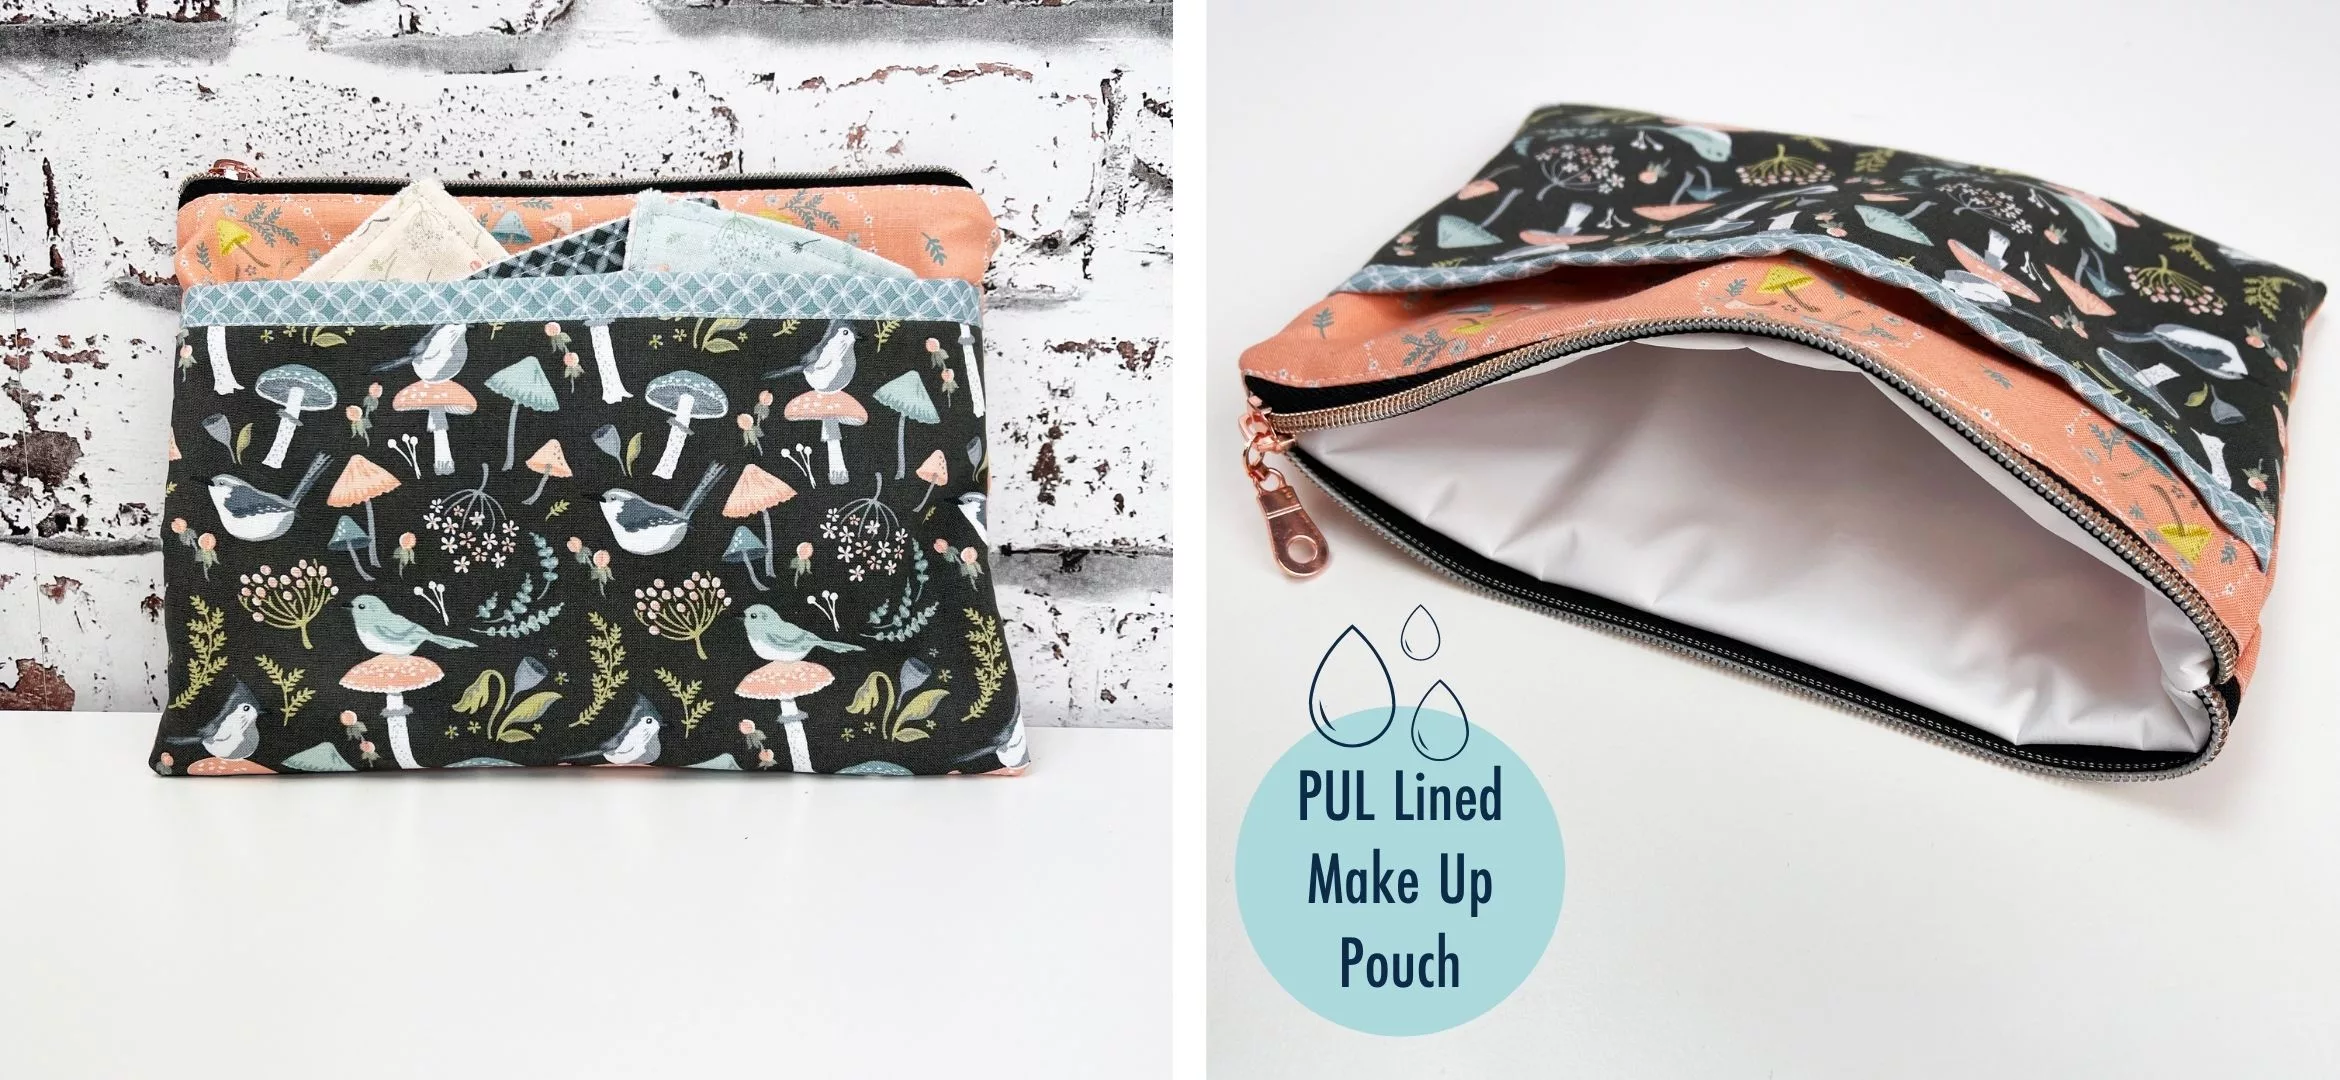
Love the sound of PUL? So where can you use it?! Well… anywhere you need a waterproof layer really…. here’s some handy projects on our blog!

Other ideas include….


  • Waterproof trousers
  • Wet bags
  • Cloth Nappies (We have a guide all about these here)
  • Changing mats
  • Changing bags
  • Picnic blankets
  • Pillow protectors
  • Incontinence products
  • Cloth sanitary protection


Have you sewn with PUL fabric? Have you got any tips to share?

Never miss a tutorial or fabric guide…

Stay up to date with the latest by signing up to our newsletter!

Click to join our mailing list!

Follow Plush Addict on social media and keep an eye out for more tutorials!

Make An Easy Reading Cushion Tutorial

Make An Easy Reading Cushion Tutorial

Our "Make An Easy Reading Cushion Tutorial" provides a detailed, step-by-step guide to sewing a comfortable cushion featuring a convenient pocket for your book and a handle for easy transport. Designed for adventurous beginners, this project requires basic sewing materials, including quilting cotton, fusible interfacing, continuous zipper tape, and polypropylene webbing. The tutorial includes clear instructions on fabric cutting, assembling the cushion back panel with a zipper, and constructing the pocket and handle. By following this guide, you'll create a functional and cozy reading cushion, perfect for book lovers of all ages.

This post will be updated soon, please check back shortly