Our site is getting a makeover! Please bear with us whilst we make improvements

A Guide To Plush (A Guide To Minky Fabric)

A Guide To Plush (A Guide To Minky Fabric)

I wrote this article a few months ago and was originally published in the September issue of Sewing World Magazine but I’m sharing it here for those that missed the publication at the time (did you know that Sewing World Magazine have been around for over 20 years? Impressive!) Super proud that this was the first in a series of fabric guides I wrote for them, which I thoroughly enjoyed (#ExcitedMuch). I hope you find it helpful and feel free to ask any questions, I’ll surely do my best to answer them. (more…)

A Fabric Guide To Corduroy: What’s In A Wale?

A Fabric Guide To Corduroy: What’s In A Wale?

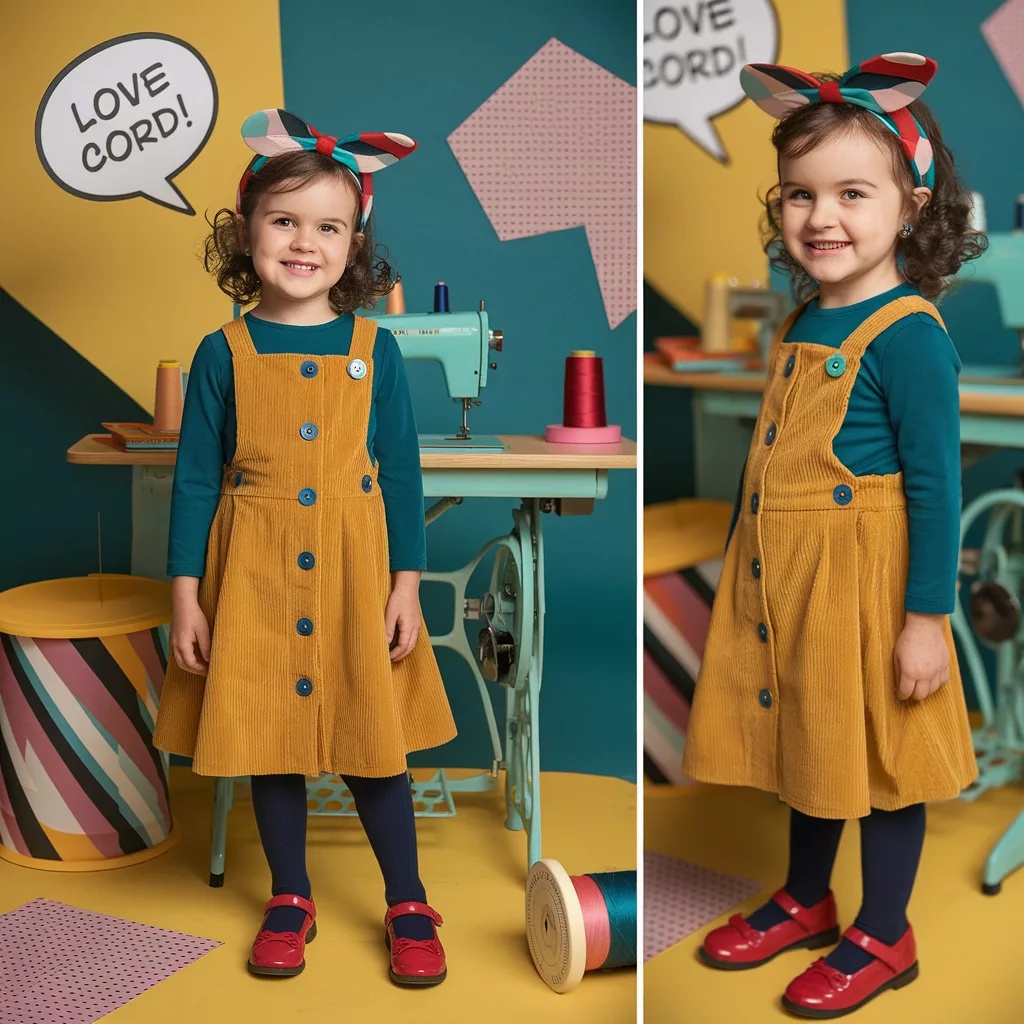
I still remember the first time I worked with corduroy – it was equal parts thrilling and daunting. The velvety texture seemed alive, slipping through my fingers and challenging every sewing skill I thought I had mastered. But when I finally finished my first corduroy project – a pinafore dress for my daughter – the sense of accomplishment was unmatched.

Corduroy isn’t just a fabric; it’s a statement. From its royal origins to its role in modern fashion, this textured classic is back and bolder than ever. Whether you’re a fashion enthusiast or a sewing hobbyist, corduroy’s versatility and charm make it a must-have in your fabric collection.

Whether you’re sewing your first project or revisiting this classic fabric with new eyes, corduroy has a way of transforming the ordinary into something extraordinary. Let’s explore its history, decode its unique characteristics, and uncover the secrets to mastering this iconic textile. Ready to stitch a little history into your next project?

What Does Corduroy Mean? The Royal Origins of This Beloved Fabric

Dive a little deeper into the etymology of our beloved fabric, and you’ll find that “Corduroy,” believe it or not, tips its hat to the French phrase *cord du roi*, translating to “cloth of the king.”

How’s that for a royal endorsement?!

This moniker harks back to an era when corduroy wasn’t just fabric; it was a symbol of service and loyalty, woven into the very uniforms of French royal servants during the opulent 17th and 18th centuries.

Today, the notion that corduroy once dressed the servants of French royals adds a layer of historical intrigue to our modern appreciation of the fabric. It’s a testament to corduroy’s versatility and enduring popularity.

What is a Corduroy Wale?

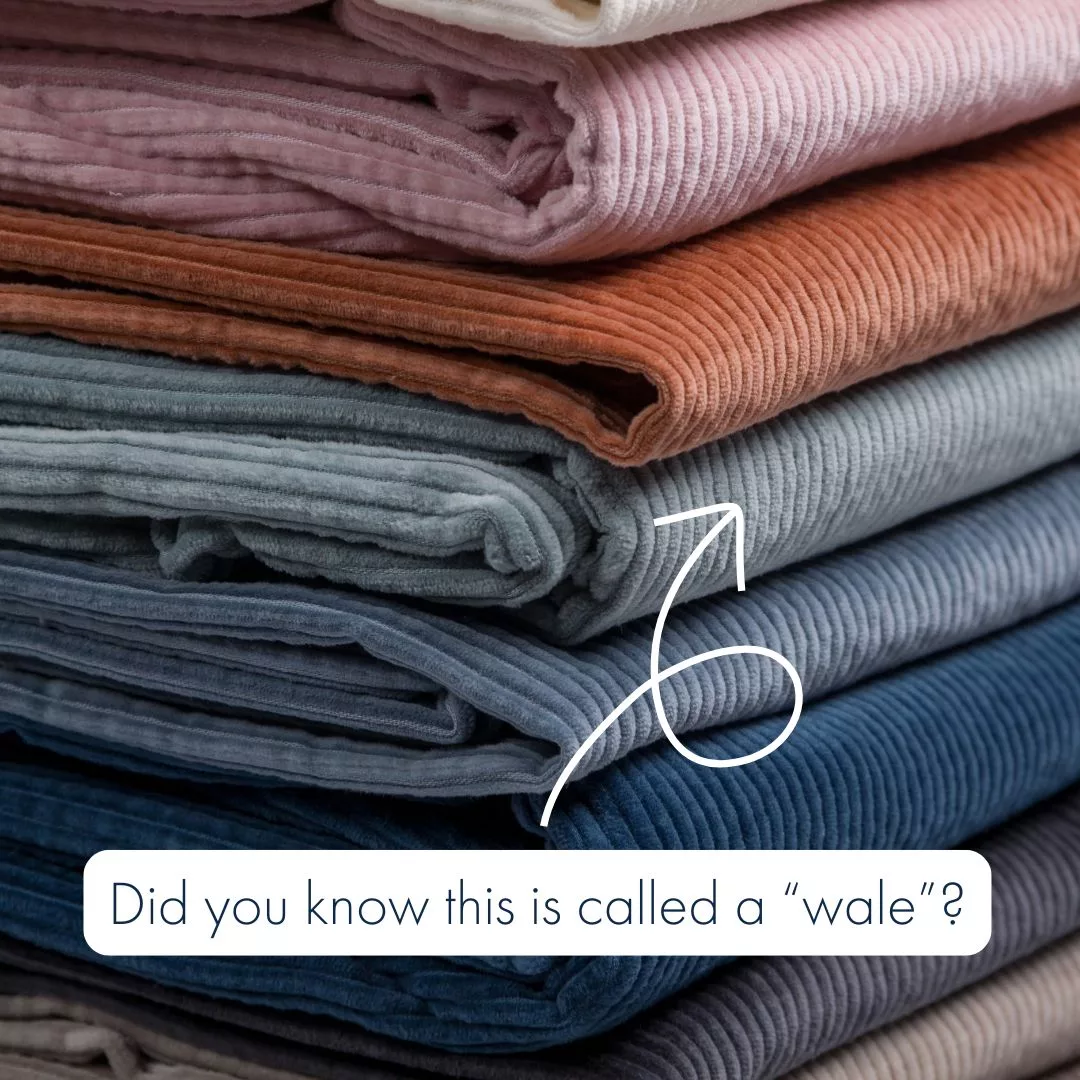
What’s in a wale? Wale, in corduroy terms, refers to those distinctive vertical ribs or cords that give the fabric its personality and texture. But here’s where it gets interesting: the size of the wale can completely transform the look and feel of your garment.

Wale 101: The Basics

A wale count refers to the number of ribs per inch. High wale counts mean finer, denser ribs (think sleek and sophisticated), while lower counts are all about that bold, textured look (hello, statement piece!). Choosing the right wale is like choosing the right accessory for an outfit—it can make or break your look.

Wale refers to the vertical ribs that define corduroy’s texture, and it’s a crucial detail for sewists. Here’s a quick guide:

  • High Wale Count (e.g., 12-14): Fine, dense ribs for a sleek, elegant look—perfect for shirts and dresses.
  • Low Wale Count (e.g., 4-6): Bold, textured ribs that stand out—ideal for jackets, trousers, and statement pieces.

Choose your wale count based on the project’s purpose and the visual impact you want.

How to Choose the Perfect Wale for Your Corduroy Sewing Projects

Selecting the right wale is like choosing the perfect accessory for an outfit—it can make or break your look. For beginners, start with mid-wale fabrics (8-10) for balanced texture and versatility. Advanced sewists can experiment with contrasting wale counts within a single design to create visual depth and interest.

Corduroy for First-Timers: A Beginner’s Guide

If you’re new to sewing with corduroy, don’t worry—you’re not alone. This fabric, with its unique ridges and luxurious texture, can seem a little daunting at first. But with a few simple tips and starter-friendly projects, you’ll be well on your way to creating something beautiful.

Why Corduroy is Perfect for Beginners

  • It’s sturdy and forgiving, making it ideal for practice.
  • Its texture adds visual interest, even to simple designs.
  • Available in various wale counts, it suits a range of projects.

Beginner-Friendly Corduroy Projects

  • Cushion Covers: A simple square shape lets you focus on straight stitches and aligning the nap.
  • Tote Bags: Perfect for experimenting with wale texture without too many complex seams.
  • Headbands or Hair Scrunchies: Quick, satisfying, and a great way to use up scraps.

Tips to Get Started

  • Choose a High Wale Count: Smaller ridges are easier to sew and create a more refined look.
  • Stick to Simple Patterns: Focus on basic shapes and straight seams to build your confidence.
  • Take Your Time: Corduroy’s texture demands care, but the results are worth it!

Remember, every sewing journey starts with a single stitch. Corduroy may seem a little tricky, but it’s also incredibly rewarding. With these beginner projects, you’ll master this timeless fabric in no time.

Sewing with Corduroy: Tips to Master the Nap and Avoid Common Mistakes

Corduroy’s nap is its defining feature, but it requires care. Follow these tips:

  1. Cut in One Direction: Always align your pattern pieces in the same direction to maintain a consistent look.
  2. Mark the Nap: Use tailor’s chalk to indicate the nap direction on the fabric’s back.
  3. Adjust Your Tools: Use a walking foot and an 80/20 needle to handle the fabric’s ridges with ease.

Mastering the nap ensures your finished garment looks professional and polished.

Why the Nap Matters

When sewing with corduroy, aligning the nap is crucial. It affects the colour and sheen of your garment. Light hits those ridges differently depending on their direction, giving your piece that lush, velvety look.

Top 10 Sewing Tips for Working with Corduroy: Tools, Techniques, and Finishes

  1. Cut in One Direction: Always cut your pattern pieces in the same direction. Consistency is key to avoiding a mismatched, patchwork appearance.
  2. Cut with Care: Corduroy demands precision in cutting. Those wales are vertical lines and it will be so obvious if you cut your fabric on the wonk. Lay your fabric flat, ensuring all pieces are aligned in the same direction, and measure the grain line arrow parallel to the selvage edge – make sure it’s even, ok?!
  3. Mark the Nap Direction: Before you cut, take a moment to mark the direction of the nap on the back of your fabric. A simple arrow with tailor’s chalk can save you a world of confusion later.
  4. Pinning and Marking: Use fine, sharp pins to avoid marking the fabric’s surface. Consider using tailor’s chalk or a disappearing fabric marker for any markings.
  5. The Right Needle and Thread: An 80/20 needle is a safe bet with a stitch length of 2.3-3mm. Paired with a strong, high-quality thread, will help you stitch through corduroy’s ridges. You may wish to loosen your top tension or use a walking foot if you find the fabric is travelling a little – the nap might cause this to happen.
  6. Stitches and Seams: Opt for slightly longer stitches to accommodate the fabric’s thickness and texture. When it comes to seams, pressing open and trimming or grading seam allowances will reduce bulk and maintain the garment’s silhouette.
  7. Pressing Matters: Pressing corduroy requires a gentle touch. Use a press cloth to protect the nap from becoming crushed or shiny. Steam and a lifting motion, rather than dragging the iron, will keep the fabric’s texture intact. Think of it as grooming a thoroughbred; finesse is key.
  8. Handling Stretch Corduroy: If you’re venturing into the realm of stretch corduroy, remember to use a ballpoint needle and a stretch stitch setting on your machine.
  9. Finishing Touches: Consider serging or using a zigzag stitch on raw edges to prevent fraying. For a truly noble finish, adding a lining can elevate your garment, providing both comfort and a glimpse of luxury befitting its royal roots.
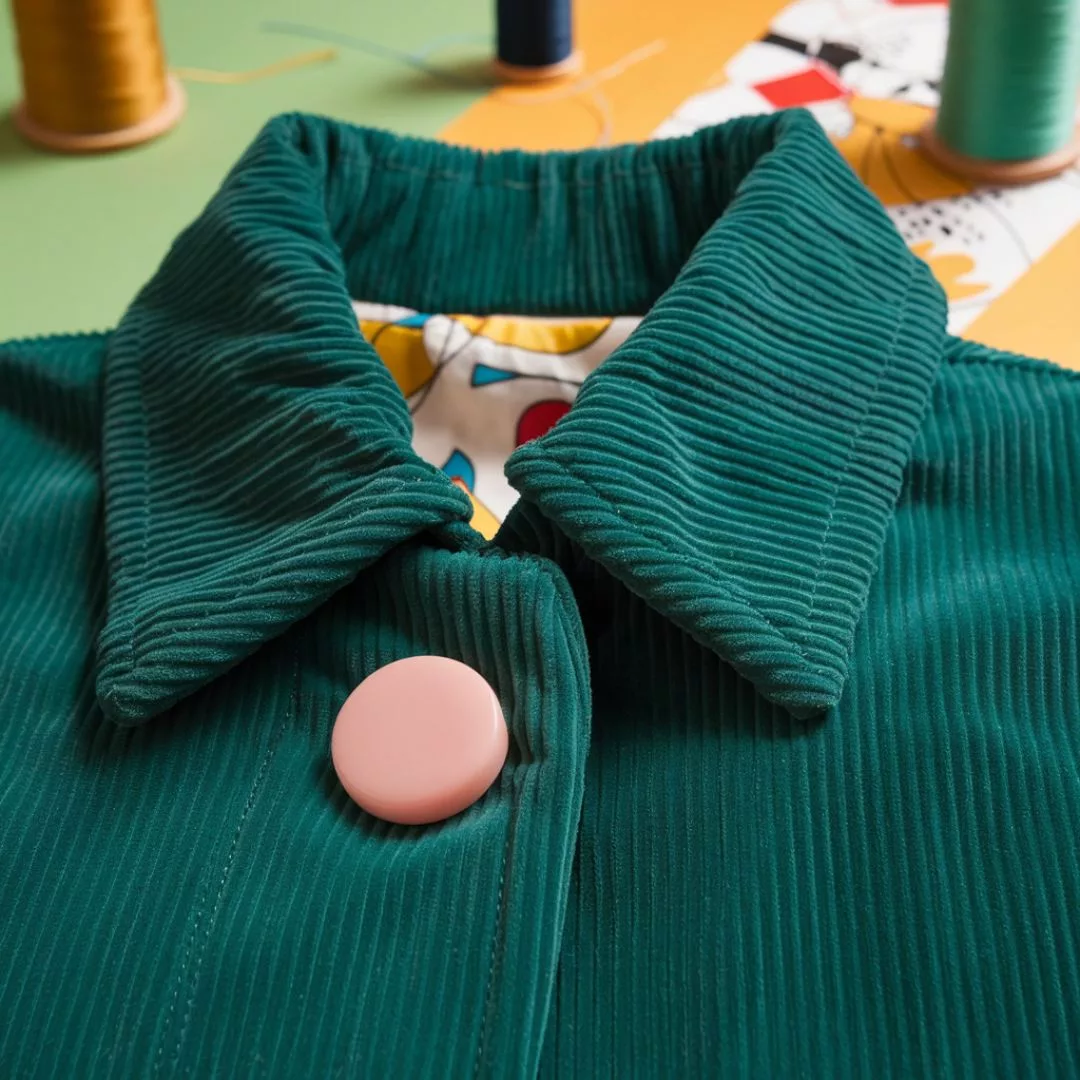
  10. Embrace the Nap for Texture: Feeling adventurous? Use the nap to add texture and depth to your design. A pocket or collar against the nap can add a subtle contrast, making your piece pop. Be warned though – a little goes a long way.

Join our Sewing Community: Share Your Projects and Learn More

What’s your take on corduroy? Is it a fashion yes, or a hard no

Love this dive into corduroy’s storied past? Subscribe for more textile tales, and don’t forget to ❤️ and share your thoughts below. Feel free to spill your ‘corduroy confessions’ in the comments – I’d really appreciate it!

What is Ponte Di Roma? A Fabric Guide

What is Ponte Di Roma? A Fabric Guide


It seems that the knit fabric ponte di roma (also known as punto-di-roma, but I’m going to call it ponte roma for short) is all the rage at the moment and much credit must lie with Tilly Walnes and her wonderful Coco Pattern. And what’s not to love? It’s an easy knit to sew, it doesn’t crease, it doesn’t cling to your lumps and bumps like some knit fabrics, it’s an all round good egg. The fabric was developed in Italy (the clue is in the name) and I’m very glad they did (to think they gave us this AND pizza – praise be for Italy!) (more…)

Denim Jean Fabric: A Guide And Sewing Tips

Denim Jean Fabric: A Guide And Sewing Tips

There’s nothing quite like a good pair of denim jeans, is there? It’s such a versatile fabric which only improves with age and wear. We have the French to thank for denim, originally woven in the town of Nîmes for overalls and sailcloth it was known as “serge de Nîmes” which got shortened to  “de Nîmes” and the name was born. Denim is a strong and durable twill woven fabric made from 100% cotton. Traditionally the warp yarns are dyed an indigo colour and the weft yarn is left undyed which is why true denim fabric is different colours on either side (for real fabric geeks, if your denim is the same colour on both sides it’s actually jean fabric, not denim!) We have recently started stocking denim, you can see our collection here and we carry a wide range of weights (including fat quarters) and colours. We also have stretch denim which is particularly great for clothing makes. DSC_0409

Uses for Denim Jean Fabric

Denim is super versatile. As it’s 100% cotton it’s great for casual wear clothing such as jeans, skirts, jackets, shorts, children’s clothes, workwear overalls and protective clothing. As denim is very hardwearing it would also be great for home wear items such as oven gloves, cushions, decorative upholstery and bags.

A Guide to Denim Weights

Denim comes in a vast array of weights and one of our most frequently asked questions is whether a denim classes as light, medium or heavy weight.
  1. Lightweight – or under 12 Oz.
  2. Mid-weight – or from 12 Oz. – 16 Oz.
  3. Heavyweight – anything above 16 Oz.
The rule is the heavier the denim, the better it will age and fade *but* heavier weight denim will be very stiff to start off with and take time to wear in and soften. The most common denims used, and the easiest to handle, are the light and medium weight.

Sewing With Denim

Denim is a rough and tough fabric and the main problem is poses for sewing is the thickness of the fabric,  as such you need to right kit for the job to ensure success. 1) Use a denim needle which are stronger than “normal” needles and have a sharper point both of which will help you sew through a heavier fabric. 2) Use denim thread, it’s stronger and especially important on stress seams. 3) Go slowly! Those layers of denim might leave your machine struggling, if that’s the case then slow down and use your hand wheel. 4) Reduce bulk. Some machines will glide through layers of denim with no issues, others might not have the wellie needed to cope. If this is the case then reduce bulk where you can by pressing seams out flat or by using thinner fabrics as facings of linings which is not only practical, but will also add some pretty design features to your work. You can also trim seams right back to your stitching line (being careful not to cut your stitches of course) 5) Use a longer stitch length, about 3-3.5 should do it. Have you made anything lately with denim? I’d love to see photos if you have! FB-denim
How To Restore Plush (Minky) Remnants

How To Restore Plush (Minky) Remnants

Plush, minky, cuddle fabric… whatever you like to call it! (For an update on why we don’t call the fabric “minky” in the UK like the rest of the world does see this post) There’s no mistaking the lusciousness that started me on the road to our online shop. The trouble is (for us) the last 50cm-75cm of every bolt we have can only be sold as a fabric remnant. The pile near to the centre of the bolt gets brushed up the wrong way and crushed when the weight of the rest of the fabric piles on top of it. Then it’s stored by the manufacturer for a while and in that time unfortunately the pile goes a bit wayward and no amount of stroking it puts it back to it’s former glory. The fabric isn’t permanently like this as the pile isn’t damaged per se, it’s just got a bit of bed hair so needs a little coaxing to restore it. (more…)