A Sewing Project for Confident Beginners
You will learn:
- How to sew bamboo velour fabric
- How to sew Waterproof fabric
You will need:
Measure the length, width and depth of the mattress in cms:
We used*
*The single mattress being covered was 190cm long, 90cm wide and 20cm deep
Never miss a guide or tutorial
Click to join our mailing list!
Important notes
1.5cm seam allowance throughout, unless directed.
For steps using machine sewing, straight stitch, backstitching at the start & end using stitch length 3.5 unless otherwise stated.
Prepare your fabrics as per manufacturers care advice – Bamboo velour should be prewashed without fabric softener.
DO NOT iron waterproof fabric.
Disclaimer: PUL and waterproof fabrics are a suffocation hazard, always check the sheet is firmly fitted before every use.
Tips on how to sew waterproof fabric:
- Use clips or pin within the seam allowance – pin holes will remain visible.
- Waterproof fabrics can slip; we recommend a walking foot is used for this project. Otherwise try a Teflon or roller foot, or a strip of Scotch ‘magic tape’ stuck to the bottom of a standard foot.
- Sew with tissue paper over the side that is slipping, and tear it away after.
- Use an 80/12 needle
How to make a Waterproof Mattress Protector
1. Cut out the following using the measurements calculated above:
- Topper
- Absorbent layer
- PUL
- Side panels
Prepare the hem
2. Hem the 2 short sides of the side panels and 1 long side: With the fabric facing wrong side up, turn over 2cm of fabric along each side and press.
3. Fold the raw edges under to the crease and press forming a 1cm border.
Mitre the corners
Never mitred corners before? Check out this video to help.
4. Mitre the 2 hem corners on each side panel: Starting at one corner, open out the 2cm hem on both sides with 1cm of fabric still folded.
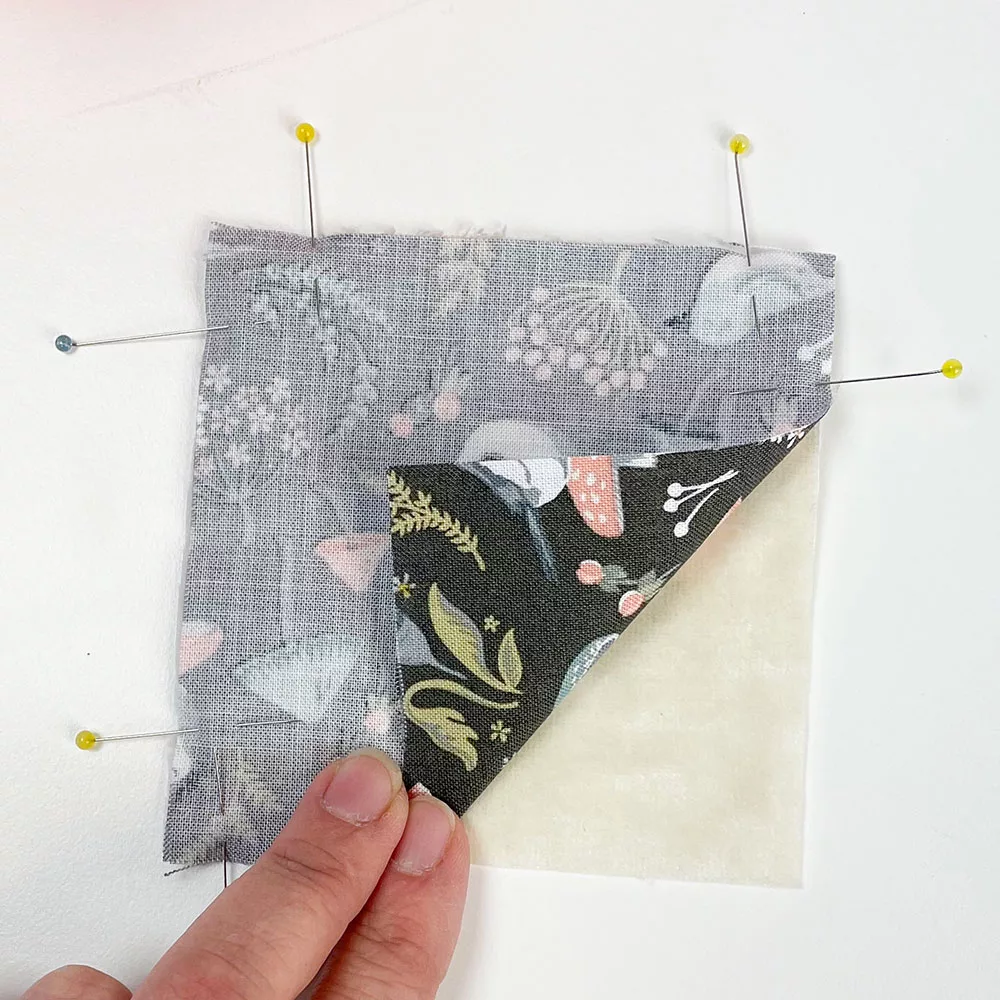
5. Fold over the corner, the creases will have formed a small square. Align the 2 sides of the small square with the two 2cm creases on the underside of the panel.
6. Finger press along the crease.
7. Unfold the corner and mark out the fold line.
8. Fold the corner in half, bringing the 2 right sides together.
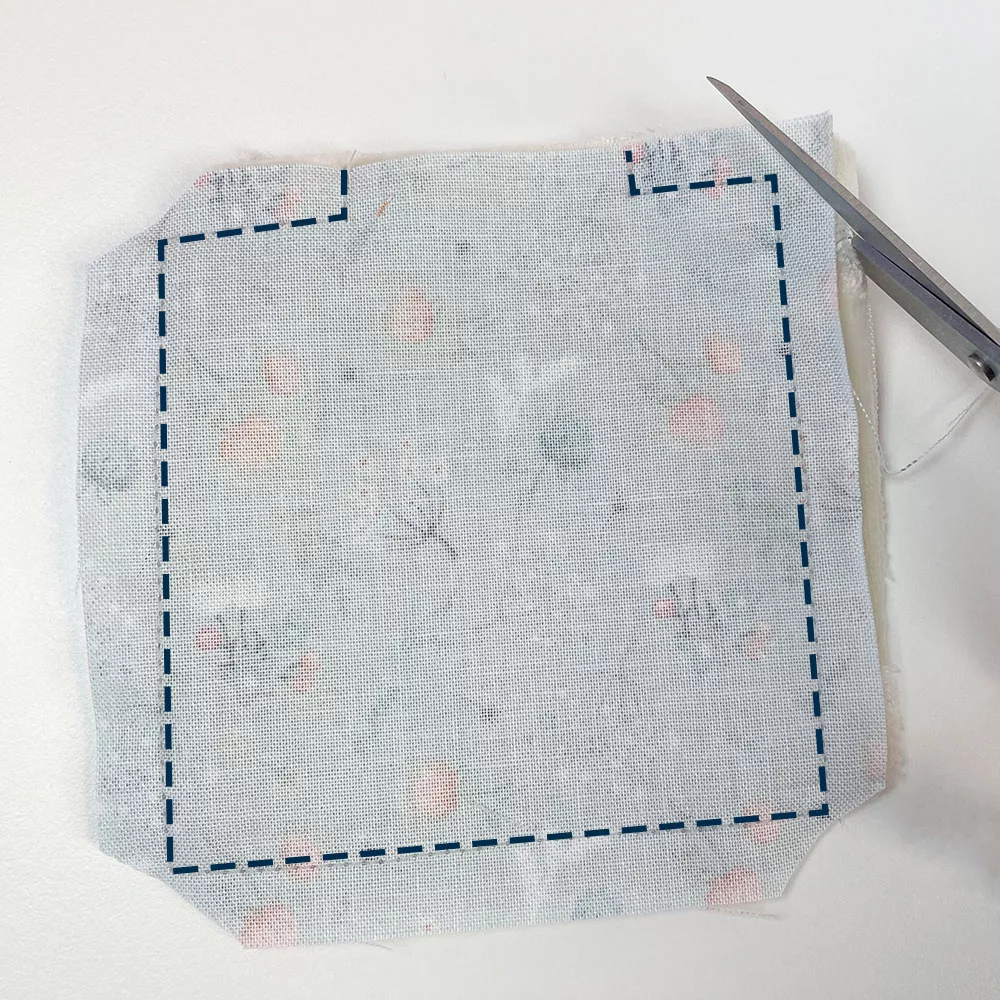
9. Pin and sew along the marked line.
10. Trim the seam allowance to 3mm and clip the end.
11. Turn out the corner, use a turner to shape the point
12. Press then sew around the inner edge of the hems to secure.
Never miss a guide or tutorial
Click to join our mailing list!
Assemble the Mattress Topper
13. Align the fabrics in the following order:
- Waterproof fabric: Shiny side up
- Topper: Right side down
- Absorbent fabric: right side down
Please note: the waterproof layer is longer to create a lip at the edges of the finished mat.
14. Align and clip the short edges of the 3 fabrics together, guiding the excess waterproof fabric toward the centre.
15. Sew the 3 layers of fabric together on each side.
16. Understitch the seam allowances 2mm from the seamline, seam allowances overlapping the waterproof fabric side.
17. Add the side panels: Working under the waterproof layer, align the raw edges of the side panel with the side seams of the topper, right sides facing.
18. Clip the side panel, topper and absorbent layers together.
19. Baste with a 1cm seam allowance then press the seam allowances toward the topper fabric. Take care to avoid ironing the waterproof fabric.
20. Repeat steps 17. To 19. on the other side panel.
21. Clip the waterproof fabric to the topper fabrics. 1.5cm of waterproof fabric should extend past each end of the topper.
22. Sew the 2 sides leaving a 30cm turning gap in the centre of one.
23. Turn the mattress protector out the right way.
24. Sew the opening closed.
And you’re finished, well done!
Would you love a duvet cover and pillow to match? Check out the tutorial here.
Pin this for later!
Don’t forget to sign up to the newsletter so you don’t miss any of our free tutorials and follow us on all the socials below.


