Our site is getting a makeover! Please bear with us whilst we make improvements

Free Pattern For A Hot Water Bottle Cover

Free Pattern For A Hot Water Bottle Cover

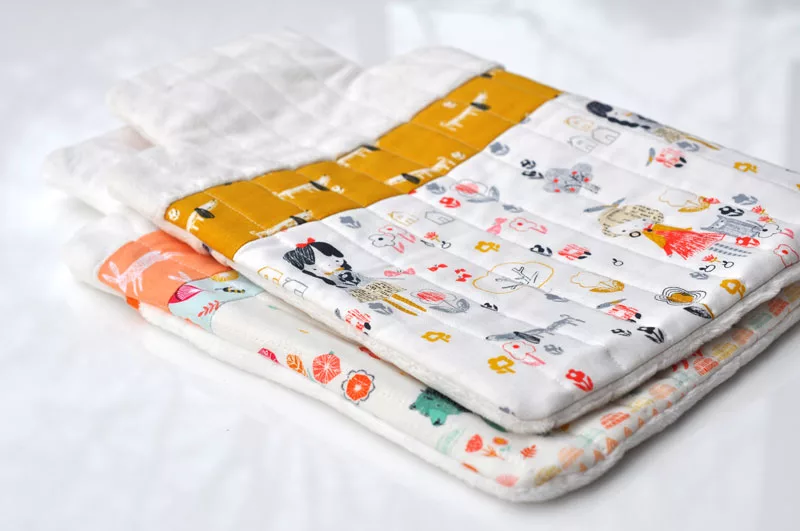
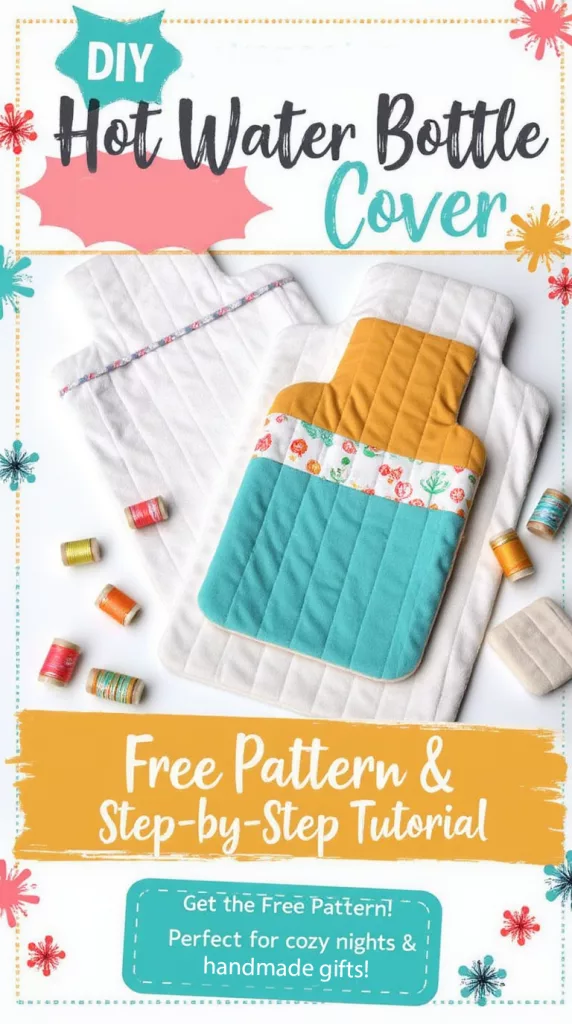
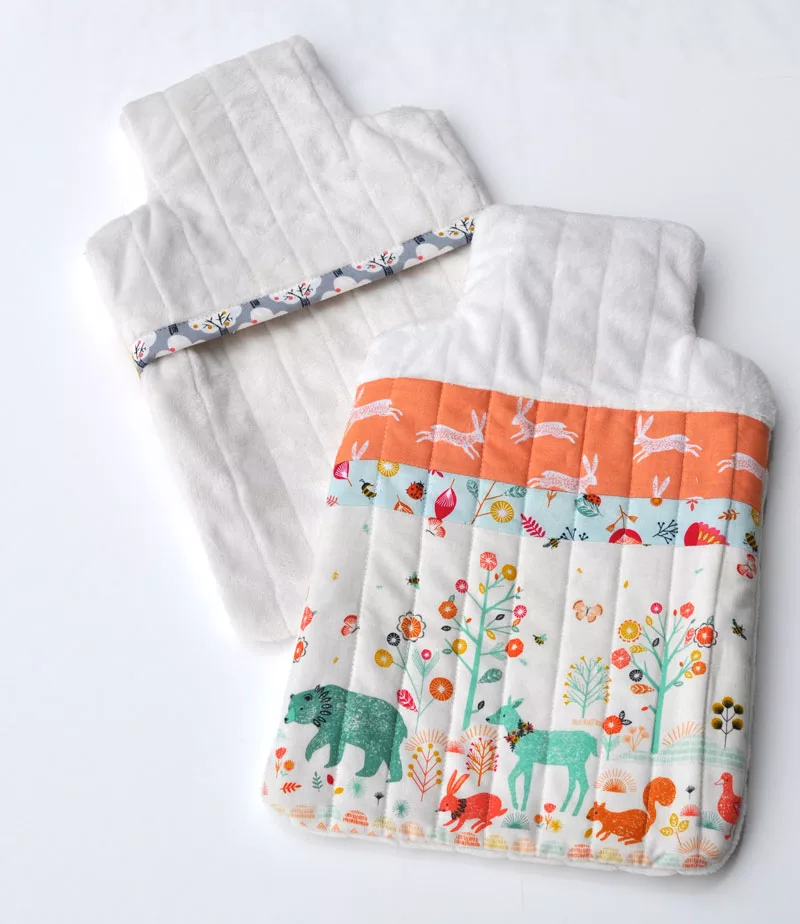
A hot water bottle is a must-have for chilly nights, and a handmade cover adds a personal touch. This tutorial will guide you step-by-step to create a snug, stylish hot water bottle cover using plush and quilting cotton fabrics. Perfect for gifting or a cosy addition to your home,this project is beginner-friendly, fun to customise and great for all skill levels.
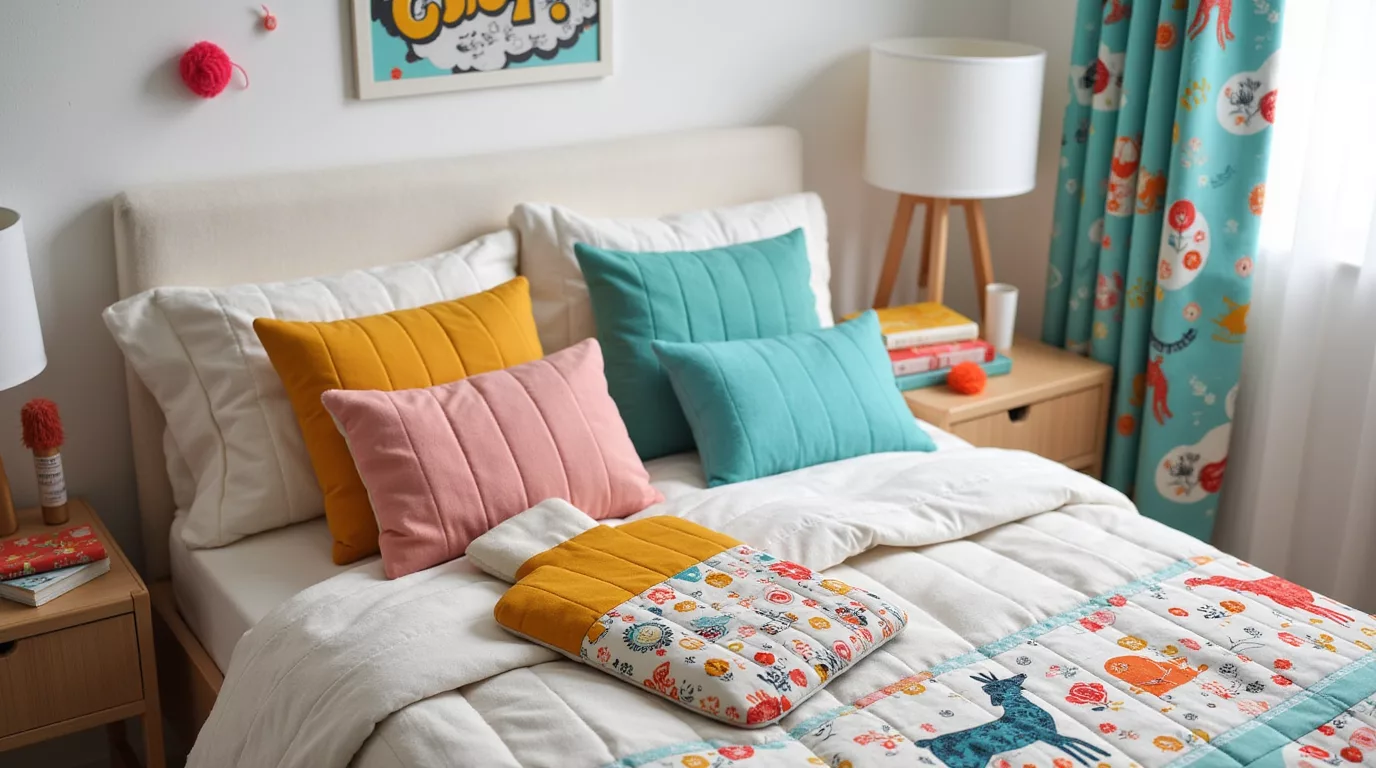
Plush fabric is gorgeously soft, tactile, and luxurious. If you’re new to this type of fabric – check out our guide here for the full low down.

This hot water bottle cover comes together pretty quickly. You can easily sew it in an afternoon and it would make a great handmade gift.

We have provided a free printed pattern template up can download below sized to fit a standard 2 litre hot water bottle measuring 33cm (h) 20 cm (w) approx.

We used this hot water bottle to create our pattern. If you’re making several of these for gifts then the template will also fit this pack of 3 hot water bottles

Pin for later!
Materials You Will Need To Make This Hot Water Bottle Cover

MaterialAmountNotes
Exterior Fabric50cm (20 inches)plush for softness or quilting cotton  for style.
Lining Fabric30cm (12 inches)We used calico
wadding30cm (12 inches)If you’re unsure which wadding to use then check out this post for my thoughts

25mm bias binding

1m (40 inches)DIY from cotton or store-bought
 ThreadPolyester for durability

Exterior Fabric Rectangle Sizes

Cut the following pieces from your chosen exterior fabric:

  • Front Panel: 41cm (height) x 29cm (width)
  • Back Top Panel: 22cm (height) x 29cm (width)
  • Back Bottom Panel: 26cm (height) x 29cm (width)

Sewing equipment you will need

    • Important Notes to Keep in Mind

      • Seam Allowance: Use a 1cm seam allowance for all steps unless mentioned otherwise.
      • Sewing Tips: When using your sewing machine, always straight stitch with a 2.5mm stitch length. Don’t forget to backstitch at the start and end of each seam to secure it.
      • Fabric Prep: Make sure to prepare your fabrics according to the manufacturer’s care instructions (e.g., washing or pressing).
      • Finishing Seams: We used an overlocker (serger) to prevent fraying, but no worries if you don’t have one! Check out our guide for alternative seam finishing methods.
      • Key Terms:
        • WST: Wrong Sides Together.
        • RST: Right Sides Together.
      • Before You Begin: Take a few minutes to read through the instructions from start to finish – it’ll make the sewing process much smoother!
      • Safety First: Always follow your hot water bottle’s usage and care instructions. And remember, never overfill it!

    How To Sew A Hot Water Bottle Cover

    1. Print and assemble your pattern

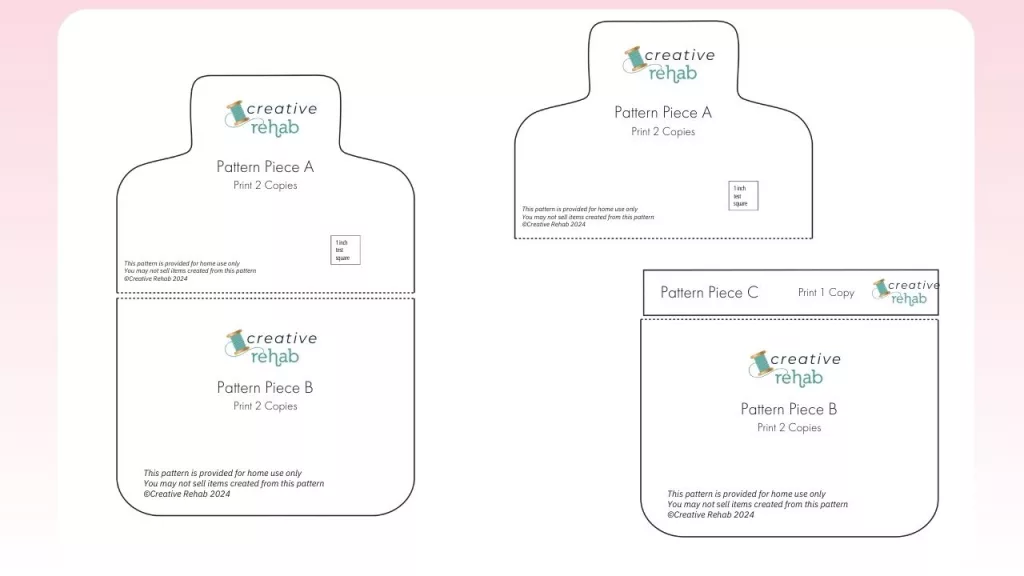
    Print out the PDF pattern on A4 paper at 100% and check the 1″ square measures 1 inch

    You will need to print two copies of pattern piece A, two copies of pattern piece B & one copy of pattern piece C

    Stick one copy of pattern pieces A & B together matching the sides. This makes the front pattern piece of the hot water bottle cover

    Stick one copy of pattern pieces B & C together. This makes the back top pattern of the hot water bottle cover

    The remaining pattern piece A makes the back top pattern piece of the cosy. You pattern should look like this
    #image_title

    2. Cut The Fabrics

    For the front panels

      • 41 x 29cm (h x w) of chosen outer fabric (if you are piecing fabrics see note below)

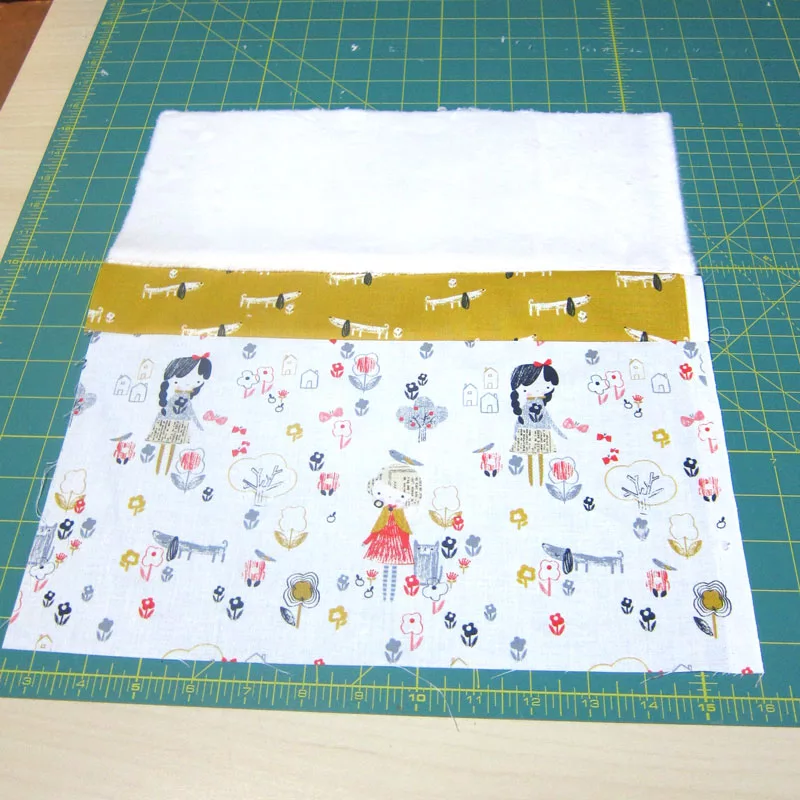
    If you are using a variety of prints on your front panel: Cut and lay out your fabric pieces as you desire. Our quilting cotton section measured approx. 29cm wide x  29cm high . We then added a strip of Plush fabric to the top which measured approx 29cm wide x 15cm high

    If you are using plush fabric pay attention to the fabric nap. Make sure you have enough pieced fabric to cover the front printed pattern piece with some overhang.
      For the back panels

      From your exterior fabric cut 2 rectangles

          • Back Top Panel: 22 x 29cm (h x w)
          • Back Bottom Panel: 26 x 29cm (h x w)

        Cut the lining & wadding

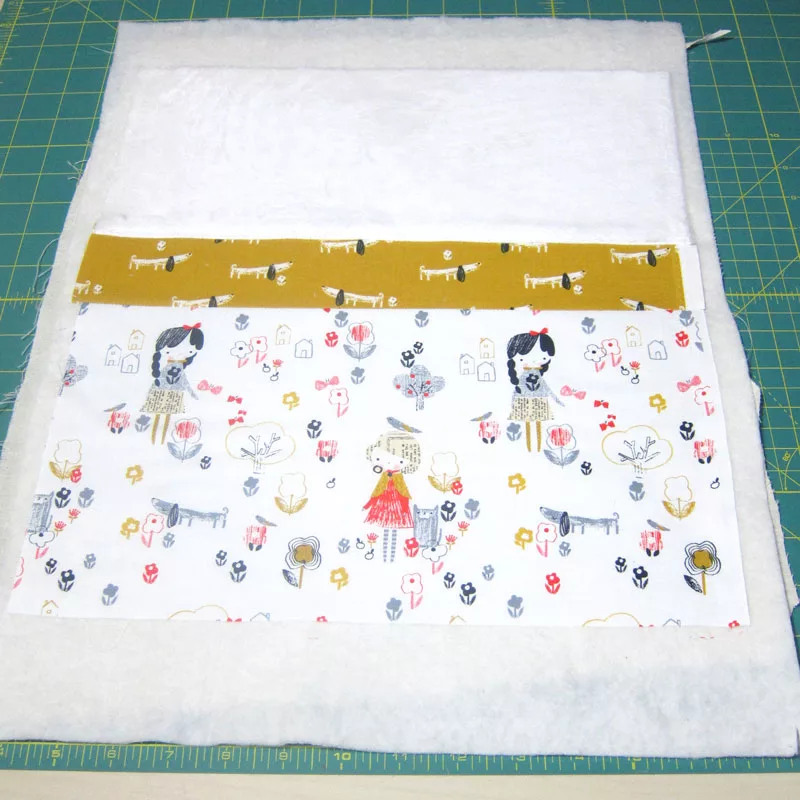
        Cut the lining fabric and wadding pieces a little larger than the outer fabric panel pieces to assist with quilting.

        For each panel piece layer your fabrics to make a “quilt sandwich”. Lining fabric at the bottom, then layer the wadding, then the exterior fabric.
        3. Quilt your panel pieces

        On the front panel & both back panel pieces, quilt the fabrics as desired. I chose a simple straight lines approx 1″ apart but quilt to suit you.
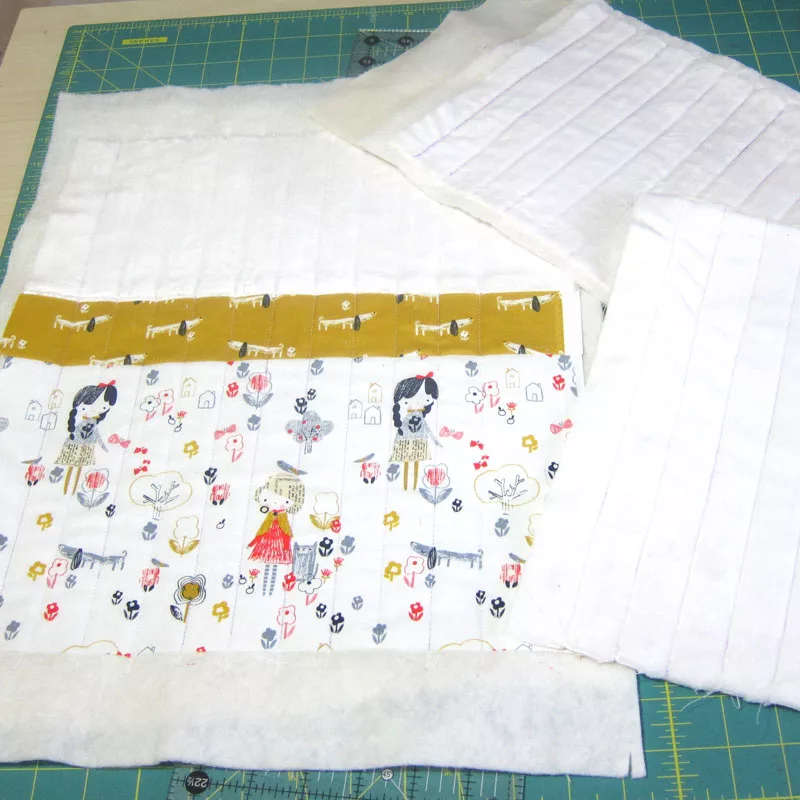
        Now place the printed pattern  pieces on to the corresponding quilted panels.

        Pin or weight the pattern down on the fabrics and cut around the printed pattern outline. I find this easiest using a small 28mm rotary cutter.

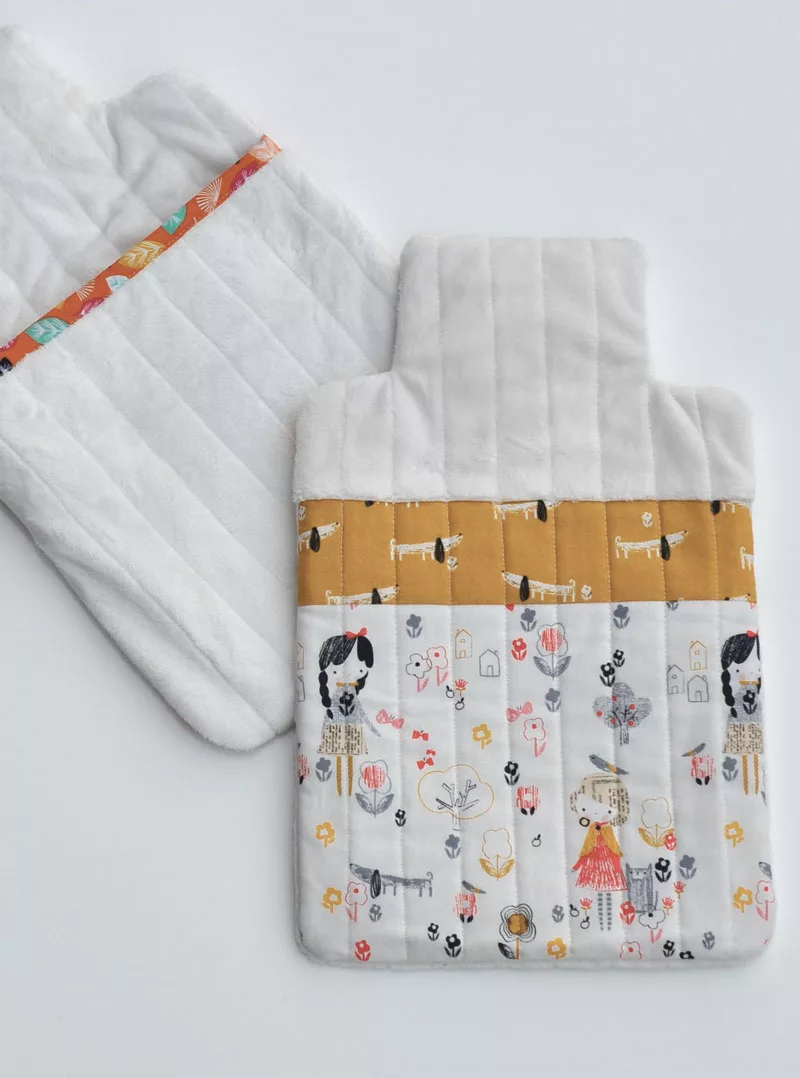
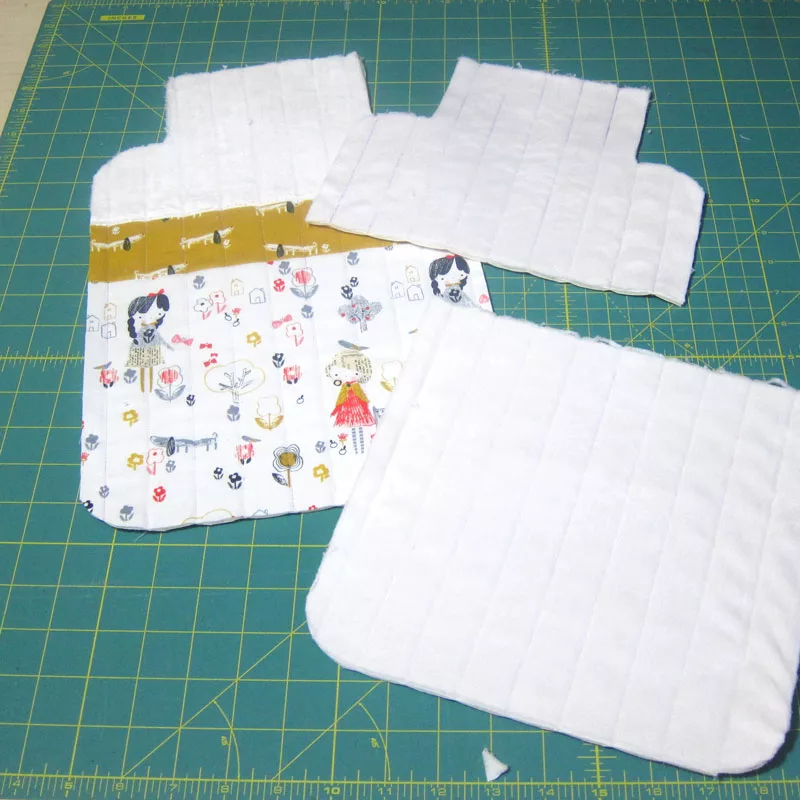
        Your work will now look something like this
        4. Make & Attach the bias binding

        Make your binding strips for the back panel pieces by cutting a 25mm x WOF (Width Of Fabric) strip of fabric. Fold in half matching the long edges and press along the length.

        Attach and pin/ clip the binding to back pieces lining side up matching the fabric raw edges with the edge of the back pieces as shown
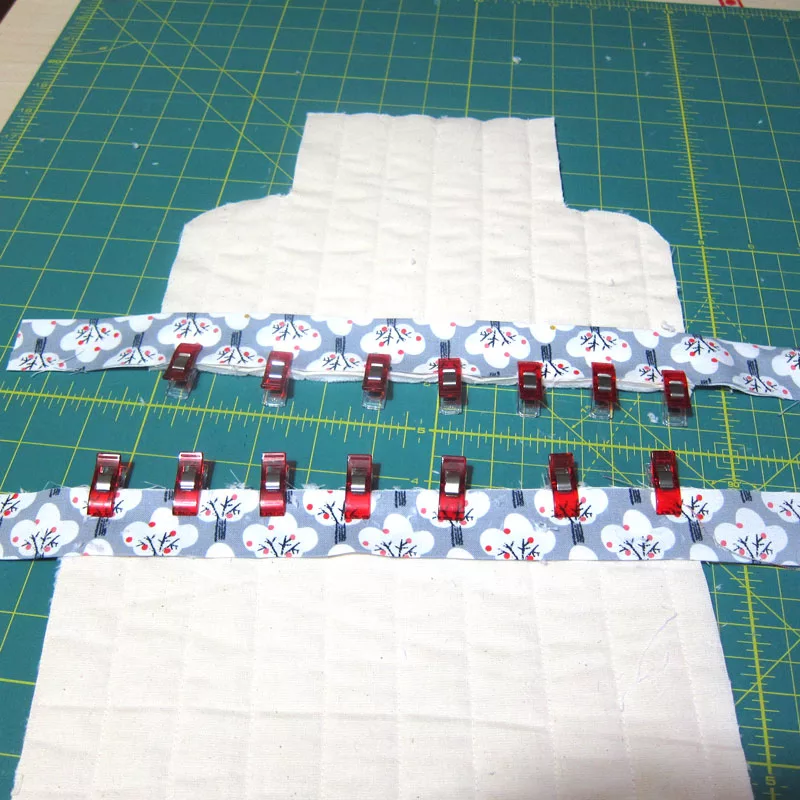
        Stitch the binding in place using a 1/4″ seam.

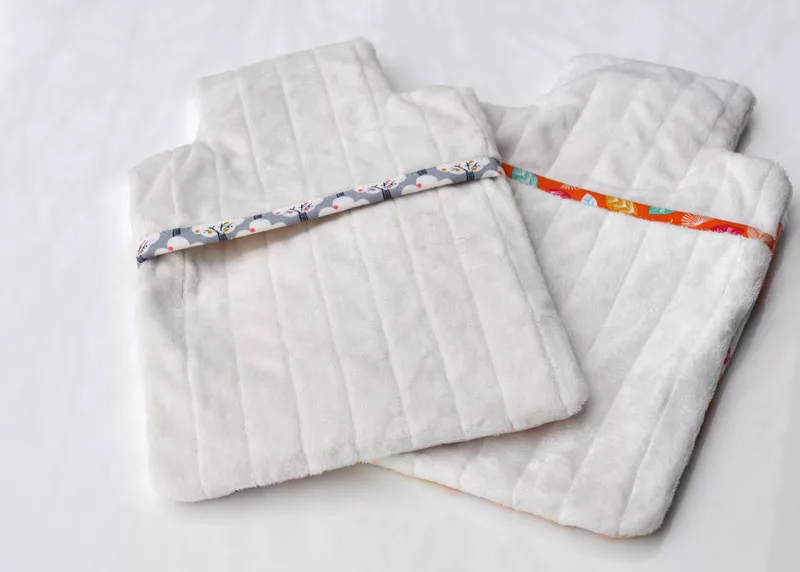
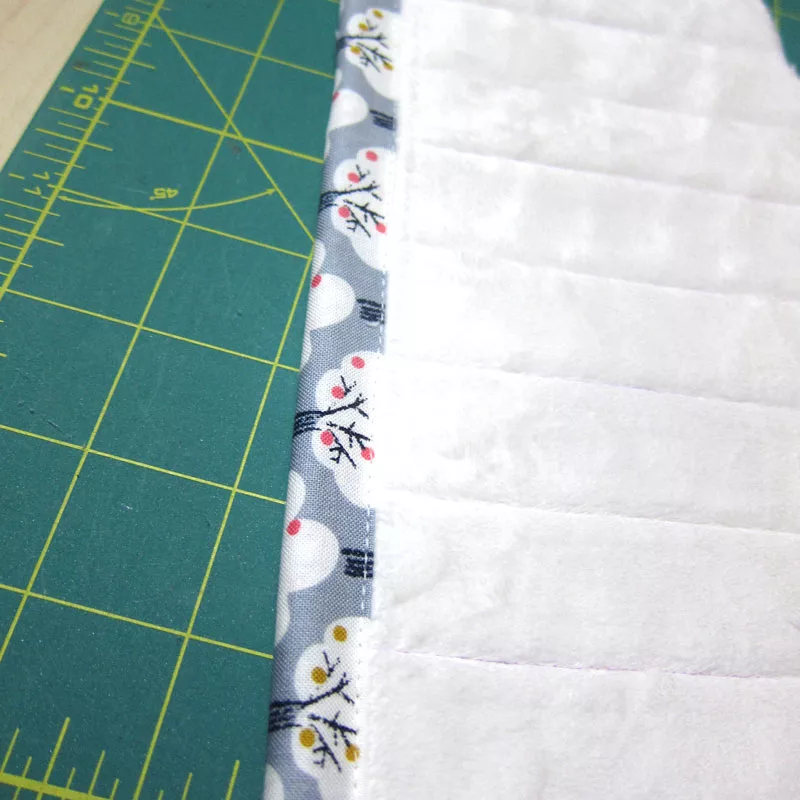
        Press the seam away from the lining, flip the folded edge of the binding to the right side of the cover. Clip and top stitch in place very close to the binding edge.

        Do this for both back panels.
        Now you’re ready to sew it together!

        Lay the quilted panel pieces on top of each other in this order

            • Front panel right side up
            • Back top panel right side down
            • Back bottom panel right side down

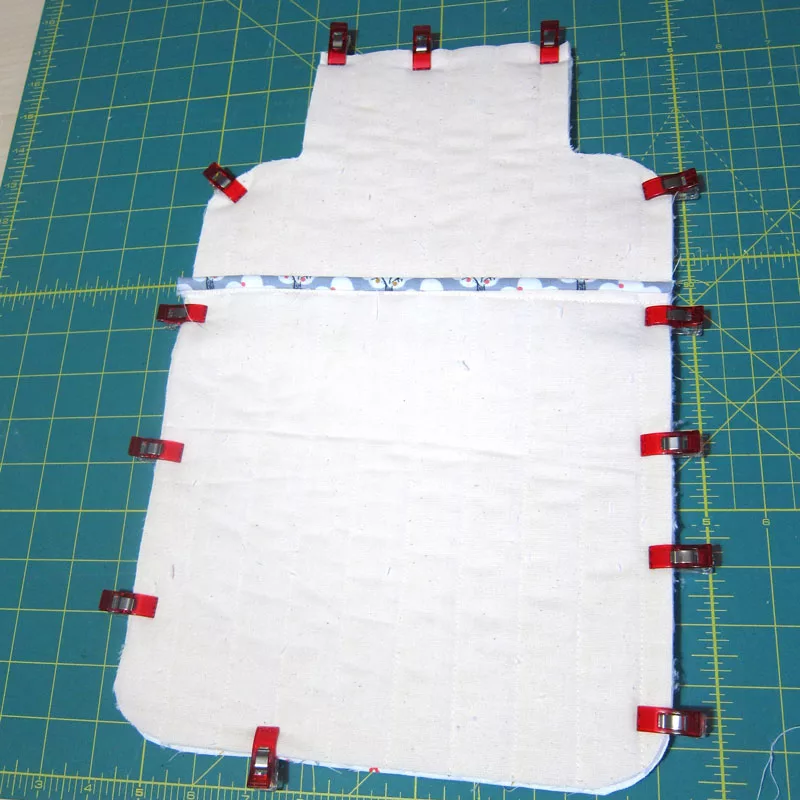
          Secure with clips and stitch all the way around the edge using a 1cm seam allowance.

          Finish the seams with your preferred method. Check out our post here for a few ideas.

          If you prefer (and your overlocker is happy with all the layers) you can overlock around the edges – but watch out for those curves!
          And you’re done!

          Now fill her up with hot water & get cosy toes next time it’s a bit chilly!
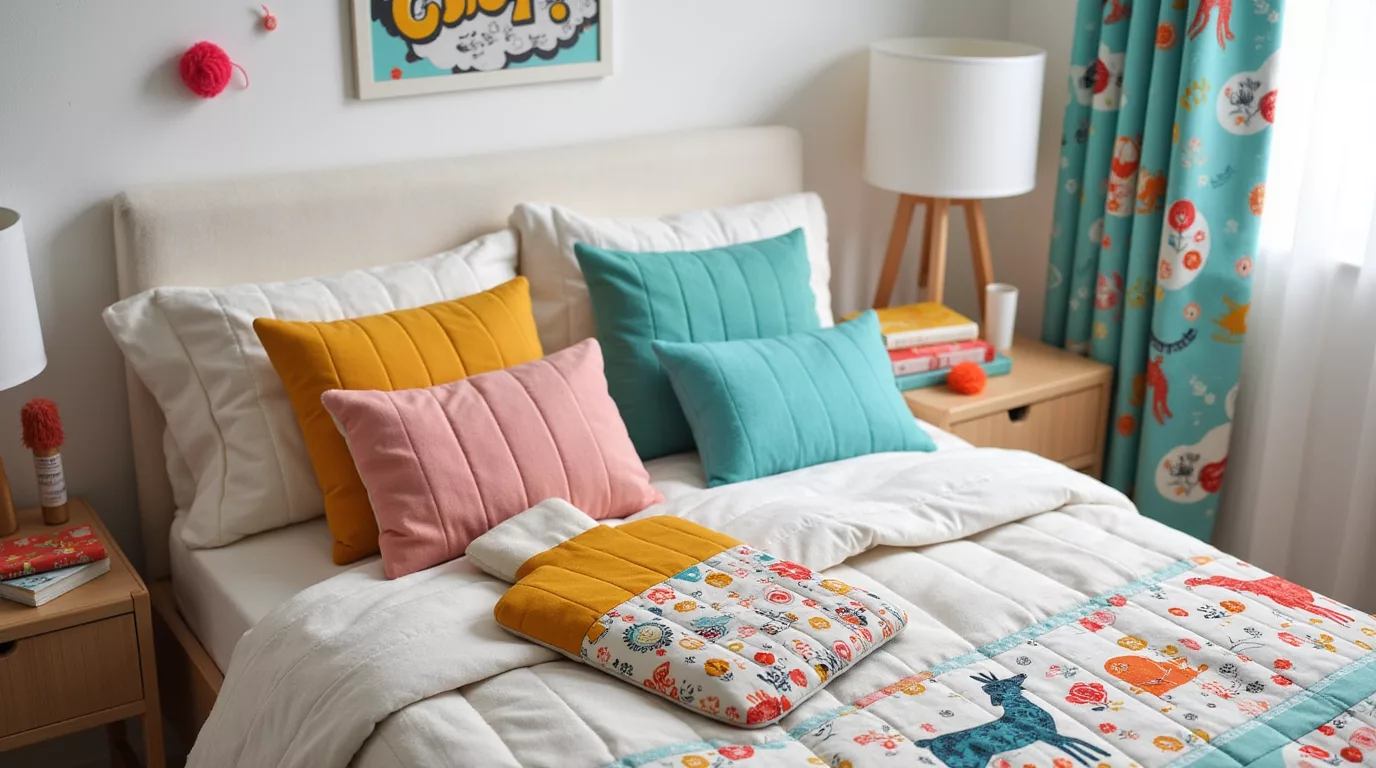
          Hot Water Bottle Cover Sewing Tutorial
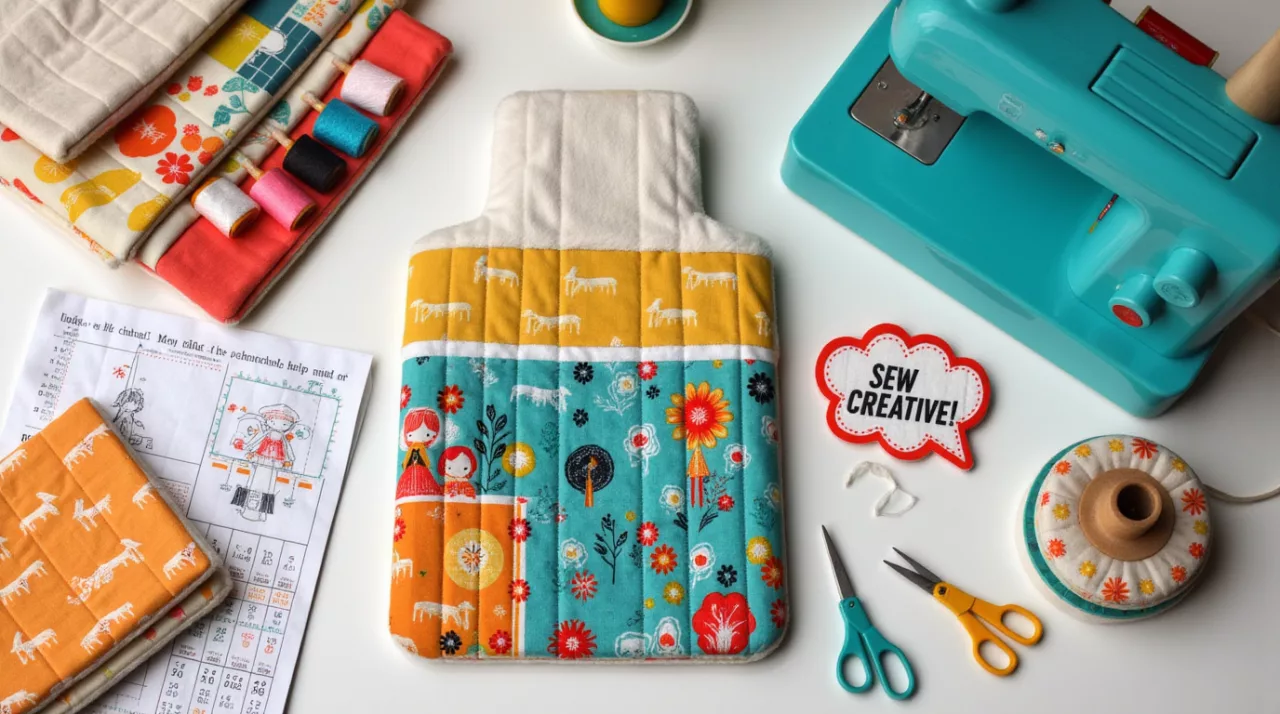
          Hot Water Bottle Cover Sewing Tutorial
          Make A Quick and Easy Valentine’s Decoration

          Make A Quick and Easy Valentine’s Decoration

          Do you want to make a quick and easy Valentine’s decoration?

          You’re in luck! This is a super simple project you can whip up in a flash and is perfect for spreading the love this Valentine’s Day & we think the heart garland will look great in your home.

          Read on for step-by-step instructions on how to make this quick and easy Valentine’s Day felt garland. You only need handful of a few basic supplies!


          Make a quick and easy valentine's decoration

          Boring Legal Bit: If you follow any tutorial or guidance found in this post, or on this blog, you agree to be bound by our disclaimer which can be viewed here

          Love is in the air! And if you’re running out of time to make your home feel more aligned to love then this super simple Valentine’s day garland might be just the ticket

          For This Quick and Easy Valentine’s Decoration You Will Need:

          2 x 30cm squares of felt (we used white and red)

          2m of 50mm Giant pom poms (we used Raspberry)

          4 m Wool

          Sewing thread

          30cm ribbon

          A Ruler

          Pencil

          Sewing needle

          Sewing machine (or hand sewing)

          Sewing pins or clips

          New to working with felt fabric? Check out our Felt Fabric Guide for info and 11 sewing tips!

          Boring Legal Bit: If you follow any tutorial or guidance found in this post, or on this blog, you agree to be bound by our disclaimer which can be viewed here

          Making the felt hearts

          (complete each step on one felt square at a time)

          Step 1:

          On the felt square draw lines the length of the square every 2.5cm. This will create 12 drawn stripes.

          Step 2:

          With the stripes running from side to side, fold the square in half as though closing a book matching the stripes. Pin or clip together the long edge.

          Step 3:

          Sew along the folded edge, 5mm from the edge.


          Sew 5mm from the folded edge

          Step 4:

          Remove the clips from the side not sewn & open the felt like a book. Folding the felt back on itself, bring the two open edges together. The sewn seam should be on the inside – this will make a heart shape. Do not squash!


          Valentines decoration tutorial 2

          Step 5:

          Check the stripes line up again. Pin or clip the 2 layers together and sew.

          Never miss a guide or tutorial

          Click to join our mailing list!

          Step 6:

          Holding the 2 layers of fabric firmly together cut along the drawn lines through both layers of felt. This will form 12 hearts per felt square.

          Valentines decoration tutorial sewing tutorial

          Threading the garland

          Step 1:

          Place the threaded needle through the centre of a pom pom and guide it along the wool. Stop 20cm before the end.

          Step 2:

          Thread the needle through the outer layer of a heart approx. 7.5cm from the bottom & central to the width of the heart.


          Felt heart sewing tutorial

          Step 3:

          Ease the heart along the wool, stopping at the pom pom. Spread out the felt layers and a heart shape will form. Spend a little time shaping the heart. Repeat steps 3 to 7 alternating red and white hearts until all the hearts and pom poms are used up.

          Step 4:

          Remove the needle from the end of the wool and the garland is ready to hang.

          Make a quick and easy Valentine's day decoration

          All done! This project is super easy and fun making it perfect to do with a partner, friend or even a little one!

          We hope you enjoyed this tutorial and it brings you some joy making this quick and easy Valentine’s Decoration!

          Don’t forget to share your finished makes with us – tag us @PlushAddict as we LOVE seeing your projects!

          Follow Plush Addict on social media and keep an eye out for more tutorials!

          Sew Your Own Appliquéd Christmas Bunting Tutorial
          Sew Your Own Appliquéd Christmas Bunting Tutorial

          Deck the halls with boughs of holly, tra la la la!

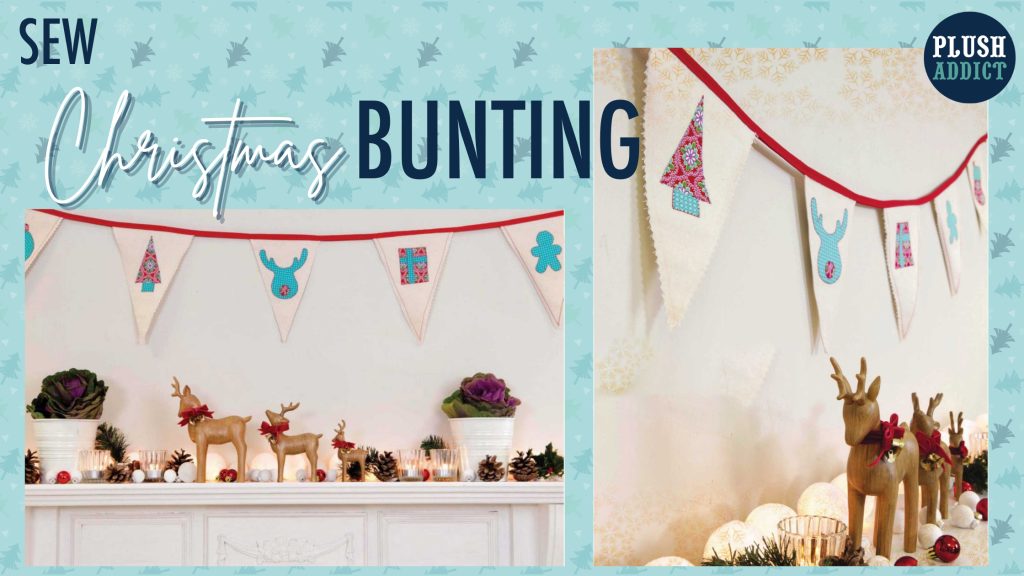
          There’s still time to top up your bank of Christmas memories & sew some fun festive bunting for the family to enjoy year after year…

          This easy project is a brilliant little scrap buster. We’ve provided some cute (and FREE!) appliqué templates for you which can can request here

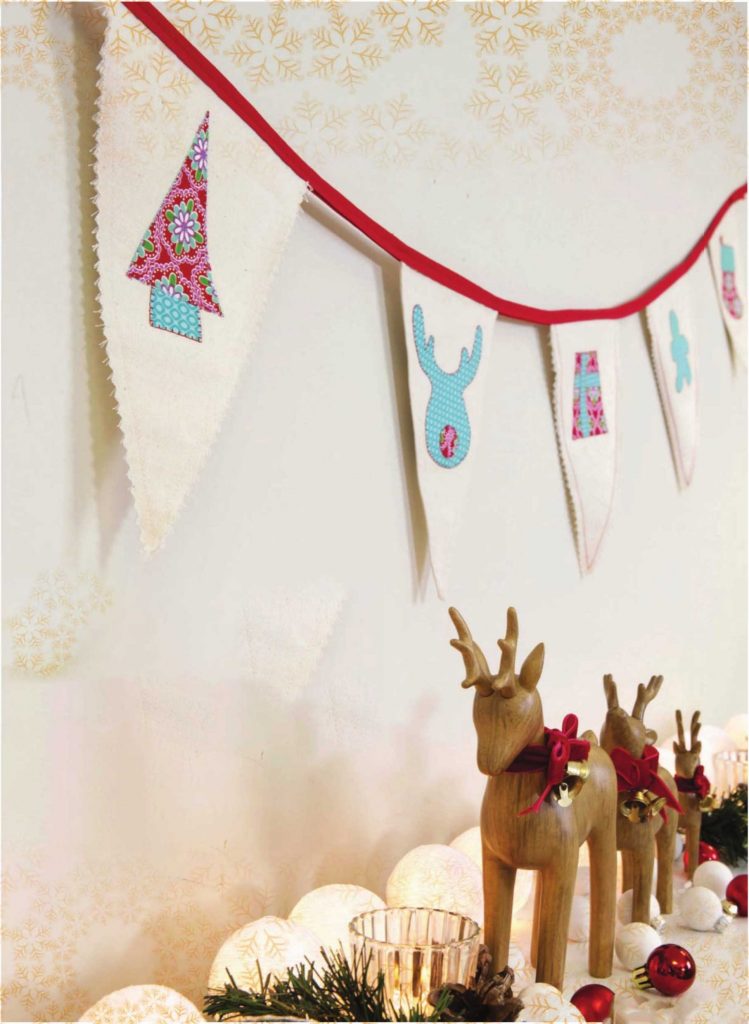
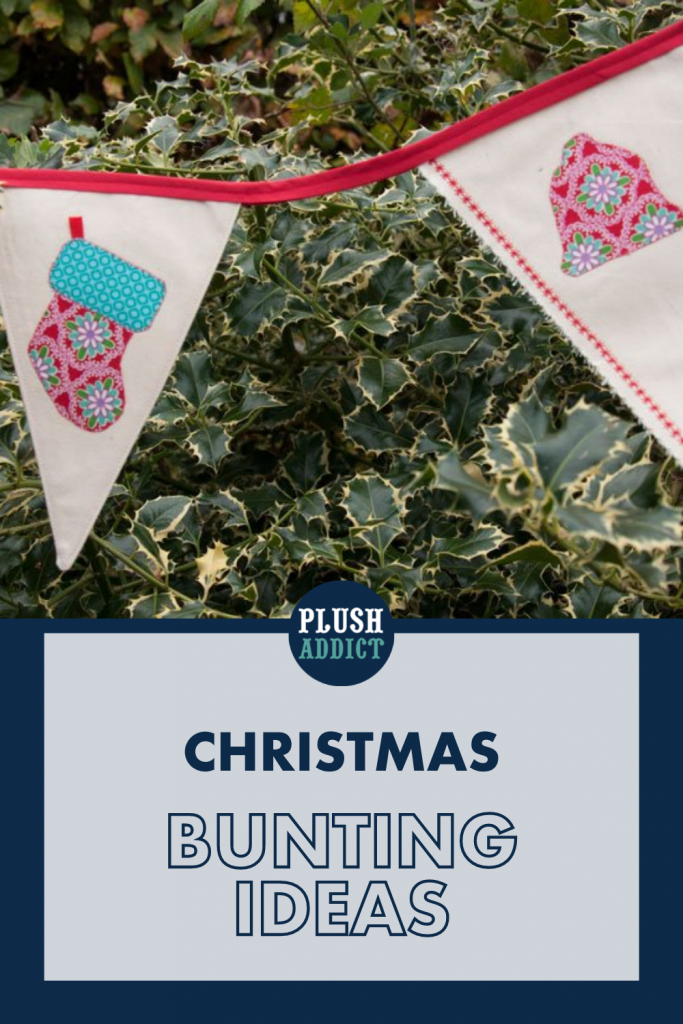
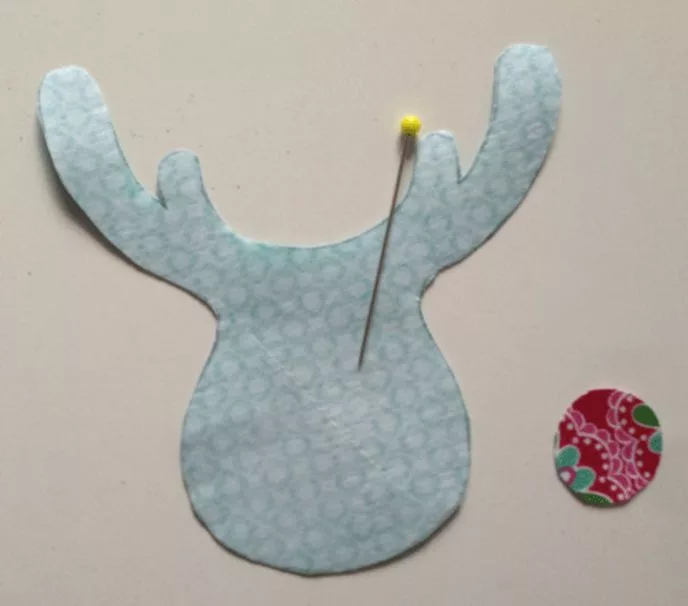
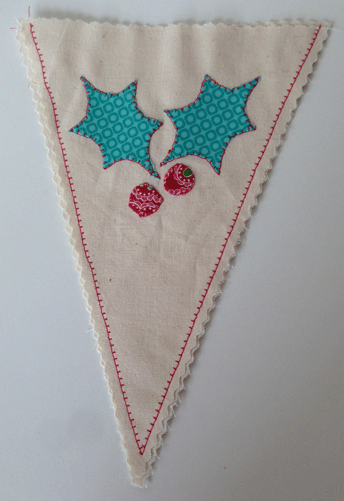
          We’ve gone to town with the applique shapes & you can choose from Rudolf, a Christmas tree, present, a stocking, some holly, a bell, a gingerbread man, a bauble, a star – will you use them all?!

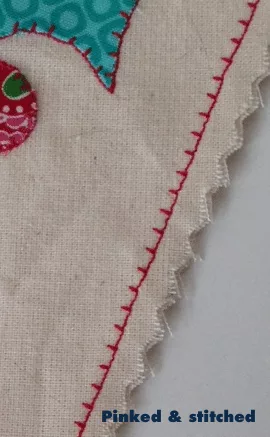
          We’ve also suggested 2 finishes for your flags – pinked & stitched or turned & top stitched… choose whichever tickles your festive pickle!

          We have used calico for the bunting flags- it’s economical & a great neutral background to showcase any colour scheme to help your scraps sing!

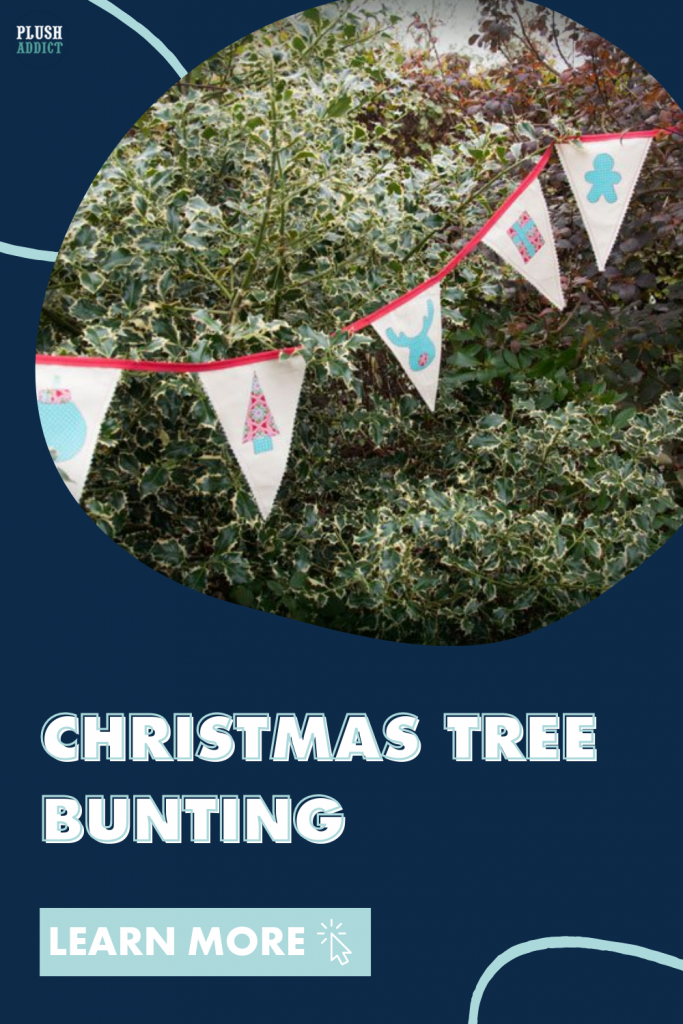
          Christmas bunting flags using Calico

          Appliquéd Christmas Bunting Tutorial
          You Will Need:

          Make life easier with:

          A sewing project for : Beginners

          Approximate sewing time: Sew it in an afternoon!

          Important Notes:

          • ¼” (0.5mm) seam allowance throughout, unless otherwise directed.
          • For steps using machine sewing, straight stitch, backstitching at the start & end using stitch length 2.5 unless otherwise stated.
          • When topstitching – use a 3-3.5mm length & stitch approx 3mm from the seam
          • Prepare your fabrics as per manufacturer’s care advice
          • Read through the instructions fully before starting  

          Request the templates:

          [mailerlite_form form_id=5]

          Sewing Equipment You Will Need:

          Make it easier with:

          Pin For Later!

          Christmas Bunting Ideas

          Important Notes:

          • 1.5cm seam allowance throughout, unless directed.
          • For steps using machine sewing, straight stitch, backstitching at the start & end using stitch length 2.5 unless otherwise stated.
          • When topstitching – use a 3-3.5mm length & stitch approx 3mm from the seam
          • Prepare your fabrics as per manufacturer’s care advice
          • Read through the instructions fully before starting 

          Sew Christmas Bunting

          The template pieces we have put together can be downloaded above.

          If you have a laminator laminate your template pieces as it will make it easier to trace around them. Cut out your template pieces.

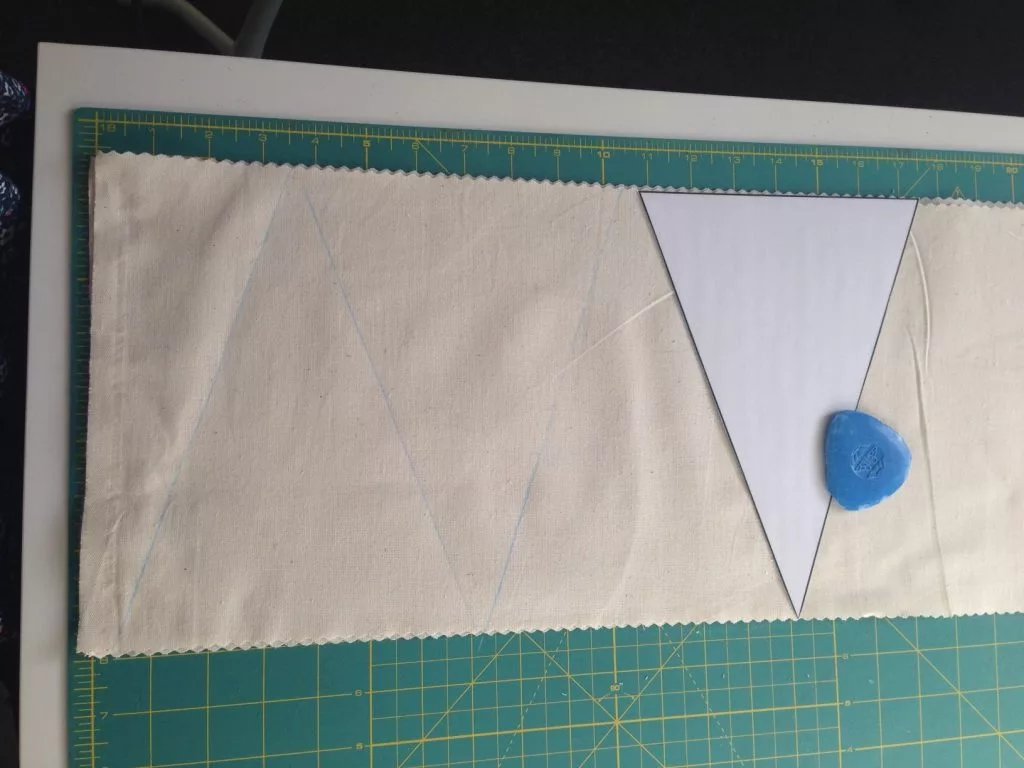
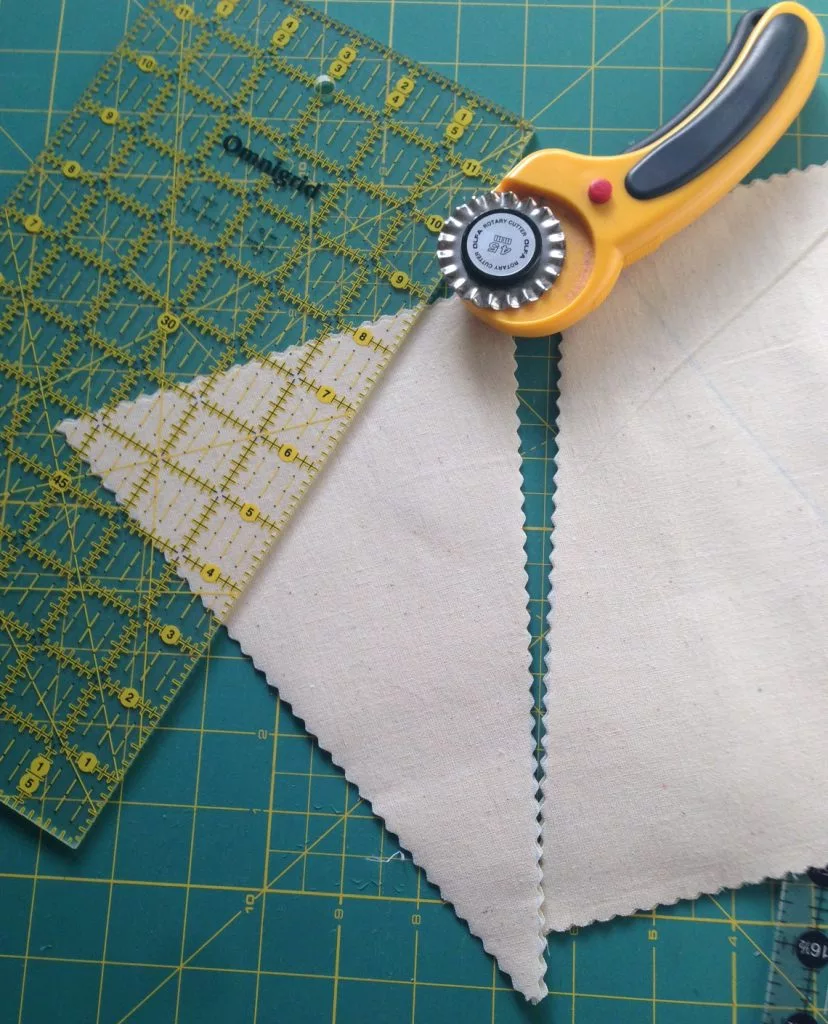
          1. Cut a 25cm strip of calico and mark your flags as shown in the photo. Cut along your marked lines to create your flags.

          Top tip: Use a pinking blade in your rotary cutter for an attractive rustic finish.

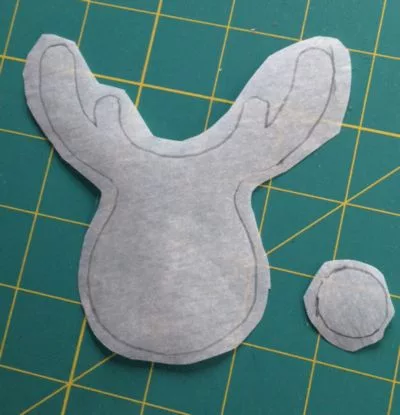
          2. Prepare your appliqué pieces by tracing round your appliqué shapes on the smooth side of the Bondaweb paper ensuring you leave a few millimetres around the outline when you cut them out.

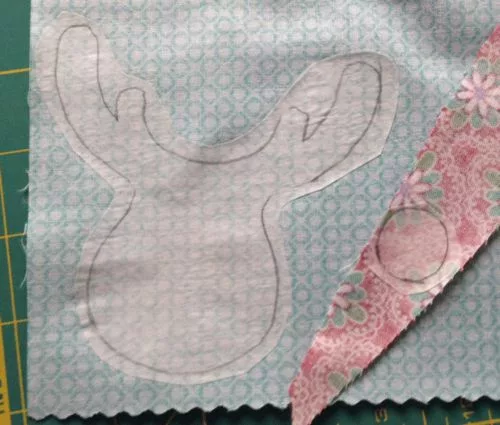
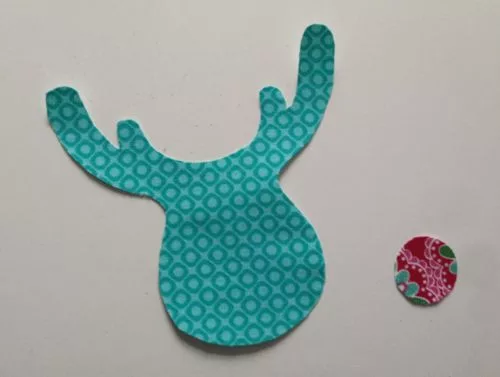
          3. Iron your Bondaweb shape to the wrong side of your fabric and then cut along your drawn outline line.

          4. Score the paper of your Bondaweb with a pin and carefully tear off the paper revealing the adhesive

          Pin For Later!

          Printable Christmas Bunting Tutorial
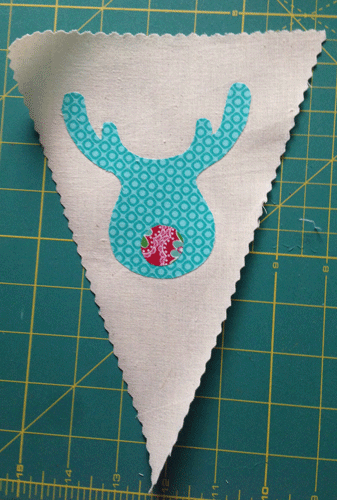
          5. Iron your appliqué pieces onto your fabric flags taking care to place the layers of the appliqué in the correct order.

          Iron your applique pieces onto your fabric flags

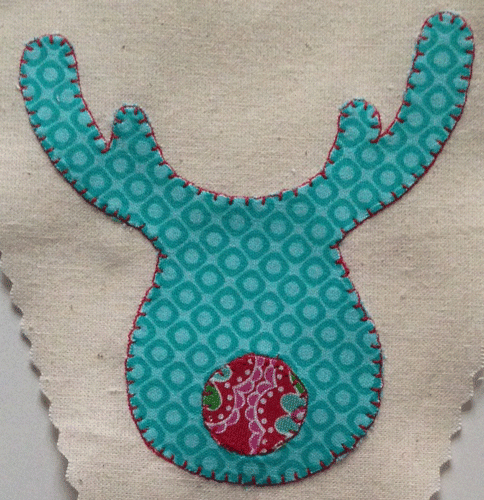
          6. Carefully stitch around the edge of your appliqué. Popular choices of stitch are blanket stitch (pictured) zig-zag stitch and running stitch but you could use others depending on the look you are after.

          Carefully stitch around the edge of your applique.

          7. Decide the look of your finished flags and choose the appropriate next step.

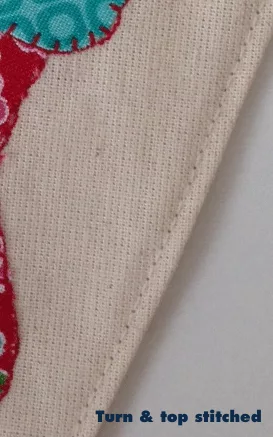
          8. Turned & topstitched: With right sides together stitch your flag with a 5mm seam allowance. Closely trim the point of your flag and turn the right way. Press and topstitch.


          Turned and topstitched

          Pinked & Stitched: With wrong sides together stitch your flag with a 5mm seam allowance.


          Pinked and stitched

          9. Iron your bias binding in half which will make stitching it easier.

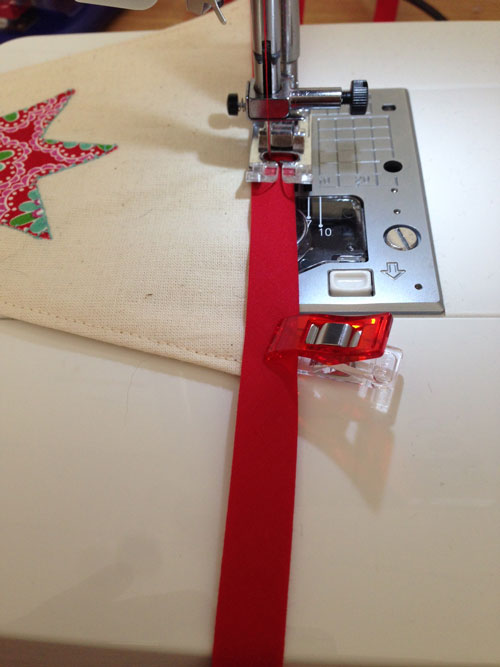
          Place your flags at equal intervals along the bias binding (ours were approx 10cm apart) placing the flags within the fold of the bias binding and pin or use Wonder Clips (which make this part *much* easier) and sew.


          Place the flags within the fold of the bias binding and pin or use Wonder Clips and sew.


          And you’re finished, well done!

          Sew Christmas Bunting


          We hope you enjoyed this tutorial and have a wonderful Christmas!

          Pin For Later!

          Christmas Tree Bunting

          9 Quick Homemade Gifts You Can Sew In Under 30 Minutes!

          9 Quick Homemade Gifts You Can Sew In Under 30 Minutes!

          If you’re anything like me, you’ll have decided you want to make some last-minute gifts & you’re on the lookout for some quick homemade gifts

          Am I right?!

          I’m going to help you out here….

          This is a round-up of some of our quickest & easiest sewing tutorials so you CAN whip up some homemade presents in a flash!

          Nothing says I love you like handmade… right?

          Read on for 9 Quick homemade gifts you can sew in around 30 minutes!

          9 Quick homemade gifts you can sew in around 30 minutes!

          Check out our round-up of some of our speediest sews that make quick handmade gifts ⤵️

          Boring Legal Bit: If you follow any tutorial or guidance found in this post, or on this blog, you agree to be bound by our disclaimer which can be viewed here

          Boring Legal Bit: If you follow any tutorial or guidance found in this post, or on this blog, you agree to be bound by our disclaimer which can be viewed here

          9 homemade gifts you can sew in around 30 minutes


          Make a notebook cover in around 30 minutes
          !


          A5 notebook cover tutorial

          It’s the way to personalise any notebook

          Check out the tutorial


          Learn to make a key fob

          Sew a Keyfob tutorial

          These key fobs are SUPER SPEEDY to make! 

          Whip one up in just 5 minutes No Joke!


          Make some reusable makeup pads in a jiffy!


          Reusable Makeup Pads Tutorial
          Reusable make up pads are a speedy sew AND help with being a little bit more sustainable…  Win Win!


          Sew some quick napkins


          15 Minute Napkin Tutorial
          Napkins are for life, not just for Christmas!

          Use this method using some cotton lawn to make some handkerchiefs

          Another eco-conscious quick gift idea!


          Sew a 30 minute skirt in any size


          Sew an elasticated Skirt in 30 minutes

          Is it really possible to sew a skirt in 30 minutes?

          Make a skirt of any size too!

          Oh yes!


          Sew some 15-minute Fabric Trays


          Speedy & thrifty! These fabric trays are a great little scrap buster…

          Our 15-minute fabrics trays are super useful & make a great gift


          Sew Baby A Dribble Bib


          Free dribble bib pattern

          These quick & simple bibs are a speedy sew…

          Any tired new mum will be glad of the general clothes laundry save these dribble bibs will bring!


          Make a quick eye mask


          Free Eye mask pattern and tutorial


          Gift the gift of a good night’s sleep!

          Our FREE pattern & eye mask tutorial will be a popular gift


          Sew some quick coasters


          Sew Christmas Coasters - free tutorial


          C
          oasters to match any decor

          This a fab scrap buster project that can showcase two of your favourite fabrics….


          Please do let us know in the comments if you make any of our tutorials, we’d love to hear!

          Happy sewing…

          Follow Us On Instagram


          Never miss a guide or tutorial

          Click to join our mailing list!

          New pattern alert! 🚨 Wanna make your own custom IKEA KALLAX storage boxes?

          New pattern alert! 🚨 Wanna make your own custom IKEA KALLAX storage boxes?

          Do you have cube storage units around your home? We absolutely love them here at The Studio, crammed full of haberdashery goodness!

          Ikea Kallax Fabric Storage Box

          Ready made storage boxes can be quite boring & might not match the decor in your home. We were super excited to team up with Makower to bring you the pattern for these beautiful boxes! 

          Ikea Kallax Storage Boxes


          Fabric Storage Boxes

          It’s a completely free pattern available to download and is suitable for IKEA Kallax unit and lots of other cube furniture out there, measuring 12 ½” x 14 ½” x 12 ½”. 


          PInterest Sew Your Own Fabric Storage Box

          Even if you don’t have the cube storage units, they’re a great storage solution for any shelving for toys, magazines, anything you can think of!


          The boxes are super sturdy as they have Buckram inside and even have a little PVC label pouch at the front so you can be super organised! If you’re worried about sewing a huge cube, don’t worry! It has a flip up base to make it easier to manage on your sewing machine.  

          We have put together a kit with all of the bits and pieces you need to make the storage box or if you’d LOVE to use the fabrics we used, we have Henna available on the website too.

          Loving the fabrics we used? Henna is a brand new Makower fabric collection featuring bold blooms and geometric prints. Designed by Beth Studley, these fabrics are inspired by Henna body art and feature mandalas, florals and chevrons. The bold colours are sure to make a statement on any project!

          We can’t wait to see your storage boxes and what you make with Makower’s Henna collection!