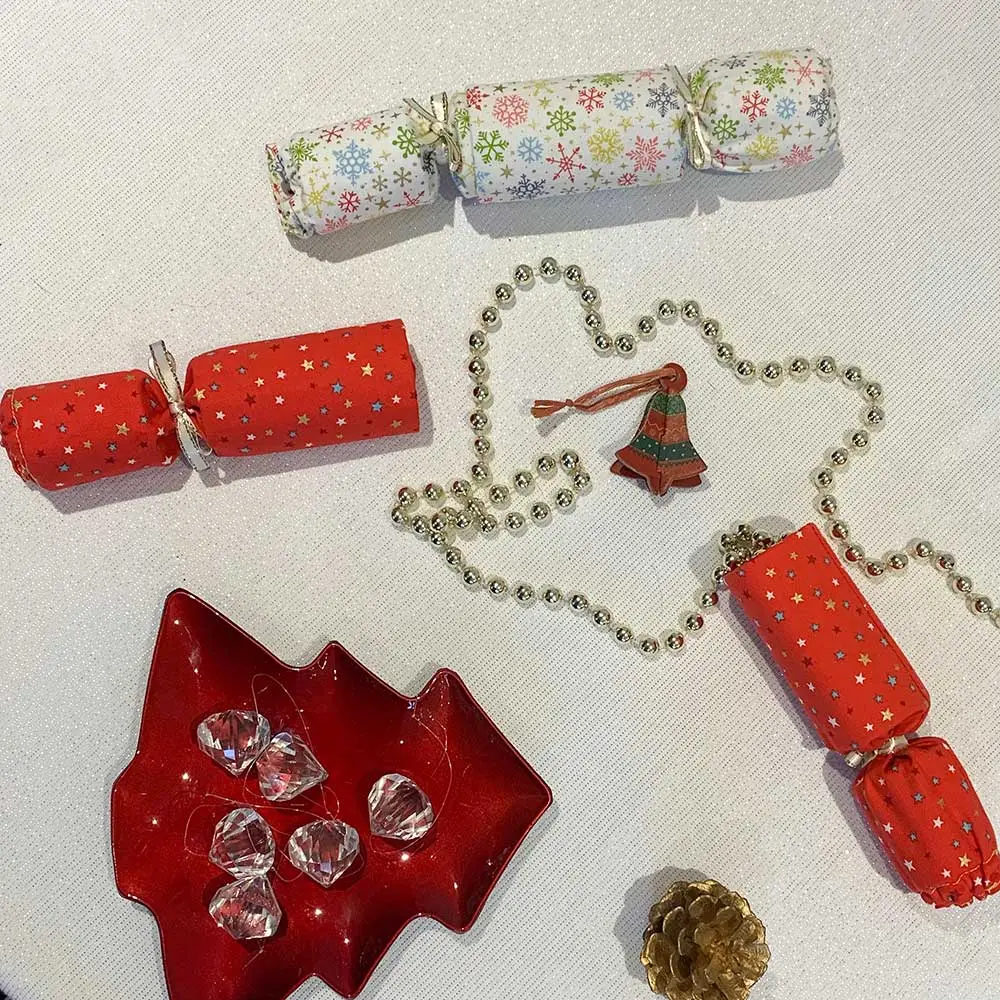
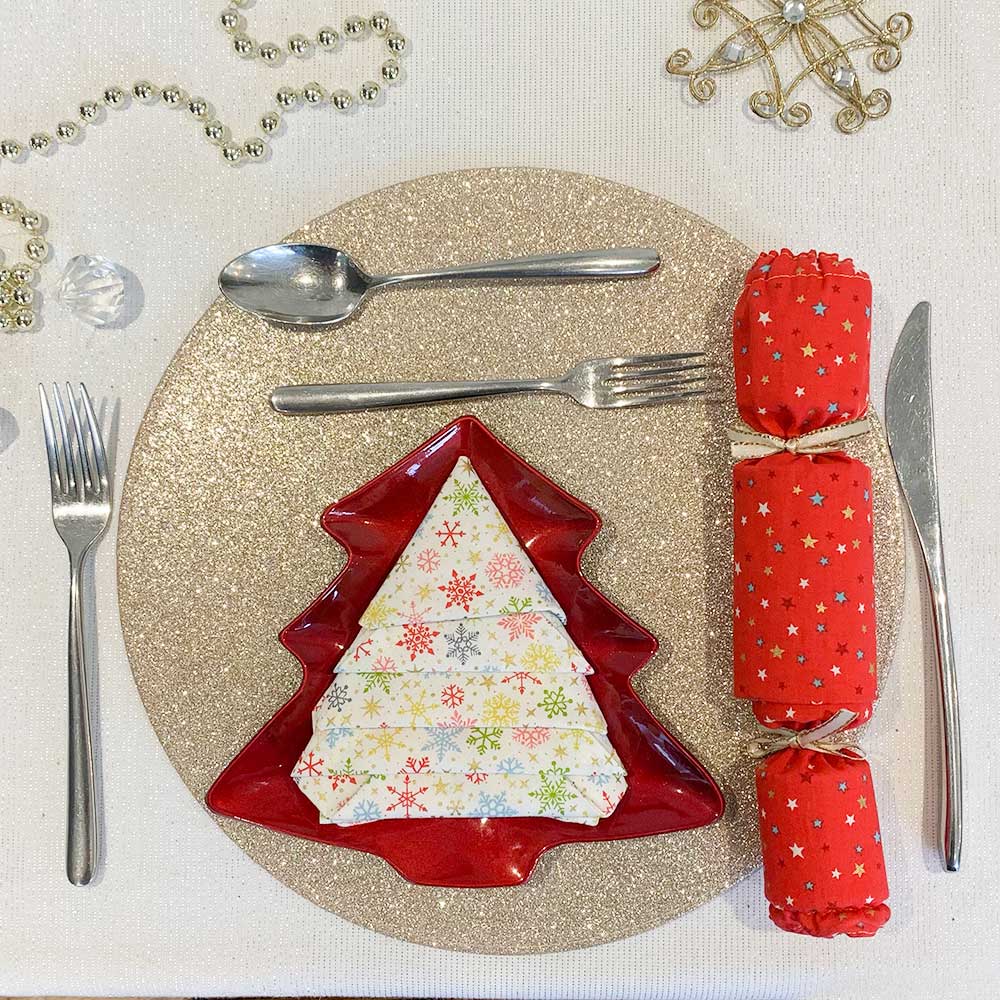
Reusable Christmas Cracker Sewing Tutorial
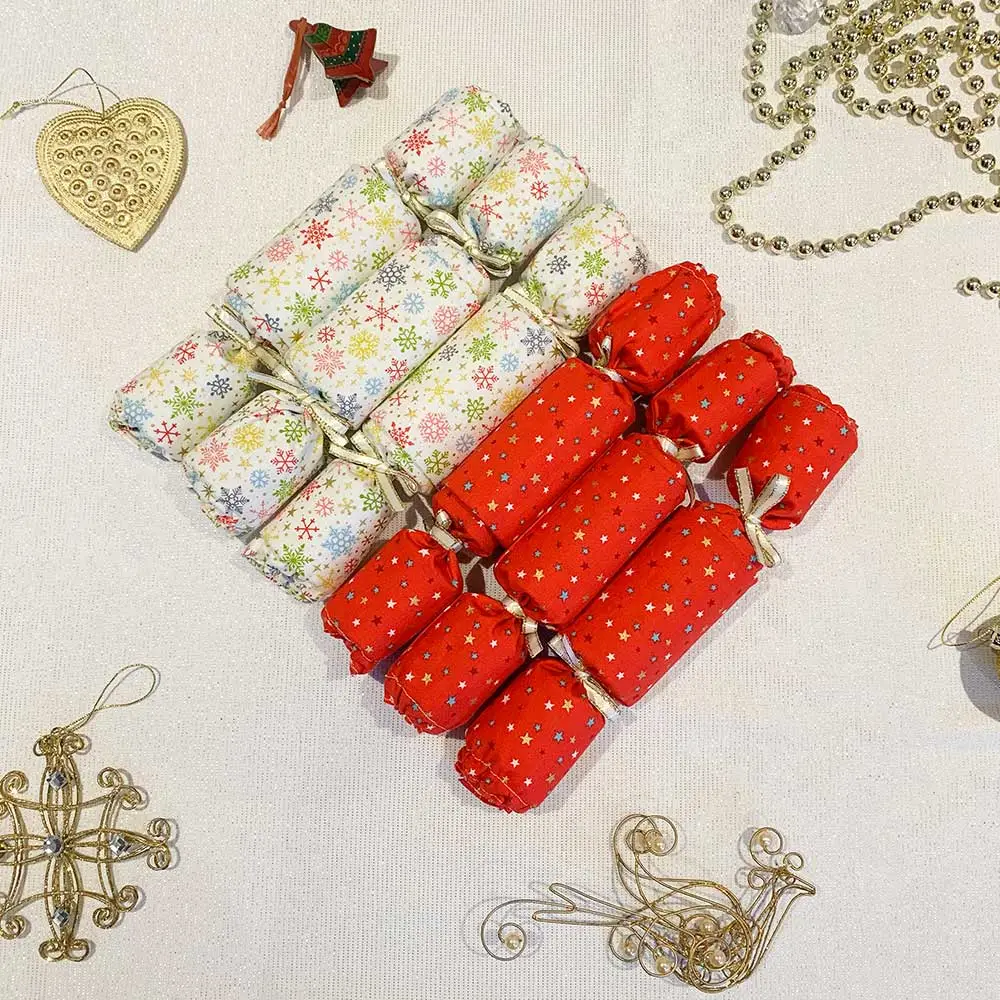
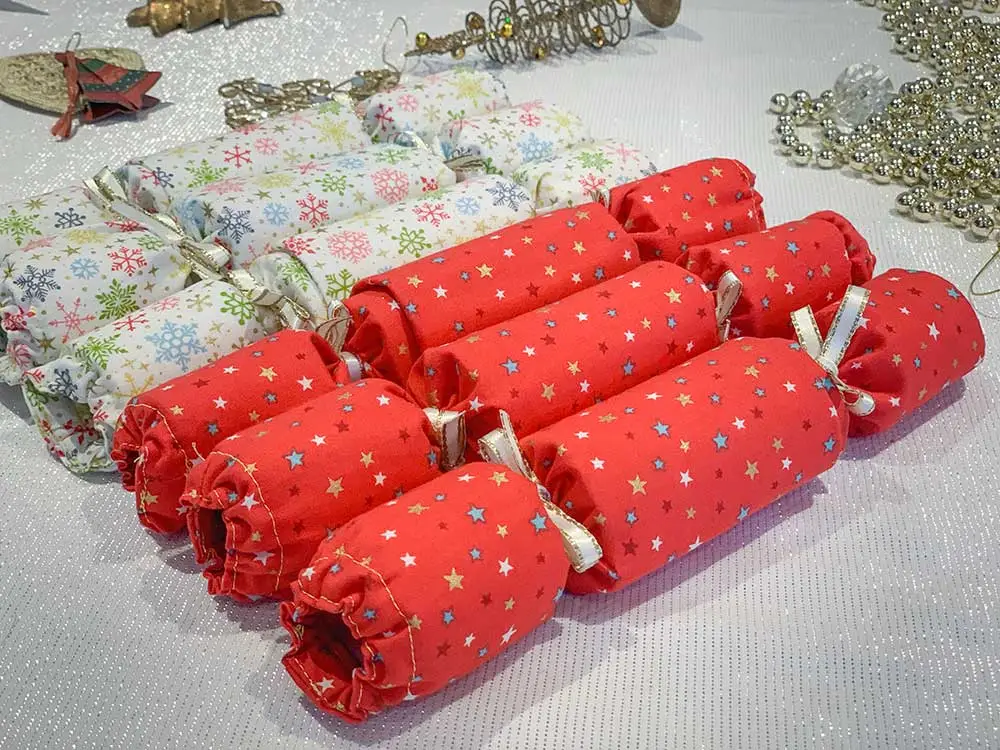
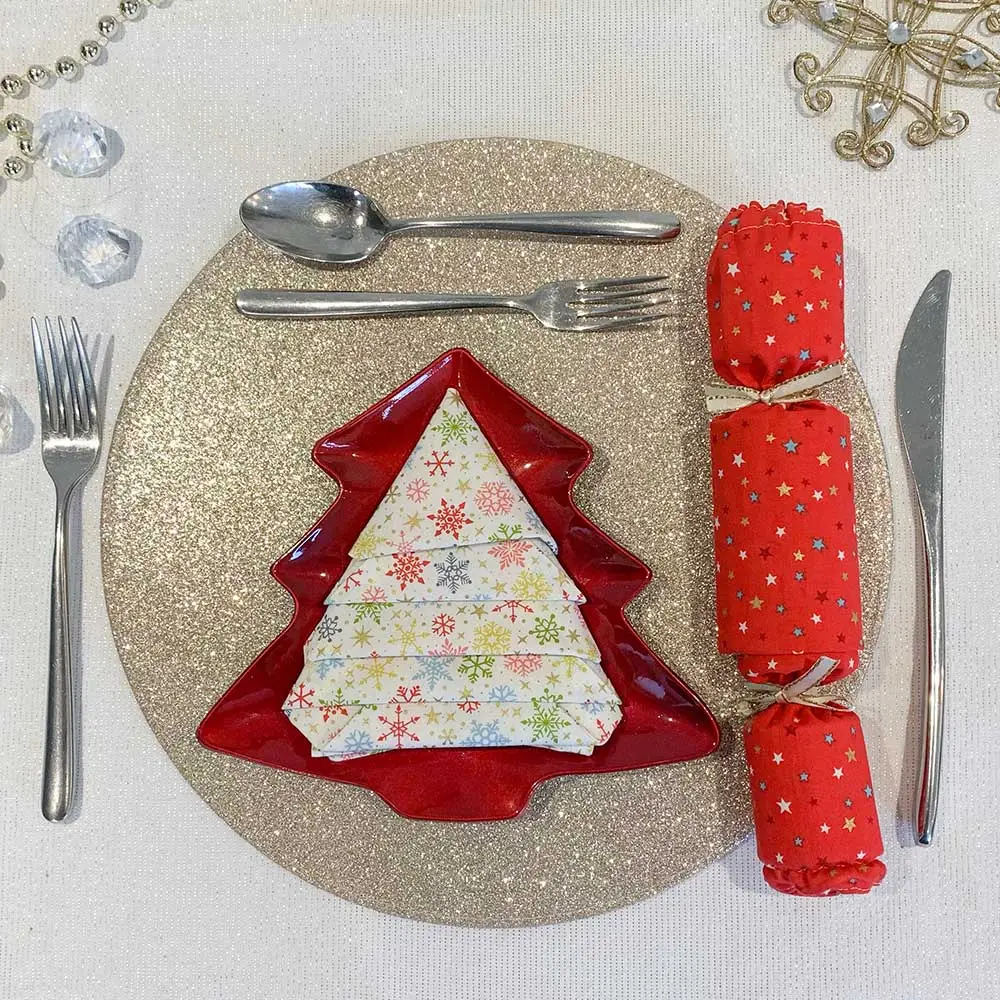
Fancy a more sustainable snap at your festive table this year? This reusable Christmas cracker tutorial (oh yes they did!) will have you repurposing your recycling, reducing your rubbish & reusing resources!

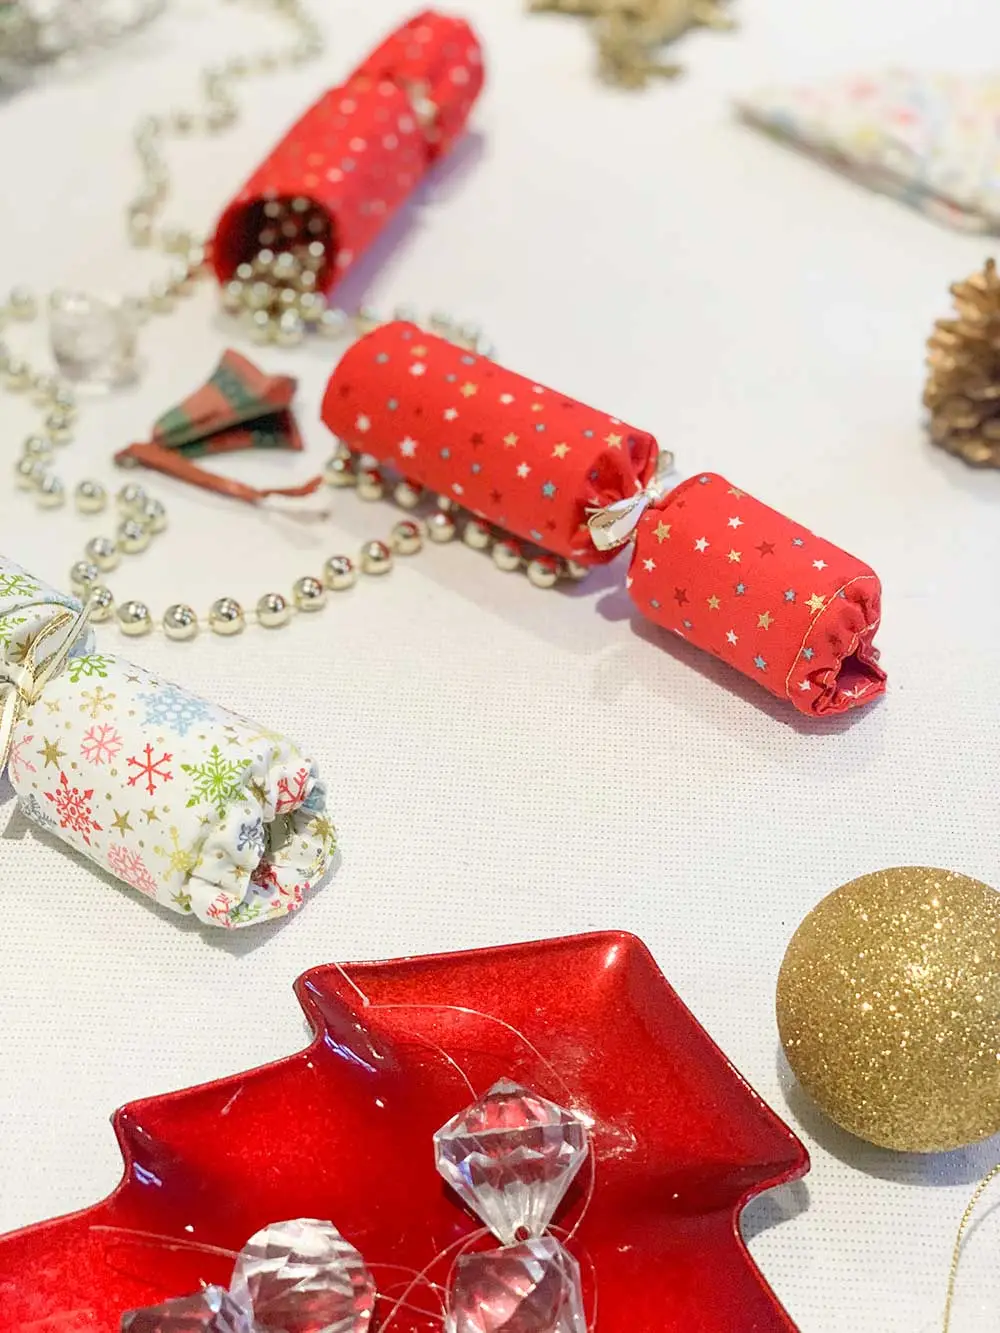
These christmas crackers can be refilled time & time again & stored away for the following year without fear of the snap losing it’s spark!
The core of these reusable crackers is a plastic milk carton & the snap sound comes from a knotted elastic band that pings on a milk bottle top & makes a satisfying SNAP sound! A fantastic re-purpose of your old rubbish… Don’t you agree?
Want a printable copy of this tutorial? No problem! Request it below & a copy will be sent direct to your in-box
Boring Legal Bit: If you follow any tutorial or guidance found in this post, or on this blog, you agree to be bound by our disclaimer which can be viewed here
Reusable Christmas Cracker Tutorial
Skill Level: Beginner
To make ONE reusable Christmas cracker you will need:
1 fat quarter of quilting cotton (Check out our Christmas Fabric here)
1m Ribbon (we used Berisfords Festive Gold Edge Satin Ribbon)
40cm 3mm elastic
1 4pt milk bottle (label removed, bottle washed & dried)
2 milk bottle lids (washed & dried)
2 small elastic bands
Additional resources:
Glue gun & glue sticks
Domestic scissors
Important notes:
1.5 cm seam allowance throughout, unless directed.
For steps using machine sewing, always backstitch at the start & end unless otherwise stated.
Pre-wash your fabrics
1. Cut your materials
From fabric:
Outer cracker barrel 44×18.5cm
Inner cracker barrel 44×16.5cm
For directional pattern fabrics; the shorter measurement spans the circumference of the cracker & the larger spans the length.
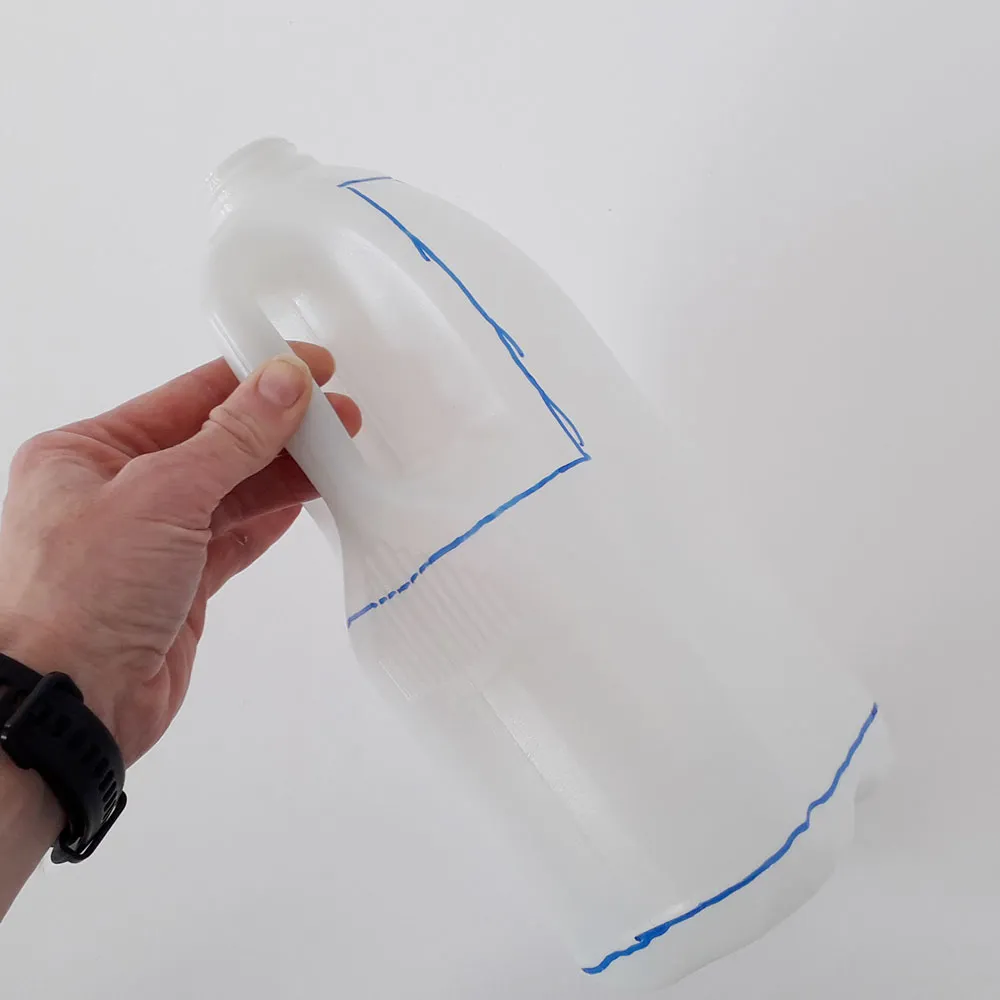
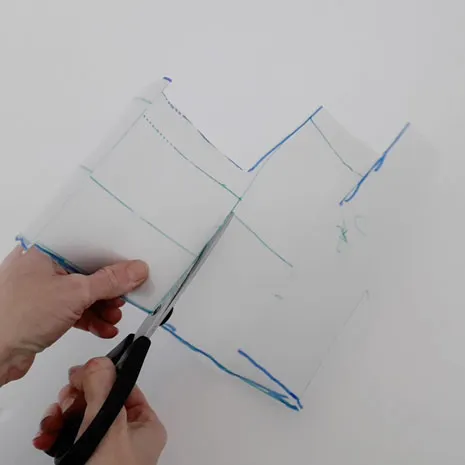
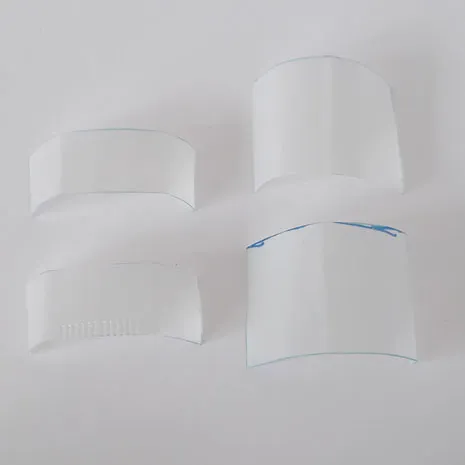
From the milk bottle:
1 Outer cracker barrel 9×16.5cm
1 Inner cracker barrel 9×14.5cm
2 Cracker ends 5 x 15.5cm
2. Make the snap
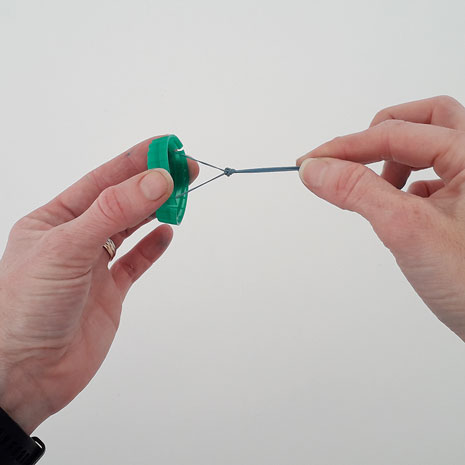
Cut a slit through the rim in each side of a milk bottle lid.
Slot an elastic band into the slits & tie a knot close to the underside of the lid. Repeat with the other lid.
3. Form the barrels
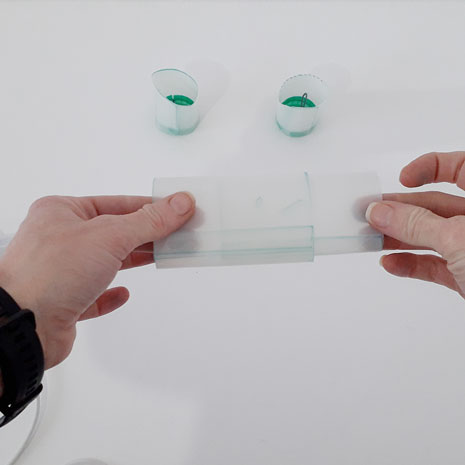
Using a glue gun form 4 cylinders from the cut plastic. All should be curved along the long edge.
The outer & inner barrels should be glued with a 1cm overlap.
The end barrels need to be formed with the snap at one end, the underside of the lid facing into the cylinder
4. Prepare the fabric
Fold over the short edges 1.5cm & press.
Open out the pressed edges then pin & sew the long edges right sides together.
5. Form the cracker
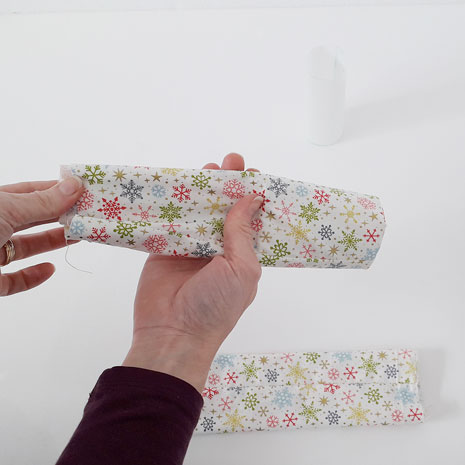
Turn half of the outer cracker barrel fabric out the right way to form 2 layers of fabric.
Insert the corresponding plastic cylinder between the 2 fabric layers & guide it down to the fold line.
Insert a snap section, lid end 1st, inside both layers of fabric. Position it just above the barrel section.
6. Elastic casing
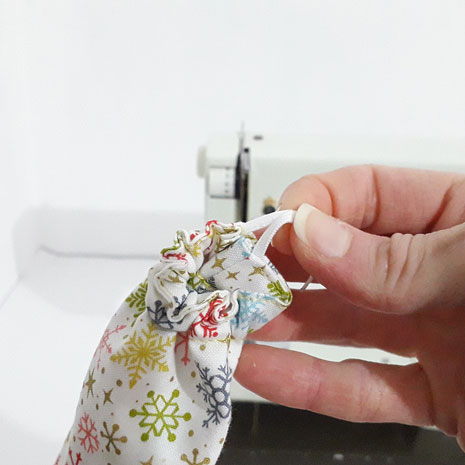
Tuck in the pressed seam allowances. Pin & sew around the top of the cracker.
Sew around the top edge of the cracker leaving a 2cm opening for threading.
Thread the elastic through the casing twice to form 2 loops. Tie off the ends of the elastic.
Sew the opening closed.
7. Finishing touches
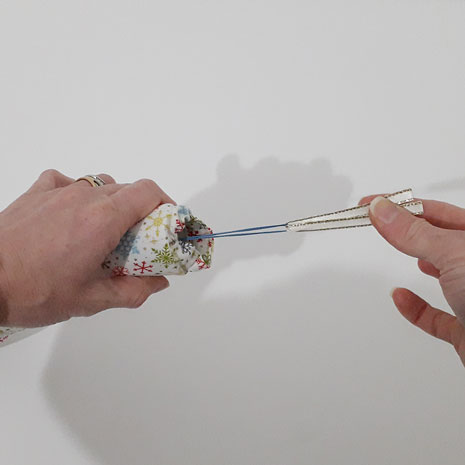
Guide the cracker snap up to meet the elastic casing.
Tie a bow each and with 30cm of ribbon between the barrel & the snap.
Thread 15cm of ribbon through the loop in the snap elastic and secure in place with a knot.
To set up your cracker, pop your chosen treat/ joke/ quiz question inside the thinner central barrel. Insert the thin barrel into the wider one and your cracker is ready. To activate the snap, each person pulls the ribbon inside the end of the cracker then releases as the cracker is pulled apart.
Want a printable copy of this tutorial? No problem! Request it below & a copy will be sent direct to your in-box
Boring Legal Bit: If you follow any tutorial or guidance found in this post, or on this blog, you agree to be bound by our disclaimer which can be viewed here
We hope you enjoyed that tutorial and have fun making it. If you make your own version please tag us @PlushAddict #PAReusableChristmasCracker
We would love to see your creations!
