
Our site is getting a makeover! Please bear with us whilst we make improvements


3.5 minute read
Haberdashery – it’s a great word, isn’t it? Ever wondered what it is? Or where such a wonderful word comes from?
You’re not the only one!
Read on to find out all things haberdashery. We’ll be going into detail and explaining all you need to know to become a seasoned haberdasher. You’ll feel confident going out and exploring the world of sewing accessories!

Boring Legal Bit: If you follow any tutorial or guidance found in this post, or on this blog, you agree to be bound by our disclaimer which can be viewed here
History of the word Haberdashery
Haberdashery is pronounced “ha-buh-da-shu-ree” and has a rich history. It’s such a great word! But where did it come into our language?
One of the first sightings of the word is seen in English poet Chaucer’s Canterbury Tales. Chaucer describes peddlers who sold buttons, needles & other sewing items. This dates the word back to at least the 14th century!
Haberdashery derives from “hapertas” that’s thought to have meant “small ware”, although others say it was used to describe a type of fabric.
The word has been around for centuries, nonetheless the true origins of it are still unknown today.
Often the word “haberdashery” is shortened to “habby” so if you hear that being banded around, you know what this abbreviation means!
UK & US Haberdashery Differences
Interestingly the word haberdashery has a different meaning with our friends across the pond in the US, instead, the word “notions” is used to describe haberdashery supplies!
Over in the US the word Haberdashery is instead a term used to describe a speciality accessory store for men selling hats, gloves & scarves.
But they also sell what we now know as haberdashery supplies in the UK – buttons, needles, threads and more!
As time passed US haberdasheries evolved to also tailor to women, but still focused on hats and accessories.
However here in the UK they became the go-to place for all sorts of sewing bits and bobs, more of a craft and sewing shop.
The world of sewing and sewing accessories has experienced a massive boost in interest recently partly due to the pandemic, lots of people turned to their hobbies to pass time and even more people discovered new hobbies!
The Great British Sewing Bee has also massively contributed to the expansion of sewing and haberdashery in Britain, we all love a good competition!
What supplies do you find in a haberdashery?
ALL the sewing things! In short it’s an all encompassing word describing is the small bits & bobs used in sewing projects. You could call them a seam-star’s sewing accessories.
Some common items are:
This list isn’t exhaustive – there’s literally hundreds of variations for each of these items – it’s pretty broad.
More often than not you can’t complete a sewing project without using some type of haberdashery! And over time your stash will increase (along with your need for habby storage & organisation 🤣)
Where can you buy haberdashery supplies?
Habby items are usually sold by fabric & sewing shops. A Google search for “haberdashery near me” will bring up all your local merchants, it’s a great way to support local small businesses!
And if there’s not one near to you then we’re here to help! Our online sewing superstore has a HUGE range of haberdashery items & we ship sewing supplies not only throughout the UK, but worldwide too.
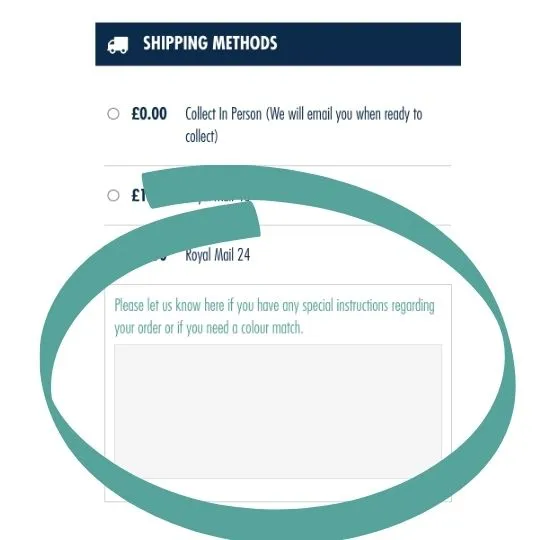
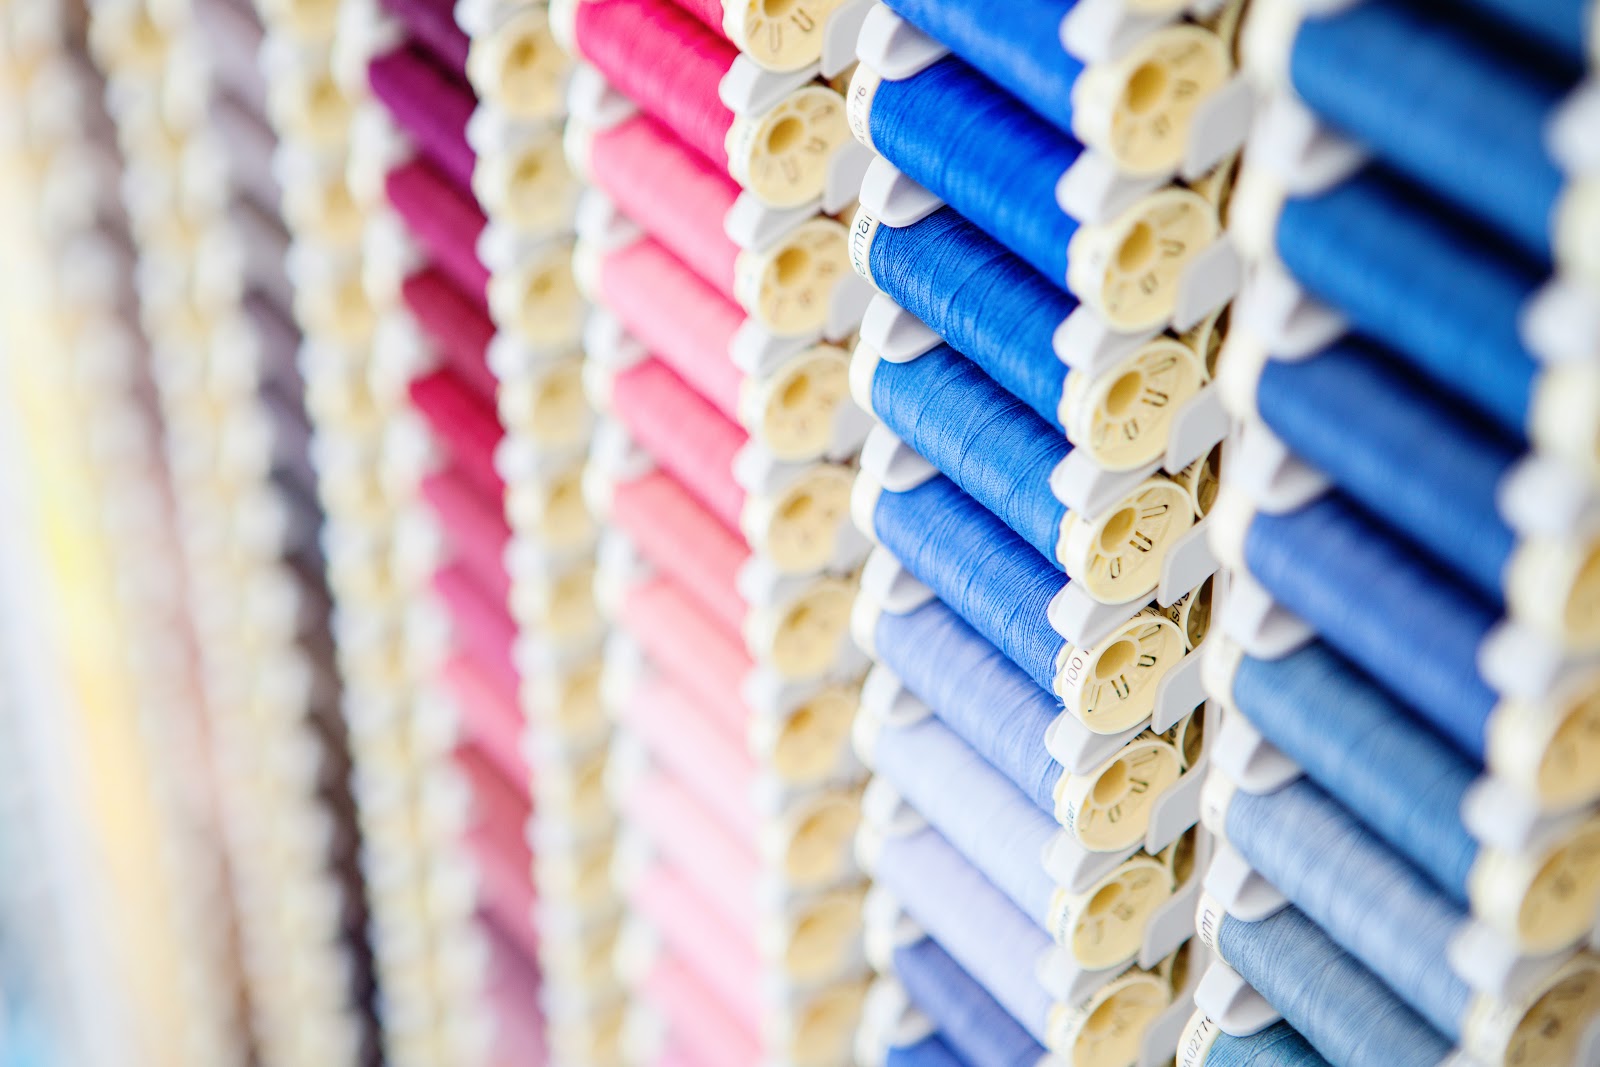
We know that sometimes buying sewing supplies online can be daunting. What if the colours don’t match?! Colours CAN be off when buying from a screen – we totally get this… There’s nothing more annoying than ordering a thread to match your fabric from screen, only to have it arrive and it’s totally off.
We have a service available as standard to eliminate any matchy matchy stress! We offer a free colour match service. Just order what you *think* matches then leave us a comment in the notes field at checkout asking us to check that your colours match. If they don’t – we’ll swap them for you – simples!

And if when your new haberdashery items arrive they’re not right, we also offer Free UK Returns!

About Us
Plush Addict is a local, family run business started by myself and Mr.Plush (Hubbydasherer) over 9 years ago. We’ve grown from a bedroom business selling cloth nappy supplies to having one of the best stocked haberdasheries in the country!
We stock a huge range of both fabric & haberdashery and we strive to be a one stop shop for your sewing projects.
We hope you found this insightful and learnt a little more about the history of haberdashery.
If you stumbled here looking for some sewing bits, head on over to our website to shop all things haberdashery and fabric!
Follow Plush Addict on social media and keep an eye out for more tutorials!


Boring Legal Bit: If you follow any tutorial or guidance found in this post, or on this blog, you agree to be bound by our disclaimer which can be viewed here
Need an outfit in a hurry or an emergency gift? If you’re looking to showcase or share some fabulous fabric, this super quick elasticated skirt tutorial will soon have you stepping out in style. It’s budget friendly too – you only need a few resources for this one.
Never miss a tutorial or fabric guide…
Stay up to date with the latest by signing up to our newsletter!
Click to join our mailing list!
1. Cut out the materials as calculated above:
2. Clip the 2 ends of the waistband together and sew.
3. Separately tidy the ends of the elastic using zig zag stitch: length 2, width 2. Tie the thread ends to secure.
4. Open the seam and stitch the seam allowances to the waistband so they sit flat.


5. Clip and sew the 2 skirt panels together or for 1 panel clip and sew the 2 sides together.
6. Press the seam allowances open and tidy with zig zag stitch: length 2, width 3, tying the ends to secure.

7. Turn the skirt out the right way
Never miss a tutorial or fabric guide…
Stay up to date with the latest by signing up to our newsletter!
Click to join our mailing list!
8. Find the quarter points around the top of the skirt and waistband and mark:

9. With the right sides facing line up the points on the skirt and waistband and clip together position the waistband join to the back.
10. Stretch the elastic to the length of the fabric between the points and clip together. A spare pair of hands can make this easier.

11. Starting centre back sew the skirt and waistband together: Use zig zag stitch, 1 length, 4 width, sew as close to the edge as possible. Stretch the elastic as it approaches and exits the presser foot. Overlap the start point and tie thread ends to secure.

12. Fold over and press the bottom 2cm of the skirt.
13. Turn the raw edge under to reach the crease and press again to create a hem.

14. Stitch along the edge of the hem (approx. 8mm from the bottom of the skirt) to finish.

Pin For Later!


Never miss a tutorial or fabric guide…
Stay up to date with the latest by signing up to our newsletter!
Click to join our mailing list!
We hope you found this tutorial useful!
Let us know how you get along in the comments below 🙂
Follow @PlushAddict on social media and keep an eye out for more tutorials!
