
How To: Make Reusable Makeup Remover Pads and Waterproof Bag
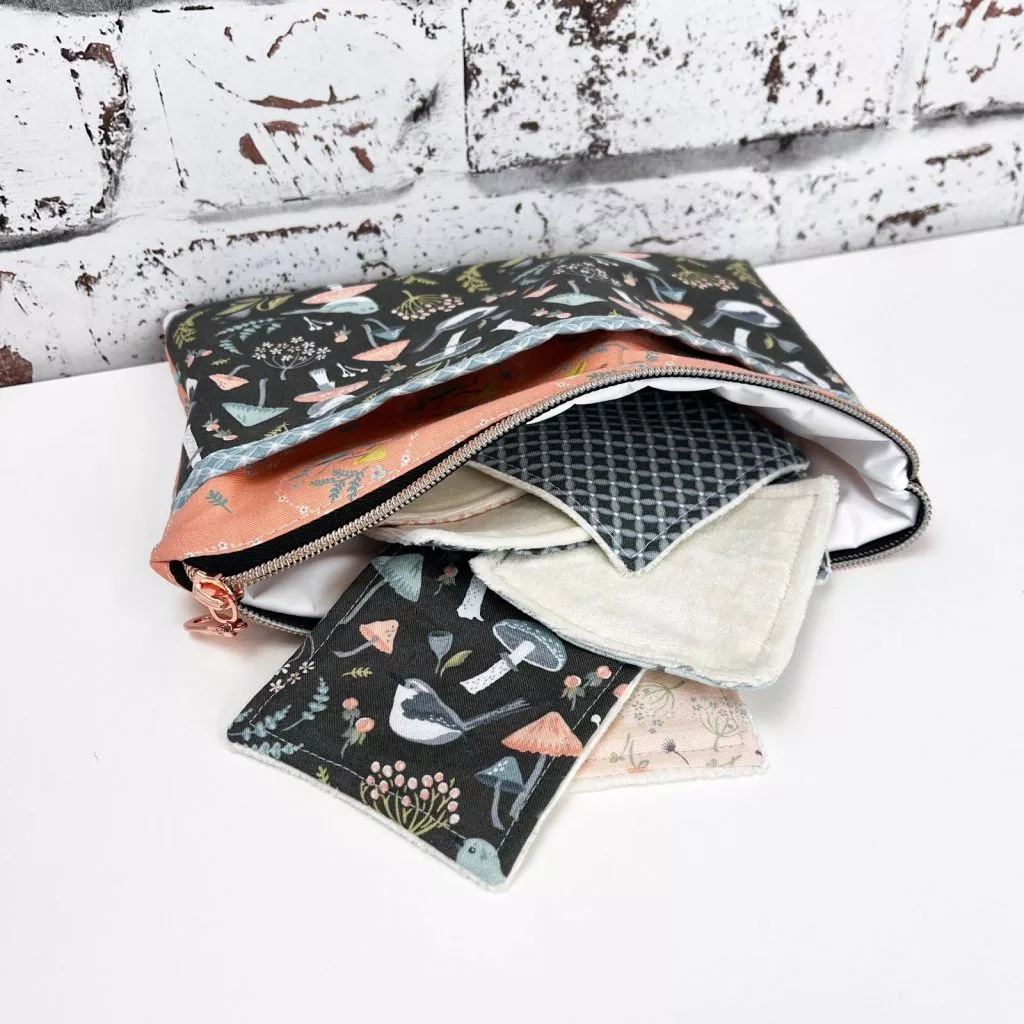
Help save the planet with 2 FREE tutorials! Read on for a Reusable Makeup Remover Pads sewing tutorial, and a waterproof bag to store them in until laundry day!
Did you know face wipes contain plastic and make up more than 90% of sewer blockages in the UK? They also end up in our oceans, which causes problems for our marine environment and sea creatures. Do you use cotton pads instead when removing makeup? Single use cotton pads are found to be non-biodegradable too.
Beauty experts say a reusable cloth can be less abrasive on the skin and is less likely to cause irritation to more sensitive skin types and around the eye area, ideal for waterproof mascara. A reusable alternative is sustainable and great for your skin!
Also lets not forget the cost, 50 disposable cotton pads can cost around £3-4, if you bought one for each day of the year you’d need around 8 packs, so you’d spend £32 a year.
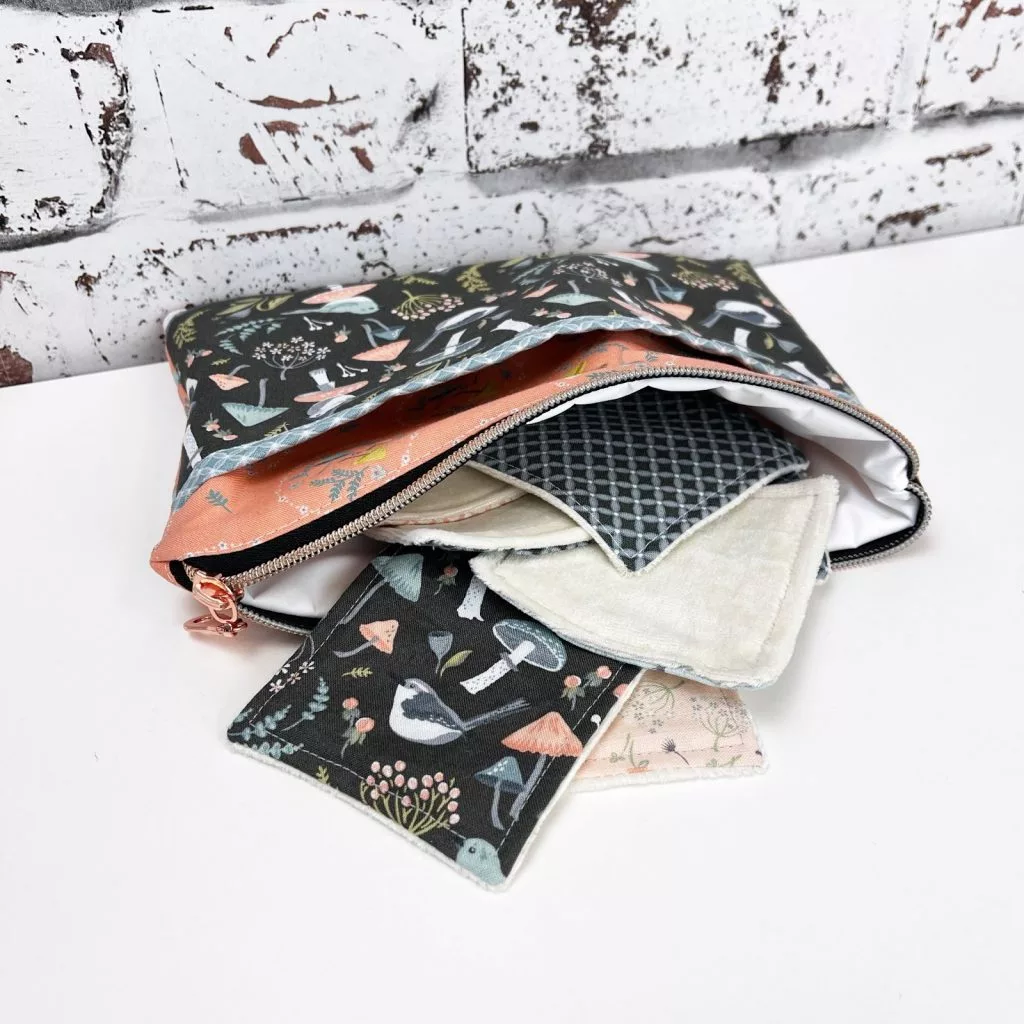
So, let’s ditch the baby wipes and cotton wool pads! One very easy swap to make is to replace cotton pads for a reusable & washable alternative. Reusable makeup remover pads are a really quick & easy sew, also a great scrap buster.
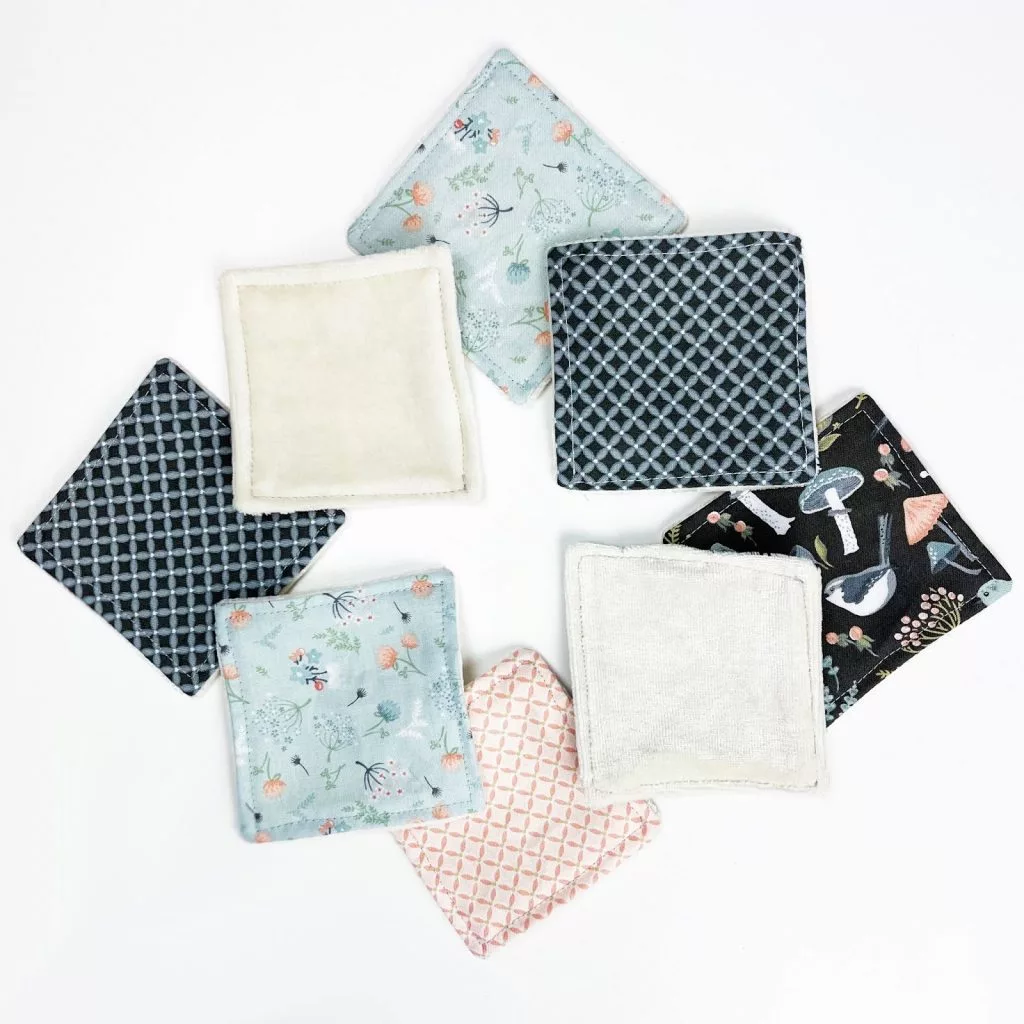
We highly recommend using a bamboo fabric to back your reusable cotton pads in. The best choices are bamboo towelling and bamboo velour. We recently shared a fabric guide of bamboo fabrics here on the blog.
How To Make Reusable Makeup Remover Pads
You will need..
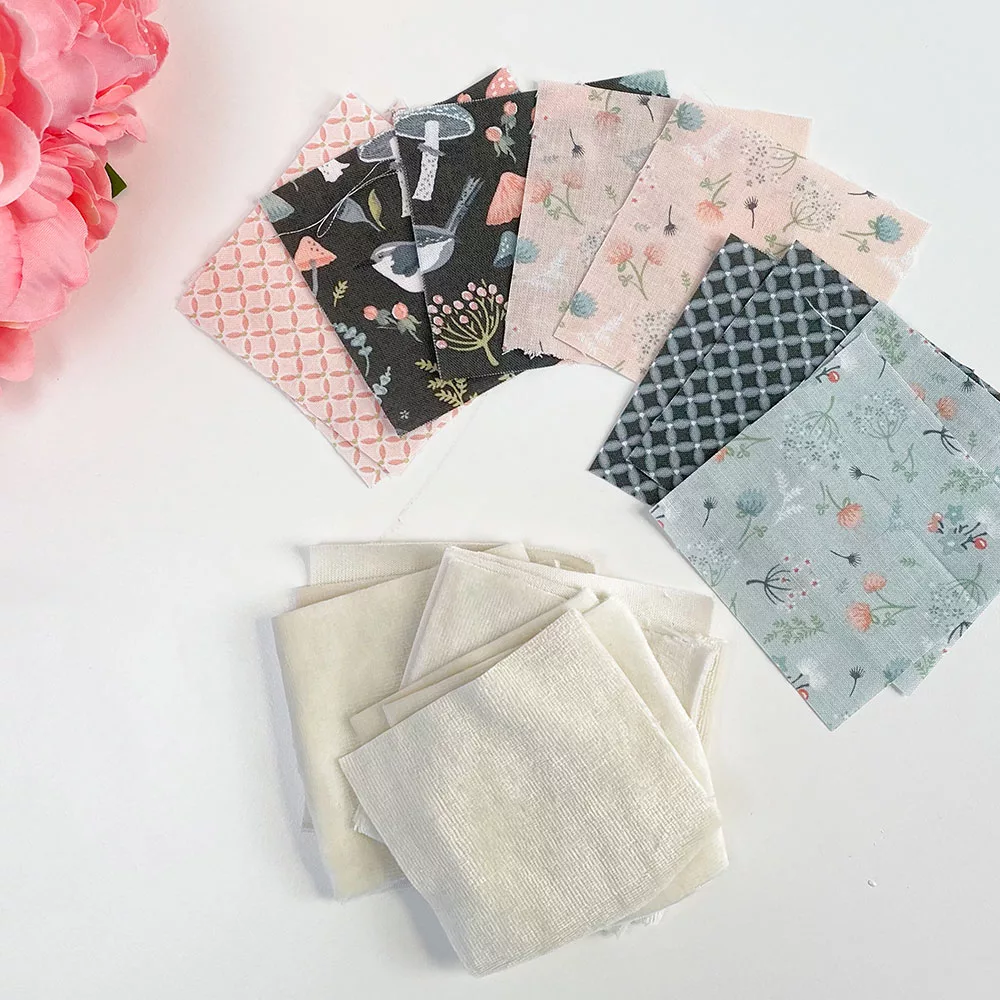
Cotton fabric – quantity depends on how many you wish to make. You will need 4½ ” square for each makeup pad
Bamboo velour or bamboo towelling – 4½” square is required per pad. We have used (and prefer) bamboo velour for this project as it’s so soft against the face
We used the gorgeous Woodland Songbirds fabrics.
Important Notes About Your Bamboo Fabric
Pre-Wash all of your fabrics and dry them as they will be laundered. Don’t skip this step! This is really important for bamboo velour as, like many stretch fabrics, the velour is likely to shrink a little
It is also advisable not to use fabric conditioner when laundering bamboo velour as it can affect its absorbency ofter a while.
Looking for more info on bamboo fabric? Check out our full guide here
Prepare & cut your fabrics.
For each pad you require
- One 4.5” x 4.5” square of cotton
- One 4.5” x 4.5” square of bamboo velour or bamboo towelling
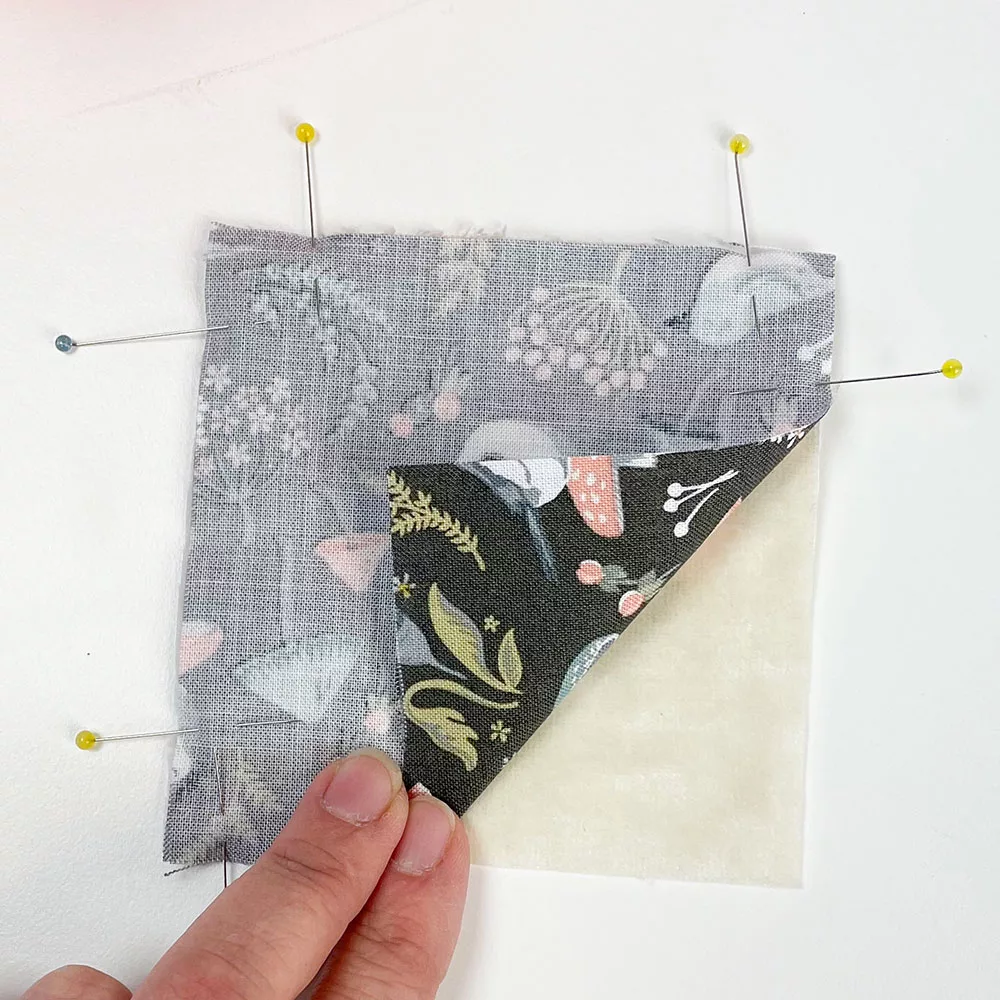
2. Sew around all 4 sides with a 1.5cm seam allowance leaving a small turning gap of 1-2” *Pro Tip to help with your turning gap later on – When starting off your sewing place the needle in your fabrics 1cm from the raw edge and then pivot your fabric. This makes sewing up the turning hole easier.
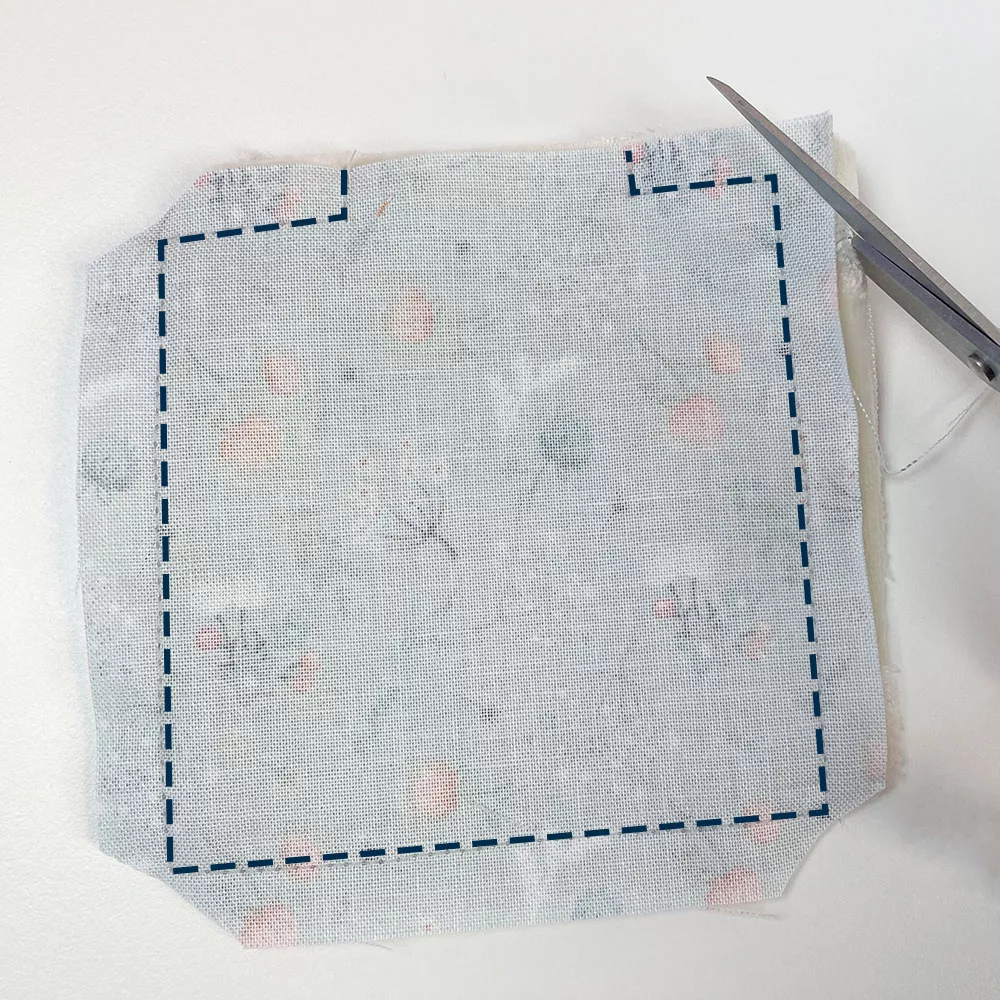
3. Clip the corners on the diagonal and clip the main seams to ¼” – leaving the turning gap with 1.5cm seam allowance
4. Turn through the gap you’ve left and poke out the corners to a sharp point.
5. Press and then top stitch a scant ¼” from the edge with a 3mm stitch length, making sure you close up the turning hole.
…and you’re done!
Would you love to make a pouch for them to go in? Let’s make a double pocket waterproof dry bag!
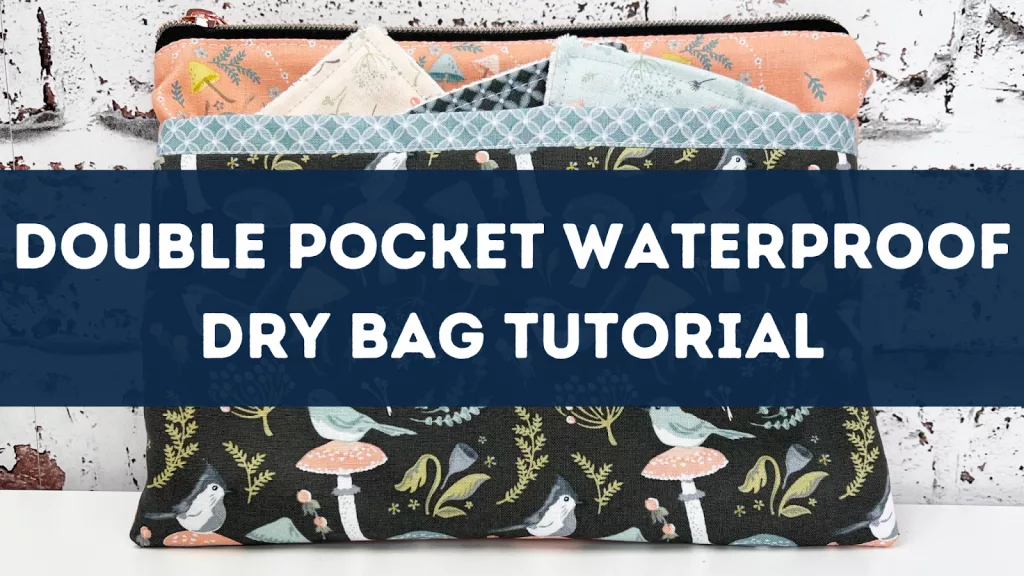
We thought we would share this tutorial to make a waterproof dry zip pouch with two pockets, one which is waterproof, to keep your clean and used make up pads apart. When you’re ready to wash your reusable makeup pads, simply open the zip and put the whole thing into the washing machine.
You’ll need some waterproof fabric for this make, we recommend PUL fabric but check out our Waterproof Fabrics Guide here for more information.
How To Make A Double Pocket Waterproof Dry Bag
You Will Need…
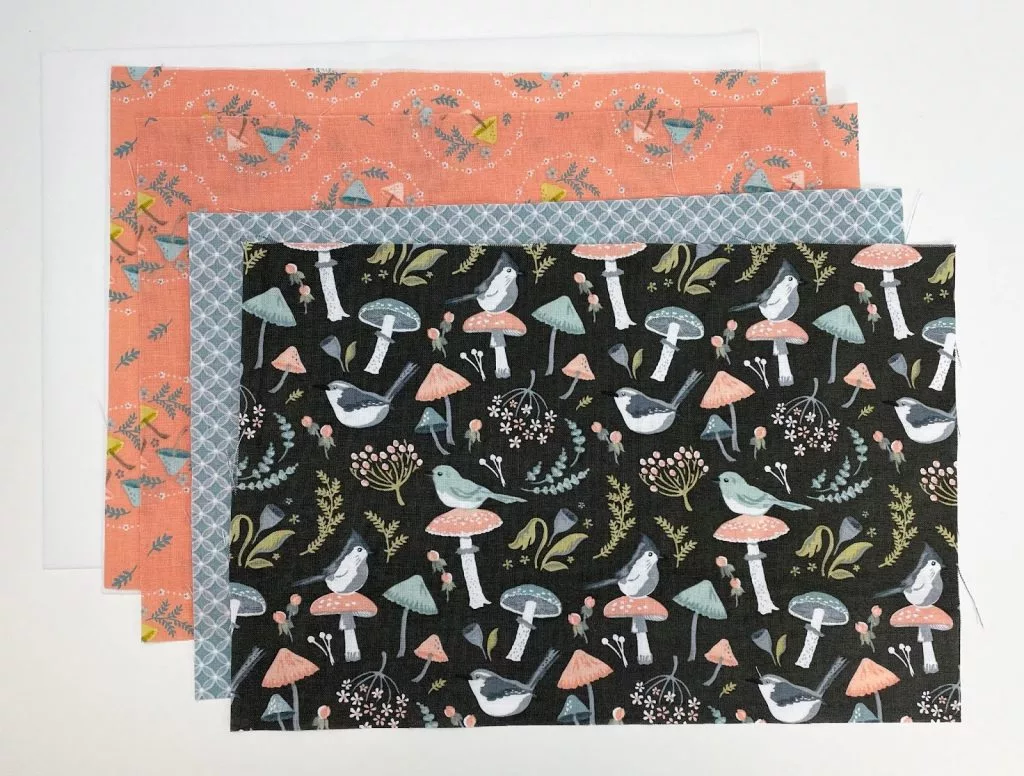
2 pieces PUL Fabric 10.5″ x 7.5″
2 x cotton fabric for outer 10.5″ x 7.5″
2 x cotton fabric for pocket 10.5″ x 7″
All supplies can be found on our website.
To match our previous make, we used the Nutex Woodland Songbirds fabrics.
- Cut out your fabrics – sizes are above
- Sew the 2 pocket pieces together (RST) with 1cm seam allowance
- Press this seam open and then fold over so that approximately 1cm of the pocket lining is visible on the outside, making a contrasting band.
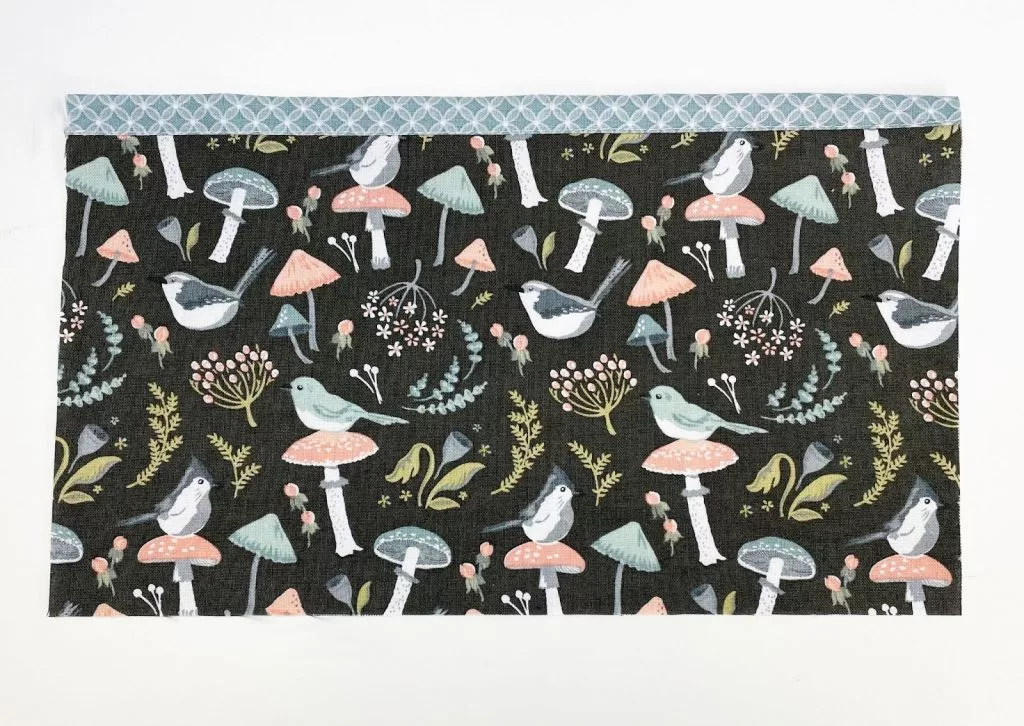
- Trim the excess fabric at the bottom to make the pieces the same size.
- Top stitch along the seam line.
- Sandwich your fabrics in the following order:
- PUL Lining (Shiny side up)
- Zip (Teeth facing up)
- Outer cotton piece (Right side facing down)
Pin or clip all of the layers in place.
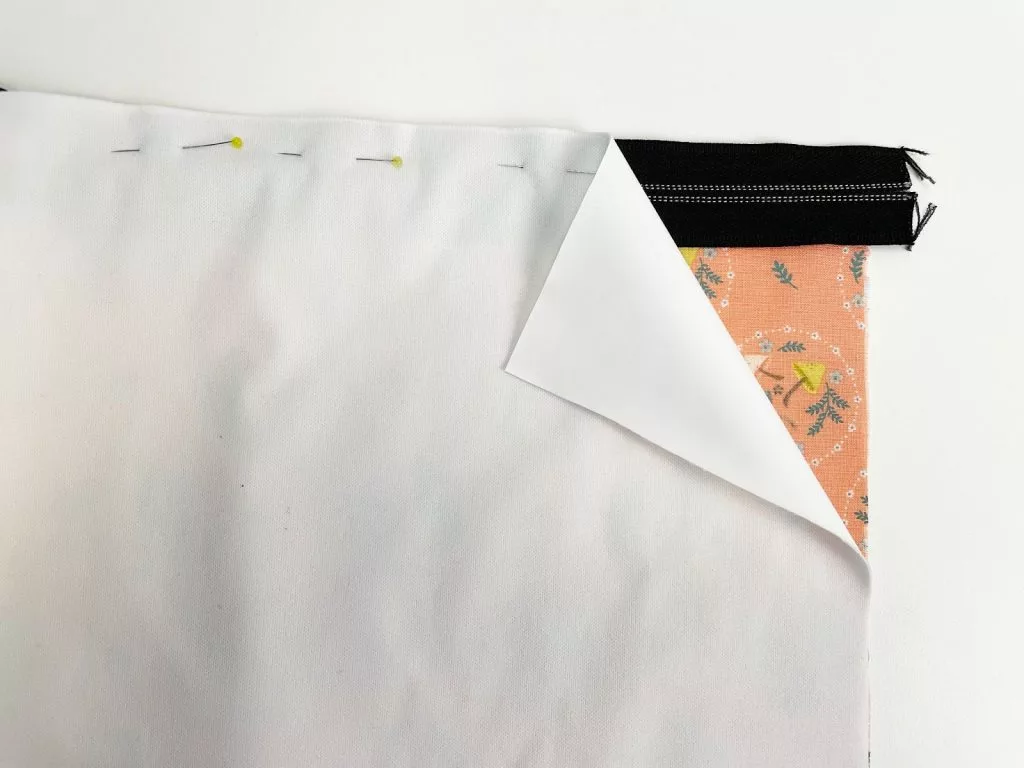
- Sew the 3 layers together using a zipper foot
- Finger press the fabrics & then top stitch close to the seam
- Repeat steps 6 and 7 for the other side
- Lay the outer pocket on to the outer of the bag & baste in place
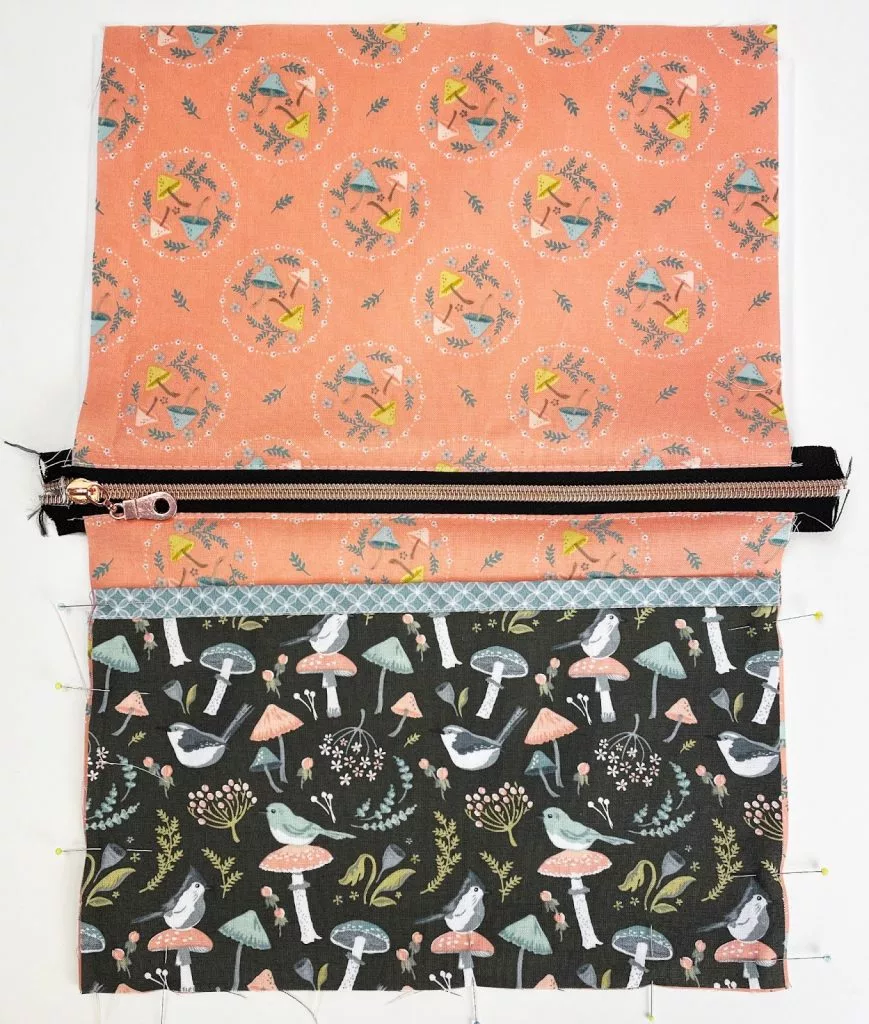
TOP TIP: Open the zip pull half way so you can turn!
- Line up the two lining pieces & the two outer pieces and stitch all the way around leaving a 3-4” turning gap in the PUL lining.
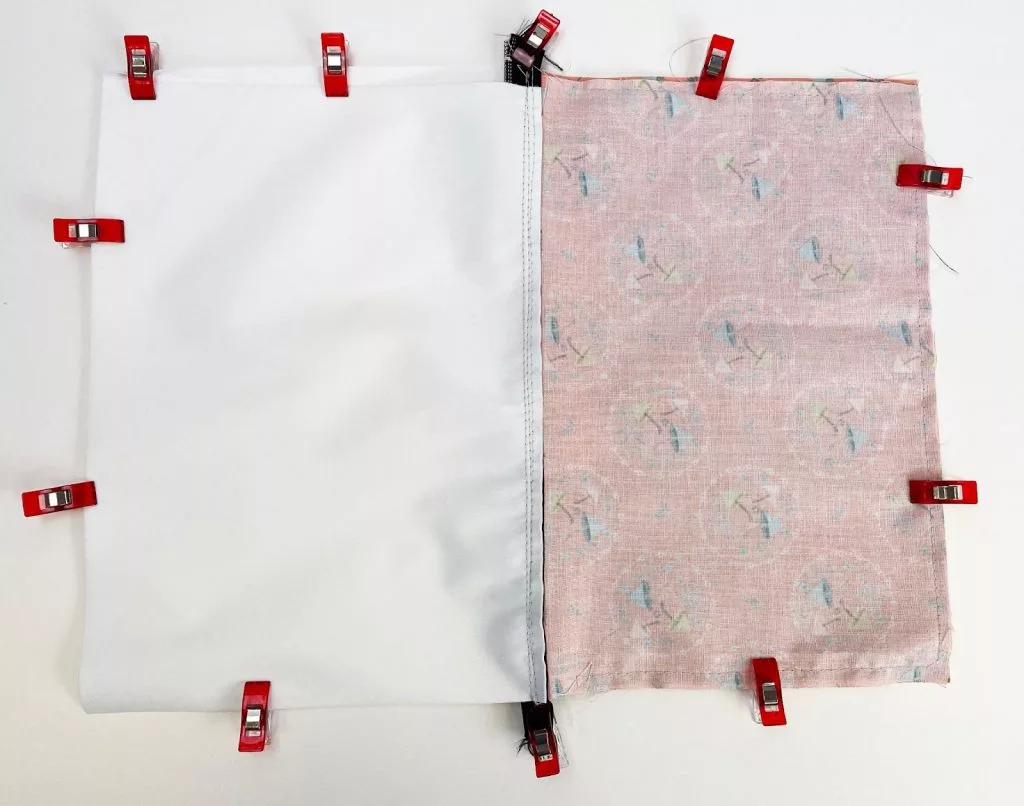
12. Trim the corners & turn right side out.
13. Stitch up the hole in the lining fabric.
14. Turn to the right side, poke out the corners and press.
Yay you’re finished!
Join us over on Instagram
Don’t forget to sign up to the newsletter so you don’t miss any of our free tutorials and follow us on all the socials below!


