Get 3 FREE Christmas Projects straight to your inbox!

Christmas Coaster DIY – Speedy Make!

We’re getting into the party spirit with this Christmas project and thinking about Christmas entertaining with a pretty table. Learn how to make this DIY Christmas coaster.
To help protect your table and carry your Christmas theme through to the lounge we have created these clever Christmas coasters.
They are incredibly quick to make and so pretty. Furthermore, they’re sure to impress your guests.
A simple sewing project for beginners
Rotary cutter project
This Christmas coaster project is ideal if you’re getting to grips with your rotary cutter and quilting ruler; with the added bonus
Moreover, using a rotary cutter makes this quick make, even quicker.
Find our selection of rulers and cutting mats here and rotary cutters here.
You Will Need:
- Fabrics A: 1FQ Cotton fabric use for both front & back (we used: Makower Reindeer – Red metallic)
- Fabric B: 1 FQ Cotton fabric contrast front fabric (We used: Makower Scandi star – Cream metallic)
- 0.25 m Woven interlining
- Thread (we used: Gutermann colour 38)
*this is enough to make 4 coasters, for fussy cutting/ directional prints, allow more.
Never miss another tutorial or guide…
Stay up to date with the latest by signing up to our newsletter!
Click to join our mailing list!
Resources
If you’re looking to co-ordinate your Christmas table check out these tutorials:
- Here is our speedy Napkin tutorial, that will help you master mitred corners.
Looking to have a more sustainable Christmas? Our reusable crackers can be used time and time again without losing their snap. Find the tutorial here.
New to woven interlining? Check out our product guide here, to discover why we love it!
Important Notes
¼” seam allowance throughout, unless directed.
For steps using machine sewing, straight stitch, backstitching at the start & end using stitch length 2.5 unless otherwise stated.
Prepare your fabrics as per manufacturer’s care advice.
Step-By-Step Instructions
Step 1:
For each coaster: Cut out the fabrics as follows
- Fabric A: 3 x 5” squares of front/ backing fabric
- Fabric B: 2 x 5” squares of contrast fabric of
- 1 x 4.5” square of woven interlining
Step 2:
Apply the interlining to the reverse of the backing fabric with a ¼” border around the edge.
For detailed instructions on using woven interlining check out our Guide here.
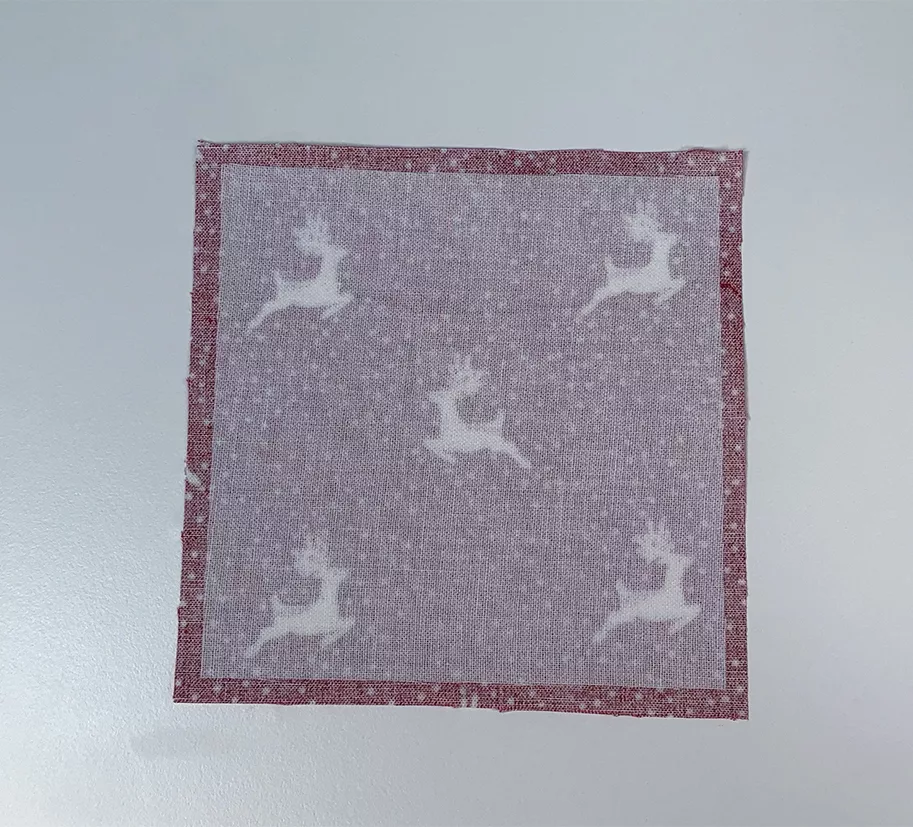
Step 3:
Fold and press the other 4 squares in half to form 4 rectangles.
Step 4:
Place the backing piece right side up, then 1 at a time, position the folded squares on top:
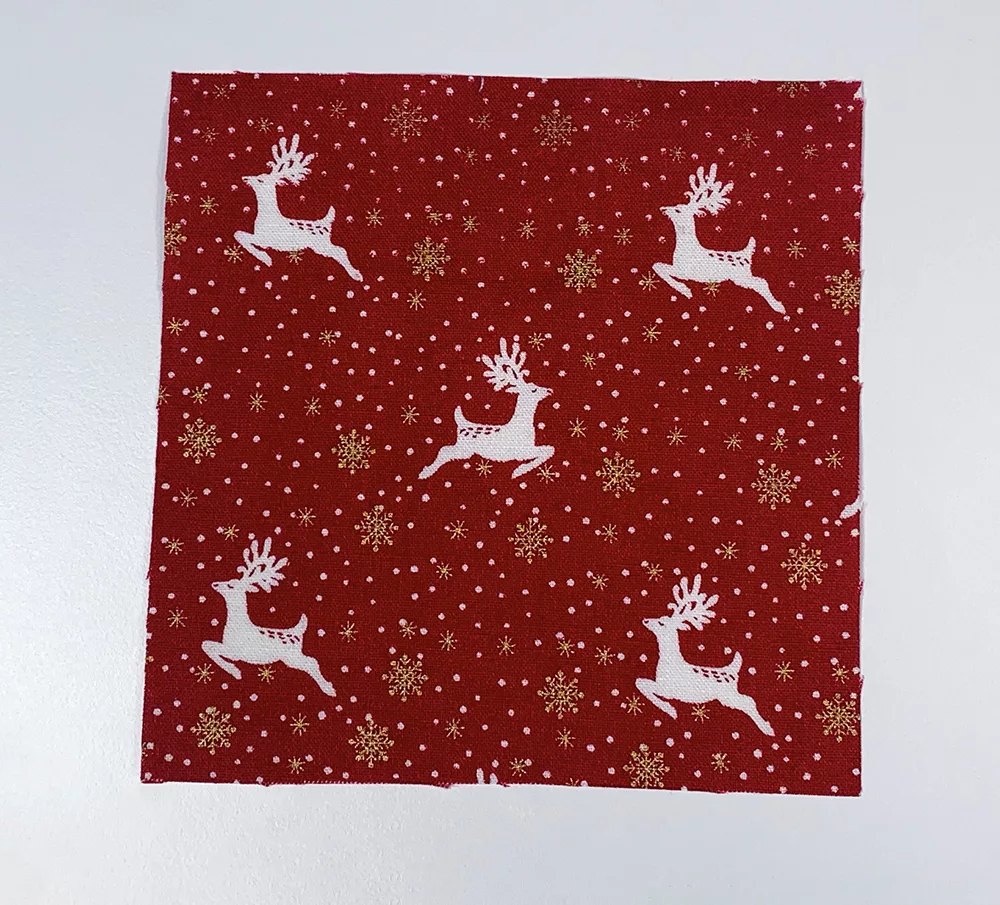
- Starting on the right, align the raw edges of a rectangle with those of the backing. The folded edge will sit along the centre of the backing piece. For fussy cutting, ensure the chosen element is right side down
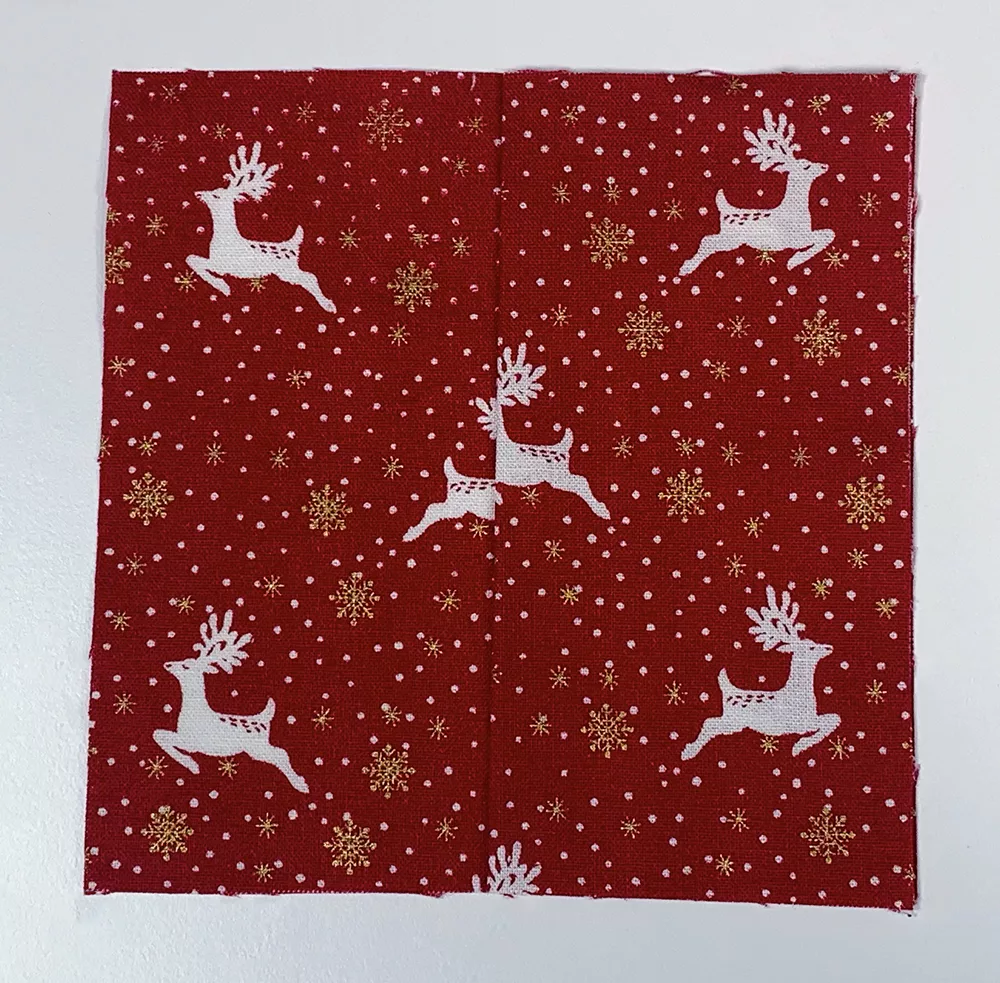
- Place the next rectangle along the bottom of the backing, raw edges aligned, overlapping the piece to the right, folded edge to the centre
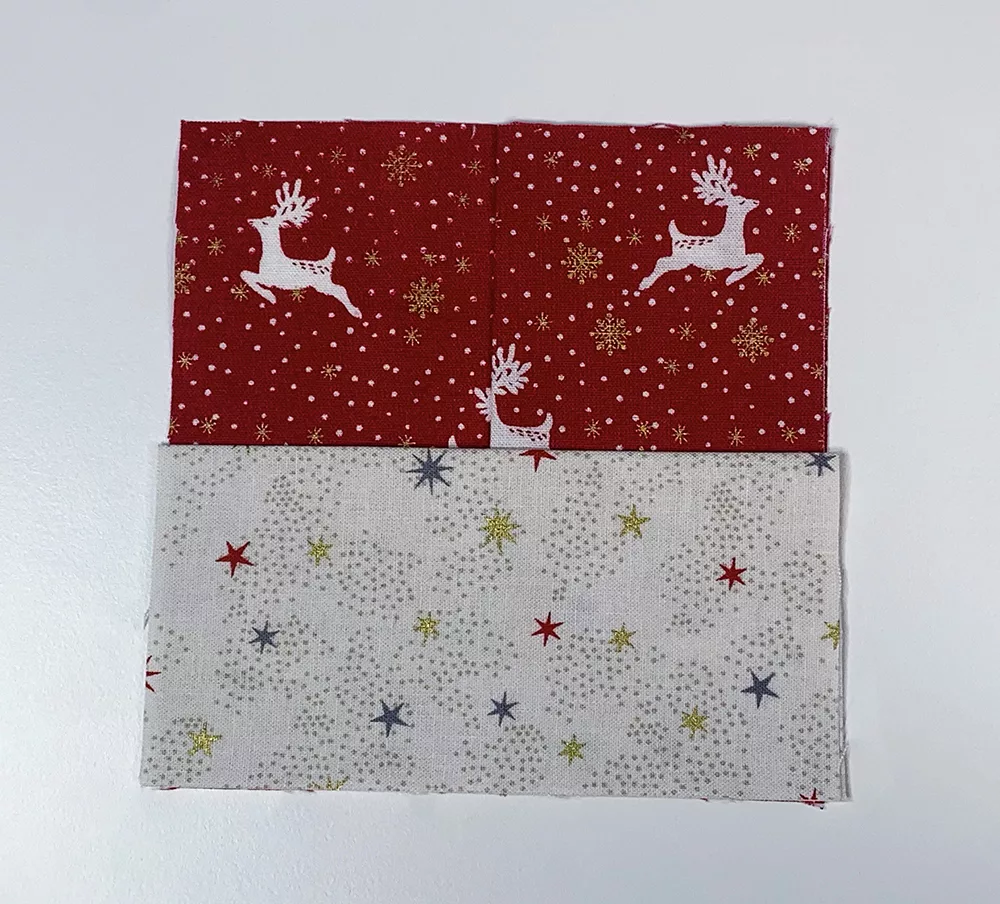
- Place a rectangle on the left, raw edges aligned, folded edge to the centre, overlapping the bottom piece
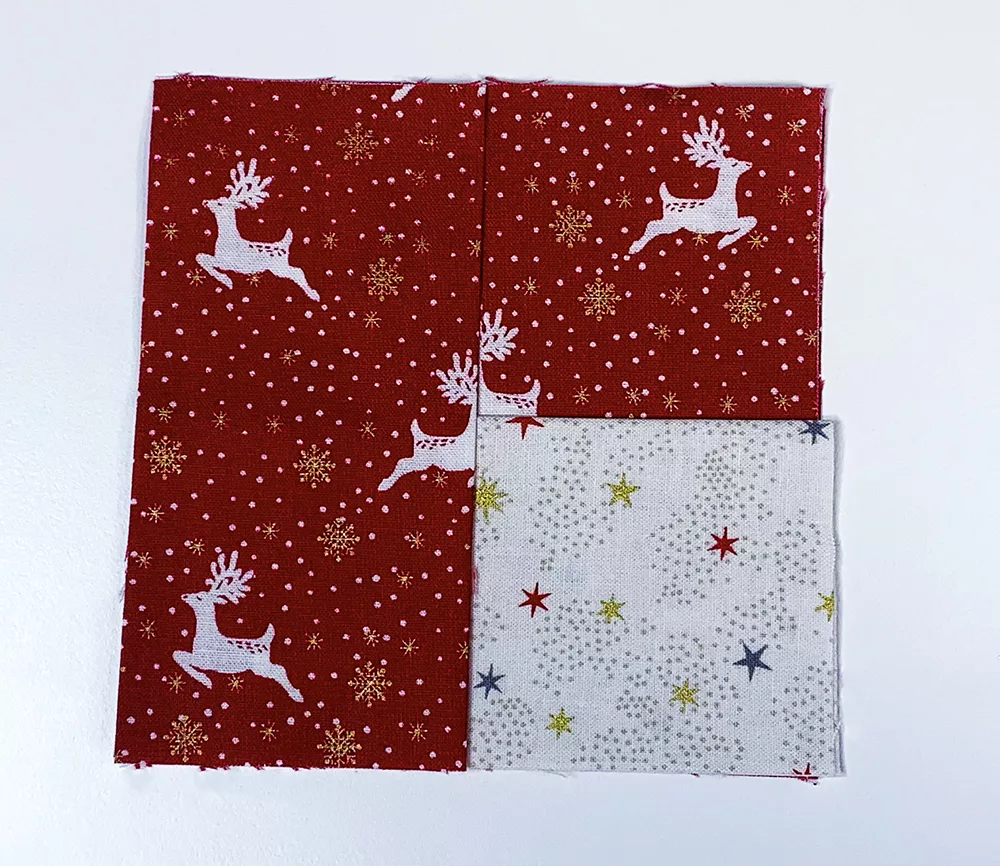
- Place the final rectangle at the top, raw edges aligned, folded edge to the centre
- Tuck the right side of the final rectangle under the top of the rectangle on the right to interlock them all together
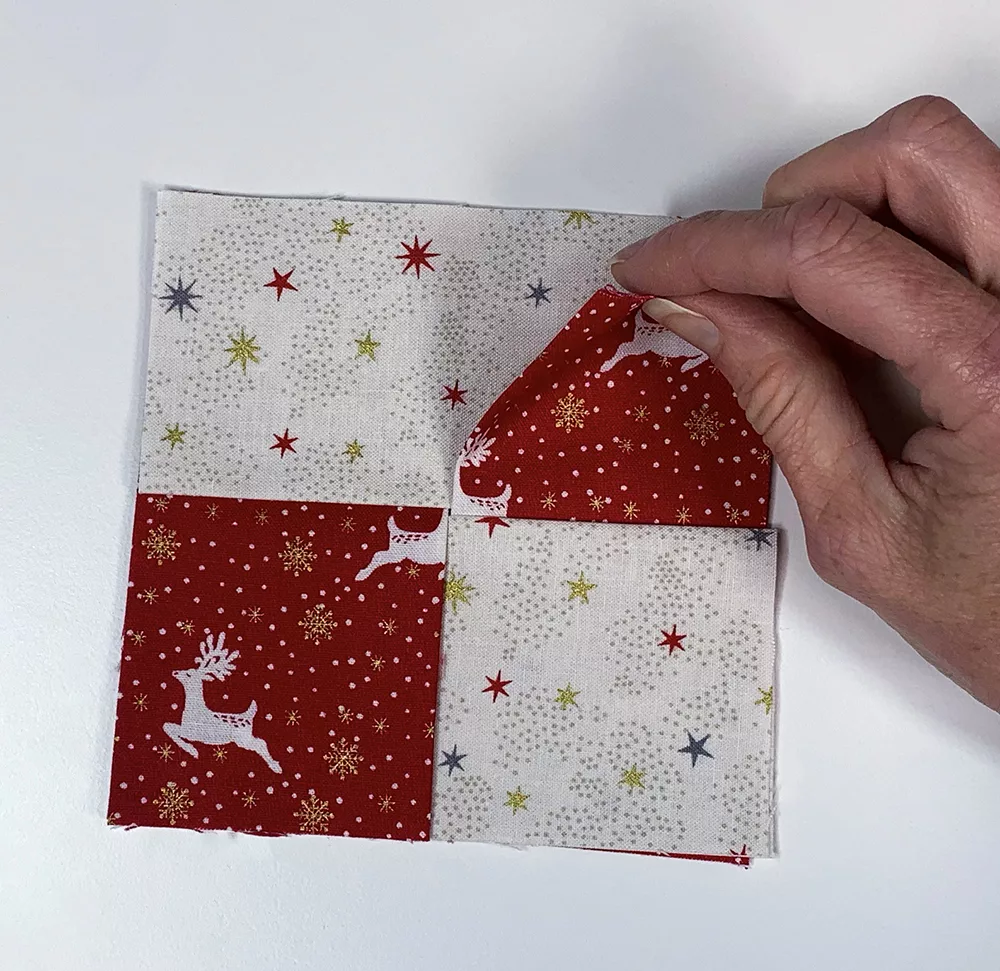
Step 5:
Clip the pieces in place then sew around the 4 sides.
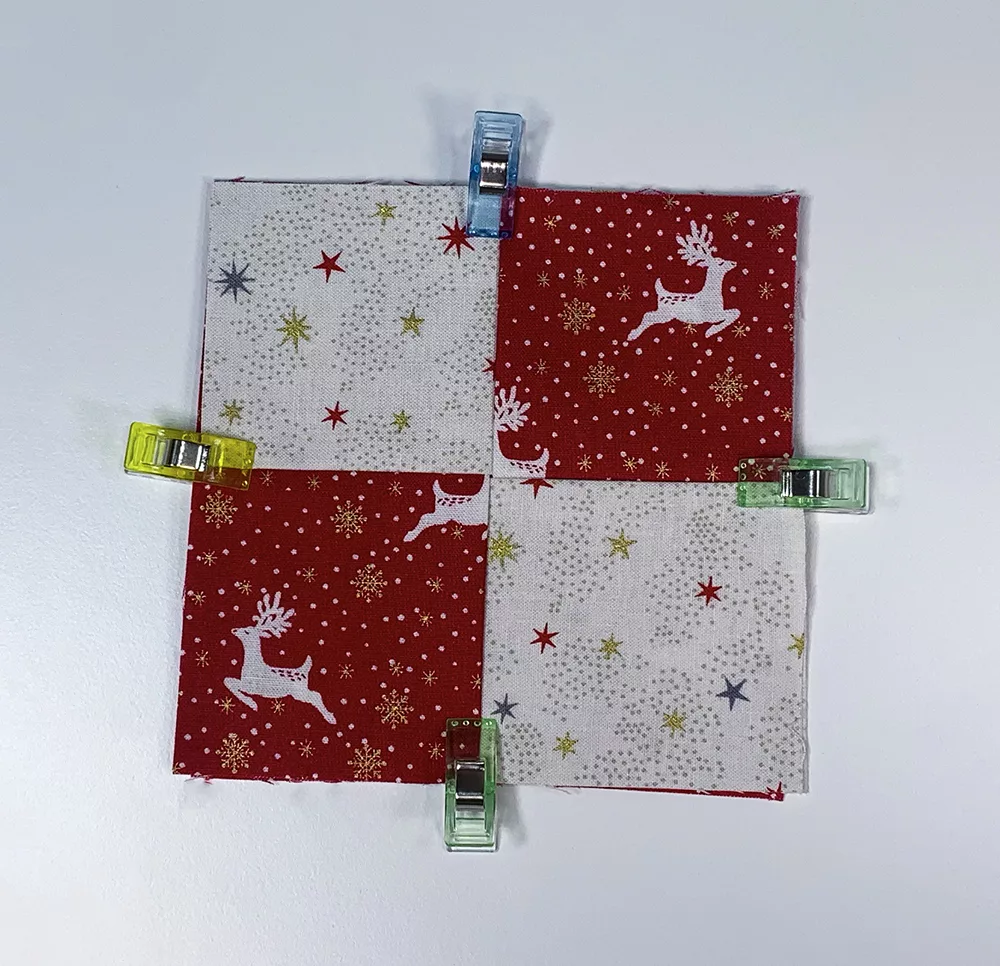
Step 6:
Clip the corners.
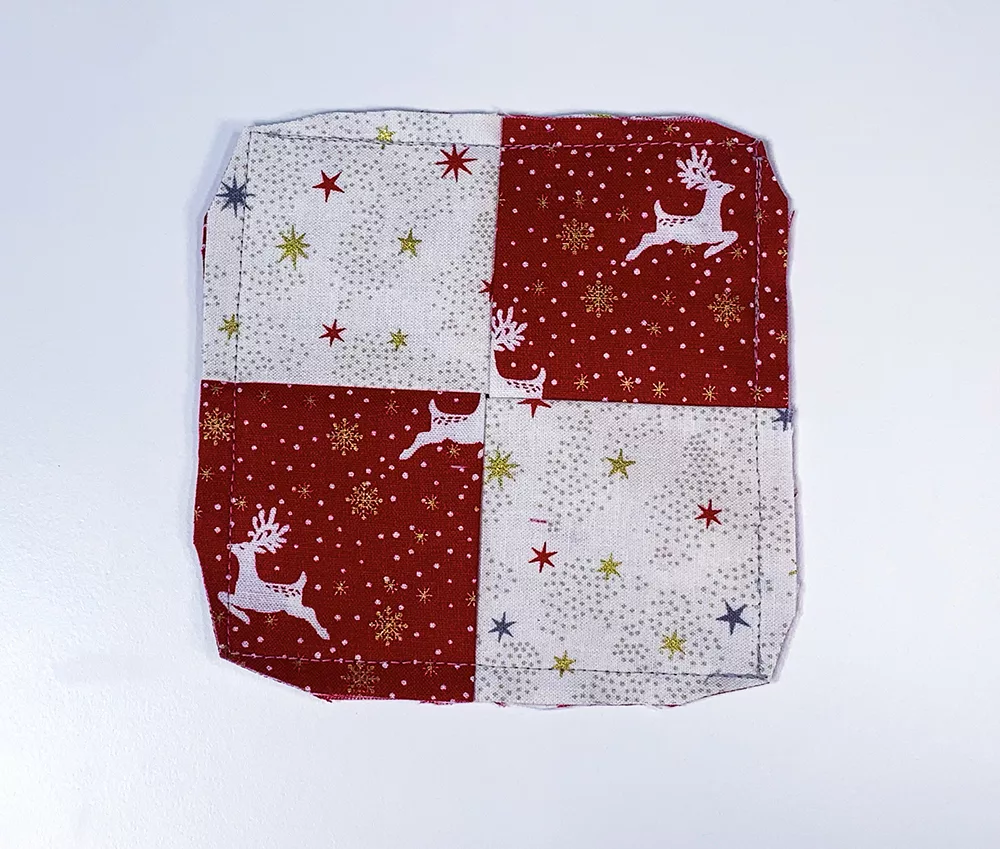
Step 7:
Turn the coaster out the right way, opening the rectangles out from the centre point.
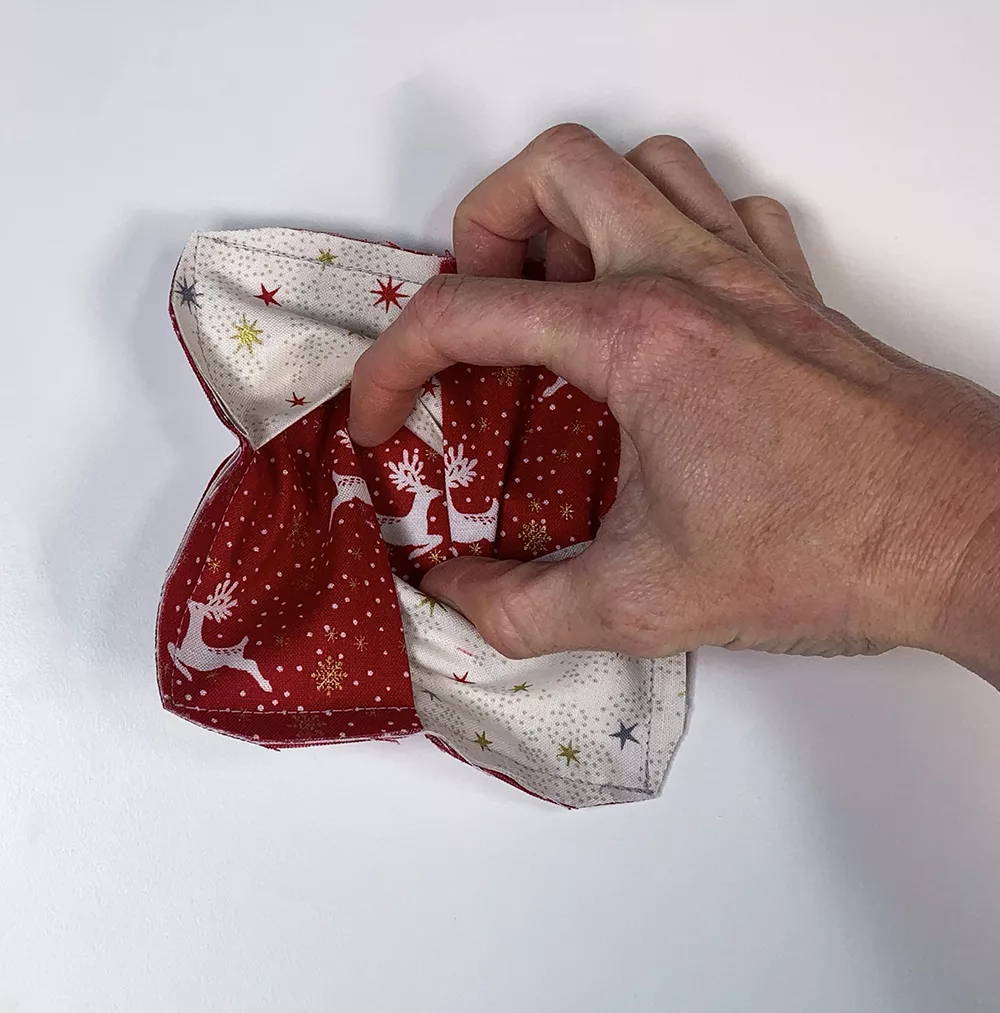
Step 8:
press to finish.
And you’re finished, well done!
Never miss another tutorial or guide…
Stay up to date with the latest by signing up to our newsletter!
Click to join our mailing list!
We hope you found this tutorial useful!
Let us know how you get along in the comments below.

3 Handmade Teacher Gift Ideas!

Tutorial – Make a 5 Minute Wristlet Key Fob!
We are super excited to have in stock this brilliant key fob hardware! We have quick and super simple tutorials. These are TWO WAYS to make a 5-minute wristlet key fob. These gorgeous stylish key fobs are AMAZING scrap busters!
We have a great selection of key fob hardware to choose from in ALL the colours! We’ve also got a brilliant bundle for you where you grab a pair of pliers and 12 assorted key fobs at a discount!
We show you how to make these key fobs in two ways:
