
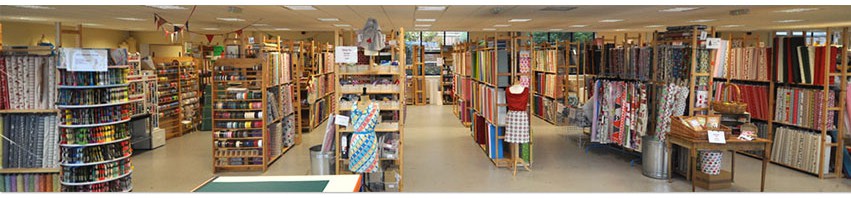

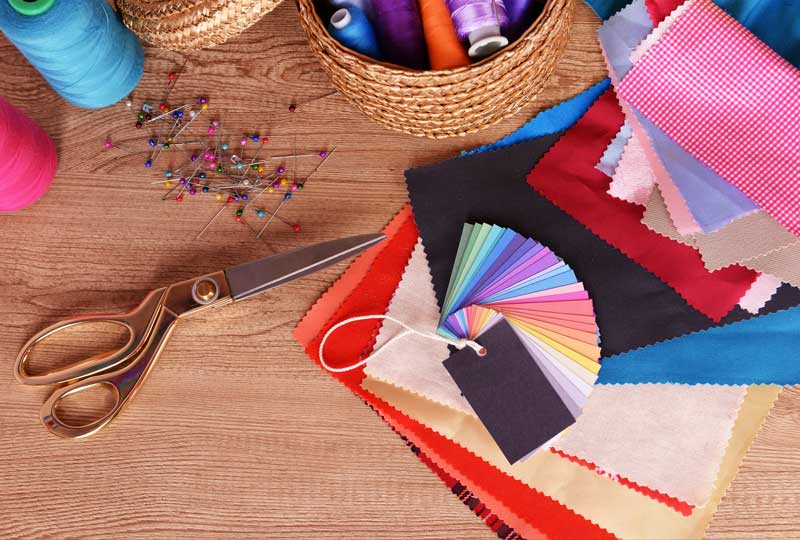
Let’s face it, working with beautiful fabric is one of the best bits about sewing your own, isn’t it? I’m sure I’m not alone when I say I’ve made a few mistakes along the way and messed up a project because I’ve not given enough care or attention when prepping my fabric. Today I am delighted to welcome Annabelle from Wunder Label who is sharing some invaluable tips about how to measure and cut your fabric perfectly to ensure you don’t end up getting yourself in to a pickle….
Even a seasoned seamstress will be faced with difficulty if they are working with fabric if they are using incorrectly measured or cut fabric. If you are struggling with your patterns and designs but are following the instructions step by step, the problem might be in your prep rather than your main body of work.
Don’t worry, though, because there are some tips that you can keep in mind to make sure you cut and measure your fabric perfectly.
Know What You Need
On the topic of measuring fabric, make sure you know your measurements before you begin to work with fabric. If you are working with a sewing pattern, this is usually pretty cut and dry. This is because most patterns detail how much fabric you’ll need.
Boring Legal Bit: If you follow any tutorial or guidance found in this post, or on this blog, you agree to be bound by our disclaimer which can be viewed here
For those who work to create garments, this can be a little more complicated, though. When you are taking measurements from who you are making the garment for, make sure to check those measurements multiple times.
If you are making a garment for yourself, getting measurements can be a little tricky. Your best bet is to ask a friend for help so the measurements are right. Taking these few extra moments will be worth it when your garment is the perfect fit.
Take a Second and Measure Again
All of us make mistakes while we’re sewing. Sometimes we even make mistakes before we start sewing.
Because of this, make sure to do all of your prep work twice. Check the measurements you need twice and make sure you know what they are. Even further, measure your fabric twice before you even think about cutting!
Don’t Be Afraid to Leave a Bit Extra
While you’re measuring and cutting your fabric, don’t feel compelled to cut your measurements exactly. To expand on that, don’t cut your fabric short but don’t be afraid to leave a little extra on your measurements.
Look at it this way: you can take away from your fabric but you can’t really seamlessly replace fabric you’ve already cut off. So, your better bet is to leave an inch or so more than you need on your fabric. Once you’re finished with your project, you can clean it up by trimming the excess at the end of your project.

Mark Your Fabric
If you want to cut a straight line, you need a straight line to cut. To ensure that you have this, don’t be afraid to mark your fabric. Tailor’s chalk is a popular choice for a non-permanent solution.
Find a Straight Edge
When you measure and cut, it’s absolutely crucial that you are working with a straight edge. To make sure they have a straight edge, many choose to use a long straight edge such as a yardstick when they are measuring their fabric.
It’s also important to make sure the pattern of the fabric matches up with your straight edge. For this, start by locating the selvage – the pre-finished edge of the fabric. Then, make sure to run your straight edge parallel to this line.

On the topic of selvage, sometimes you’ll run into a fabric whose pattern doesn’t perfectly line up with the selvage. This is usually caused by distortion created when the fabric during rolling, handling, and transportation. In other words, mismatched patterns and selvage can appear off grain but they actually aren’t.
To solve this problem, stretch the fabric on the bias in each direction. This helps to reset the weave and solve the mismatched appearance without any fuss!
Make Sure to Wash and Iron
When you are measuring your fabric, you might not always remember to leave allowances for fabrics that shrink. Without doing this, your finished product might not live up to your expectations after its first wash. To avoid this, take the time to wash, dry, and iron your fabric before measuring and cutting.
Only Work on Flat Surfaces
Have you ever tried to cut wrapping paper on a bed? If you have, you probably know its infuriating to try and get a straight cut.
This same principle stands when working with fabric. When trying to get a straight cut and proper measurements, take the time to spread your work out on a desk or table. Even a hardwood floor is better than trying to work on top of a carpeted one.
Make Sure It’s Sharp

Another wise idea is to make sure the cutting utensils you use are sharp. With a dull cutting instrument, you’ll find that the usual snap of your scissors quickly becomes a struggle of trying to chop through your fabric. Of course, this sawing or chopping motion can throw off your straight line.
Thanks Annabelle! Do be sure to check out more of Annabelle’s top tips over on her blog and why not check out her online shop where she sells the most amazing custom labels, ribbons and more which will give your sewing projects an oh-so professional look and feel.

One thought on “How to Measure and Cut Fabric Perfectly for Sewing”